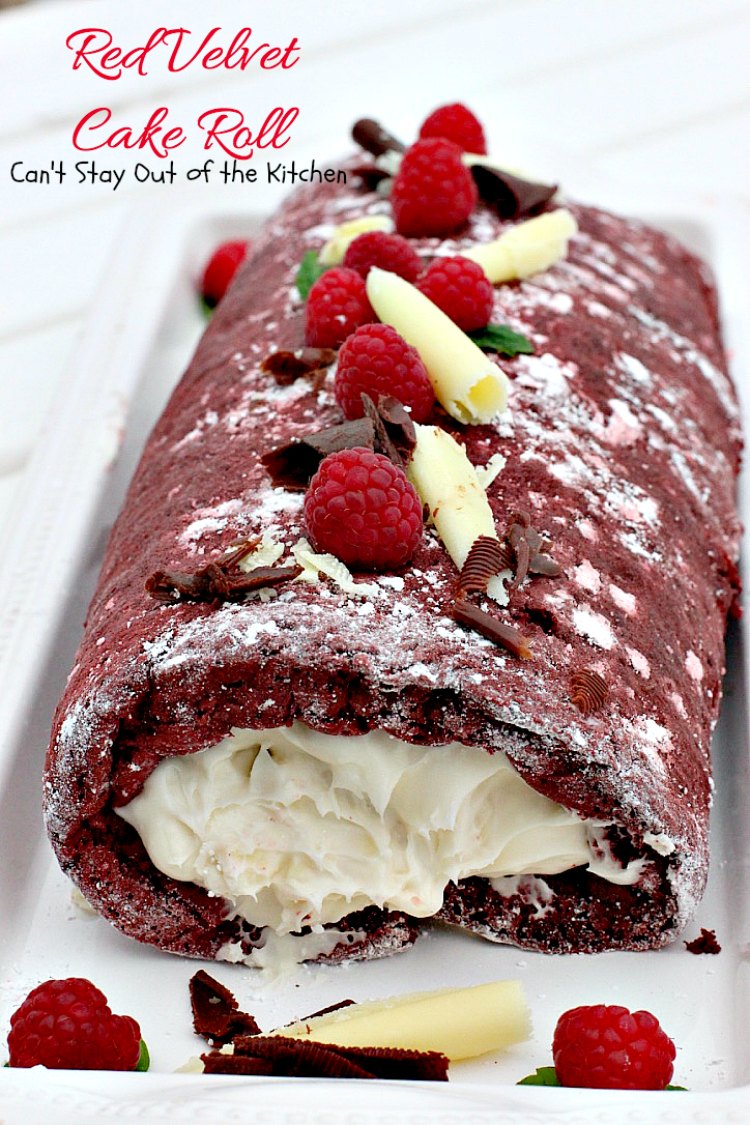
Red Velvet Cake Roll
Don’t you just love Paula Deen recipes? Her stuff is amazing, and this Red Velvet Cake Roll is spectacular. It has a luscious chocolate cake layer baked in a jelly-roll pan then covered with an over-the-top white chocolate chip cream cheese icing-type filling and rolled up like Lincoln logs!
Follow Me On Instagram!
This decadent recipe is all you could ask for in a holiday or Valentine’s Day dessert. It is simply divine! If you like Red Velvet Cake, Red Velvet Crinkle Cookies, Red Velvet Cheesecake Brownies, or Red Velvet Gooey Butter Cake Bars, you will absolutely adore this amazing recipe.
I have been wanting to make this recipe for about 4 1/2 years when I first purchased Paula Deen’s Chocolate Celebration magazine and drooled over so many of the pictures. I’ve made several of the recipes in this magazine including Mississippi Mud Bars, Ultimate Chocolate Chip Toffee Cookies, and Black and White Cookie S’Mores, and all are sensational.
My only disappointment with the recipe the first time I made it, was that the cake split while I was rolling it so it does not have the beautiful appearance it should have, but the taste was amazing. For the record, there is a misprint in the magazine. The recipe calls for only 1/2 cup sugar, but they expect you to use 1/2 cup in the mixture with the egg yolks, and 1/4 cup added to the egg whites. You need 3/4 cup white sugar for this recipe.
Red Velvet lovers, if you’re looking for that dynamite dessert for Valentine’s Day, look no farther! This recipe is for you. Paula Deen’s Red Velvet Cake Roll is scrumptious, sumptuous, delectable–a must try! I highly recommend it.
When I initially posted this recipe in February 2013, I was still using an iPhone for a camera. Those cameras just cannot get the detail and beauty in food photographs needed to show off this delectable recipe. I recently remade this recipe (December 2016) for company when we stayed with lots of my daughter-in-law’s relatives at a rental house in the Outer Banks of North Carolina.
It was a big hit with everyone no matter how I served it: with chocolate and white chocolate curls, raspberries, powdered sugar or chocolate sauce. Red Velvet Cake Roll is a spectacular dessert, but I warn you in advance that it’s a little bit of a high maintenance dessert.
It will take a few hours to have ready and each step is somewhat involved. But if you’re willing to spend a couple of hours on one of the most out-of-this-world desserts you’ll ever taste, it’s so worth it. Thankfully, this time when I made the cake, it didn’t split while rolling so the pictures turned out a lot better than the first go round. Enjoy.

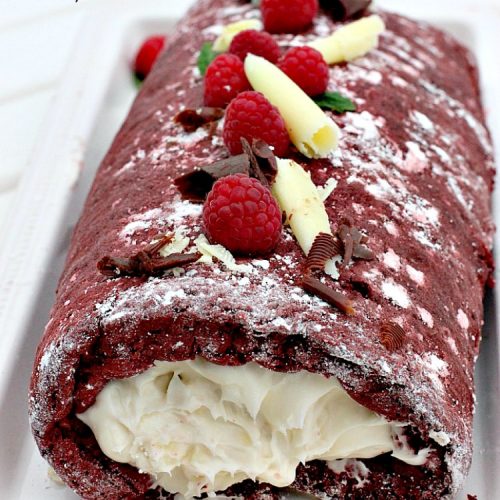
Red Velvet Cake Roll is spectacular.
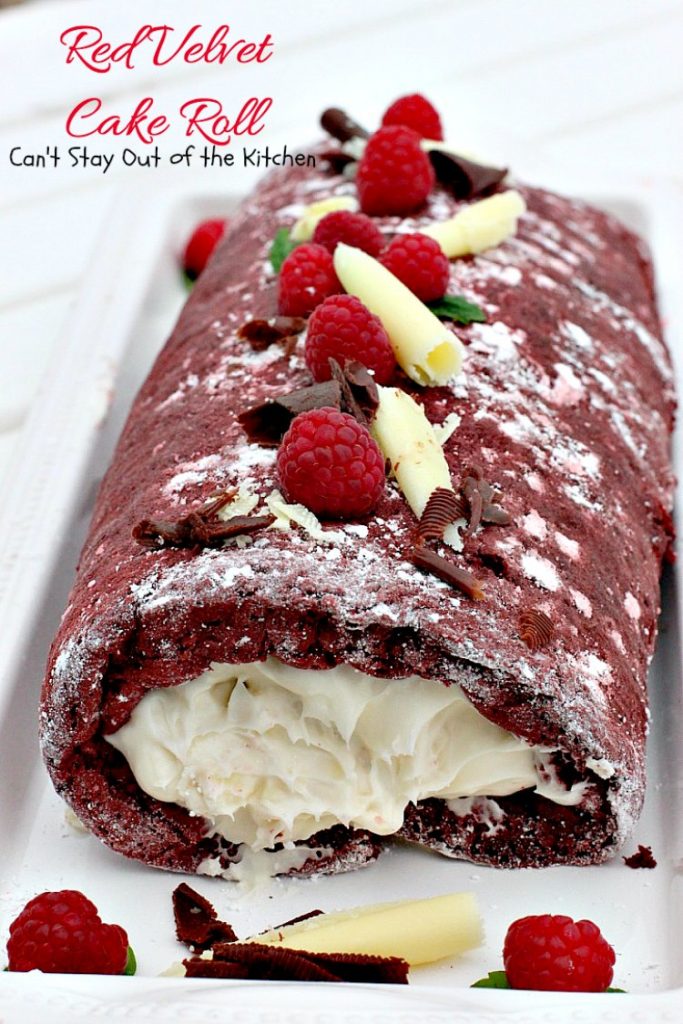
I decorated Red Velvet Cake Roll with white chocolate and chocolate curls, raspberries and a light sprinkling of powdered sugar.
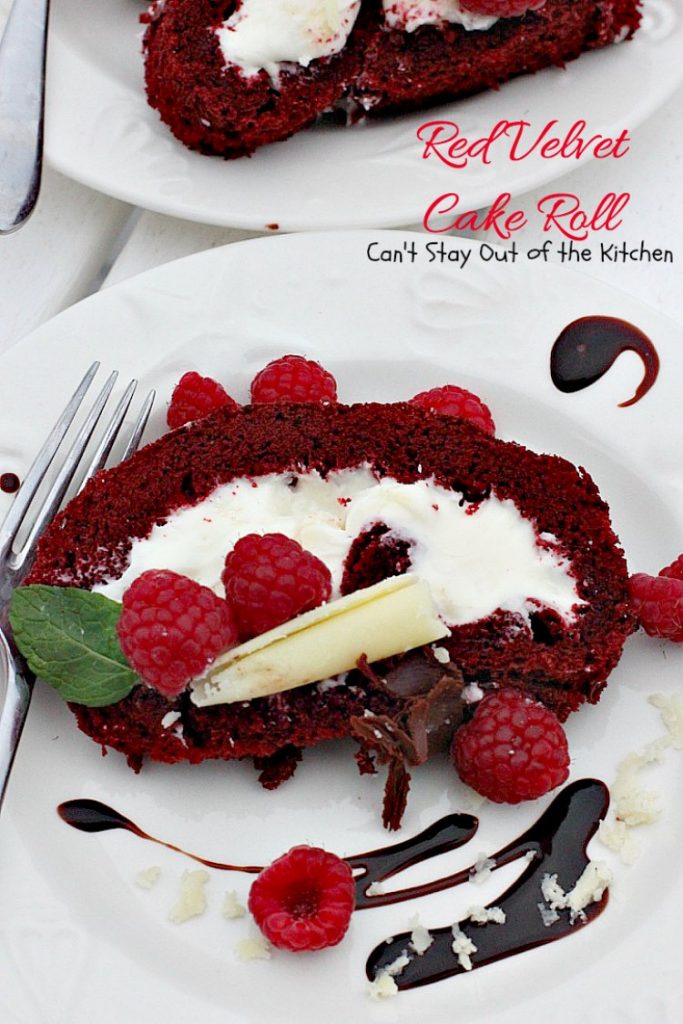
This amazing dessert is wonderful sprinkled with confectioners’ sugar, served with chocolate sauce or curls, and fresh raspberries.
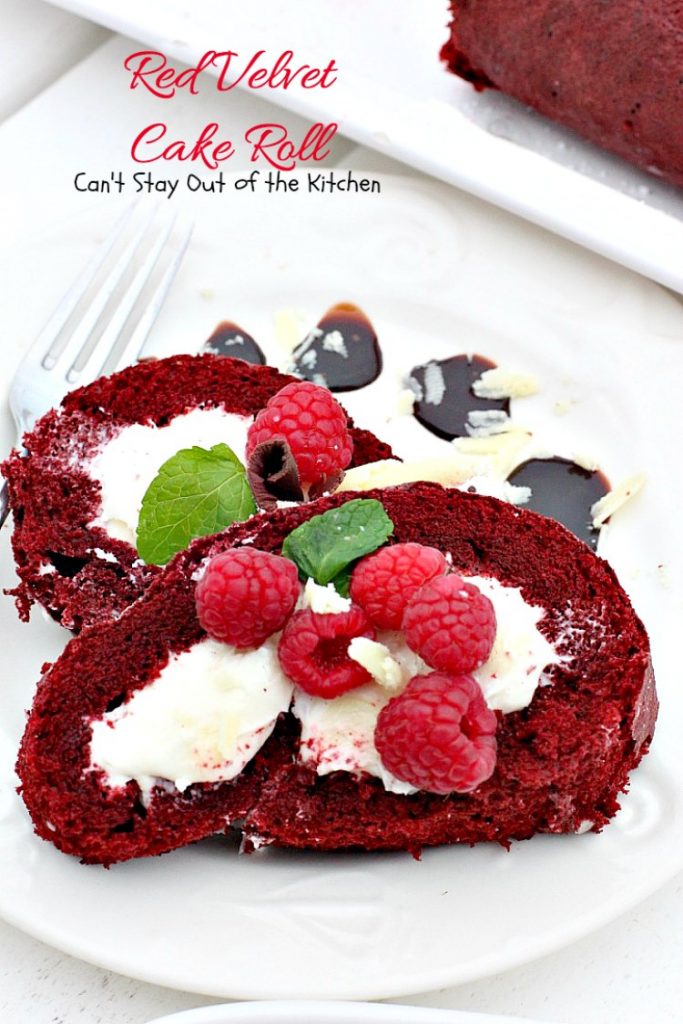
Here’s a close up. The White Chocolate Cheesecake Filling is magnificent!
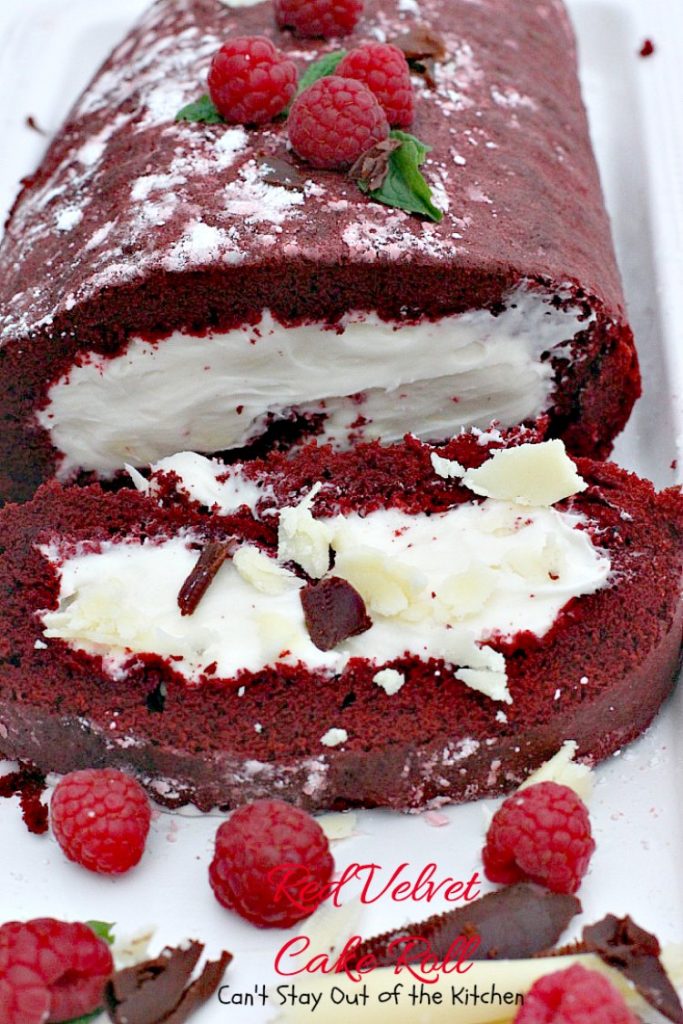
Don’t you want a taste of this gorgeous dessert right now???
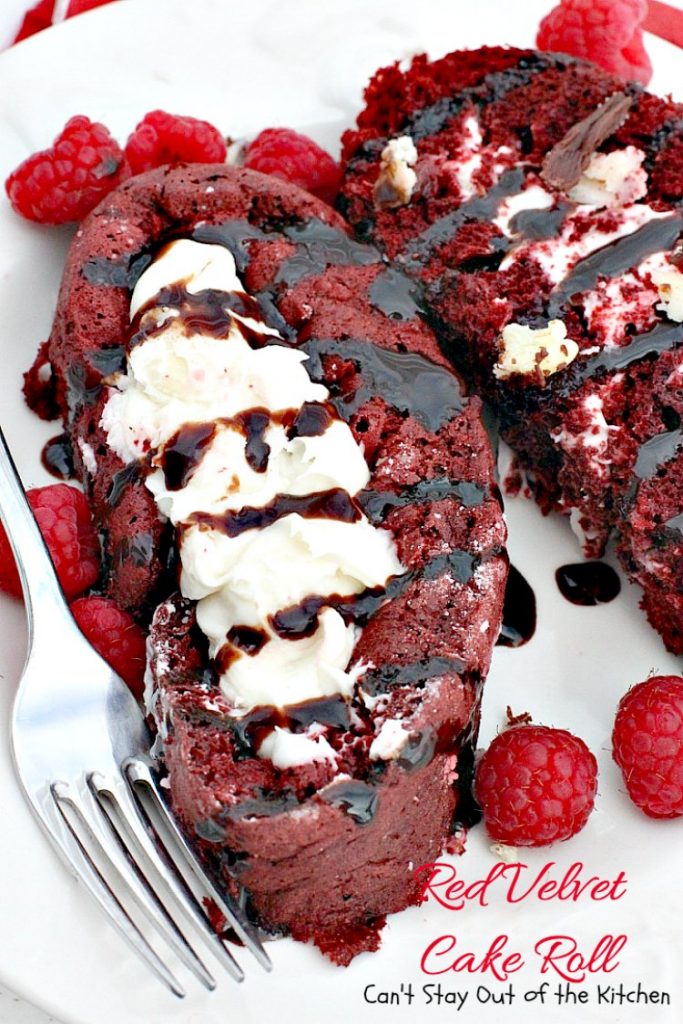
There’s lot’s of thick, cream cheese icing loaded with white chocolate chips in this fantastic Red Velvet Cake Roll. Don’t substitute vanilla chips. The white chocolate chips make this so rich and decadent. Drizzle with your favorite chocolate sauce for the perfect dessert.
Here’s what I did.
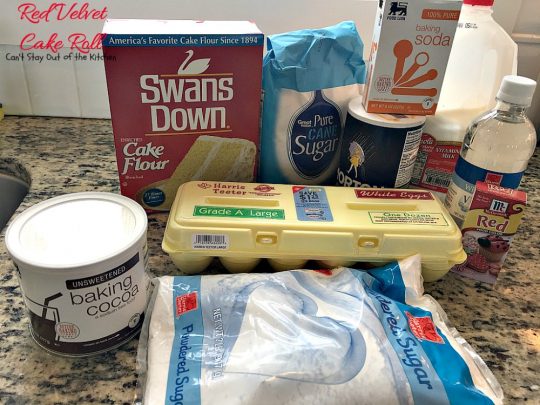
I used these ingredients for the cake. The recipe calls for a very small amount of flour. But don’t worry, the cake turns out perfectly.
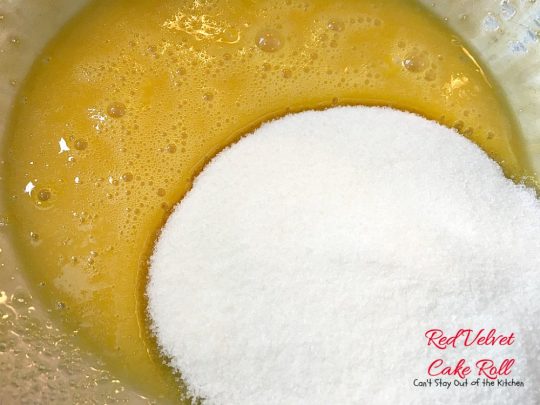
Separate 5 eggs. Here’s the old-fashioned way:
To separate eggs try to break the shell in two equal halves as much as possible. Place both thumbs into the center and pull the egg shells gently apart. The egg white will start dripping out of the shell. Make sure you have a bowl underneath the egg to catch all of the egg white as it comes out of the shell. Now pull the egg shell even farther apart. More of the egg white will drip from the shell into the bowl. I gently tip the egg yolk toward the edge of the shell and with my forefinger of the opposite hand I start scraping the egg white off the tip of the shell so it drops off into the bowl. Continue tilting the egg shell and rotating it so you can remove the egg white from the yolk. Transfer the egg yolk over to the other shell where the egg white was already cleaned out. Once I did this there was a lot of egg white left in the other shell which I cleaned out and dropped into the bowl.
Place egg yolks in a large mixing bowl and mix. Add part of the sugar.
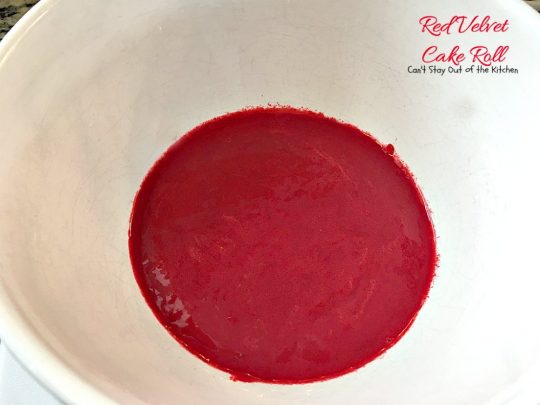
Add buttermilk, vinegar and a full ounce of red fool coloring. Mix all the ingredients with a blender.
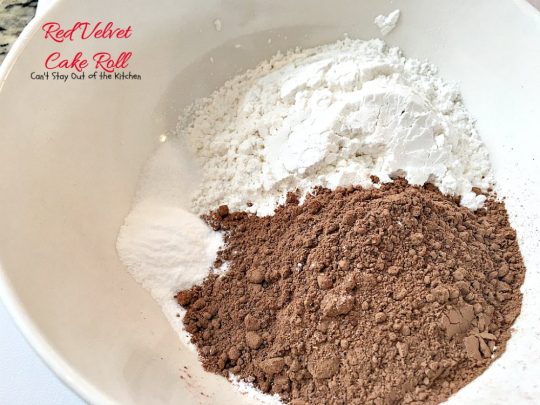
In a small mixing bowl measure out cocoa. Add cake flour. Use unbleached cake flour if you can find it. Add baking soda and salt. Stir all the ingredients together.
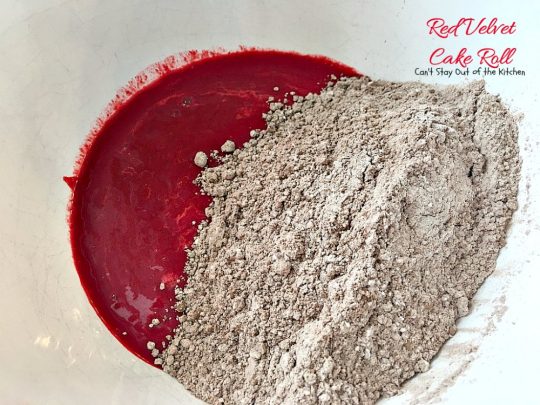
Add cocoa mixture to red mixture.
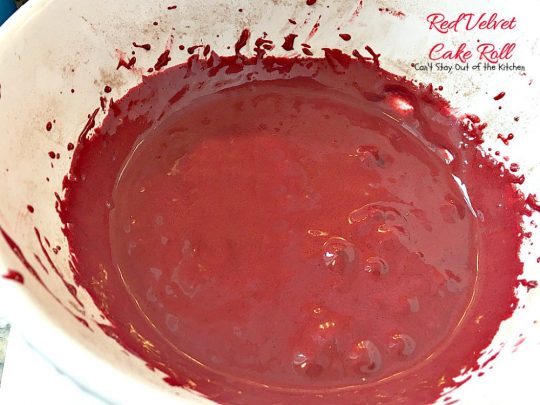
Beat ingredients with a mixer until smooth.
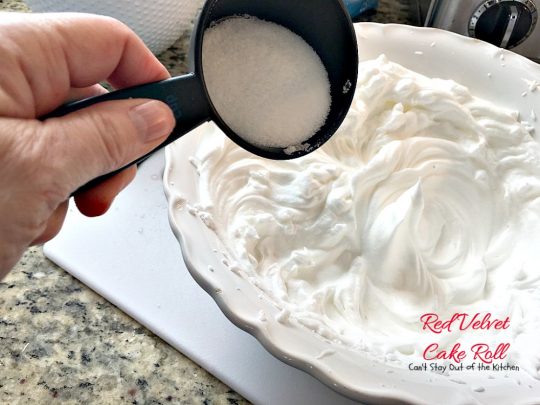
Mix egg whites with a beater until foamy. This will take a minute or two. Once the egg whites become foamy slowly begin adding the remaining 1/4 cup sugar. Add sugar 1 tablespoon at a time. I mixed it about 1 minute before adding another tablespoon. I continue mixing in all the sugar until completely combined and the egg whites are stiff.
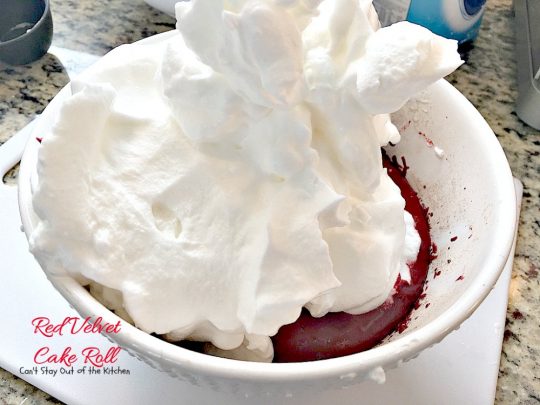
Add the egg whites into the cake batter.
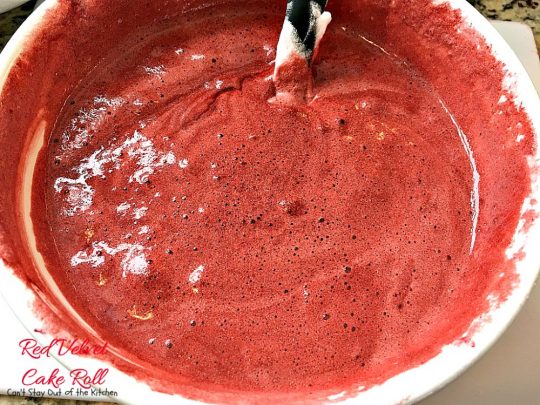
Stir to combine.
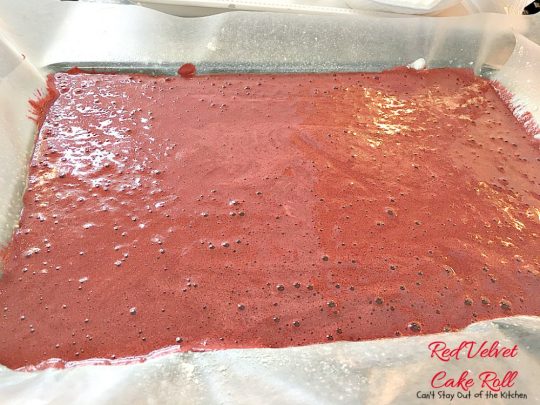
Place waxed paper into a cookie sheet so that the edges are overlapping the pan. Spray wax paper generously with cooking spray. Spread the batter into the prepared jelly-roll pan.
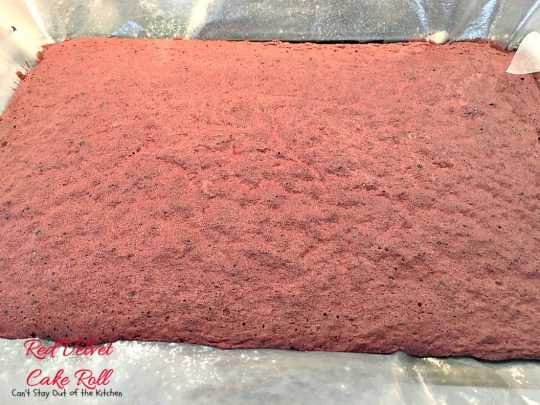
Bake the cake at 350 for 10-12 minutes until it springs back in the center when lightly pressed. Be careful not to overbake or the cake will split when you roll it. (This is actually a little longer than I would have liked but the timer on the oven didn’t work properly).
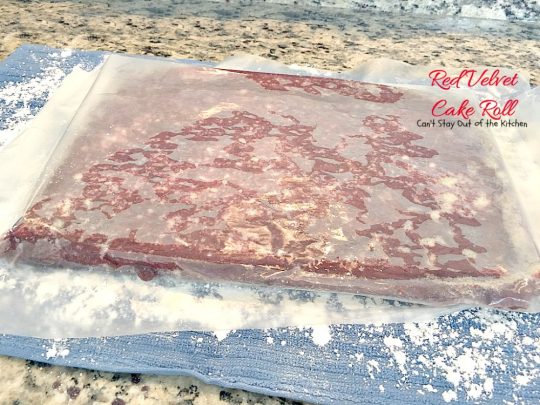
Spread a towel on your counter. Sprinkle towel generously with powdered sugar. Turn cake out onto confectioners’ sugar-sprinkled towel. With a knife gently remove waxed paper from the top of the cake.
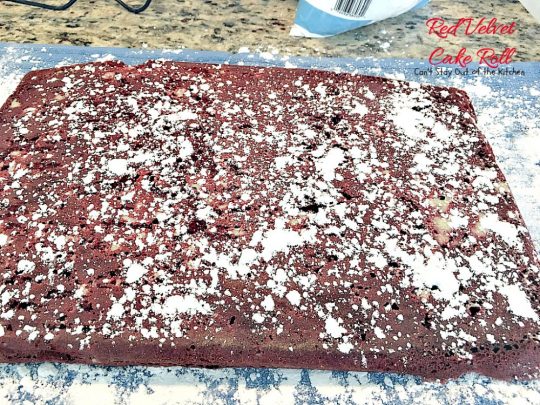
Sprinkle cake with more powdered sugar.
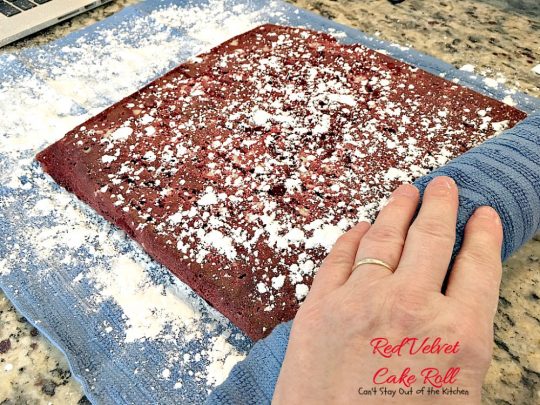
Roll cake up in towel until it’s completely rolled up. Place cake with towel on rack to cool. This will take a couple of hours to cool completely. (I actually placed the cake roll in the refrigerator to cool.)
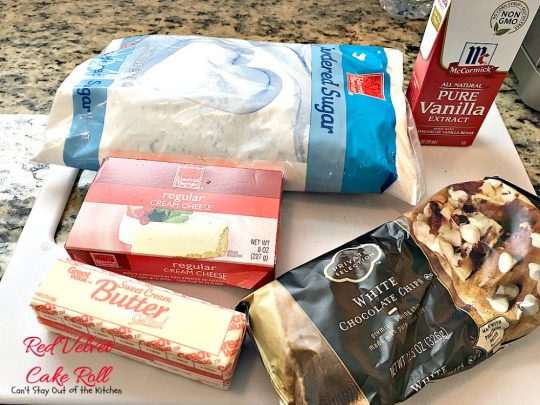
I used these ingredients for the white chocolate cheesecake filling.
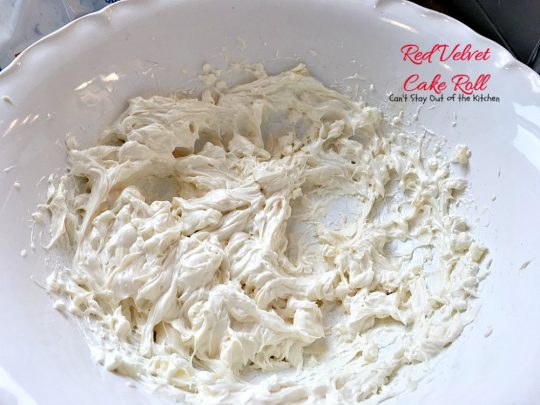
To make filling: soften cream cheese in large mixing bowl. Add softened butter, vanilla and confectioners’ sugar. Beat well to combine.
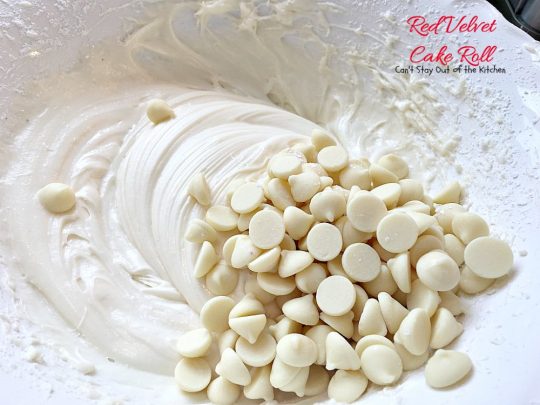
You will need a cup of white chocolate chips. Don’t substitute vanilla chips, you will want the punch of more chocolate. Premium white chips are not white chocolate chips. They have NO cocoa in the ingredients. If desired, you can chop white chocolate chips fine. I chose to leave them as is.
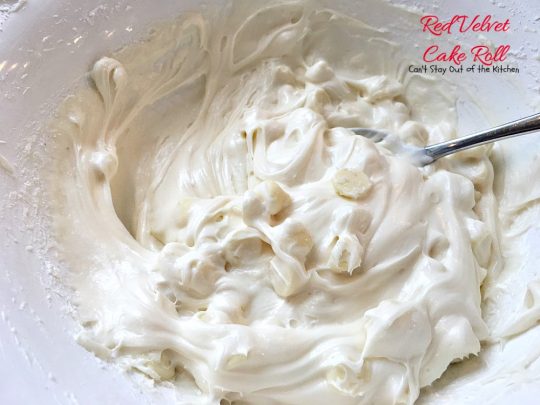
Stir the white chocolate chips into the cream cheese filling. Refrigerate until cake has cooled completely. Then remove from refrigerator about 15 minutes before you’re ready to work with the cream cheese filling.
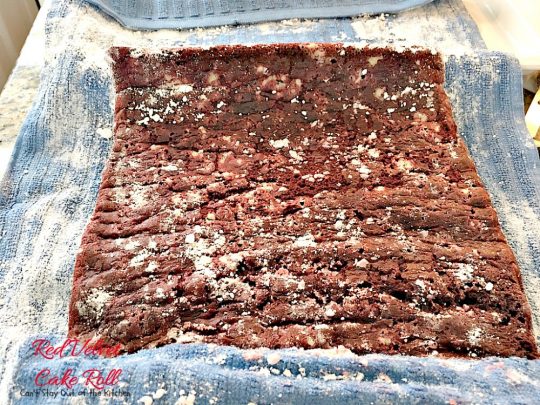
Once cake has cooled, unroll cake and towel.
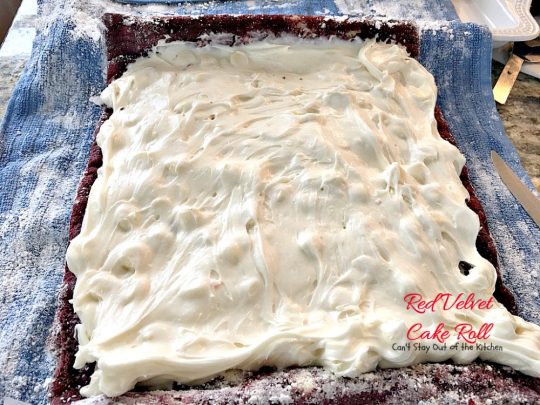
Spread White Chocolate Chip Cream Cheese Filling over top of Red Velvet Cake. I actually trimmed the edges of the cake so they would not be hard.
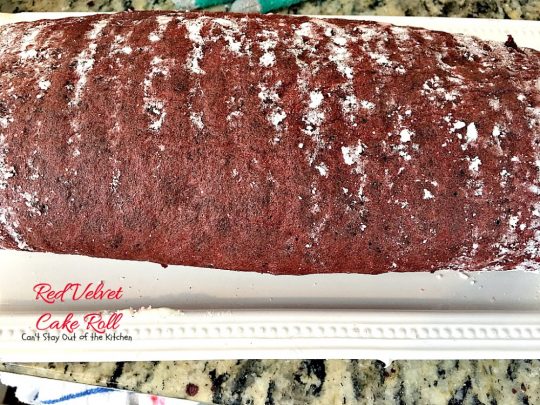
Roll the entire cake jelly-roll fashion until it’s completely rolled. This time my cake roll didn’t crack! I didn’t roll the cake as tightly as I did the first time. Place cake roll on a long plate with the seam side down. Sprinkle the Red Velvet Cake Roll with more confectioners’ sugar. Refrigerate until ready to serve or decorate.
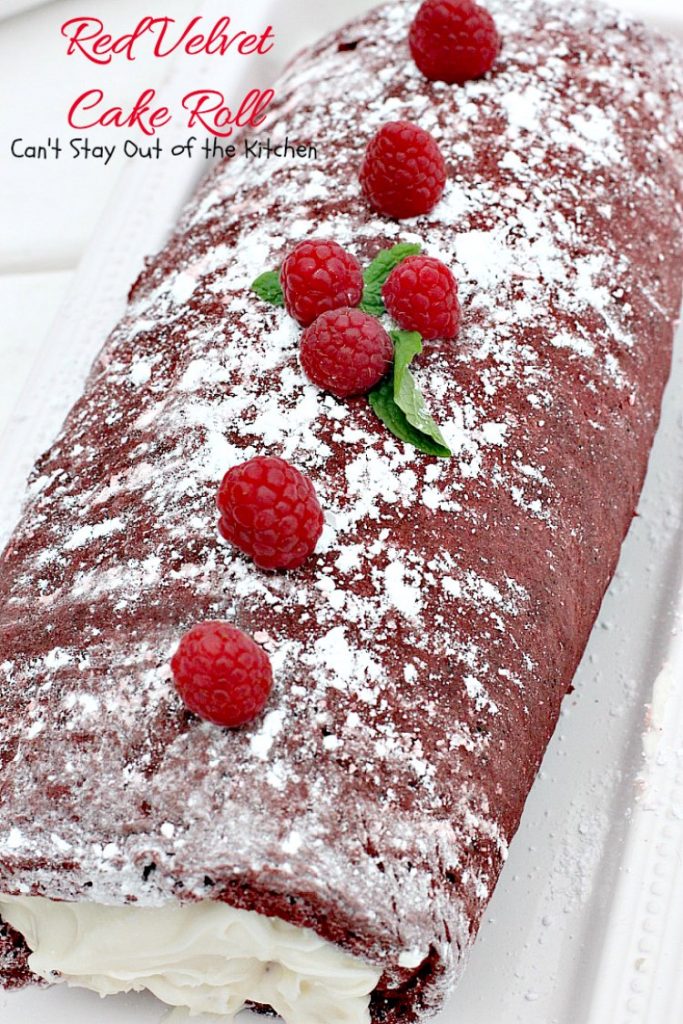
Here, I’ve garnished the cake roll with raspberries.

If desired, add white chocolate and chocolate curls.
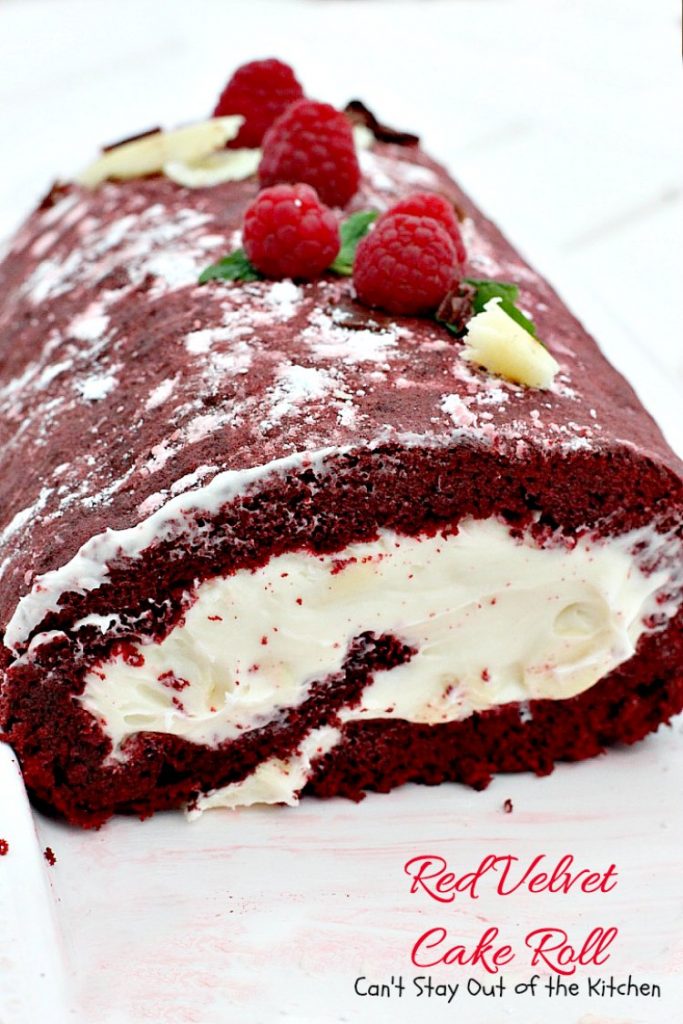
Here, several pieces have been removed for dessert.
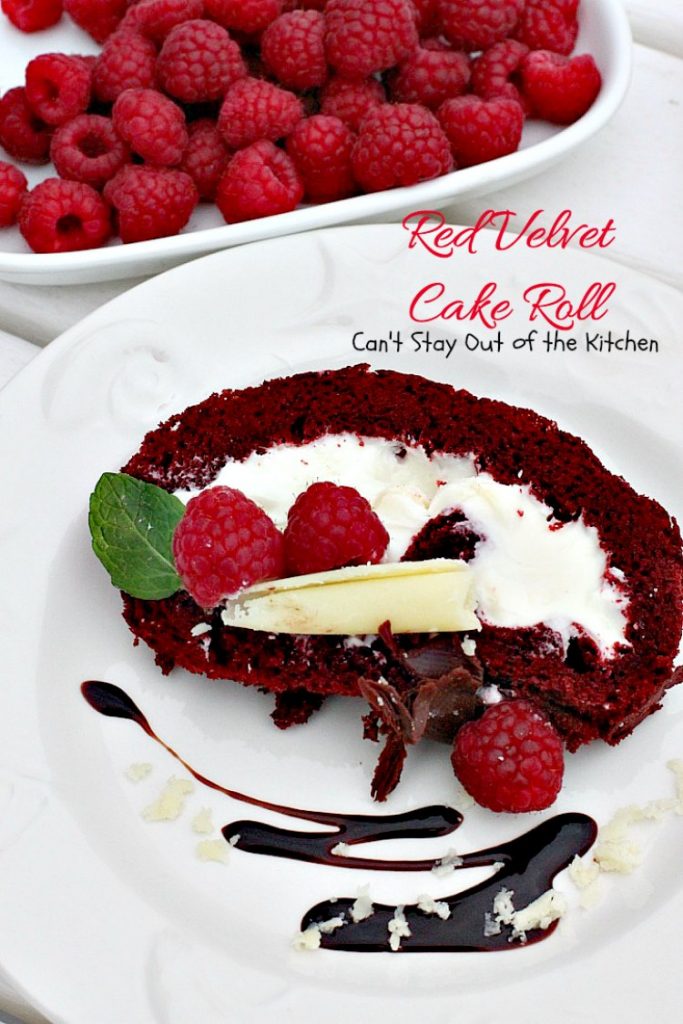
Red Velvet Cake roll is filled with luscious white chocolate chips and garnished with chocolate sauce, powdered sugar, and fresh raspberries. Every bite is mouthwatering.
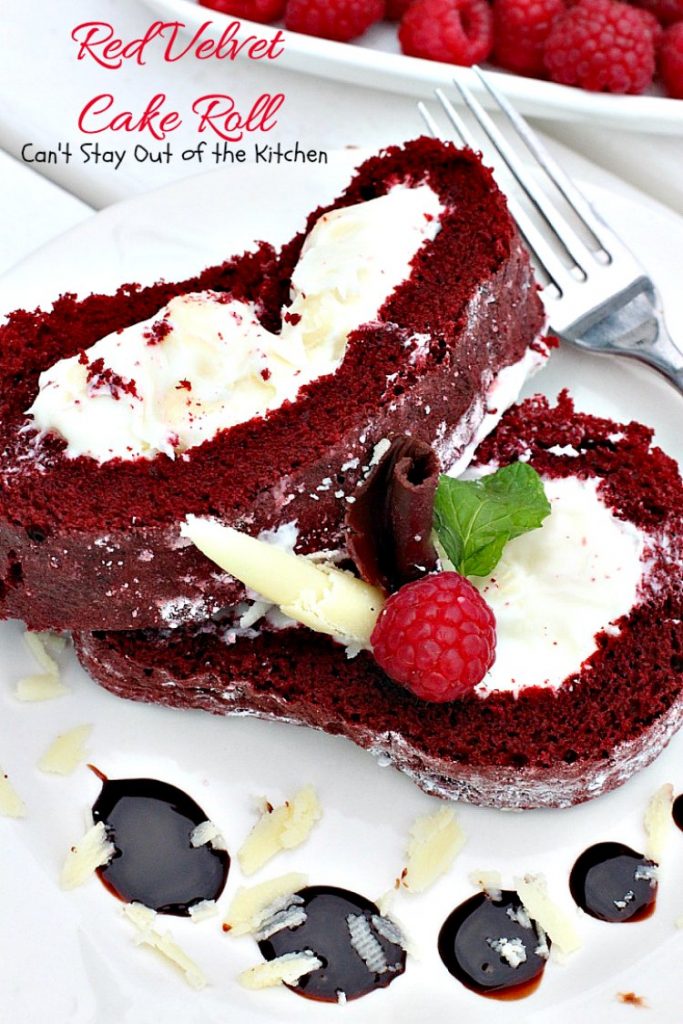
Here’s a serving of this impressive, elegant dessert. You will love Paula Deen’s Red Velvet Cake Roll because it is so sweet, it tastes so rich and chocolaty, and the white chocolate cheesecake filling is absolutely divine.
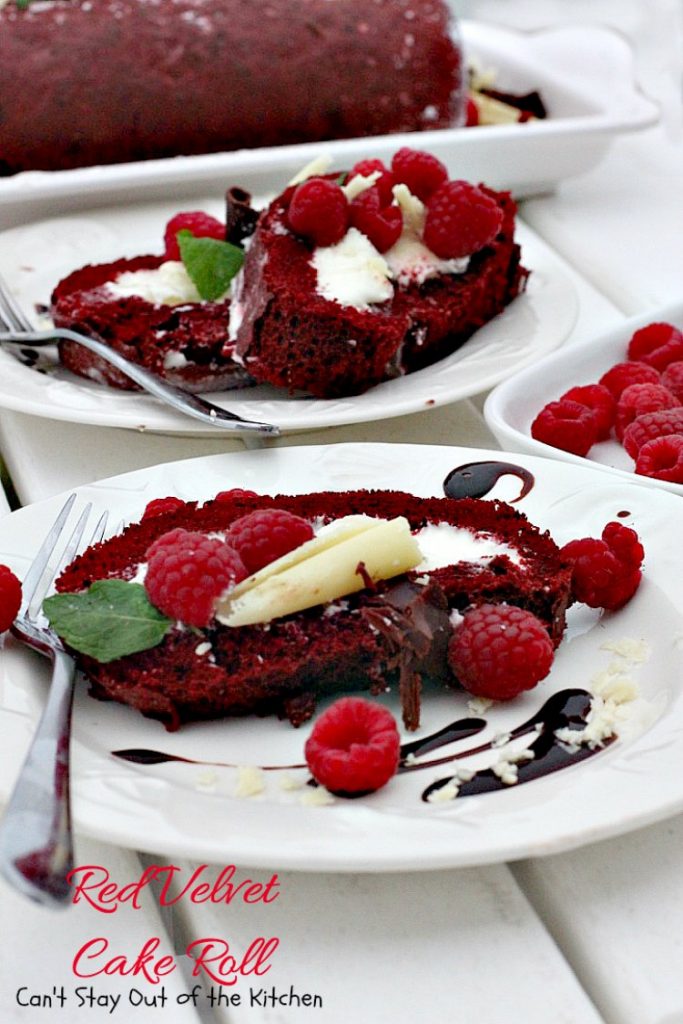
Red Velvet Cake Roll is loaded with a sinfully rich, white chocolate chip cheesecake icing that is simply outstanding. This impressive dessert is an excellent choice for special occasions, holiday baking, or Valentine’s Day.
Here’s the recipe.
RED VELVET CAKE ROLL
(Recipe adapted from Paula Deen’s Chocolate Celebration magazine, 2008)
Red Velvet Cake Roll
Equipment
- 1 11x17" jelly roll pan
- 2 large mixing bowls
- 1 electric mixer
- 2 wooden spoons
- measuring cups
- measuring spoons
- 1 chocolate grater
- waxed paper
- 1 tea towel
- 1 sharp knife to cut cake roll in slices
Ingredients
CAKE ROLL:
- 5 large eggs separated
- 3/4 cup granulated sugar divided use
- 2 tbsp. buttermilk or soured milk
- 1 tsp. white vinegar
- 1 oz. bottle red food coloring
- 2/3 cup cake flour
- 1/3 cup cocoa
- 1 tsp. baking soda
- 1/4 tsp. salt
- 1/2 cup confectioners’ sugar or more, if needed
- confectioners’ sugar, chocolate sauce, raspberries, chocolate and white chocolate curls for garnish, as desired
WHITE CHOCOLATE CHEESECAKE FILLING:
- 8 oz. pkg. cream cheese softened
- 1/4 cup unsalted butter softened
- 1 tsp. vanilla extract
- 4 cups confectioners’ sugar
- 1 cup white chocolate chips coarsely chopped, if desired, NOT vanilla chips
Instructions
CAKE ROLL:
- Preheat oven to 350°.
- Spray a 11x17” jelly-roll pan with cooking spray.
- Place a sheet of waxed paper over top of the sprayed pan.
- Spray the waxed paper heavily with Bakers Joy cooking spray. Set aside.
- Separate egg yolks and egg whites.
- Place egg yolks in large mixer and mix.
- Add ½ cup granulated sugar, beating well.
- Beat in buttermilk, vinegar, and food coloring.
- Combine cake flour, cocoa, baking soda, and salt.
- Stir into liquid mixture with a wooden spoon.
- Don’t use an electric mixer as that will toughen baked goods.
- Stir just until combined.
- In a medium bowl beat the egg whites until foamy.
- Begin adding remaining 1/4 cup granulated sugar, 1 tablespoon at a time until the remaining ¼ cup granulated sugar is completely incorporated into the egg white mixture.
- I usually mix about a minute before adding the next spoonful.
- Beat egg whites with an electric mixer in another bowl until stiff peaks form.
- Fold the egg whites into the chocolate mixture.
- Spread batter into prepared pan.
- Bake for 10-12 minutes, or until cake springs back when lightly touched in the center.
- Sprinkle about 1/2 cup confectioners’ sugar over a tea towel that measures more than 11x17”.
- Immediately loosen cake from sides of pan, and carefully turn out onto prepared tea towel.
- Using a knife, gently remove the waxed paper from the cake.
- Peel off completely.
- Sprinkle additional 1/2 cup confectioners’ sugar over top of cake.
- Starting at the narrow end, roll up the cake and the towel together.
- Place cake, seam side down, on a wire rack.
- Cool cake completely.
- This may take a few hours. (I usually refrigerate).
- Gently unroll cake roll.
- Spread with Cream Cheese White Chocolate Filling.
- Re-roll cake without tea towel; place seam side down on a serving platter.
- Dust cake with more confectioners’ sugar.
- To serve: cut cake in ¾ to 1-inch slices and place on plates drizzled with chocolate sauce.
- Garnish with chocolate sauce, fresh mint leaves, raspberries and/or chocolate curls, if desired.
WHITE CHOCOLATE CHEESECAKE FILLING:
- In a large bowl, beat cream cheese, butter, and vanilla.
- Add confectioners’ sugar and beat until smooth.
- Stir in white chocolate chips.
- Makes about 3 cups filling.
Notes
Recipe adapted from Paula Deen's Chocolate Celebration magazine, circa 2008.
© Can’t Stay Out of the Kitchen
Nutrition
- 5 large eggs, separated
- ¾ cup sugar, divided
- 2 tbsp. buttermilk
- 1 tsp. white vinegar
- 1-oz. bottle red food coloring
- ½ cup cake flour
- 1/3 cup cocoa
- 1 tsp. baking soda
- ¼ tsp. salt
- ¼ to ½ cup confectioners’ sugar
- Confectioners’ sugar, chocolate sauce, chocolate curls, fresh raspberries and/or fresh mint leaves for garnish
- Preheat oven to 350°.
- Spray a 10×15” jelly-roll pan with cooking spray.
- Place a sheet of waxed paper over top of the sprayed pan.
- Spray the waxed paper heavily with Bakers Joy cooking spray. Set aside.
- Separate egg yolks and egg whites.
- Place egg yolks in large mixer and mix.
- Add ½ cup sugar, beating well.
- Beat in buttermilk, vinegar, and food coloring.
- Combine cake flour, cocoa, baking soda, and salt.
- Stir into liquid mixture with a wooden spoon.
- Don’t use an electric mixer as that will toughen baked goods.
- Stir just until combined.
- In a medium bowl beat the egg whites until foamy.
- Begin adding sugar, 1 tablespoon at a time until the remaining ¼ cup sugar is completely incorporated into the egg white mixture.
- I usually mix about a minute before adding the next spoonful.
- Beat egg whites until stiff peaks form.
- Fold the egg whites into the chocolate mixture.
- Spread batter into prepared pan.
- Bake for 10-12 minutes, or until cake springs back when lightly touched in the center.
- Mine took 15 minutes.
- Sprinkle 2 to 4 tbsp. confectioners’ sugar over a cloth towel that measures more than 10×15”.
- Immediately loosen cake from sides of pan, and carefully turn out onto prepared towel.
- Using a knife, gently remove the waxed paper from the cake.
- Peel off completely.
- Sprinkle remaining 2 to 4 tbsp. confectioners’ sugar over top of cake.
- Starting at the narrow end, roll up the cake and the towel together place cake, seam side down, on a wire rack.
- Cool cake completely. This may take a few hours.
- Gently unroll cake roll.
- Spread with Cream Cheese White Chocolate Filling.
- Reroll cake without towel; place seam side down on a serving platter.
- Dust cake with more confectioners’ sugar.
- To serve, cut cake in ¾ to 1-inch slices and place on plates drizzled with chocolate sauce.
- Garnish with fresh mint leaves, raspberries and/or chocolate curls, if desired.
- 8-oz. pkg. cream cheese, softened
- ¼ cup butter, softened
- 1 tsp. vanilla
- 4 cups confectioners’ sugar
- 1 cup coarsely chopped white-chocolate chips (NOT vanilla chips)
- In a large bowl, beat cream cheese, butter, and vanilla.
- Add confectioners’ sugar and beat until smooth.
- Stir in chopped white chocolate chips.
- Makes about 3 cups filling.
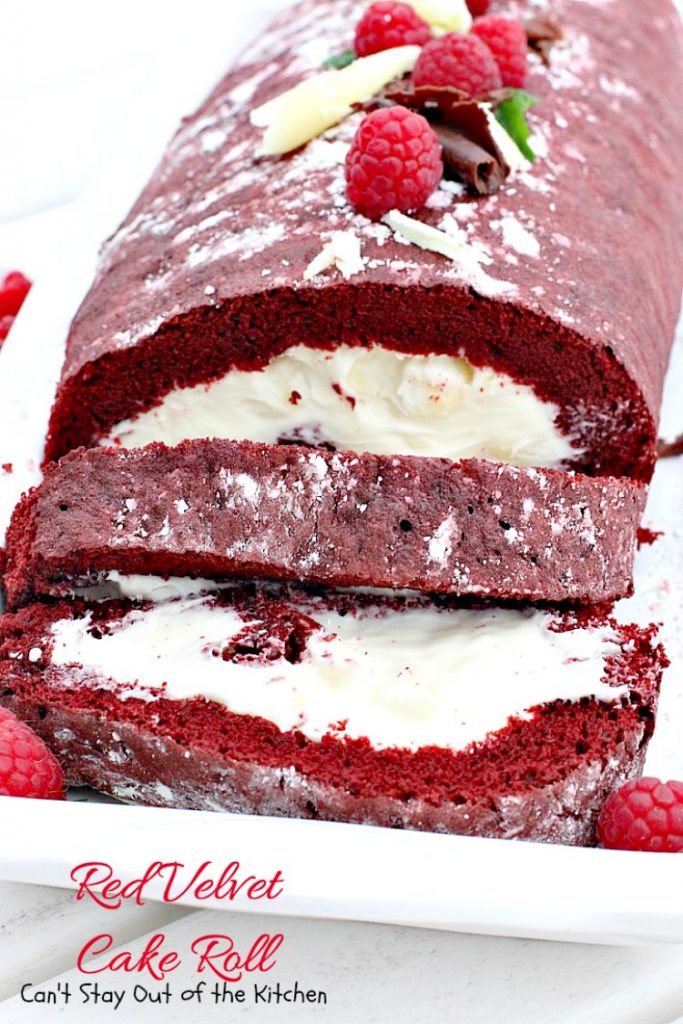
Are you ready for a serving of this decadent dessert?
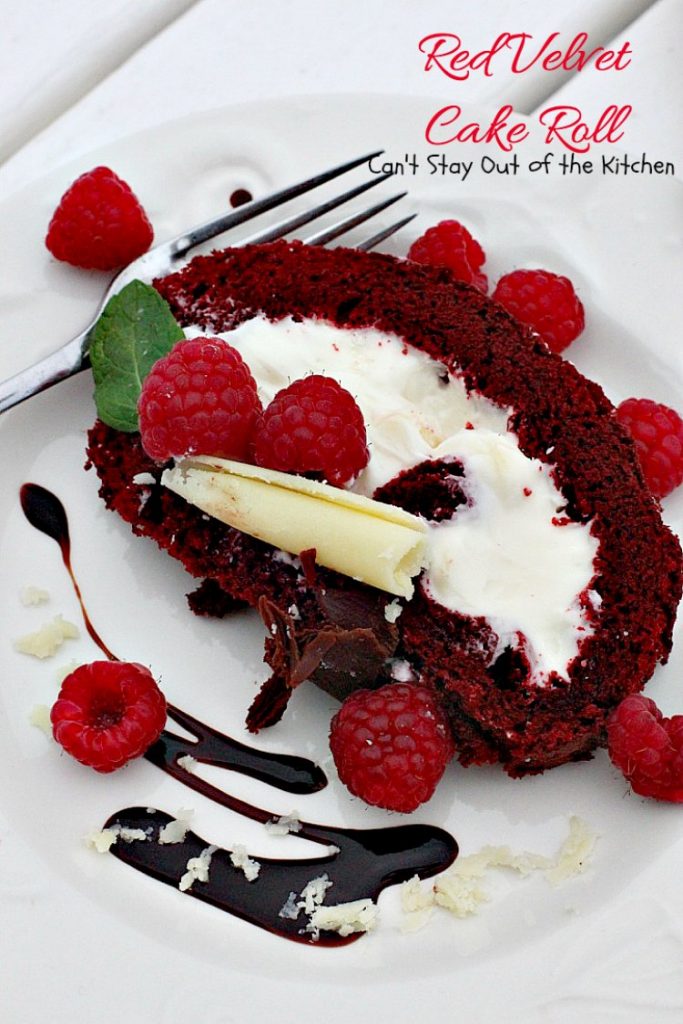
Your palate is going to be over-stimulated after sampling this amazing Red Velvet Cake Roll!
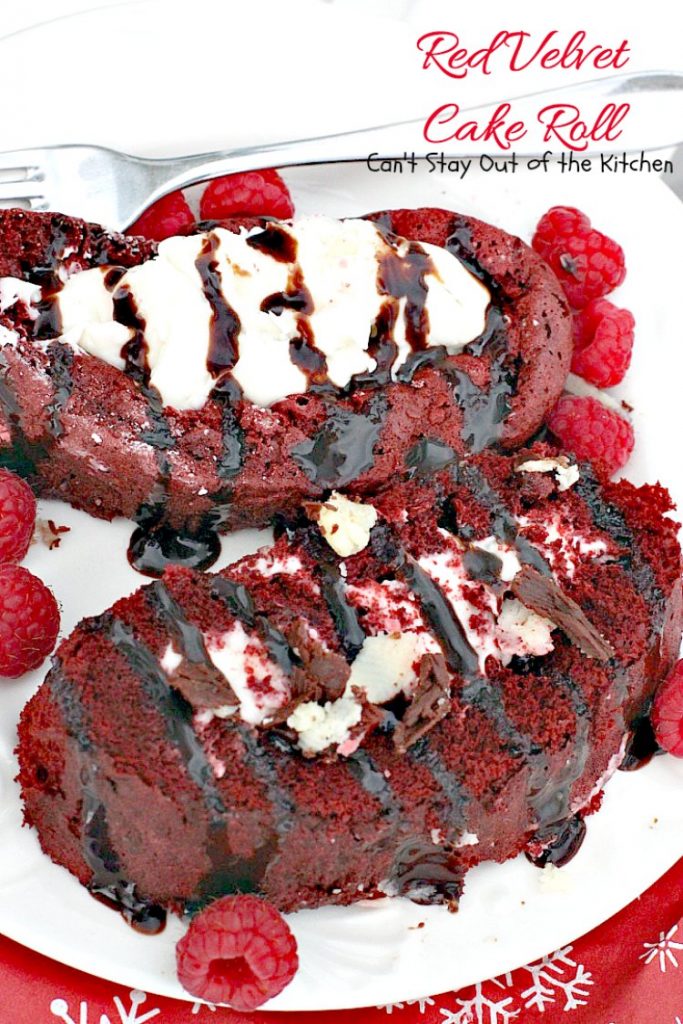
Our company loved this scrumptious dessert. We feel sure you and your family will enjoy it too! Go ahead and try a taste of this enticing cake roll. 🙂
You may also enjoy these delicious recipes!


Red Velvet Cake Roll
Equipment
- 1 11×17" jelly roll pan
- 2 large mixing bowls
- 1 electric mixer
- 2 wooden spoons
- measuring cups
- measuring spoons
- 1 chocolate grater
- waxed paper
- 1 tea towel
- 1 sharp knife to cut cake roll in slices
Ingredients
CAKE ROLL:
- 5 large eggs separated
- 3/4 cup granulated sugar divided use
- 2 tbsp. buttermilk or soured milk
- 1 tsp. white vinegar
- 1 oz. bottle red food coloring
- 2/3 cup cake flour
- 1/3 cup cocoa
- 1 tsp. baking soda
- 1/4 tsp. salt
- 1/2 cup confectioners’ sugar or more, if needed
- confectioners’ sugar, chocolate sauce, raspberries, chocolate and white chocolate curls for garnish, as desired
WHITE CHOCOLATE CHEESECAKE FILLING:
- 8 oz. pkg. cream cheese softened
- 1/4 cup unsalted butter softened
- 1 tsp. vanilla extract
- 4 cups confectioners’ sugar
- 1 cup white chocolate chips coarsely chopped, if desired, NOT vanilla chips
Instructions
CAKE ROLL:
- Preheat oven to 350°.
- Spray a 11×17” jelly-roll pan with cooking spray.
- Place a sheet of waxed paper over top of the sprayed pan.
- Spray the waxed paper heavily with Bakers Joy cooking spray. Set aside.
- Separate egg yolks and egg whites.
- Place egg yolks in large mixer and mix.
- Add ½ cup granulated sugar, beating well.
- Beat in buttermilk, vinegar, and food coloring.
- Combine cake flour, cocoa, baking soda, and salt.
- Stir into liquid mixture with a wooden spoon.
- Don’t use an electric mixer as that will toughen baked goods.
- Stir just until combined.
- In a medium bowl beat the egg whites until foamy.
- Begin adding remaining 1/4 cup granulated sugar, 1 tablespoon at a time until the remaining ¼ cup granulated sugar is completely incorporated into the egg white mixture.
- I usually mix about a minute before adding the next spoonful.
- Beat egg whites with an electric mixer in another bowl until stiff peaks form.
- Fold the egg whites into the chocolate mixture.
- Spread batter into prepared pan.
- Bake for 10-12 minutes, or until cake springs back when lightly touched in the center.
- Sprinkle about 1/2 cup confectioners’ sugar over a tea towel that measures more than 11×17”.
- Immediately loosen cake from sides of pan, and carefully turn out onto prepared tea towel.
- Using a knife, gently remove the waxed paper from the cake.
- Peel off completely.
- Sprinkle additional 1/2 cup confectioners’ sugar over top of cake.
- Starting at the narrow end, roll up the cake and the towel together.
- Place cake, seam side down, on a wire rack.
- Cool cake completely.
- This may take a few hours. (I usually refrigerate).
- Gently unroll cake roll.
- Spread with Cream Cheese White Chocolate Filling.
- Re-roll cake without tea towel; place seam side down on a serving platter.
- Dust cake with more confectioners’ sugar.
- To serve: cut cake in ¾ to 1-inch slices and place on plates drizzled with chocolate sauce.
- Garnish with chocolate sauce, fresh mint leaves, raspberries and/or chocolate curls, if desired.
WHITE CHOCOLATE CHEESECAKE FILLING:
- In a large bowl, beat cream cheese, butter, and vanilla.
- Add confectioners’ sugar and beat until smooth.
- Stir in white chocolate chips.
- Makes about 3 cups filling.

24 Comments
Red Velvet Earthquake Cake – Can't Stay Out of the Kitchen
March 3, 2016 at 9:12 pm
[…] Red Velvet Cake Roll […]
15 Fabulous Red Velvet Desserts for Valentine's Day – Can't Stay Out of the Kitchen
April 17, 2015 at 7:10 pm
[…] Red Velvet Cake Roll […]
Red Velvet Cheesecake Brownies – Can't Stay Out Of The Kitchen
February 8, 2015 at 5:23 pm
[…] Red Velvet Cupcakes, Red Velvet Cookies or Brownies, Red Velvet Truffles, Red Velvet Cheesecake, or Red Velvet Cake Roll, I love it all! So what about Red Velvet Cheesecake Brownies? Yum, even the name sounds amazing. […]
Red Velvet Peppermint Kisses – Can't Stay Out Of The Kitchen
January 25, 2015 at 8:03 pm
[…] Red Velvet Cake Roll […]
Red Velvet Cake – Can't Stay Out Of The Kitchen
January 23, 2015 at 4:29 pm
[…] addicted to Red Velvet desserts and I have tons of them. Red Velvet Cheesecake, Red Velvet Cake Roll, Red Velvet Cookie Dough Cheesecake Brownies, and Red Velvet Earthquake Cake are a few of my […]
Red Velvet Cookie Dough Cheesecake Brownies | Can't Stay Out of the Kitchen
February 12, 2013 at 8:27 pm
[…] Red Velvet Cake Roll […]
Cocoa Drop Cookies | familyrecipebooks
February 9, 2013 at 9:35 pm
[…] Red Velvet Cake Roll (cantstayoutofthekitchen.com) […]
Red Velvet Cherry Chocolate Brownies | Can't Stay Out of the Kitchen
February 8, 2013 at 7:43 pm
[…] […]
Abigail @ Rosy Hill
February 6, 2013 at 6:18 pm
Looks delicious, especially the filling. You must be eating a lot of red food at the moment! Abigail x
Teresa
February 6, 2013 at 8:29 pm
Actually most of it is going for company and giving away to friends, otherwise I would be a million pounds!
Be My Valentine M&M Cookies | Can't Stay Out of the Kitchen
February 6, 2013 at 1:25 pm
[…] Red Velvet Cake Roll […]
thedomesticatedfeminist
February 6, 2013 at 12:18 am
Oh yum this looks good!
Teresa
February 6, 2013 at 10:13 am
It was spectacular!
sugaredpecan
February 5, 2013 at 8:22 pm
Oh my, this looks so SO delicious! Pretty too, even with the crack you made it look gorgeous!!!!!
Teresa
February 6, 2013 at 10:14 am
thank you! It is an amazing dessert.
Melisa R
February 5, 2013 at 7:50 pm
That cream filling! It looks delectable.
Teresa
February 6, 2013 at 10:15 am
It is marvelous. You’ll love this if you make it! A little bit of work but worth it.
Dish With Clarissa
February 5, 2013 at 5:36 pm
I am having a red velvet panic attack!…lol
Teresa
February 6, 2013 at 10:16 am
LOL. More recipes to come!
Shari Kelley
February 5, 2013 at 4:13 pm
Your pictures are beautiful! You amaze me. It is about all I can do to get 1 good picture on my blog! The chocolate on the plate looks so pretty.
Teresa
February 5, 2013 at 4:46 pm
Thank you so much! Photography is so difficult for me. I am not particularly creative and I don’t have a big camera, but I try really hard to get decent pictures so others can see the different textures of what a recipe is supposed to look like especially through all the stages of preparation. I wish I was better at presentation, but there is definitely improvement from my first posts!
Thanks for commenting. You made my day!
Miss Chris Creations
February 5, 2013 at 4:11 pm
Oh my goodness! I need this NOW!
Teresa
February 5, 2013 at 4:47 pm
Yes, it is so amazing. And maybe yours will turn out prettier than mine without the cut on the top!
Miss Chris Creations
February 5, 2013 at 8:34 pm
Hey, as long as it tastes good, I can settle for a little messy dessert. I bet it was wonderful!