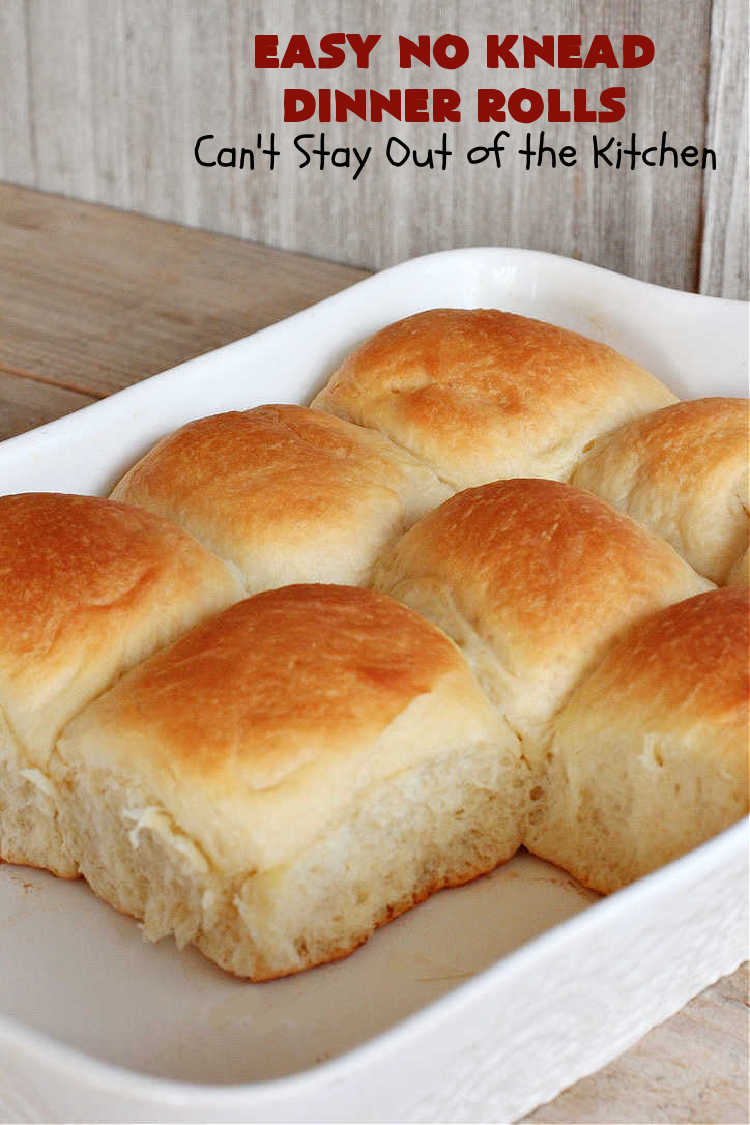
Easy No Knead Dinner Rolls
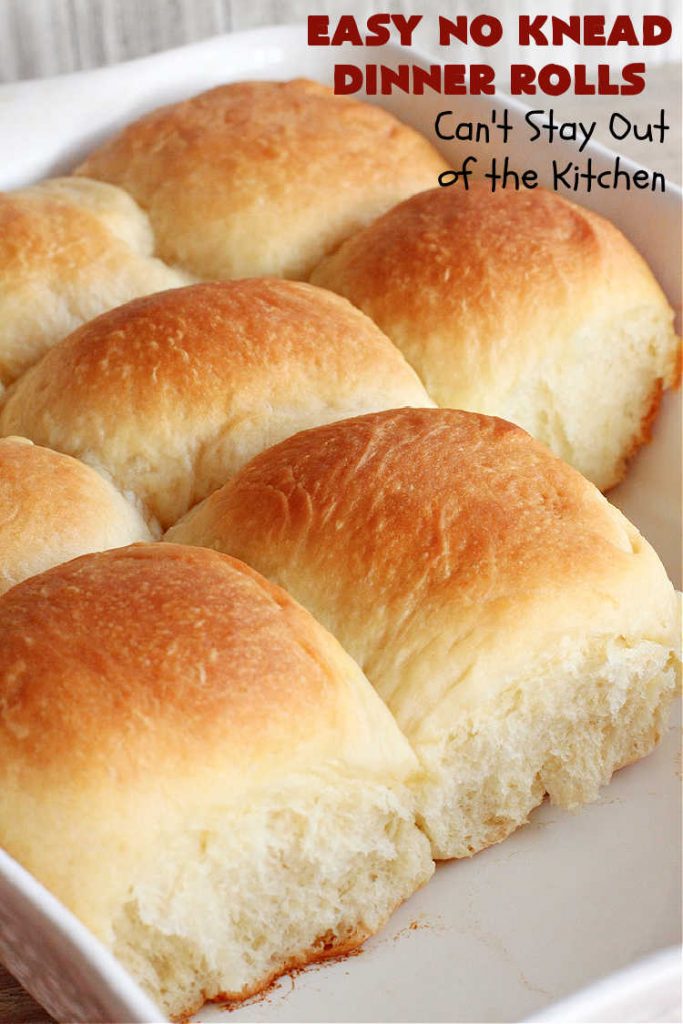
Oh my gosh, guys, these are the best dinner rolls EVER! The wonderful thing about them is that all the hard work–the kneading–is done in the breadmaker. No stirring or anything! I have made these Easy No Knead Dinner Rolls about ten times since mid-December and everyone always raves over them. I use the same dough for my sweet rolls too. They turn out just as great.
Follow Me On Instagram!
I must thank my daughter-in-law, Candice, and her mother Betsy for this recipe. They have made it so many times and perfected the dough over the years. We visited them in early December and Candice made these rolls along with a Beef Stew the first night we were there. Oh my! We ate the rolls with apple butter. What a treat. A day or two later, Candice, used the same dough but made cinnamon rolls. Gulp! Yes, we cleaned those out very quickly. I begged her to make them again for another meal we were having. That time I wrote down the ingredients and directions on my phone. I also added lots of tips.
Since then, I’ve made this recipe so many times that I have a few more tips to making these rolls just about perfect! My first batch of rolls were only raised about one hour. Subsequent batches I’ve raised 1 hour 15 minutes to an hour and a half. Truly, one and a half hours is the best. There are times when the dough takes two hours! The dough raises to the very top of the baking dish in that length of time so they turn out soft, fluffy and so mouthwatering you can make a meal out of them!
I also stretch, roll and pull the dough so that it’s a lot smoother on the tops than my first few batches. But whether they’re pretty or not, these are some of the easiest, best tasting dinner rolls ever. I’ve given them to neighbors, and I’ve made them for our Thursday night Bible study group. I’ve made them for company and just for us. Everyone just drools and drools over these dinner rolls. We sure do. 🙂
I’m kind of a “chicken” in many ways. I’m NOT a risk taker by nature. I’ve had this breadmaker about eight years and I had never used the “dough” setting before to knead dough. Wow. What a mistake. It makes homemade rolls so much easier that you feel like making them often. On top of that, this time of the year, who doesn’t want hot soup and bread for lunch or dinner?
We like to slather the rolls with apple butter or jelly, but even plain butter is wonderful on them. If I have any leftovers I keep them on the counter. Then I cut them in half and toast them the next day. A dollop of apple butter on top is absolutely my favorite way to eat them.
Seriously, if your family enjoys eating homemade rolls, it’s worth having a breadmaker to make these up weekly! Easy No Knead Dinner Rolls are a real treat that your family and friends are going to ask for again and again.
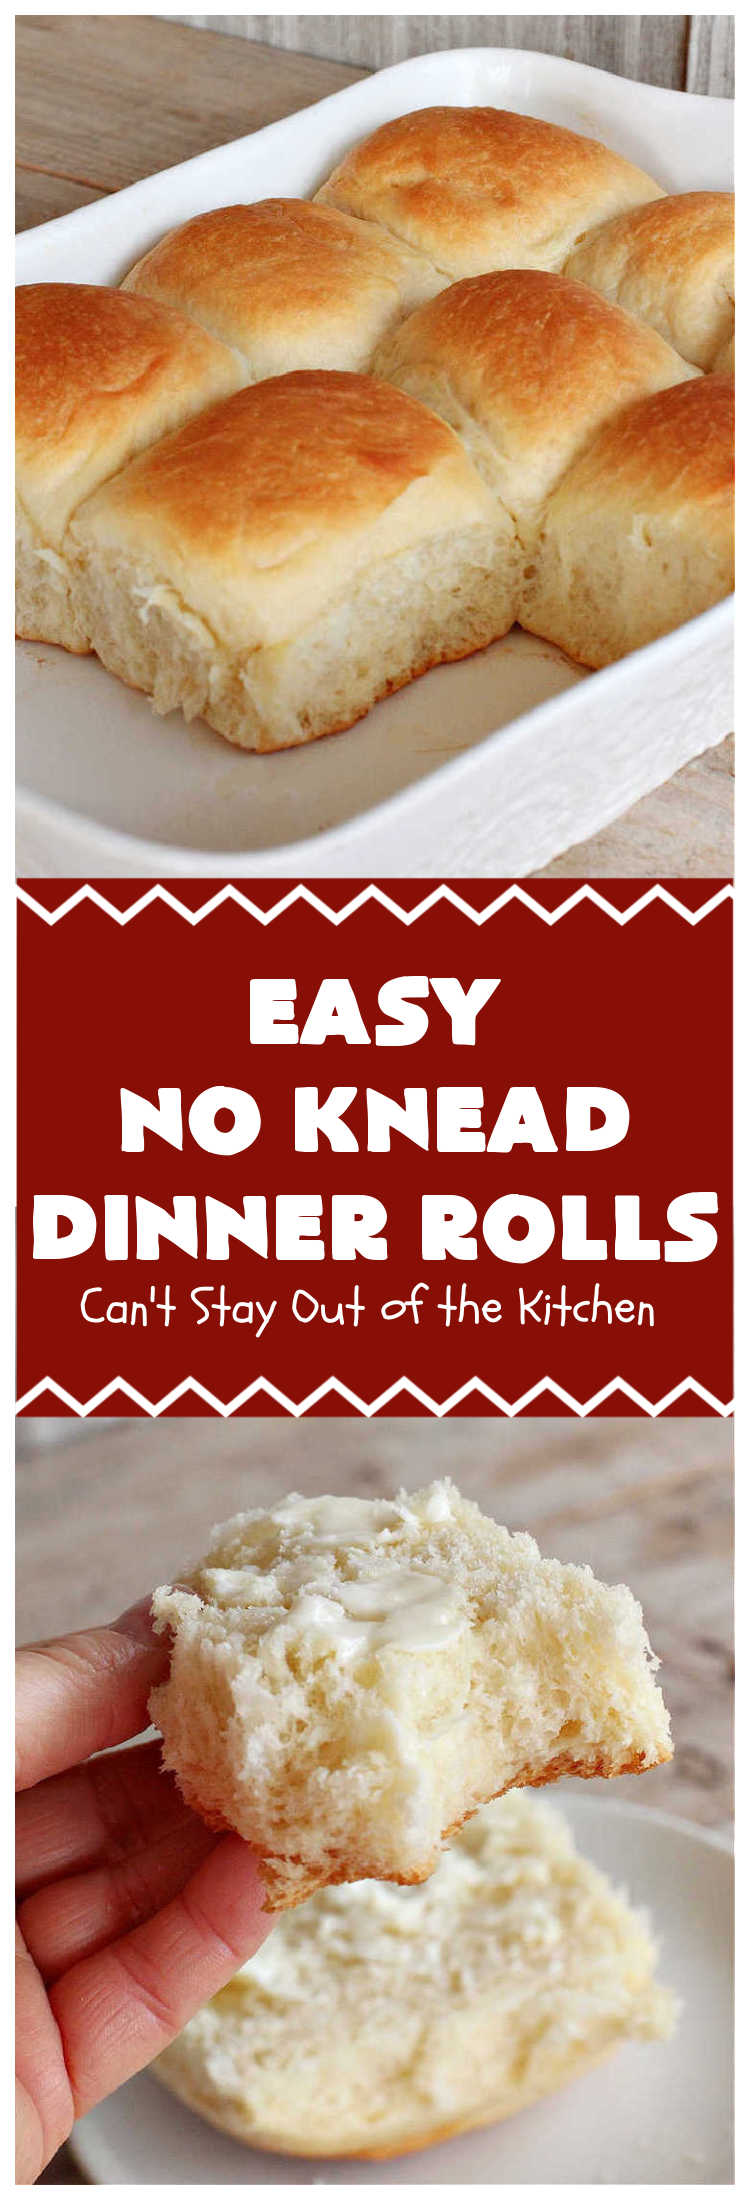
Easy No Knead Dinner Rolls are not only incredibly easy to make, they’re wonderful to the taste buds.
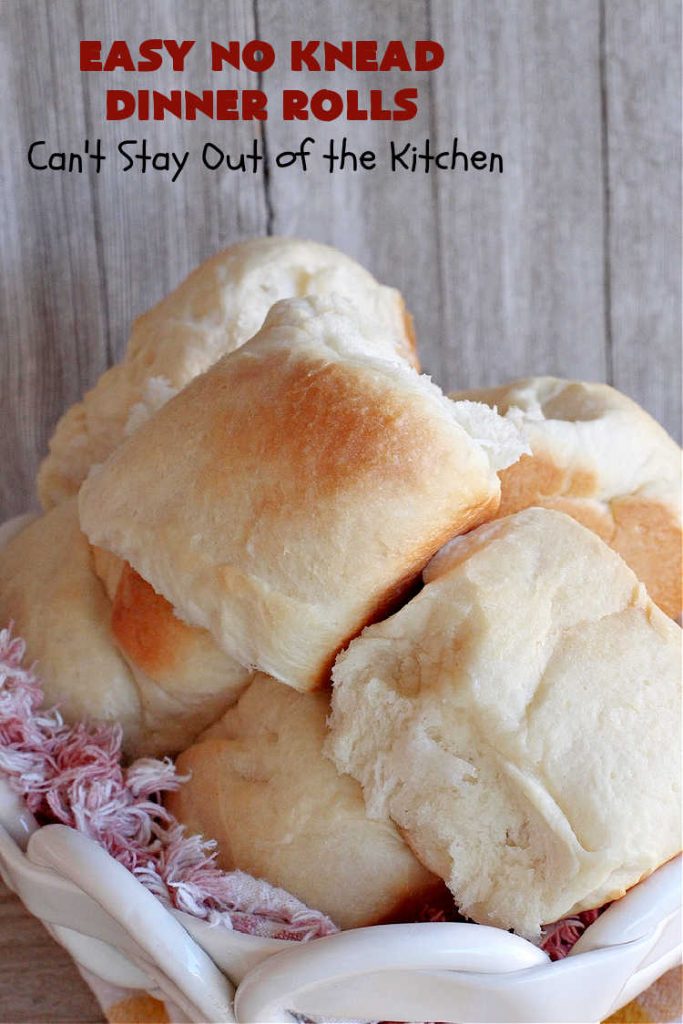
One of my mom’s secrets when making homemade rolls or bread is to brush the rolls with butter before and after baking. That ensures the rolls are soft and not hard and crusty on top.
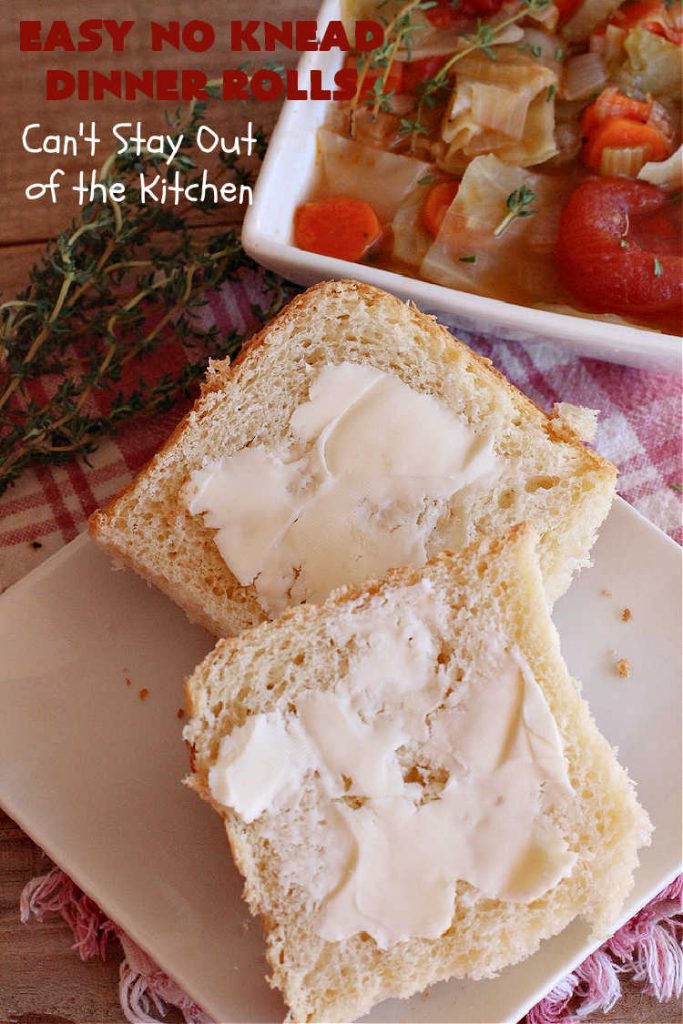
I like to raise the rolls about an hour and thirty minutes. That way they have enough time to puff up really big. These rolls were excellent with Cabbage Soup too!
Here’s what I did.
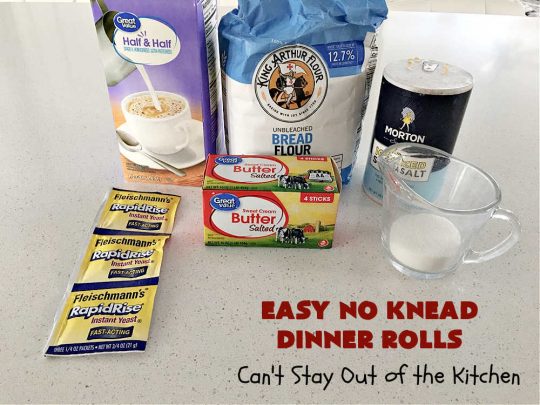
I used these ingredients. You can use any kind yeast, including bread machine yeast, but I recommend sticking with Fleischmann’s as the recipes don’t fail like they do with other yeast brands.
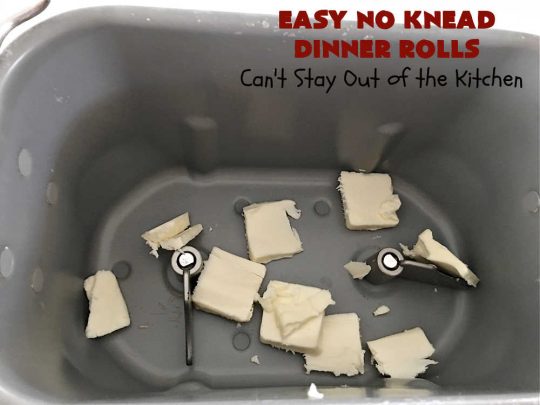
Place salted butter in the bread canister. I usually cut it up in pieces.
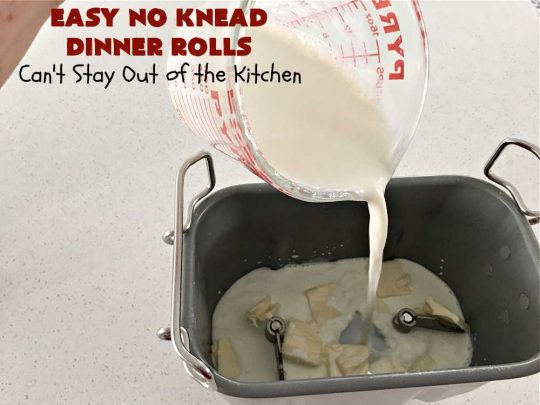
Add warmed half-and-half or whole milk. Don’t use any lower percentage fat in the milk. I usually warm the half-and-half about 1 minute 15 seconds to 1 minute 30 seconds in the microwave at 50% power.
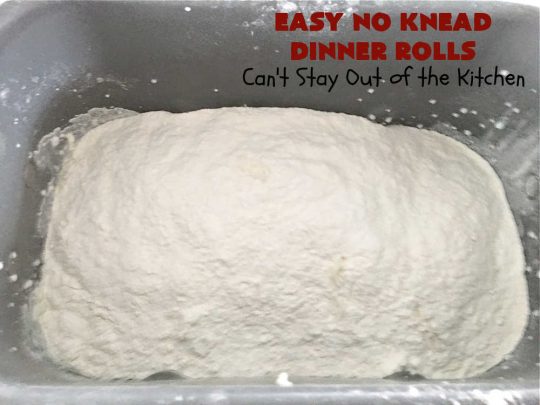
Add bread flour and sugar. I usually always use bread flour because it has more gluten. My daughter-in-law uses regular all-purpose flour and she has great results with that too.
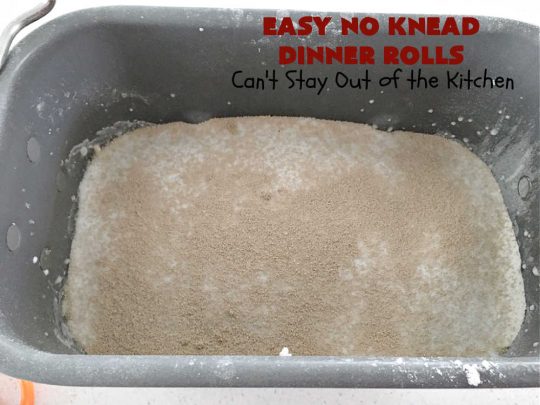
Add sea salt and yeast. Place in breadmaker and choose the “dough” setting.
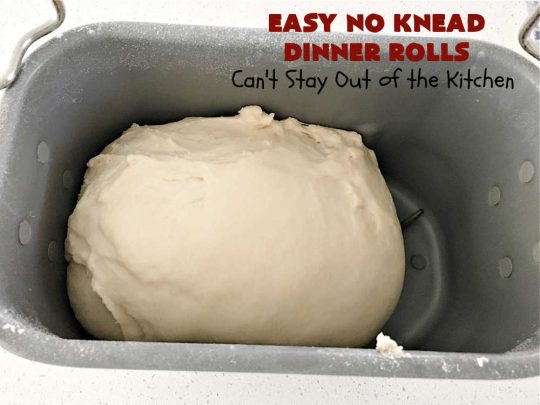
Allow the breadmaker to knead the dough. My breadmaker usually takes about one hour 45 minutes.
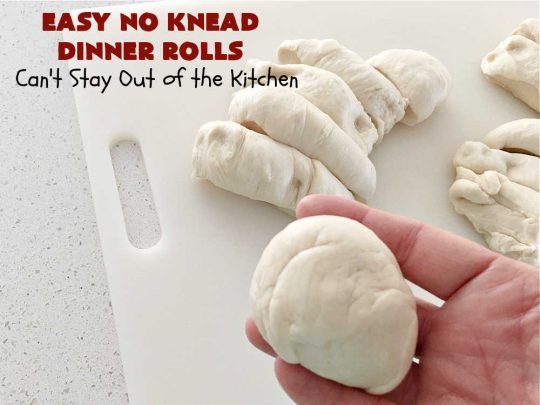
I cut the dough up into 12 equal size pieces (as much as possible). Roll the dough into balls. Stretch the tops so all the wrinkles are moved to the bottom of the dough.
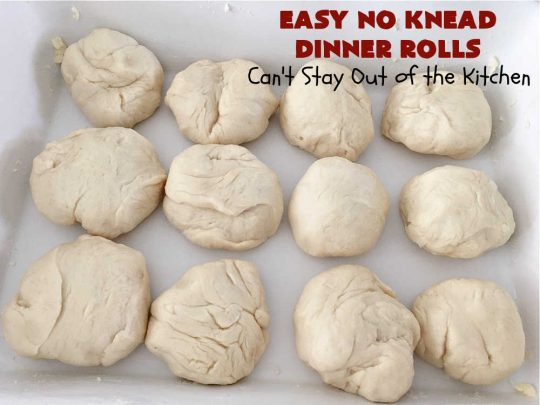
Grease a 9×13″ glass baking dish with butter. Place dough balls into baking dish. (In subsequent batches of rolls I stretched the dough on the tops so the dough was smoother.)
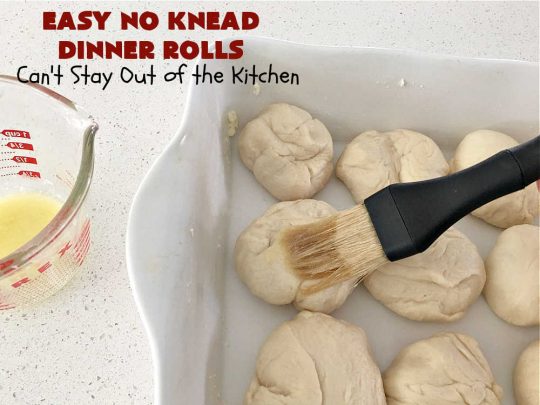
Brush each roll with melted, salted butter.
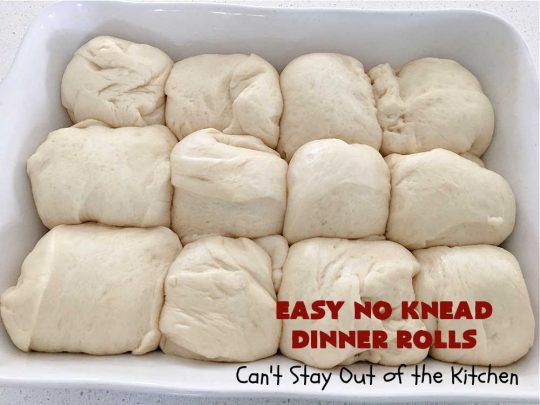
Place the heat on the oven for exactly one minute. Turn off oven. Place rolls in oven. (Don’t cover them). Set a timer for 20 minutes. Heat the oven again for exactly one minute. Turn off oven. Set a timer again for 20 minutes. Heat the oven a third time for exactly one minute. Turn off oven. Set a timer for 20 minutes.
If the rolls have not risen to the top of the pan, heat the oven again for exactly one minute. Turn off oven. Set a timer for another 20 minutes. You may have to repeat this one more time before the dough reaches the top of the dish.
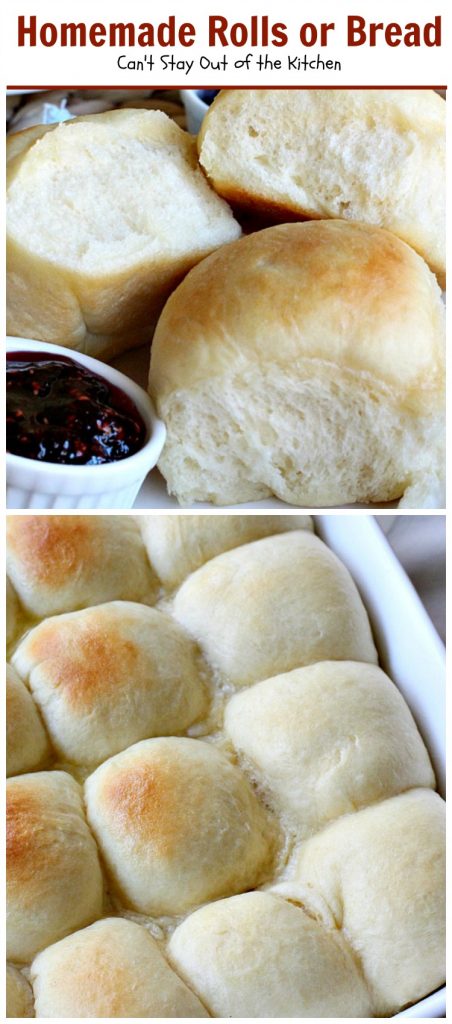
I only raised these rolls about an hour at this point. It’s really better to keep raising them about 1 hour 30 minutes for the best results.
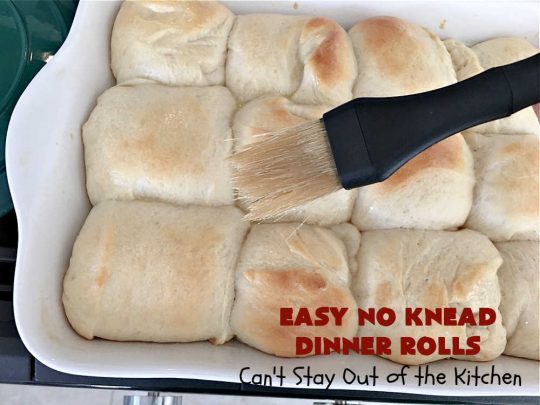
Leave the rolls in the oven and turn the oven on to 350 degrees. Set a timer for 25 minutes. The rolls should be done by that time. But check the middle to make sure the insides are not still gooey. Brush the tops of the rolls with additional melted, salted butter.
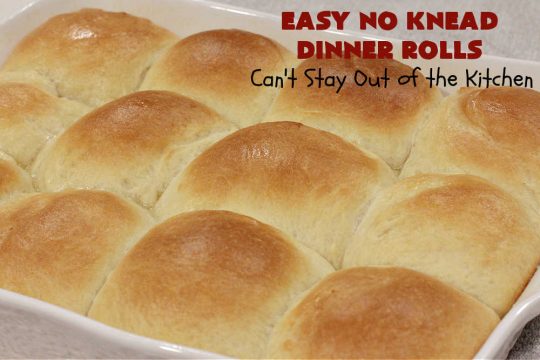
Serve! This was a later batch of rolls. This is what they look like when you smooth the wrinkles out of the tops of the rolls before raising.
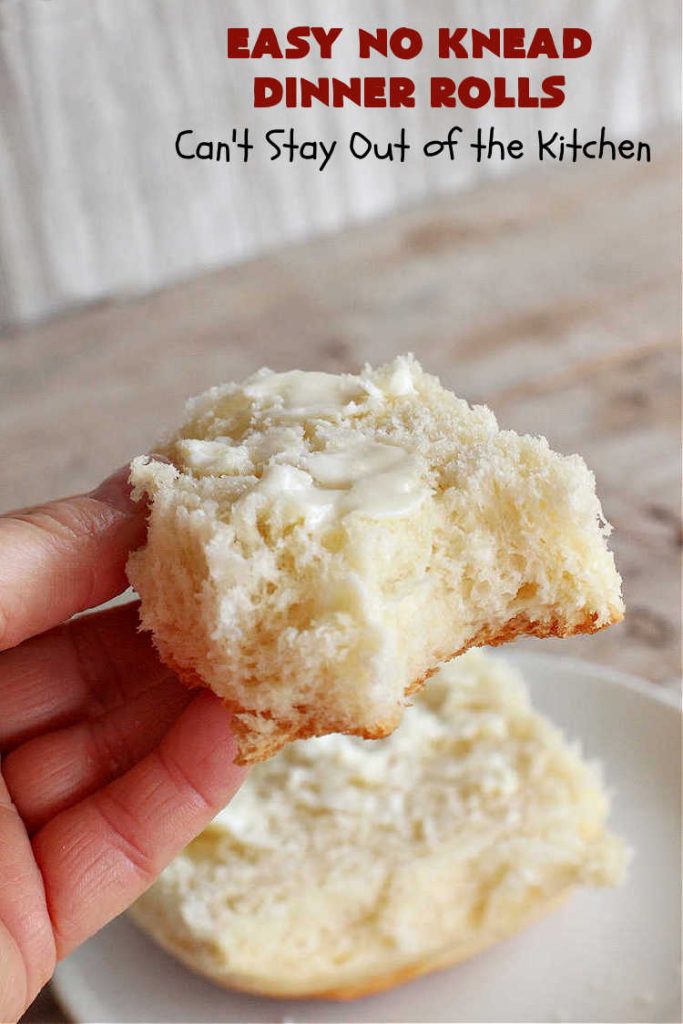
These Easy No-Knead Dinner Rolls are so soft and fluffy. We love them.
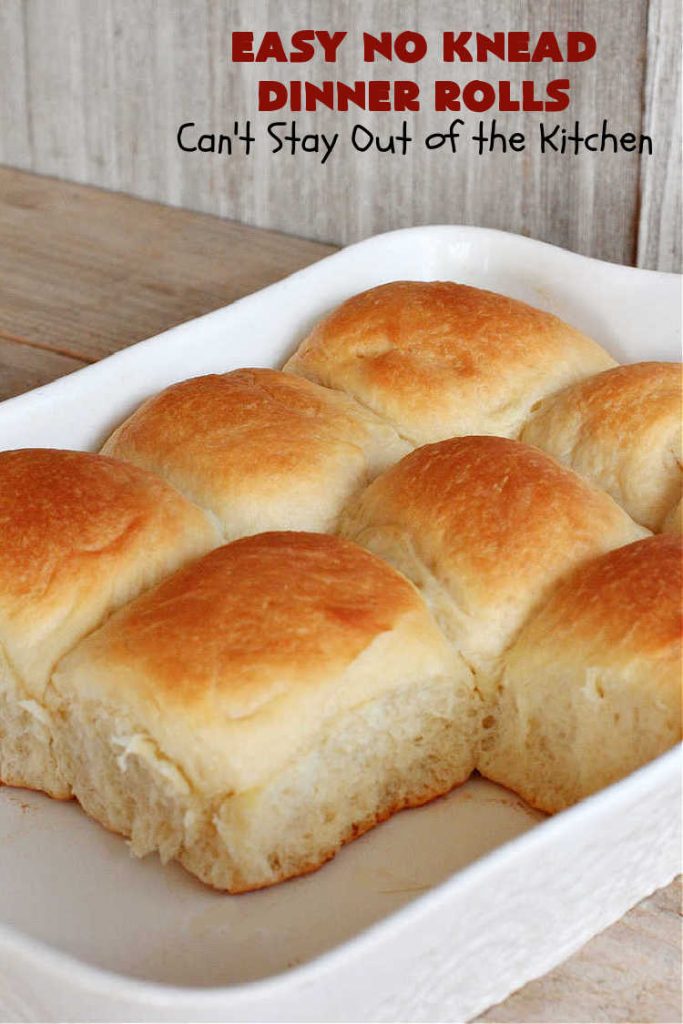
Be careful, these scrumptious dinner rolls will go in a hurry!
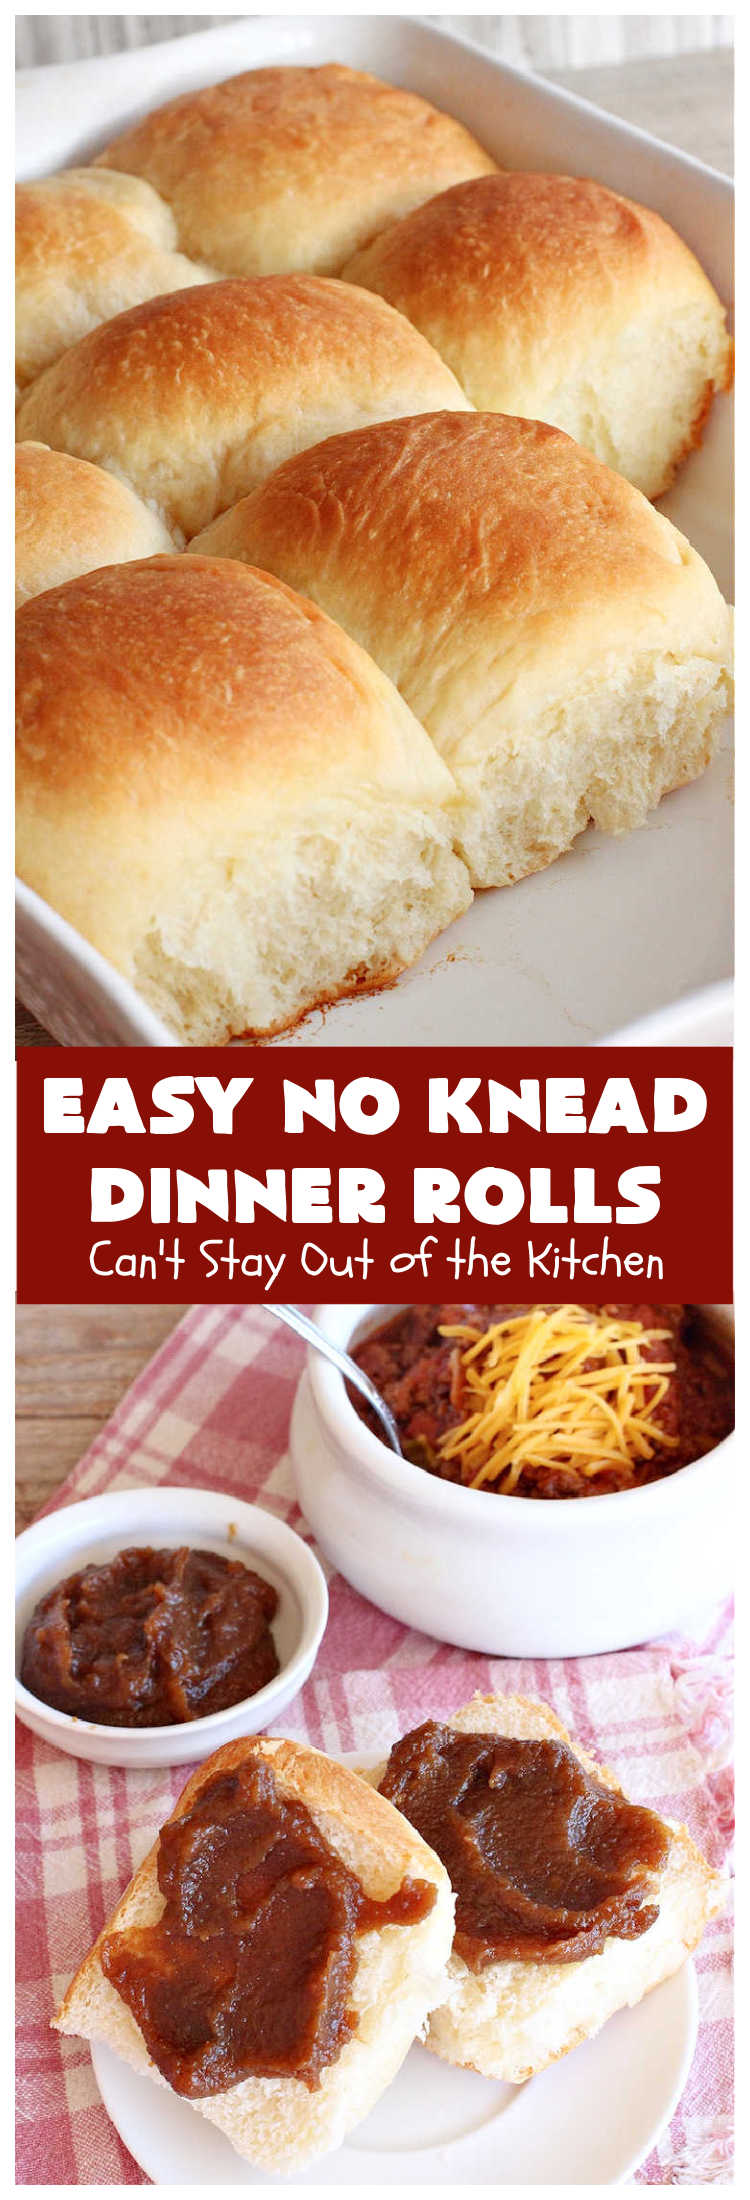
I made the dinner rolls and served them with Georgia Chili. Oh my. Having Apple Butter slathered on tops of the rolls made this a meal made in heaven! 🙂
Here’s the recipe.
EASY NO KNEAD DINNER ROLLS
(Recipe adapted only slightly from my daughter-in-law, Candice, Lincoln University, PA)
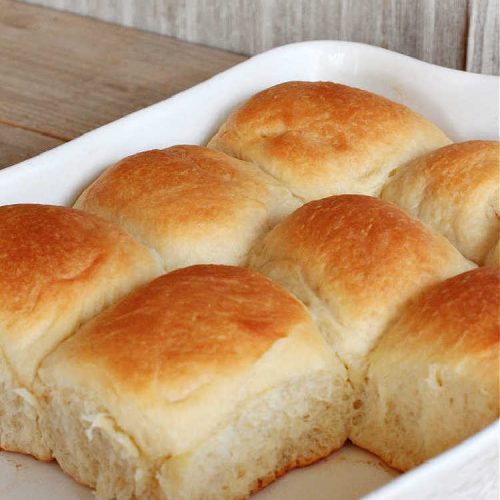
Easy No Knead Dinner Rolls
Equipment
- 1 9x13" glass baking dish
- 1 breadmaker
- 1 pastry brush
- measuring cups
- measuring spoons
- 1 small microwaveable bowl to melt butter
Ingredients
- 1/4 cup salted butter cut in slivers (1/2 stick)
- 1 1/2 cups half-and-half or whole milk, warmed
- 4 cups bread flour or all-purpose flour
- 1/4 cup granulated sugar
- 1/2 tbsp. sea salt (1 1/2 teaspoons)
- 2 tsp. active dry yeast or bread machine yeast
Instructions
- For best results, please read all the notes below before starting.
- Layer ingredients in bread canister in order given.
- Slice butter into slivers and place in bread canister. (If the butter is already softened you can just toss it into the breadmaker in one piece).
- Warm half-and-half or whole milk in the microwave one to two minutes until milk is warmed.
- Pour into bread canister.
- Then add bread flour, granulated sugar, salt and yeast.
- Place on dough setting of bread maker.
- This will take approximately 1 ¾ hours.
- Remove dough from bread canister and divide evenly into 12 sections.
- Roll each section into a ball and place in a rectangular baking dish greased well with butter.
- Stretch and roll the dough to smooth out the tops.
- Brush rolls with a tablespoon or two of melted butter.
- Put in a warm place until the rolls expand, about an hour and a half. (See tips below).
- Bake at 350° for 17-20 minutes or until rolls are no longer doughy in the middle. (See note below).
- Remove from oven and brush with melted butter again before serving.
Notes
© Can’t Stay Out of the Kitchen
Nutrition
Buttering the rolls before and after baking makes the tops a lot softer and not as tough. These rolls were perfect paired with my Venison Shepherd’s Pie, too!
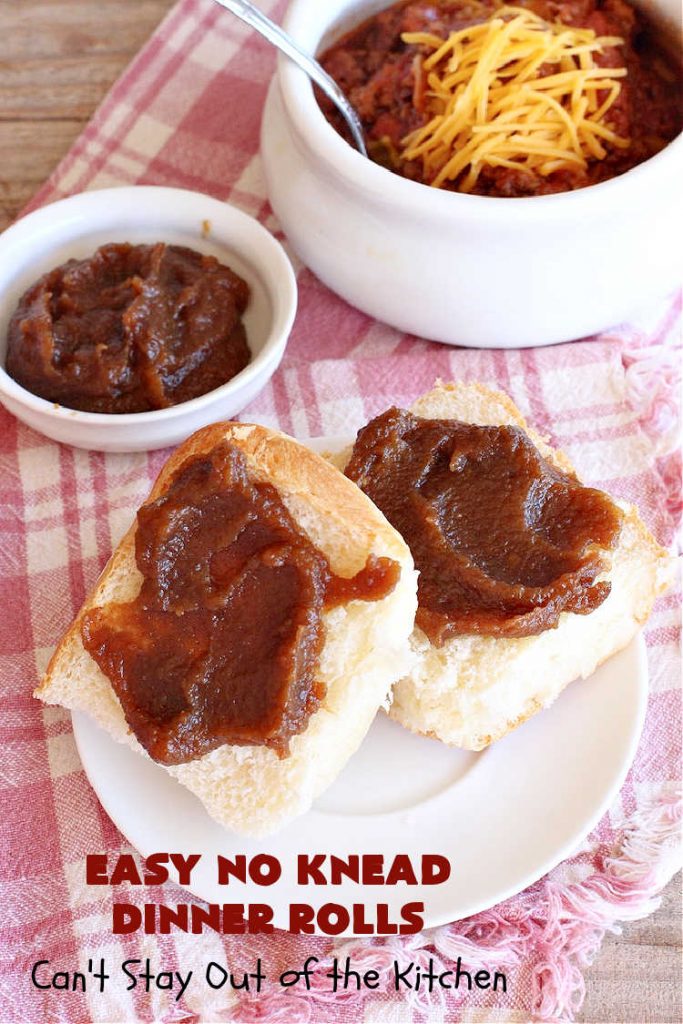
Easy No Knead Dinner Rolls were terrific with Georgia Chili.
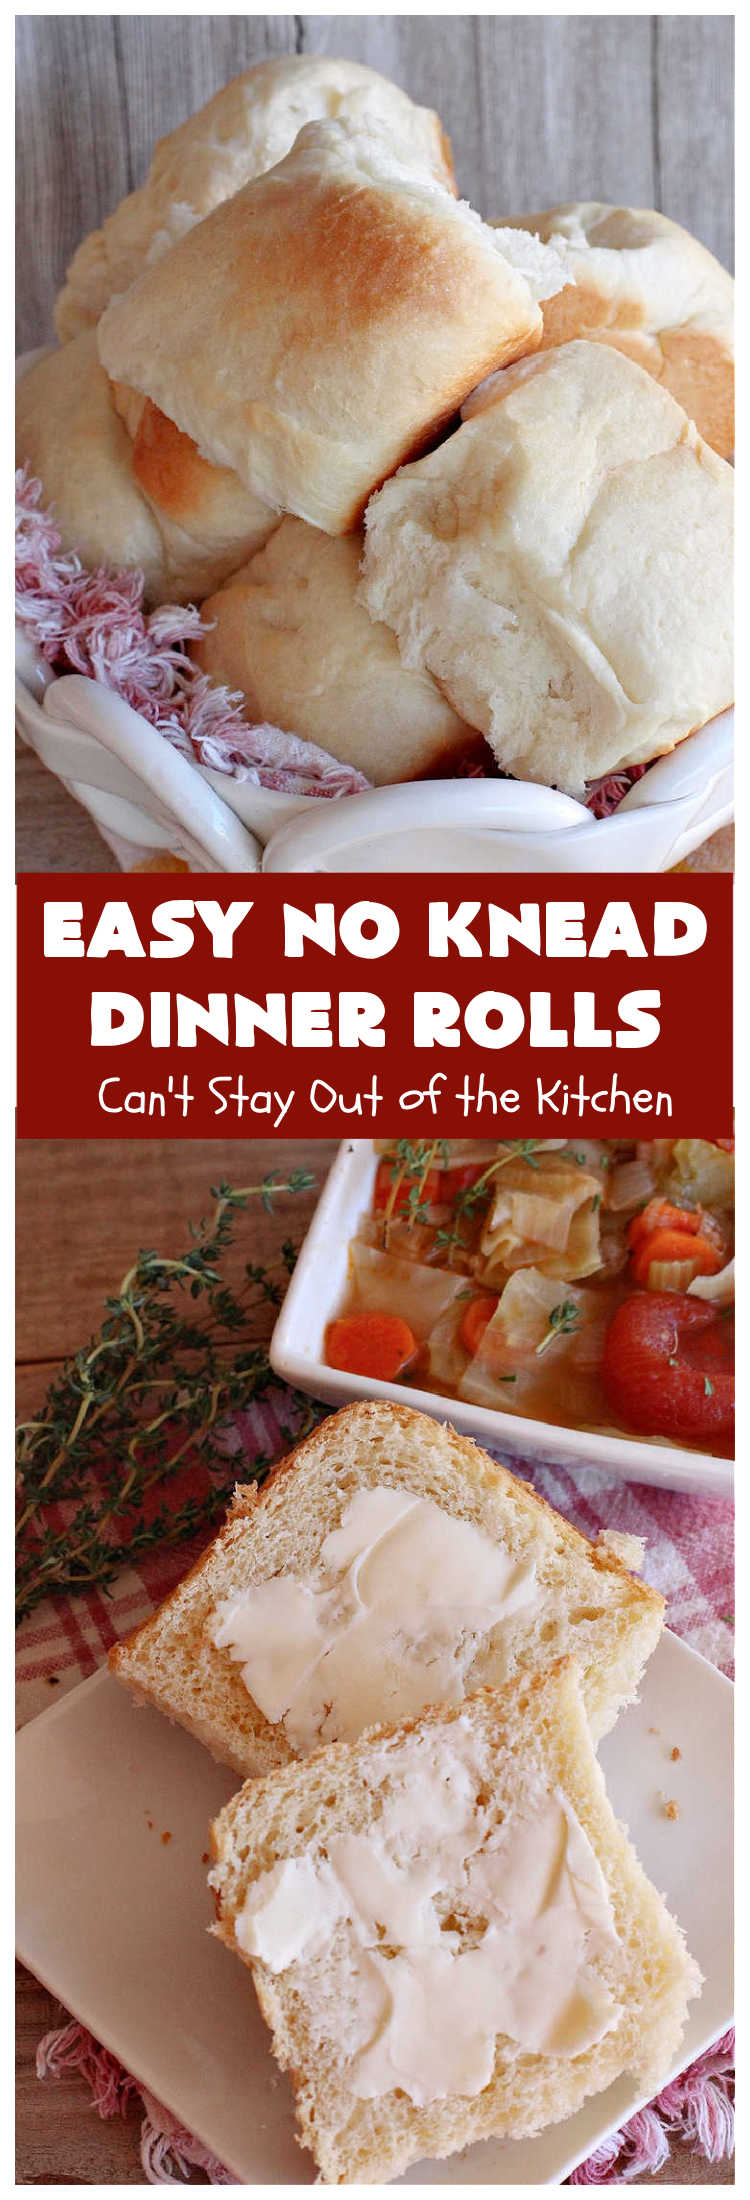
These are the easiest, best dinner rolls to make for family, company or holiday dinners because the hard part is done in the breadmaker. No kneading and no mixing! Even if you’re just having a simple dinner like Cabbage Soup, these rolls are outstanding!
You may also enjoy these delicious recipes!


Easy No Knead Dinner Rolls
Equipment
- 1 9×13" glass baking dish
- 1 breadmaker
- 1 pastry brush
- measuring cups
- measuring spoons
- 1 small microwaveable bowl to melt butter
Ingredients
- 1/4 cup salted butter cut in slivers (1/2 stick)
- 1 1/2 cups half-and-half or whole milk, warmed
- 4 cups bread flour or all-purpose flour
- 1/4 cup granulated sugar
- 1/2 tbsp. sea salt (1 1/2 teaspoons)
- 2 tsp. active dry yeast or bread machine yeast
Instructions
- For best results, please read all the notes below before starting.
- Layer ingredients in bread canister in order given.
- Slice butter into slivers and place in bread canister. (If the butter is already softened you can just toss it into the breadmaker in one piece).
- Warm half-and-half or whole milk in the microwave one to two minutes until milk is warmed.
- Pour into bread canister.
- Then add bread flour, granulated sugar, salt and yeast.
- Place on dough setting of bread maker.
- This will take approximately 1 ¾ hours.
- Remove dough from bread canister and divide evenly into 12 sections.
- Roll each section into a ball and place in a rectangular baking dish greased well with butter.
- Stretch and roll the dough to smooth out the tops.
- Brush rolls with a tablespoon or two of melted butter.
- Put in a warm place until the rolls expand, about an hour and a half. (See tips below).
- Bake at 350° for 17-20 minutes or until rolls are no longer doughy in the middle. (See note below).
- Remove from oven and brush with melted butter again before serving.

10 Comments
Anonymous
October 11, 2023 at 3:10 pm
Too bad no alternative for those of us who have
no bread machine.
Have company on Saturday and would love to make them
(my doctor is crazy about dinner rolls)
Teresa Ambra
October 11, 2023 at 10:23 pm
Well, you can hand-knead like in a regular bread recipe and allow to rise in a warm place about an hour. Then shape the rolls and allow them to raise again in a warm place until double in bulk. Then bake as directed.
PVCole
February 27, 2023 at 7:48 pm
I don’t have a breadmaker, and don’t intend to buy one. How can I make these gems the old-fashioned way?
Teresa Ambra
February 28, 2023 at 1:11 pm
I would just mix up the roll dough very much like regular homemade bread recipes. Knead it and raise once as a whole and once in pans before baking.
ebook ghostwriter in uk
June 21, 2022 at 5:41 am
Hey thanks for sharing this delicious recipe with us. But want to give a suggestion that I think you should start writing an ebook or hire an expert to compile all your dishes and publish them on your behalf. This way new, professional chefs can carry your recipes on their cell phones. And go through your recipes instantly
Teresa
June 21, 2022 at 12:29 pm
Great idea, thanks.
Nancy
April 7, 2022 at 1:32 pm
These rolls are DELICIOUS!! (You have inspired me to go out and buy another breadmaker. (I gave mine up years ago after not using it!)
Teresa
April 9, 2022 at 11:39 am
Hi, Nancy. So glad you enjoy the rolls. I use this same basic recipe for all of my sweet rolls and cinnamon rolls too. Love the ease of mixing and kneading in the breadmaker. 🙂
happy wheels
February 25, 2022 at 4:20 am
Thanks! I love it!
Teresa
February 26, 2022 at 9:38 am
These are the best rolls ever!