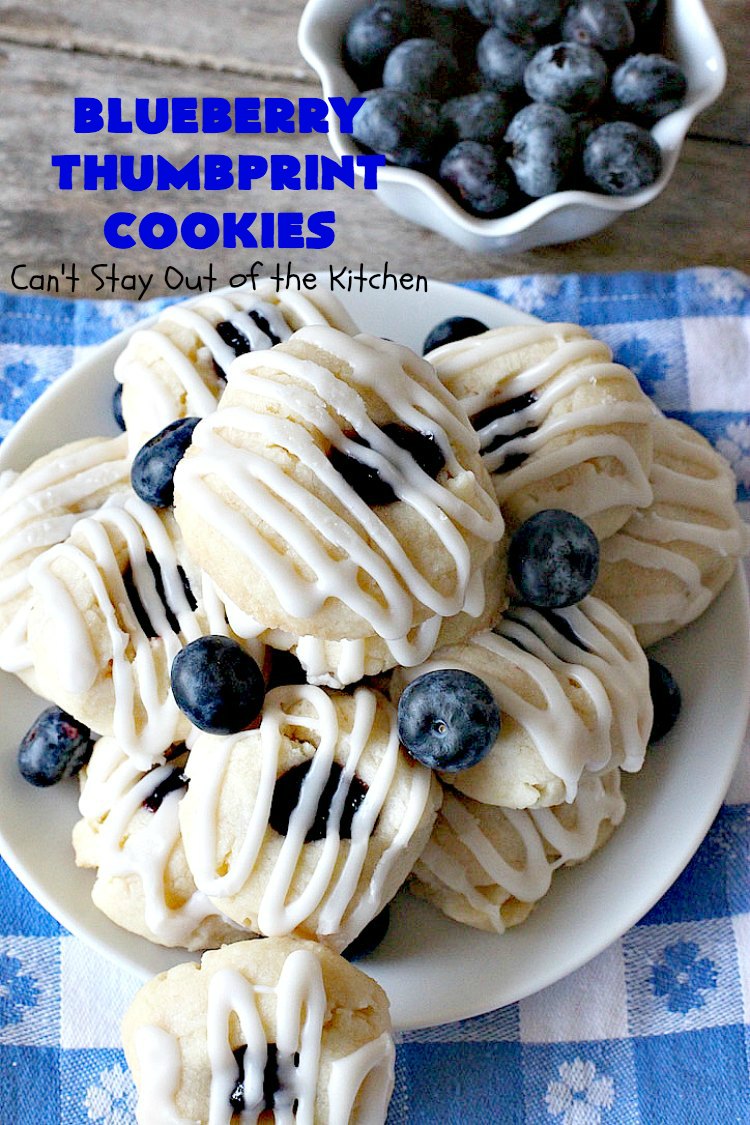
Blueberry Thumbprint Cookies
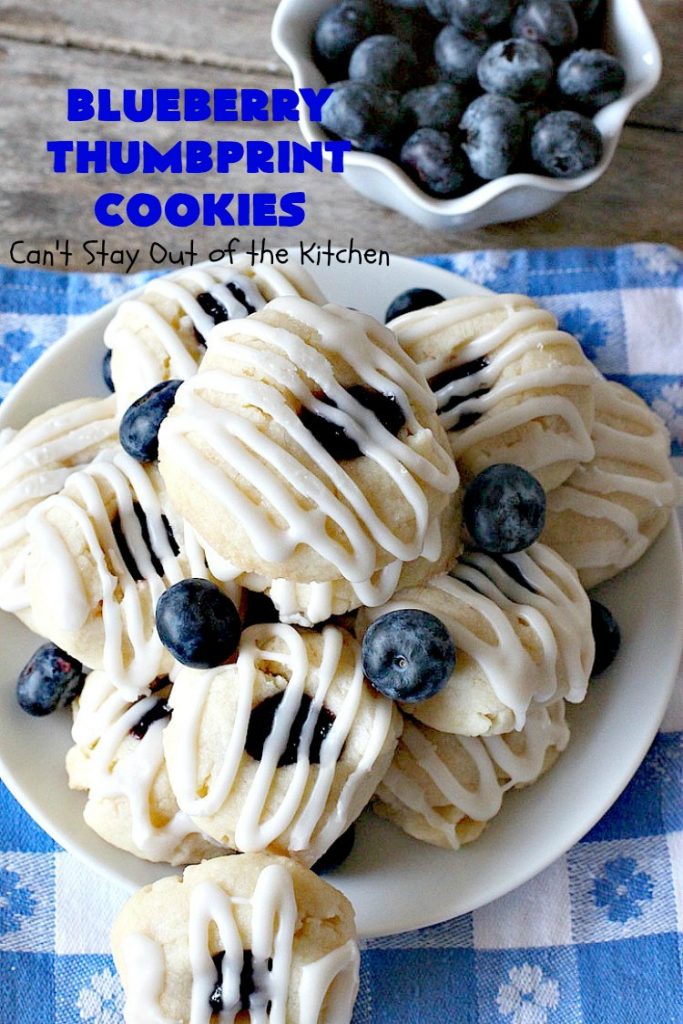
Blueberry Thumbprint Cookies are awesome. They’re a wonderful holiday treat that everyone enjoys. I used delicious blueberry preserves from Maine that a friend gave me for Christmas a couple of years ago. I knew I needed to use up that jelly and thought this would be an excellent way to do it! I was right. These cookies are delectable.
Follow Me On Instagram!
There are Thumbprint Cookies and there are thumbprint cookies. I can’t tell you how many times I’ve made thumbprint cookies that have failed! There was too much butter and eggs and not enough flour. Consequently, the cookies didn’t set up right (even after chilling twice!) and ran together on the cookie sheet while baking. Bummer.
I had that happen to me this week with some cookies I found on Pinterest. The Lemon Curd Thumbprint Cookies turned out awful. They flattened out and ran into a single sheet on the cookie sheet. Boy, was I ever disappointed. I decided to go back to my version of Thumbprint Cookies and use several different jellies including blueberry, Lemon Curd, Pumpkin Pecan and Peach.
These are not the easiest cookies to make. I crunch the dough (crumbs) in my hands. After one crunch with my right hand I move the dough to the left hand and crunch with that hand. I crunch the dough about 50 times total (and pretty fast) before the dough is pliable enough. By that time, all the ingredients are adhering together and I can crunch the dough into a ball. If you have carpal tunnel syndrome or extremely weak fingers, then you need to look for a different recipe. If you’re not ambidextrous when you start, you will be by the time you finish this recipe. 🙂
For a single batch it takes me about 15-20 minutes to roll the dough (crumbs) into balls. The rest is pretty easy. If the dough crumbles when you try to make a thumbprint in the tops, simply pick up the dough and rework it about 15 more times. It should come together and not crumble when you try to put your thumb into the balls. Spoon very small one-quarter teaspoonfuls of jelly or preserves; bake, and then glaze when cool. Yummy. These are delightful.
I sent about 26 trays of homemade cookies out to my husband’s office on Monday. We got word back that the husband of one of the employees really loves my Thumbprint Cookies. So I made up four different kinds of Thumbprint Cookies. I gave a box to my son and another to his wife to take out to their offices. I put another in the freezer to give away later. And, I made up a small container for this gal’s husband. Hopefully, everyone will be satisfied and have a smile on their face.
If you still need a cookie for Christmas Cookie Exchanges or holiday parties, give Blueberry Thumbprint Cookies a try. They’re beautiful, festive and drool-worthy. 🙂
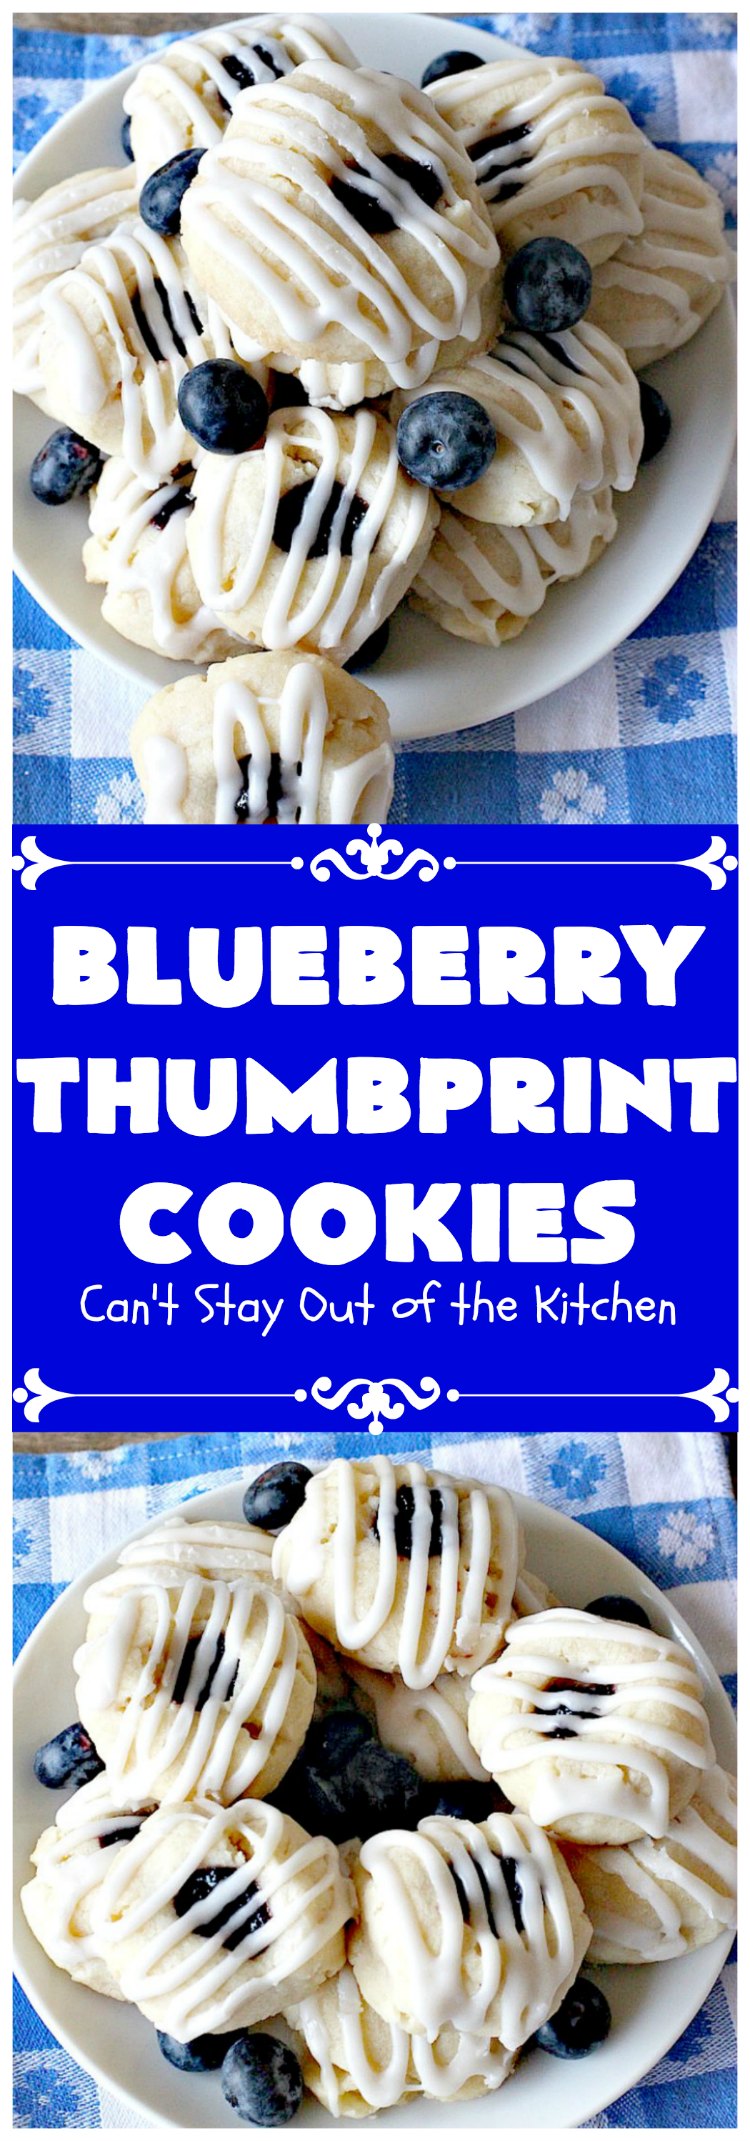
Blueberry Thumbprint Cookies are beautiful, festive and perfect for holiday parties.
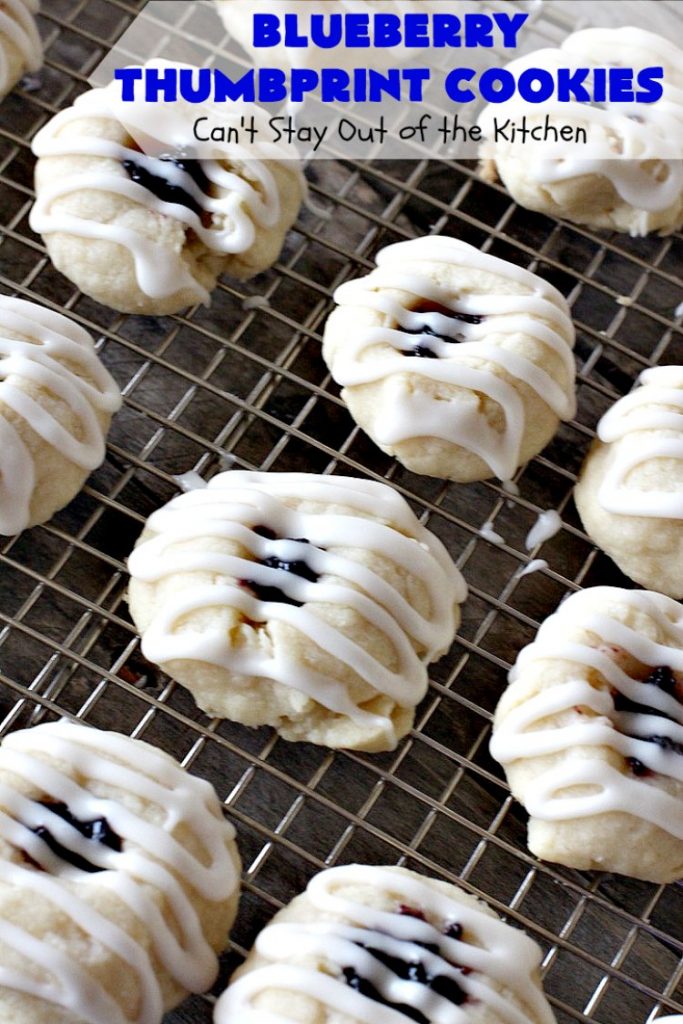
While Thumbprint Cookies can be a little more work than some cookies, these are worth it.
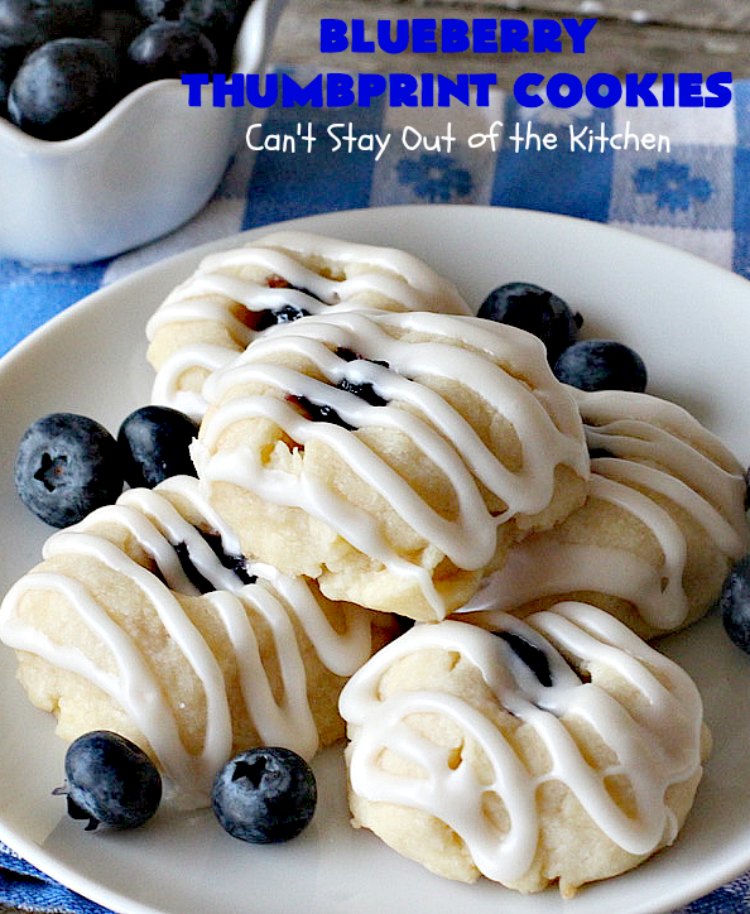
These elegant cookies are great for Christmas Cookie Exchanges.
Here’s what I did.
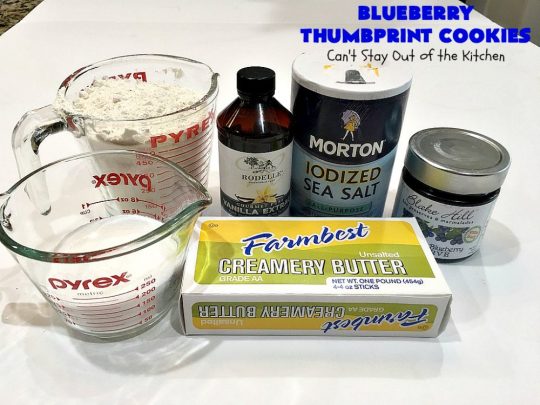
I used these ingredients. There are NO eggs in this recipe!
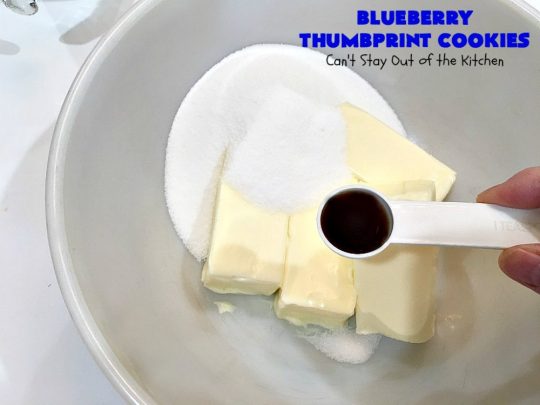
Soften butter. Add with sugar, salt and vanilla to a mixing bowl. (This is a double batch).
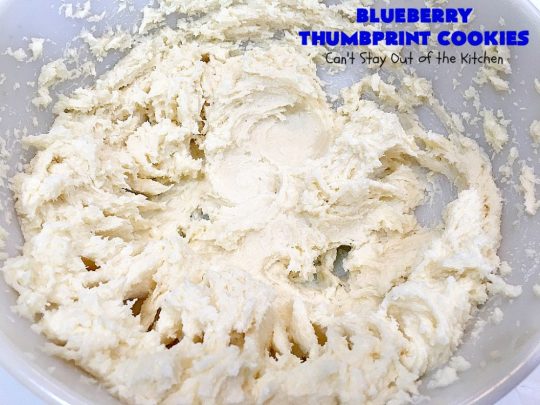
Mix ingredients with an electric mixer until creamy.
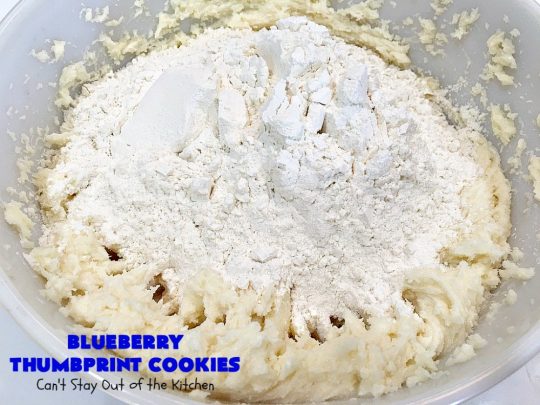
Add UNBLEACHED flour. (Bleached flour toughens baked goods.)
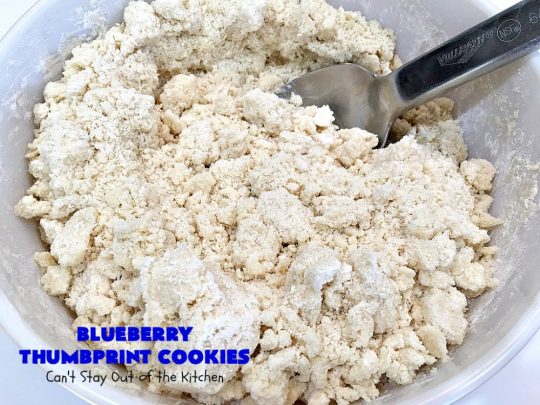
Stir ingredients to combine. The mixture will be crumbly. Chill dough for an hour.
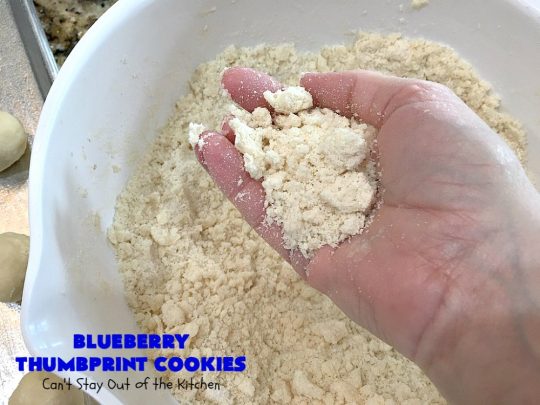
Remove a handful of crumbs from the mixing bowl.
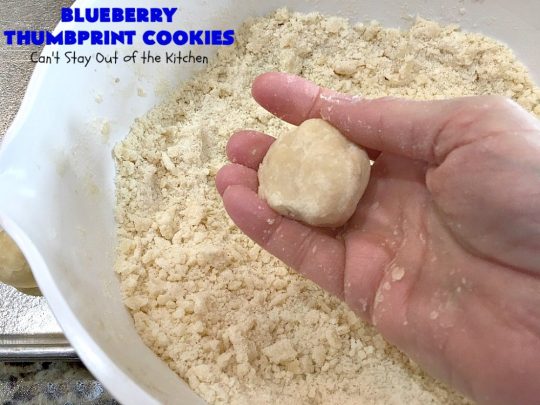
Crunch mixture with your hands until you can shape it into a ball. This usually takes about 40 or 50 crunches. I swap hands with every crunch (to save wear and tear on my right hand). By this time the ingredients will warm and adhere and become pliable.

Spray cookie sheets with cooking spray. Place balls onto prepared cookie sheets.
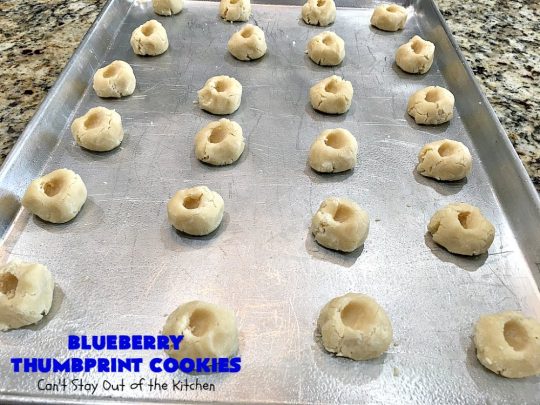
Place a thumb into the top of each cookie. If the cookie crumbles, simply rework it about 15-20 more crunches until is smooth and pliable. (It’s almost like working bread dough).

Fill each thumbprint with about 1/8 to 1/4 teaspoon of blueberry preserves.

Bake at 350 about 15-20 minutes or until done.
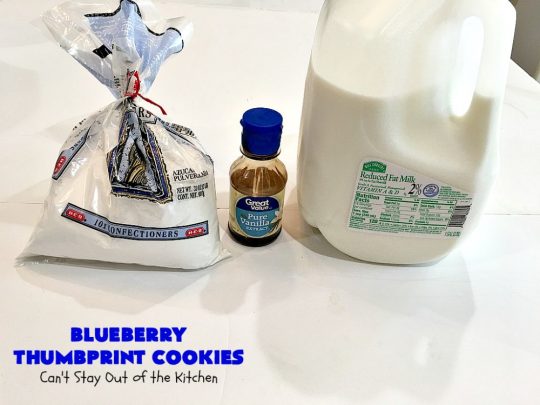
I used these ingredients for the icing.

Whisk ingredients to combine.
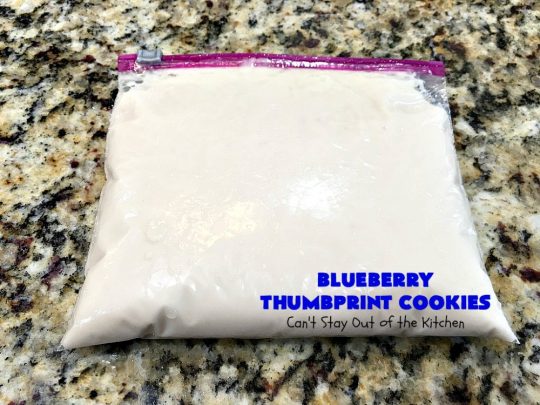
Spoon icing into a zip-lock bag. Cut off the tip of one corner. (This is enough icing for four batches of cookies).

Remove cookies to a wire rack. Cool completely. Pipe icing over top of cooled cookies. Allow icing to set about 15 minutes before serving.
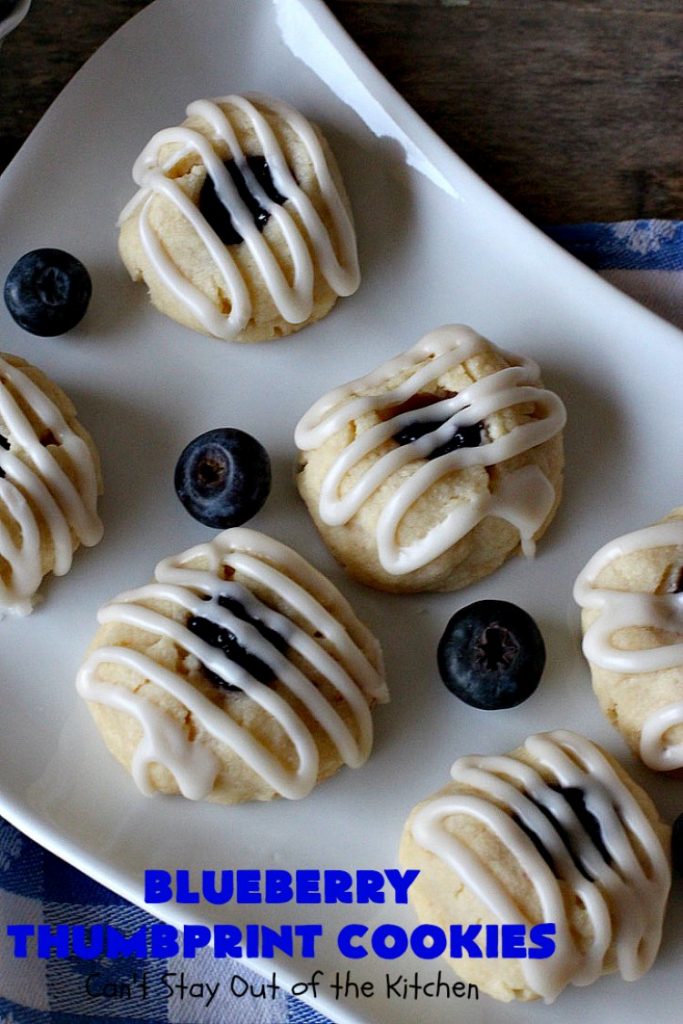
Blueberry Thumbprint Cookies are delectable for company or holidays.
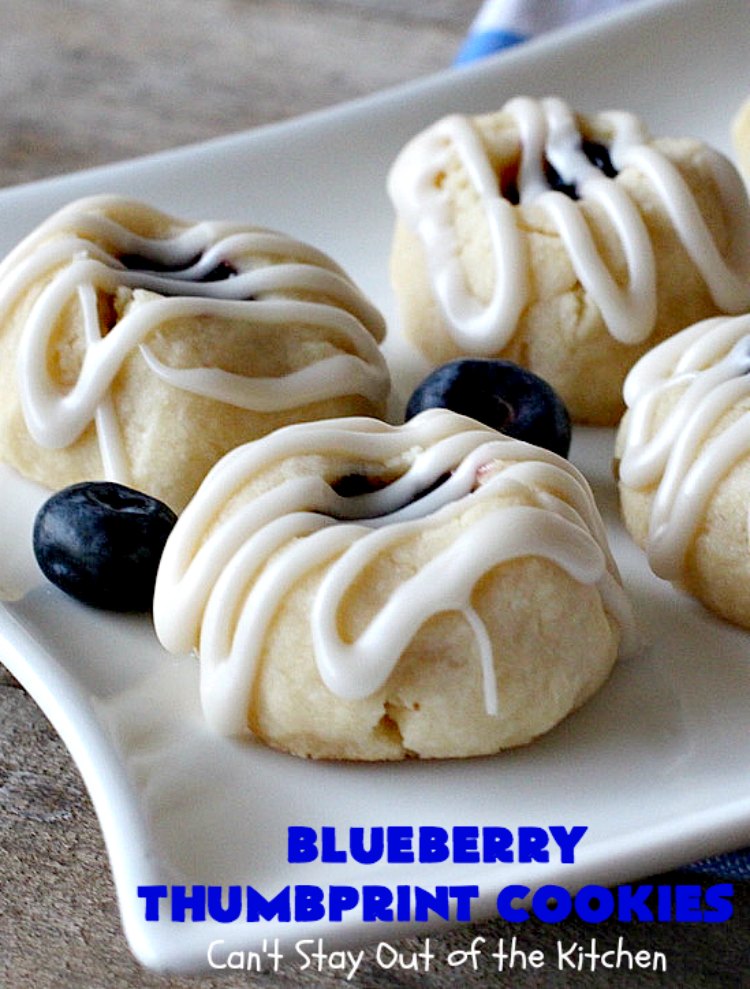
You’ll be seriously drooling after one bite of these cookies.
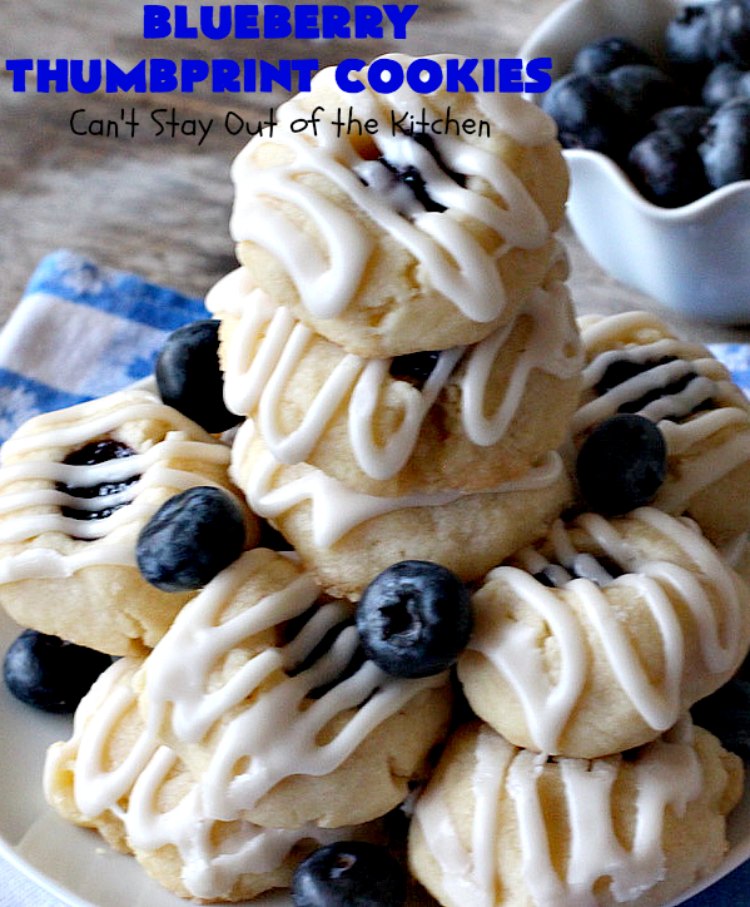
If you take a tray of these goodies out to your office to share, the plate will come back empty!
Here’s the recipe.
BLUEBERRY THUMBPRINT COOKIES
(My own concoction)
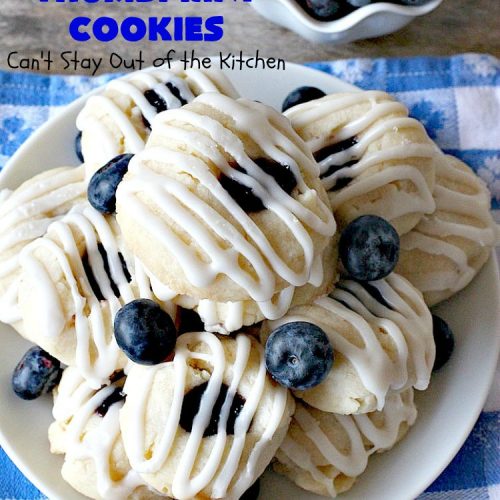
Blueberry Thumbprint Cookies
Equipment
- 1 18x26" cookie sheet pan
- 1 large mixing bowl
- 1 wooden spoon
- 1 electric mixer
- measuring cups
- measuring spoons
- 1 spatula
- 1 small mixing bowl
- 1 whisk
- 1 zip lock bag WITHOUT the "stand and fill" bottom
- 2 wire cooling racks
Ingredients
COOKIE:
- 1 cup unsalted butter softened
- 3/4 cup granulated sugar
- 1 1/2 tsp. vanilla extract
- 2 1/4 cups UNBLEACHED all-purpose flour (bleached flour toughens baked goods)
- 1/4 tsp. sea salt
- 1/2 cup blueberry jam or preserves
GLAZE:
- 1 1/2 cups powdered sugar
- 2 tbsp. 2% milk (or as needed to make of spreading consistency)
- 1 1/2 tsp. vanilla extract
Instructions
COOKIES:
- Soften butter.
- Add granulated sugar, vanilla and salt and mix with an electric mixer until well mixed.
- Add in flour and mix with a spoon until well combined; this may take 3-5 minutes.
- Mixture will be dry and crumbly.
- Refrigerate dough at least one hour.
- Crunch dough together in your hands, moving from hand to hand until the dough sticks together and you can shape into balls. (This may take a minute for each cookie).
- Place on greased cookie sheets.
- Use your thumb or forefinger to make an indentation in the center of each cookie.
- Spoon about 1/8 to 1/4 teaspoon of blueberry jam into each indentation.
- Bake at 350° for about 15-20 minutes or until done.
- Rotate pans half way through cooking time.
- After cookies cool completely, glaze with powdered sugar icing.
GLAZE:
- Combine the glaze ingredients in a small bowl and whisk until smooth.
- Spoon mixture into a Zip-Lock bag and cut off a small corner.
- Place cookies on cooling racks.
- Drizzle glaze over cooled cookies.
- Allow icing to set before serving.
Notes
© Can’t Stay Out of the Kitchen
Nutrition
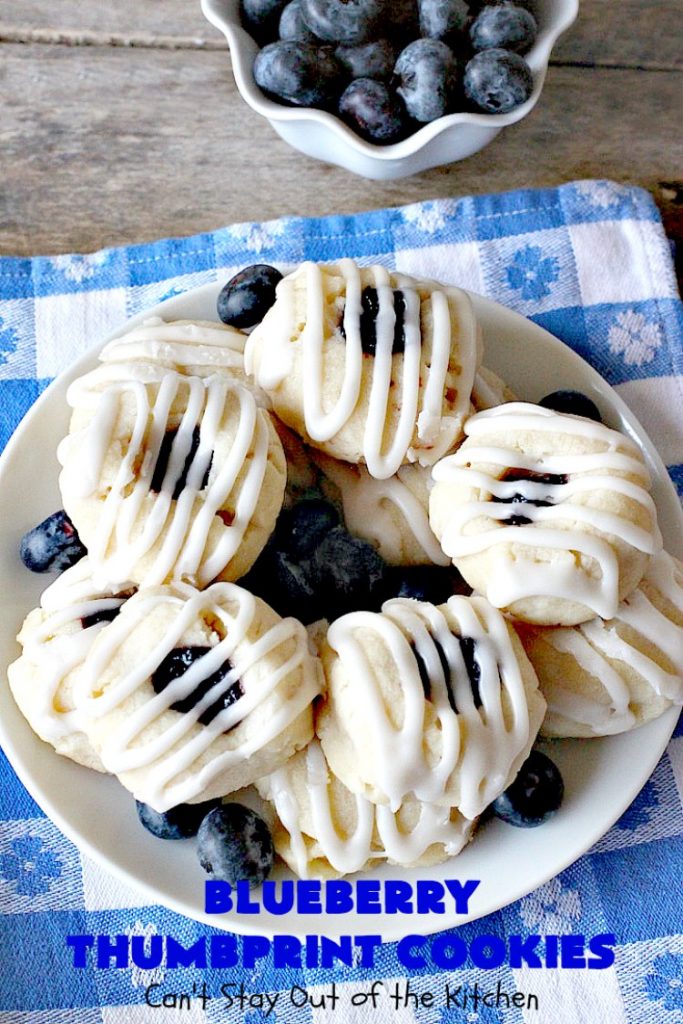
Blueberry Thumbprint Cookies are divine!
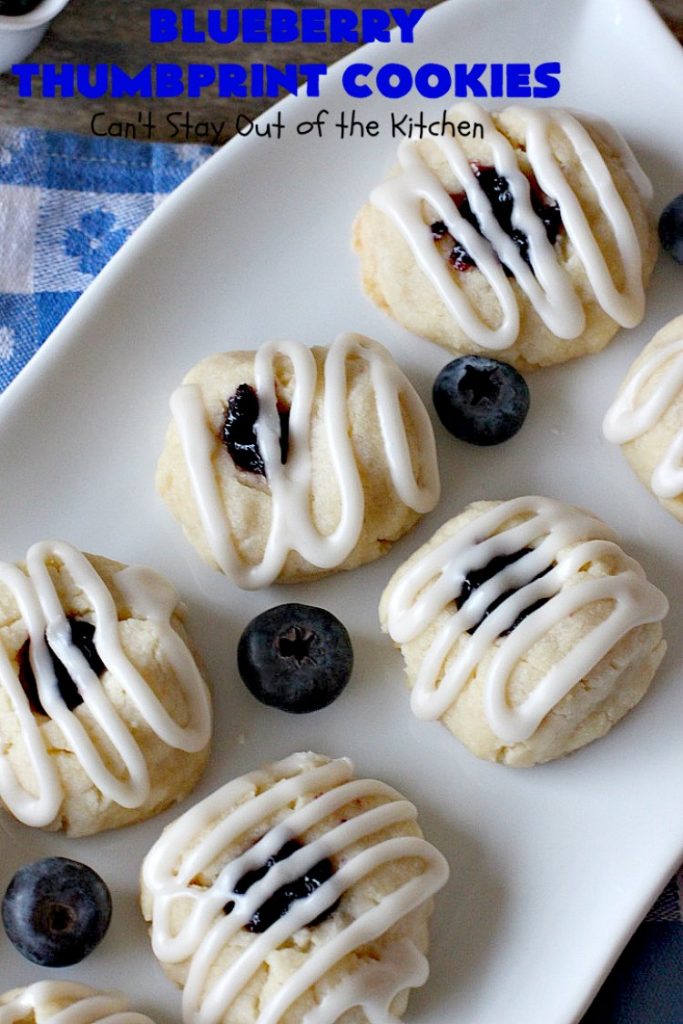
If you love blueberry desserts, you’ll love these cookies.
Thumbprint Cookies are the best. 🙂
You may also enjoy these delicious recipes!
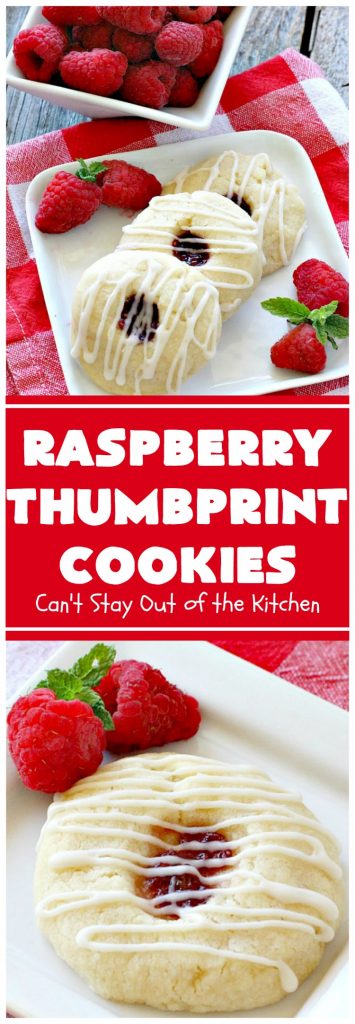
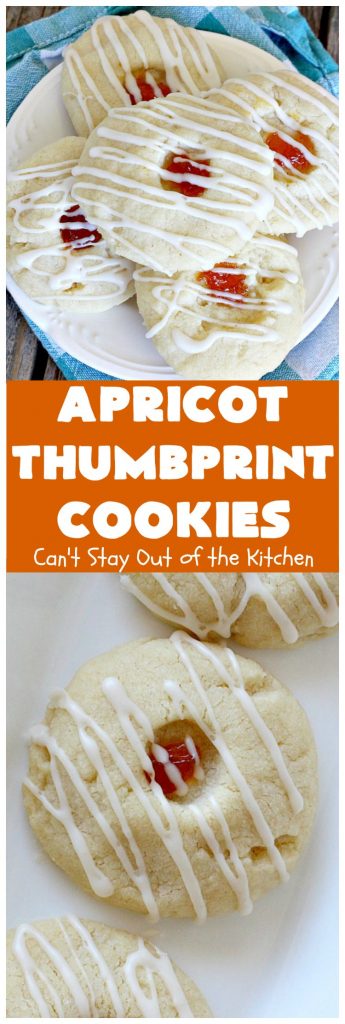


Blueberry Thumbprint Cookies
Equipment
- 1 18×26" cookie sheet pan
- 1 large mixing bowl
- 1 wooden spoon
- 1 electric mixer
- measuring cups
- measuring spoons
- 1 spatula
- 1 small mixing bowl
- 1 whisk
- 1 zip lock bag WITHOUT the "stand and fill" bottom
- 2 wire cooling racks
Ingredients
COOKIE:
- 1 cup unsalted butter softened
- 3/4 cup granulated sugar
- 1 1/2 tsp. vanilla extract
- 2 1/4 cups UNBLEACHED all-purpose flour (bleached flour toughens baked goods)
- 1/4 tsp. sea salt
- 1/2 cup blueberry jam or preserves
GLAZE:
- 1 1/2 cups powdered sugar
- 2 tbsp. 2% milk (or as needed to make of spreading consistency)
- 1 1/2 tsp. vanilla extract
Instructions
COOKIES:
- Soften butter.
- Add granulated sugar, vanilla and salt and mix with an electric mixer until well mixed.
- Add in flour and mix with a spoon until well combined; this may take 3-5 minutes.
- Mixture will be dry and crumbly.
- Refrigerate dough at least one hour.
- Crunch dough together in your hands, moving from hand to hand until the dough sticks together and you can shape into balls. (This may take a minute for each cookie).
- Place on greased cookie sheets.
- Use your thumb or forefinger to make an indentation in the center of each cookie.
- Spoon about 1/8 to 1/4 teaspoon of blueberry jam into each indentation.
- Bake at 350° for about 15-20 minutes or until done.
- Rotate pans half way through cooking time.
- After cookies cool completely, glaze with powdered sugar icing.
GLAZE:
- Combine the glaze ingredients in a small bowl and whisk until smooth.
- Spoon mixture into a Zip-Lock bag and cut off a small corner.
- Place cookies on cooling racks.
- Drizzle glaze over cooled cookies.
- Allow icing to set before serving.
