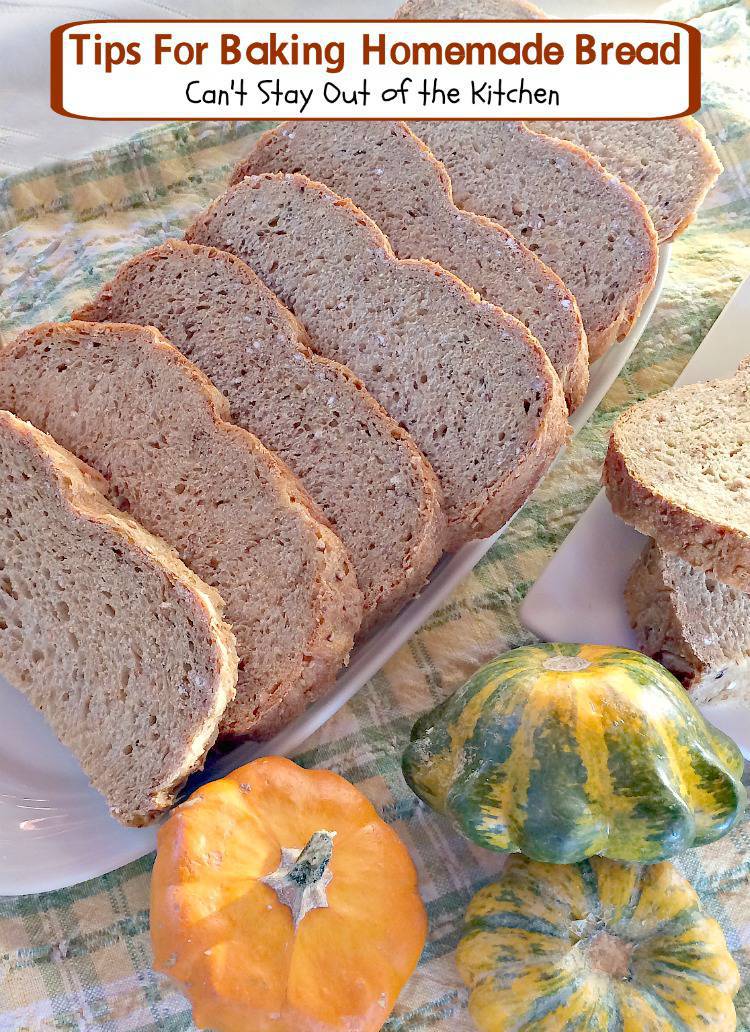
Tips for Baking Homemade Bread
Making homemade bread doesn’t have to be difficult, but it is a work of art–especially if you knead your own bread. I have to admit I use the breadmaker more often than not these days because it doesn’t tie up my time as much. But there is nothing quite like hand-kneaded homemade bread.
Follow Me On Instagram!
It doesn’t have the tougher texture that breadmakers or using dough hooks tend to provide. Plus you get the satisfaction of making your own bread from scratch where you can eliminate fillers, high fructose corn syrup, sugar, preservatives and even gluten these days! I also like to use home-ground grains from spelt, non-GMO wheat, and rye.
There are many excellent gluten free recipes available these days.
I have Kirsten from “war and yeast blog” to thank for my inspiration for this post. I was thanking her for following my blog and read her “about” section describing some difficulties with making bread. While trying to provide a few tips for her, I thought it might be helpful to make up a post on the topic.
Thanks, Kirsten. I will try to make up a batch of homemade bread from scratch this weekend (no cheating with the breadmaker!), and take lots of pictures to update this post over the weekend. Hopefully, there will be a lot of tips than can help others enjoy the wonders of freshly baked bread, too.

Red River Cereal Bread is actually made in the breadmaker, but it’s a recipe that can also be kneaded by hand, if desired.
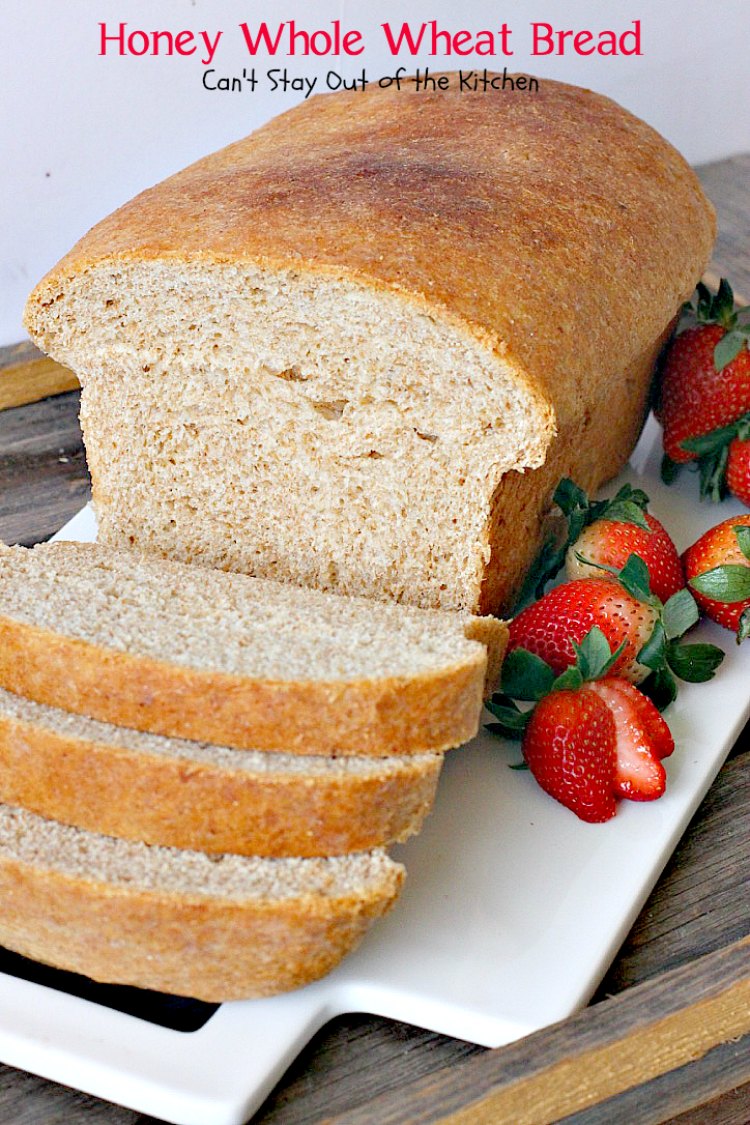
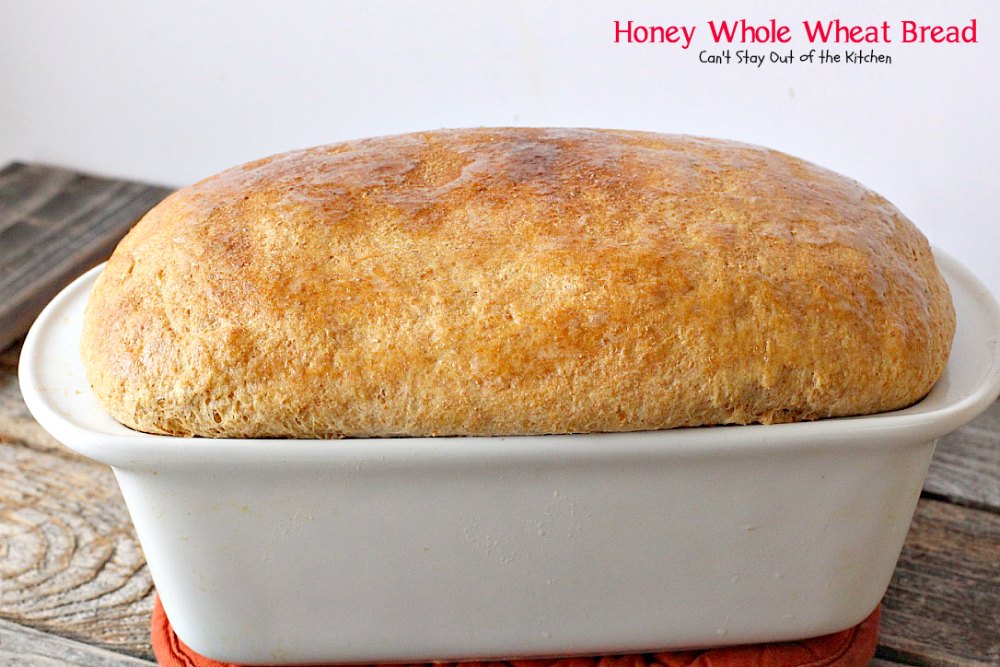
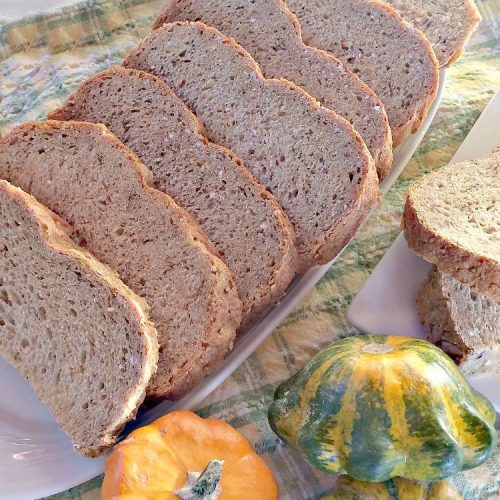
Here are a couple of slices of my Honey Whole Wheat Bread. A very healthy homemade bread recipe that you can make without sugar if you are trying to cut back on refined foods–or add back in if you are not concerned with that.
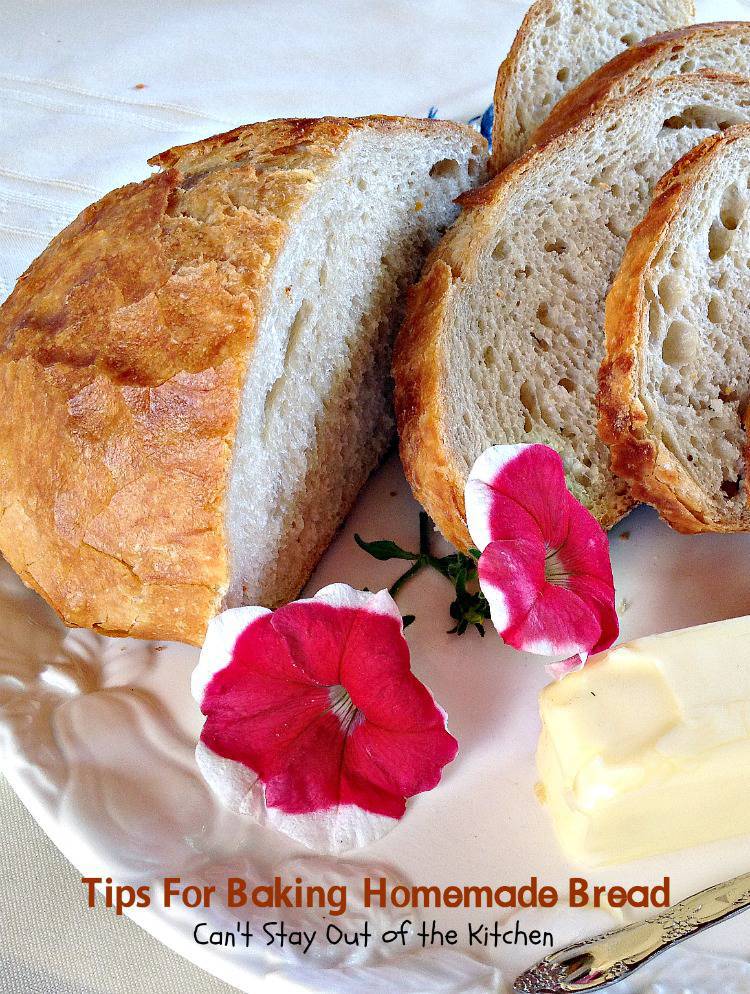
Crusty Bread is a wonderful artisan bread recipe. This recipe doesn’t even require kneading!
I’ve always liked making homemade breads and rolls. But it wasn’t until after I got married and had kids before I made my mom show me how she did it. We grew up on homemade bread. Store bought bread was rarely in our house until my late teenage years.
Nothing could beat my mom’s delicious white bread — until she and I came up with a recipe for whole wheat honey bread a few years later. I love that bread. I made it all the time when my kids were little. When we lived in Massachusetts it was the only bread they ever had the first several years we lived there. I never bought store-bought bread.
I love home made bread! I could sit down and eat a few slices with butter and a large glass of milk and be content for a long time! My mom used to slice it down, butter it, and put it on a cookie sheet under the broiler for about 5 minutes and serve it that way at meals. Then we would spread the toasted bread with homemade jams and preserves. Yum, yum! We still prefer homemade bread, rolls, and biscuits that way.
So here are some tips for baking bread that may help beginners or those who are intimidated by the prospect of baking homemade bread from scratch.
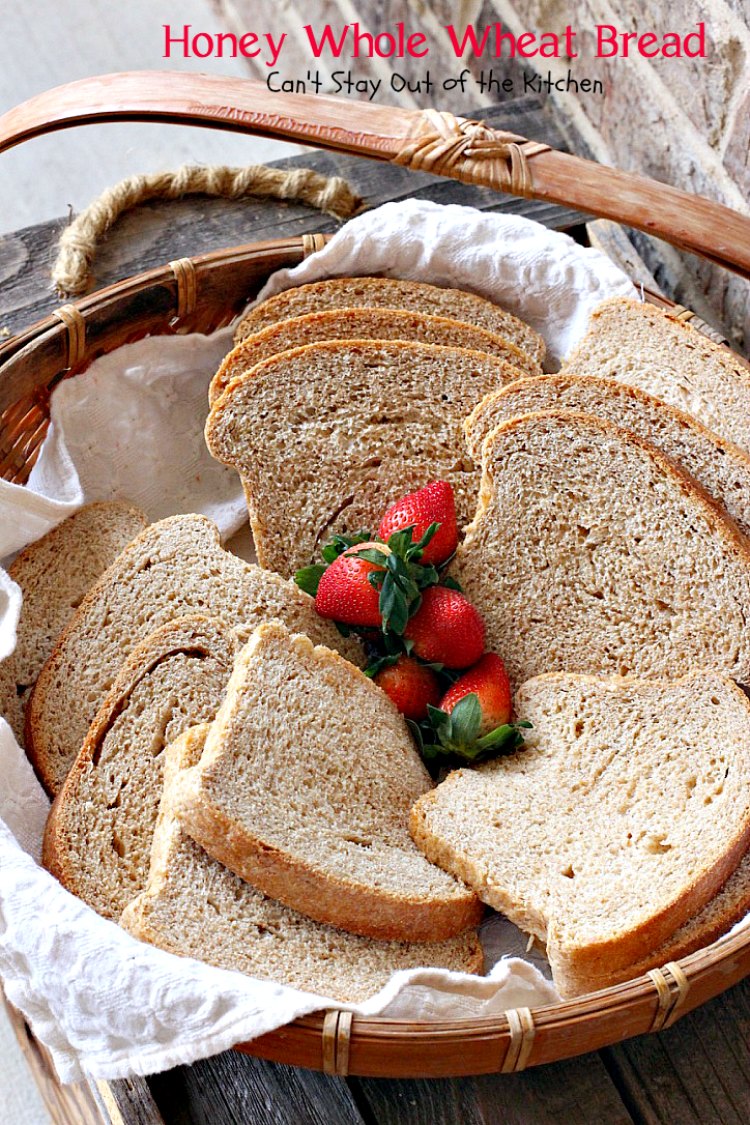
This is a picture of my Honey Whole Wheat Bread I baked a few days ago.
TIPS FOR BAKING HOMEMADE BREAD
1) Your environment for baking bread is critical. Drafts from open windows, air conditioning vents, or fans can kill the yeast. My mom would always turn off all the A/C vents in our kitchen when she was making it so the bread would raise properly and not fail. 2) Mom boiled potatoes a lot and she would save her potato water in a mason jar and keep it in the refrigerator until the next time she would bake bread (usually only a few days). The starch from the potatoes helps all the molecules of the bread dough to adhere together better so you don’t end up with a crumbly dried out bread.
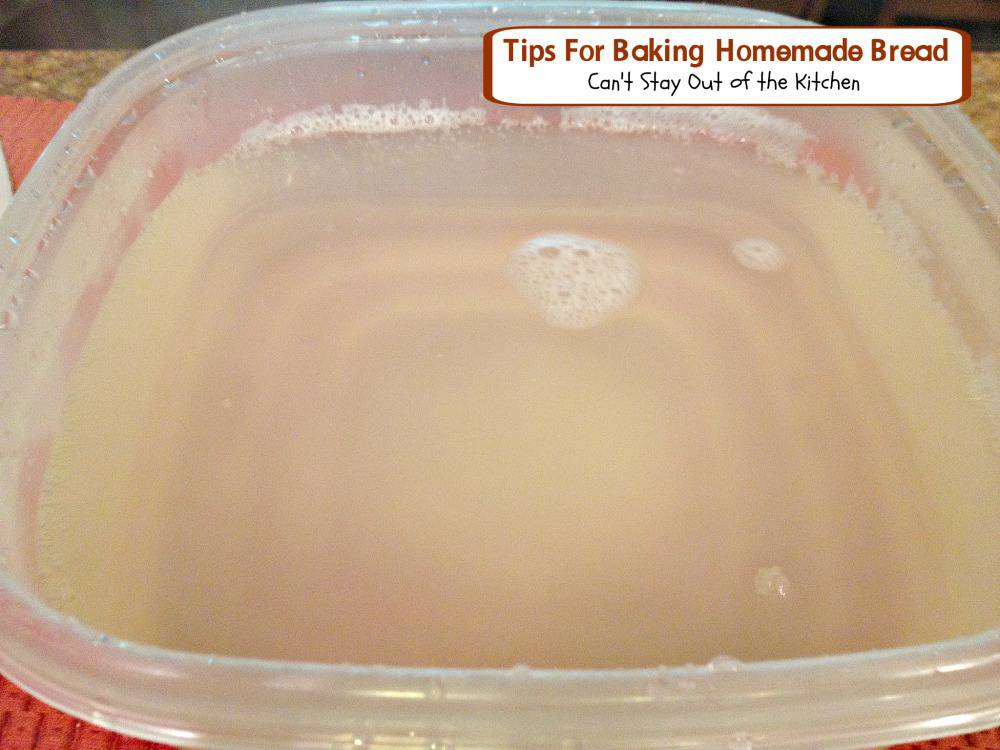
Here’s a picture of the potato water I saved from making Potatoes Romanoff the other night.
3) One of the keys to baking home made bread (not in a breadmaker, but truly from scratch), is the water temperature for dissolving the yeast. This is so critical. When I am teaching someone how to bake bread I usually have to put their hands under running hot water in the sink and show them what’s too hot, what’s too cold (if the water is too cold it won’t activate the yeast), and what’s the right temperature.
A lot of recipes say to use lukewarm water. I’m sorry, but lukewarm water is not hot enough to activate yeast. On the other hand, you don’t want to get it so hot that the water kills the yeast either. I don’t like the water over about 105 degrees – the hottest temperature you would ever want your spa, or for that matter bath water.
While you can probably handle hotter temperatures, the yeast can’t. When I’m measuring out the water for the yeast to dissolve in, I get the hot and cold waters to the right temperature by touch (where the heat is not increasing in temperature), and then I fill the measuring cup and add the yeast right away.
4) I’ve always used a wooden spoon to dissolve the yeast rather than metal. I’m not sure if that’s an old wives-tale or if there is a scientific reason behind it. I heard it was better not to use metal. Stir the yeast and mash it against the measuring cup until it completely dissolves.
5) Most of my old bread recipes use shortening or butter that you had to have really hot water to stir to dissolve. Then after that mixture cooled you could add the cooler yeast mixture. If you have really hot water or scalded milk in the bowl and then add the yeast without cooling the other mixture first, you will kill the yeast.
6) To scald milk for a recipe, you put milk in a saucepan on a low to medium heat, watching carefully. When the milk starts to bubble slightly under the surface (not boil!), and you see a layer on top of the milk as it starts to wrinkle from the heat, that’s when it’s done. Don’t let it boil.

You can see the bubbles under the surface. The milk will start to get a wrinkled look when it is scalded. You don’t want it to start boiling and overflow everywhere!
7) The best flour to use in a recipe is whole grain flour (especially if you have purchased the wheat berries, sprouted them, and then dehydrated them and ground them yourself! This process removes all the phythates in the wheat and releases enzymes that make it easier for you to digest.
Because flour companies omit this step we have a lot of gluten intolerance). However, since most people don’t have these options, DON’T USE BLEACHED FLOURS! I use unbleached BREAD flour only, ground whole wheat, rye, spelt, etc. Bleached flour toughens breads, cakes, and cookies.
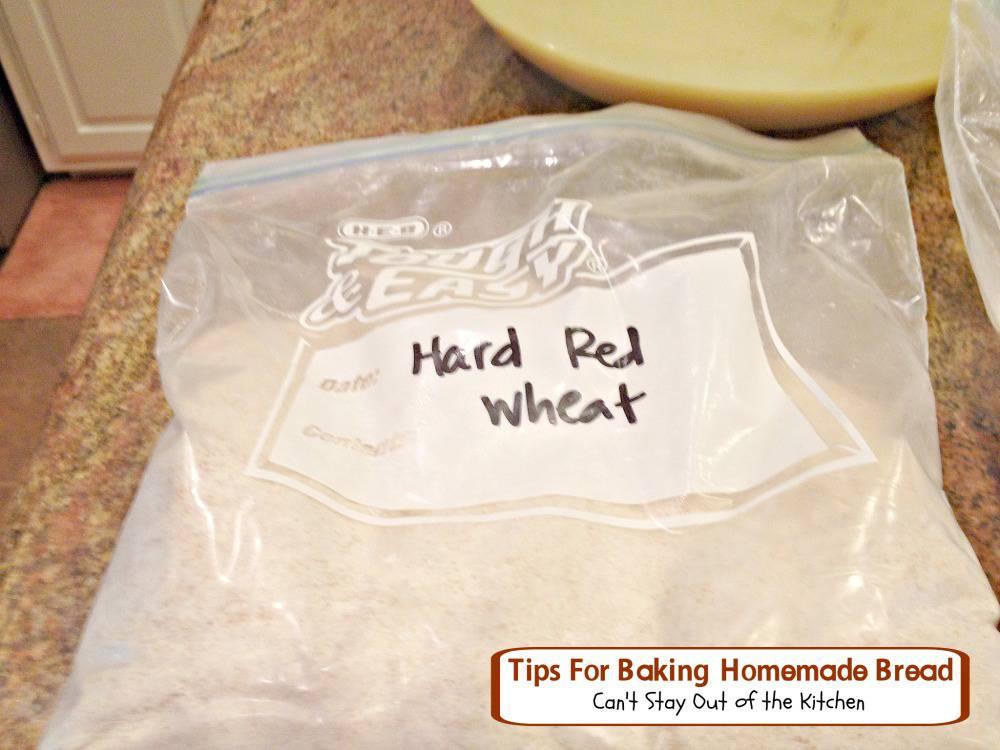
This is a home ground flour using hard red wheat berries. It is a hearty whole grain wheat flour.

This is ground from soft white wheat berries and is finer and better for making cakes and pastries. I use it as a substitute for bread flour.

This is another grain that has been home ground. Spelt, like wheat, also has gluten.
8) Use a high quality flour if you want a high quality bread. Don’t use all purpose flour, it doesn’t have enough vital wheat gluten to make bread adhere quite as well as bread flour does. It will work, but usually not as well. And, if you have the means to grind your own flour that is really the best way as the flour won’t be rancid like it usually is when you purchase it at the store. (But that is better left to another post). See “nourishing traditions” for more info.
9) I store all my flour in my freezers to protect it from bugs and rancidity. Flour will turn rancid shortly after the grinding process unless you store it this way. However, the seeds will keep indefinitely in a covered bucket in your garage!
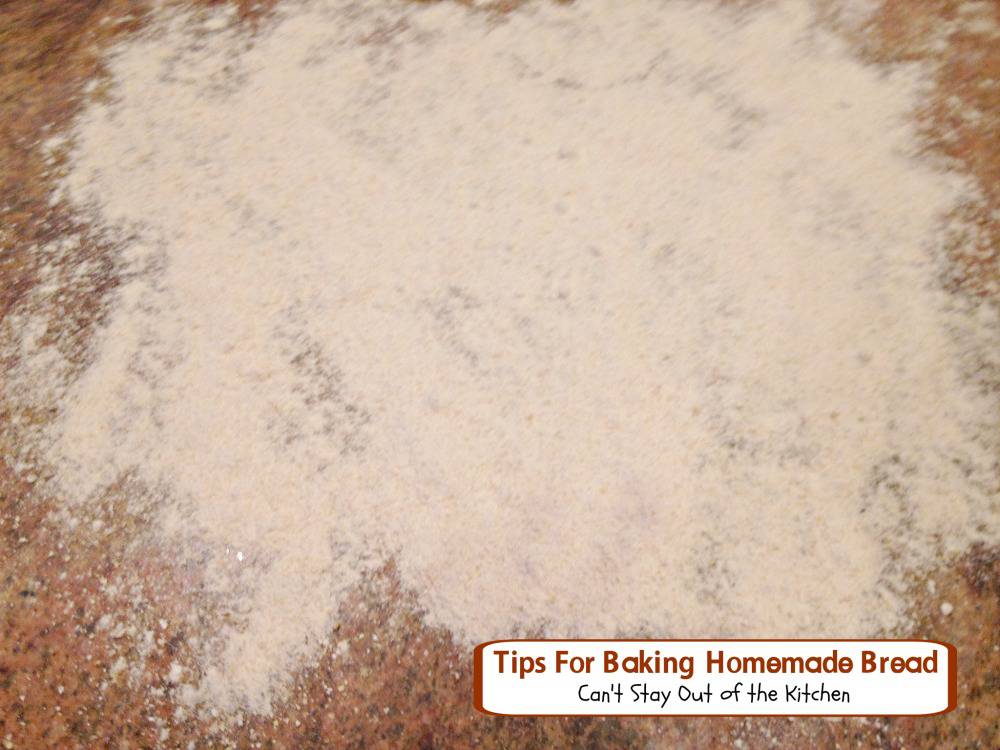
10) After you have mixed all your ingredients and begin adding bread or whole wheat flour to the dough you will need to prepare a large surface area in order to knead the dough. Sprinkle the surface liberally with flour – a cup or two – most of it will be worked into the bread. Have a couple of cups of flour easily available to add when your hands are all messy from the dough in case you need to add more!
11) Place the dough into the flour on your kneading surface. Sprinkle the top with flour and with your fingers work the flour up through the dough pushing it into the middle of your dough ball. (I will try to get a video of me baking bread maybe even this weekend so I can show you how it’s done). Take your fingers and spread them apart and bring the flour up from the surface and poke it down into the dough with your fingers.
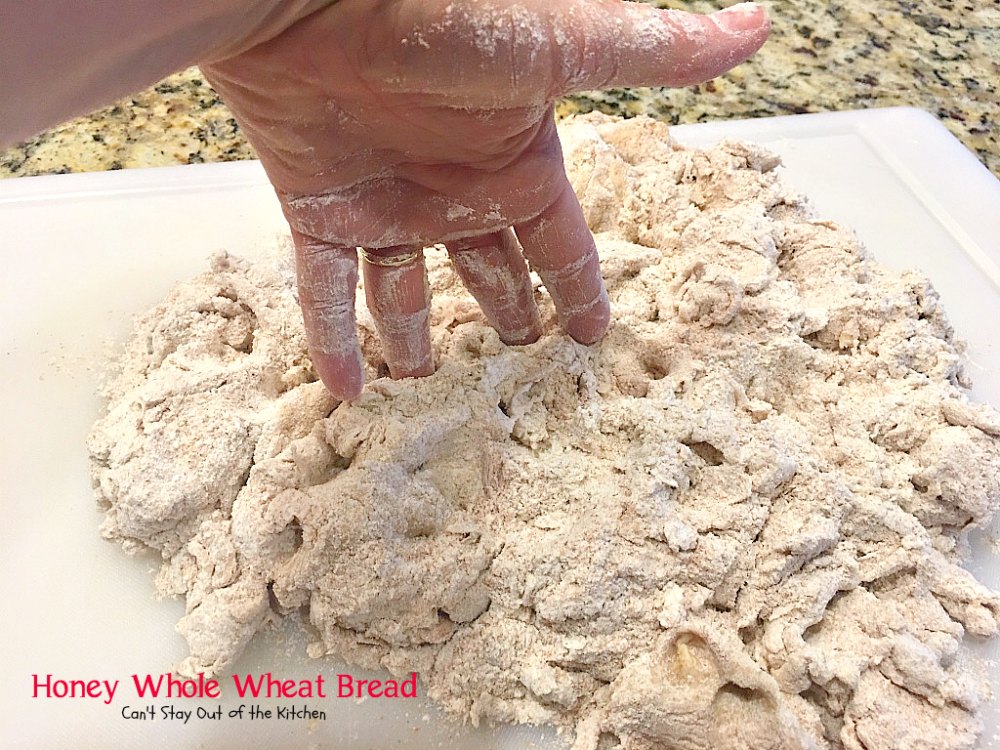
I have sprinkled flour on my surface and then on top. I use my fingers to press the flour and dig it deep into the mound of dough.

Here’s a close up of me pushing more flour into the dough before kneading. Pull the dough toward you and continue to press the flour into the dough. Just a reminder that this is the process I do before I actually start kneading the dough. It is still too sticky to work it easily. So this process of incorporating a little more flour helps.
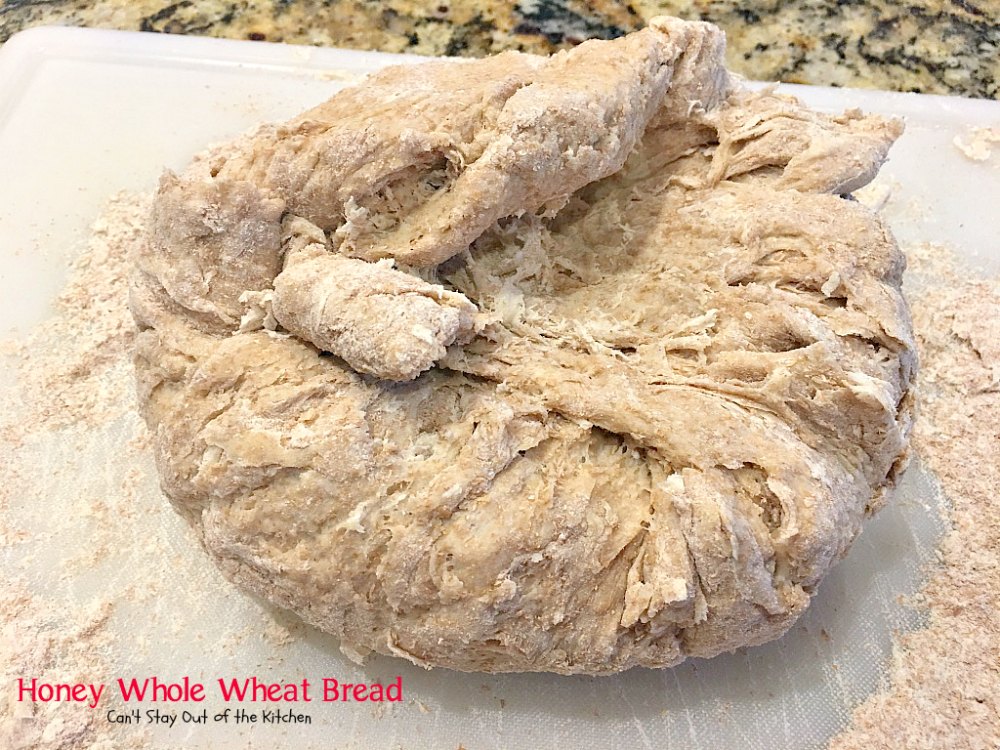
This step just gets more of the flour into the dough so you can work it. The most effective way to knead the dough is to use one hand to pull the outside edges of the dough to the center of your dough area, and the heel of your other hand to push toward and down that area to work the flour into the dough.

Here I’ve turned the dough over and started poking the remaining flour into the dough before working it again.
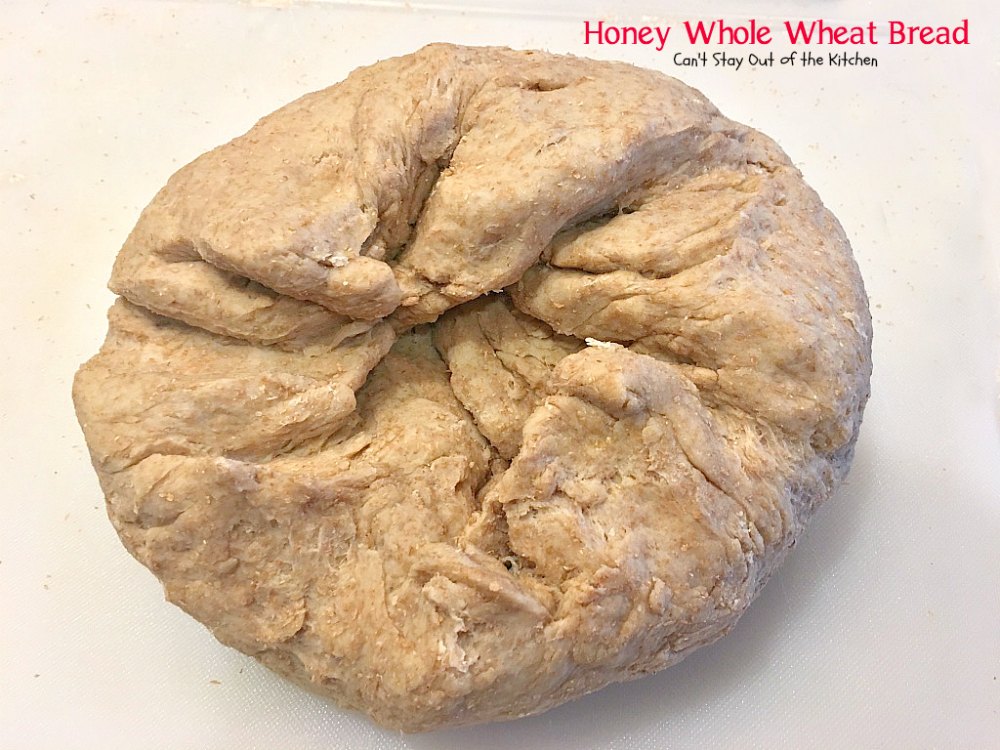
You pull dough toward you with one hand and with the other you sweep flour from the counter up into the bread and press down with the heel of your hand.
You will learn to become ambidextrous because one side will get tired after awhile! Once you get going it’s pretty quick. If you’re only making a loaf at a time it won’t take more than 5 or 10 minutes to get all that flour worked in (and maybe more).
The dough will start becoming smooth and elastic. When you push it down and start hearing air moving out of the dough in a whoosh sound, that’s when it’s getting close to being thoroughly kneaded. If you are making huge batches like I usually make, it usually takes 15 minutes to a half hour! (I guess I figure if I’m going to do all that work, I’m going to come out of it with 7-10 loaves, not one!)
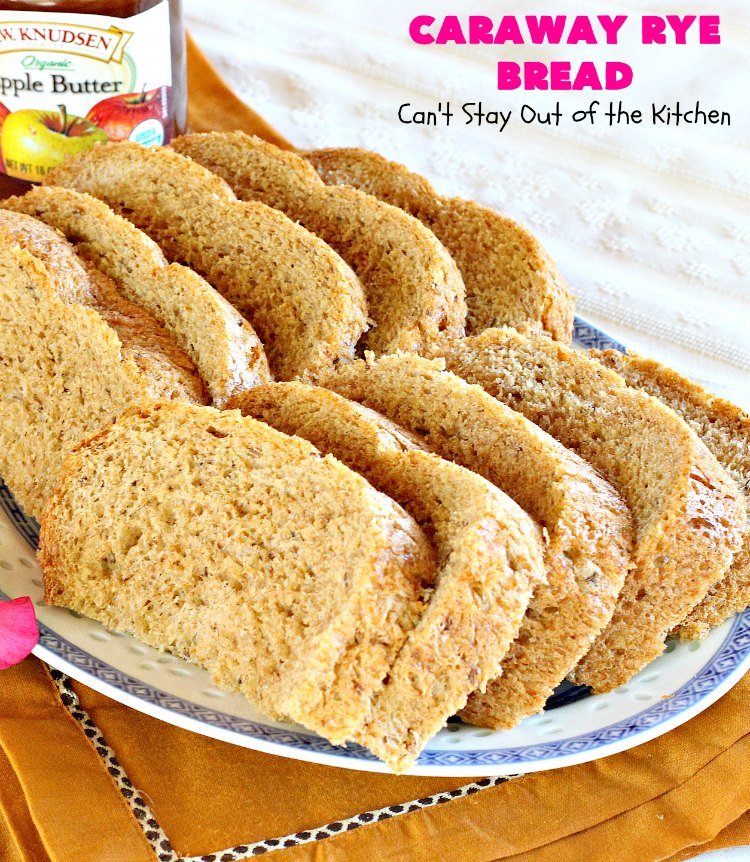
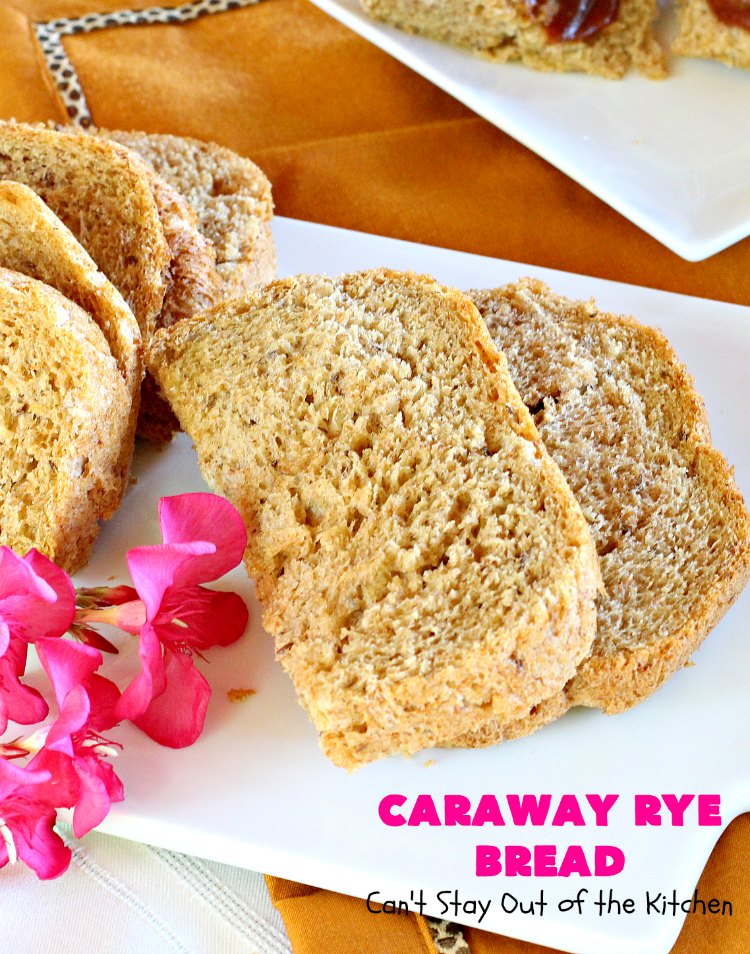
This photo shows a picture of my Caraway Rye Bread that was actually made in the breadmaker, but the texture is better than those that have holes in them because of insufficient kneading.
12) Place kneaded dough in a greased bowl. Turn dough so the greased side is facing up and if necessary add more shortening to the top of the dough to make sure it’s greased really well. (I never use any other shortening than Crisco in making bread or pie crust because they are inferior substitutes and just don’t work as well).
13) Cover the dough with a tea towel (they don’t have the same texture as terry cloth towels), and let the dough rise. If you have a warm place like on top of a dryer that’s running, or in a 120 degree garage, that’s ideal. Just remember to keep the dough away from drafts.
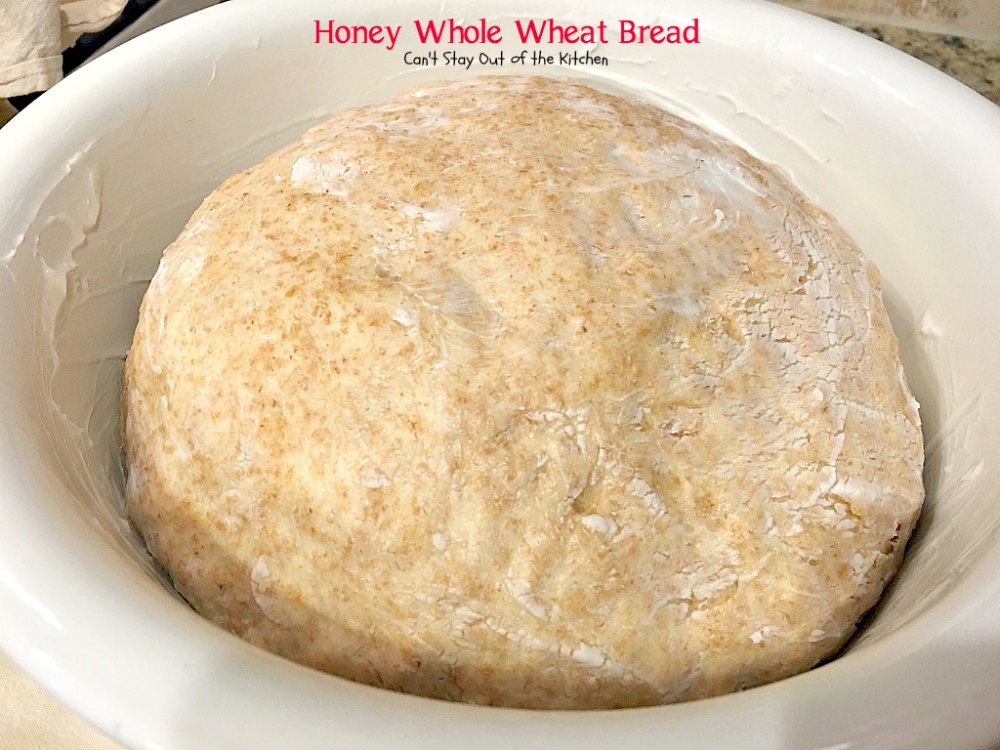
This picture shows what the bread looks like after it has raised to double in bulk.
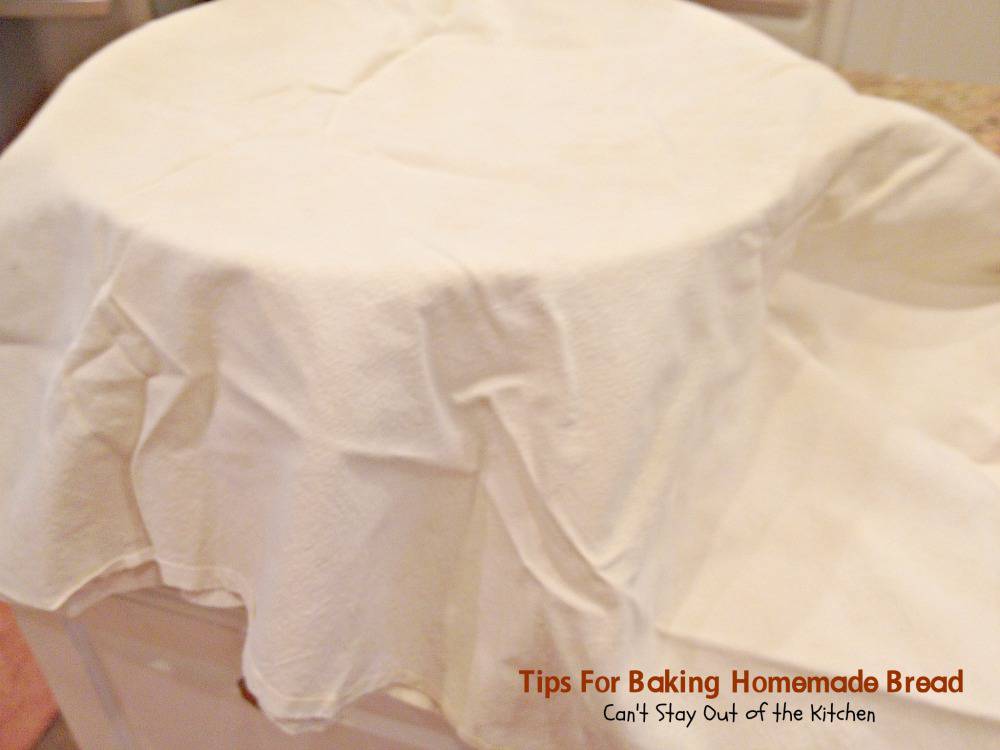
The tea towel over the top helps keep the heat in so the yeast can do its work.
14) I like to use rapid-rise yeast because it cuts the time of raising bread in half. If you have to use your oven to raise the bread, put your oven racks on the bottom so the dough can raise fully and make sure you put the dough in a non-plastic bowl so it doesn’t melt or soften in the heated oven. Put your oven on about 1 or 2 minutes and shut off entirely. Place covered dough in the oven and allow to rise. 45 minutes to an hour is usually all it takes.
15) Remove the dough from the oven and punch down in middle and sides. Let dough rest about 20 minutes. I actually punch it down in multiple areas. This also helps cut down on holes in the bread.
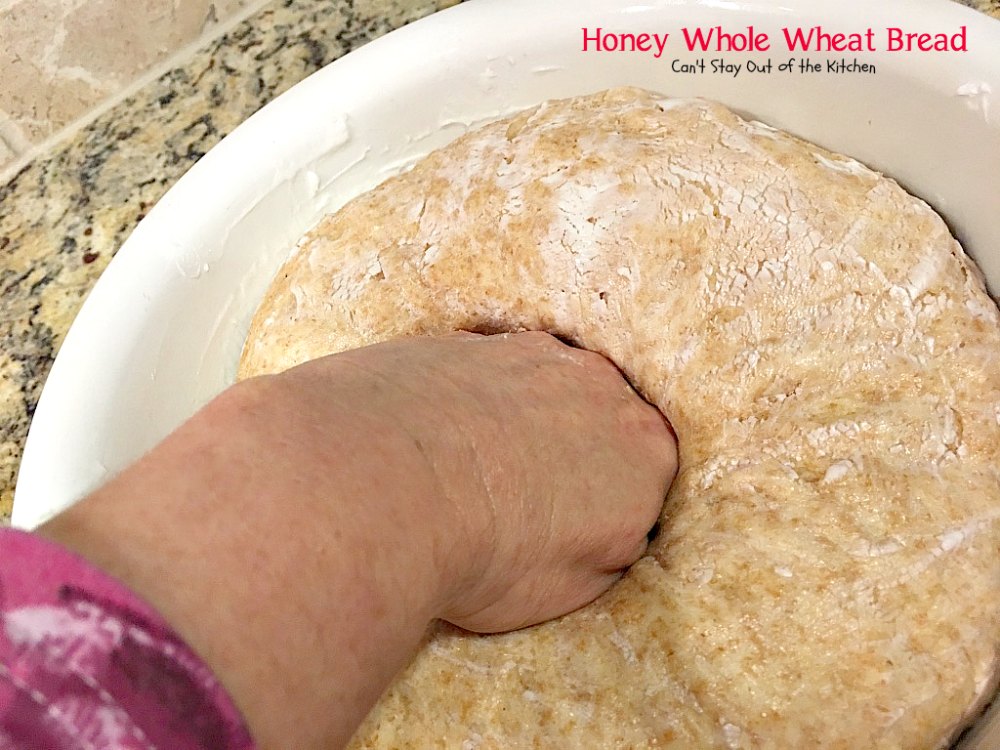
Punch down the dough, then push your fingers through the whole of the dough to release all the extra air.
16) Then, return your dough to kneading surface area, using a knife, divide the dough among your bread pans. Each pan should be well greased AND floured. I roll the dough out a little with a rolling pin, then shape it by turning the ends underneath and put the dough into the pan.
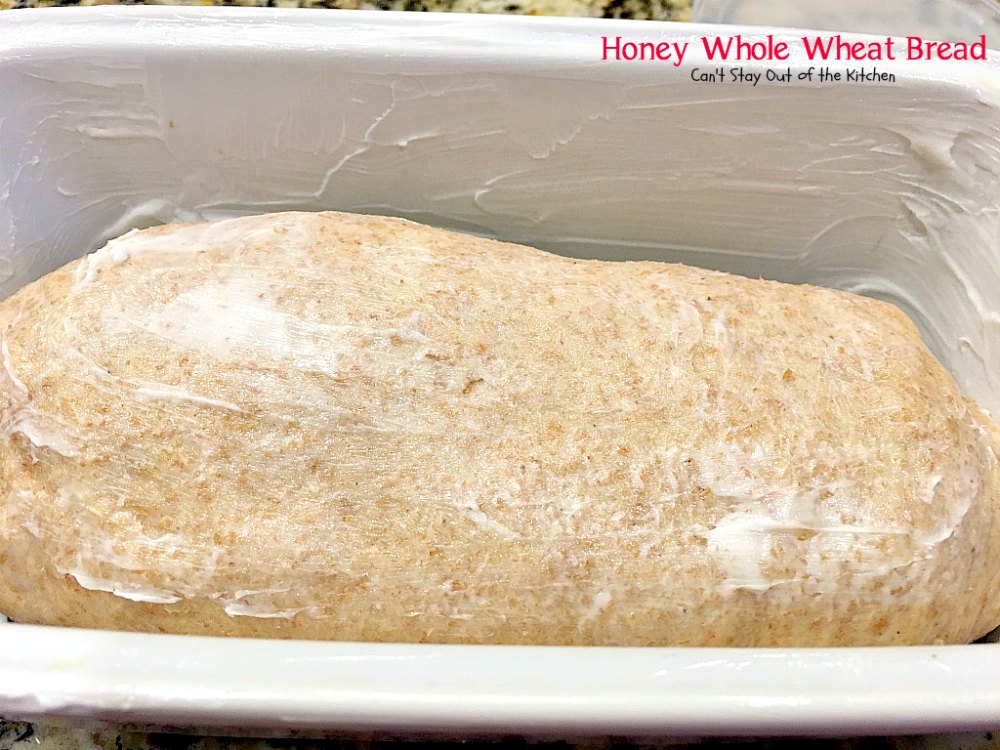
The pans are well greased. I roll the dough on the counter and try to press it out and get it smooth on top and then fold the ends under and place in the bread pan for a second raise. In this picture you can see that the I’ve greased the tops of the bread.
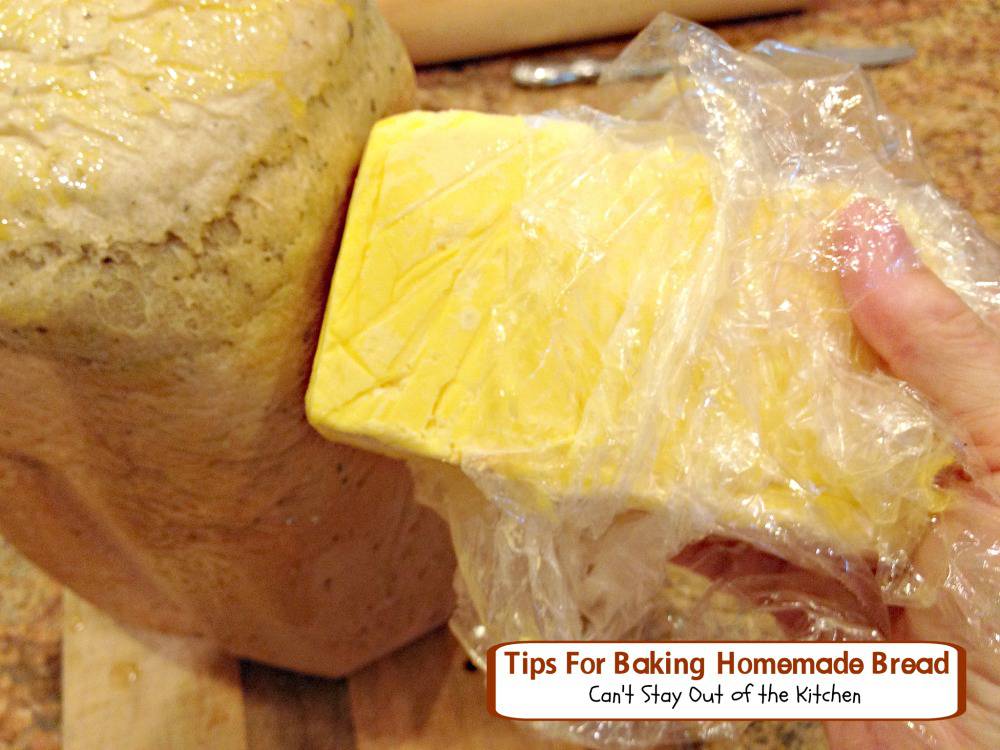
17) With a paper towel, scoop some shortening and rub it carefully over the top of the bread loaf. If using the oven to raise your bread, put it on for 1 to 2 minutes again and shut off completely. Place pans in the oven and cover again with tea towel spread out over all of them. Check about 45 minutes to an hour after you place the pans in the oven. If they have raised sufficiently it’s time to bake, otherwise allow them to raise until done.
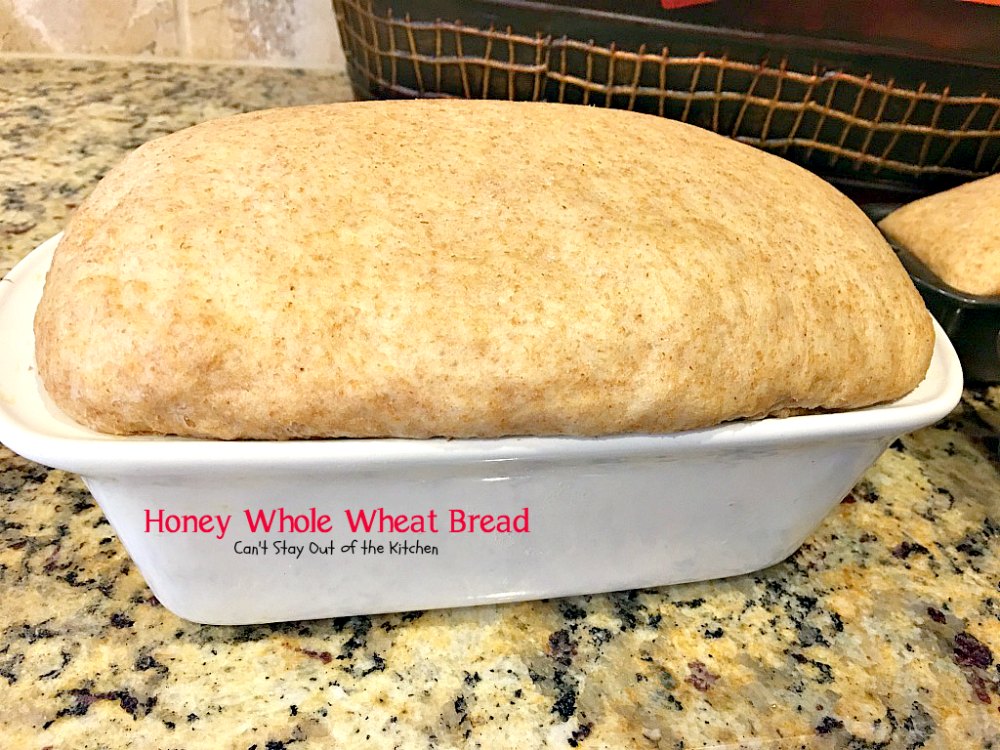
The bread has raised sufficiently and is ready to go in the oven. This was after being out in the garage for about 45 minutes.
18) You don’t want to over-raise the bread so that it starts poofing out over the top of your pans. It will flatten during cooking if it does that. Get the pans baking that are ready and allow others to raise more on top of your stove if necessary.
I always butter the tops of the bread or homemade rolls when they come out of the oven. This prevents the crusts from hardening.
You will notice in this picture that the bread doesn’t have a nice rounded top like it should. There are two possible reasons for this. The bread was over-raised and it flattened out like this (which wasn’t the case for this bread). Or, the oven door is allowed to spring back and slams closed instead of being gently closed. This will cause cakes to fall as well.
19) Mom always used 9×5″ bread pans. She baked bread loaves at 300 degrees for almost exactly 45 minutes. To check for doneness she would tap on the bottom of the pan with her knuckles (carefully so you don’t burn yourself!). If it sounded hollow the bread was done.
20) Have wire racks ready to put the bread on as soon as they come out of the oven. Immediately, invert bread loaves onto wire racks. They should come out of the pans easily if you have greased and floured them ahead of time. It is better not to use dark black pans or teflon pans because they can scorch and overcook the bread on the bottoms.
Here’s a picture of me buttering a loaf of bread after it came out of the breadmaker. (This was homemade butter from raw milk). Some breads are supposed to be crusty, but quite frankly, we like them a whole lot better brushing the tops and even sides with butter right after they are finished baking. It softens the crust so it isn’t as tough and hard to bite into.
21) Using a stick of butter, go over the top surfaces of each of the loaves of bread and butter the tops. This will help them stay softened so they don’t form a hard crust. (You can melt the butter and brush the tops with a pastry brush if you prefer).
22) Allow the bread to cool at least 30 minutes before cutting and eating. (This has something to do with allowing gases to emit afterwards.) According to the “the fresh loaf” cooking continues until the bread cools to room temperature and cutting into the bread too soon disrupts the process before the bread is completely baked).
Ah! Freshly baked bread. Nothing quite like it!
23) It is also helpful to wait to cut bread until it has cooled so that it doesn’t come out crumbly when you cut it. Butter the tops of the breads allow to cool about 5 minutes and then cover the bread again with a tea towel and cool completely. We normally use an electric knife to cut our bread. Our unit came with a meat blade and a bread blade and it’s wonderful.
24) If you are making a whole wheat bread, you will find you have to do one of two things in order to get it to raise sufficiently. Either use equal amounts of whole wheat and bread flour, or add vital wheat gluten to the bread. Otherwise, it is too dense and it will not raise well. This means if the recipe calls for 4 cups wheat flour and 1 cup bread flour, you use 2 1/2 cups of each or you add at least 2 teaspoons of vital wheat gluten to the regular recipe.
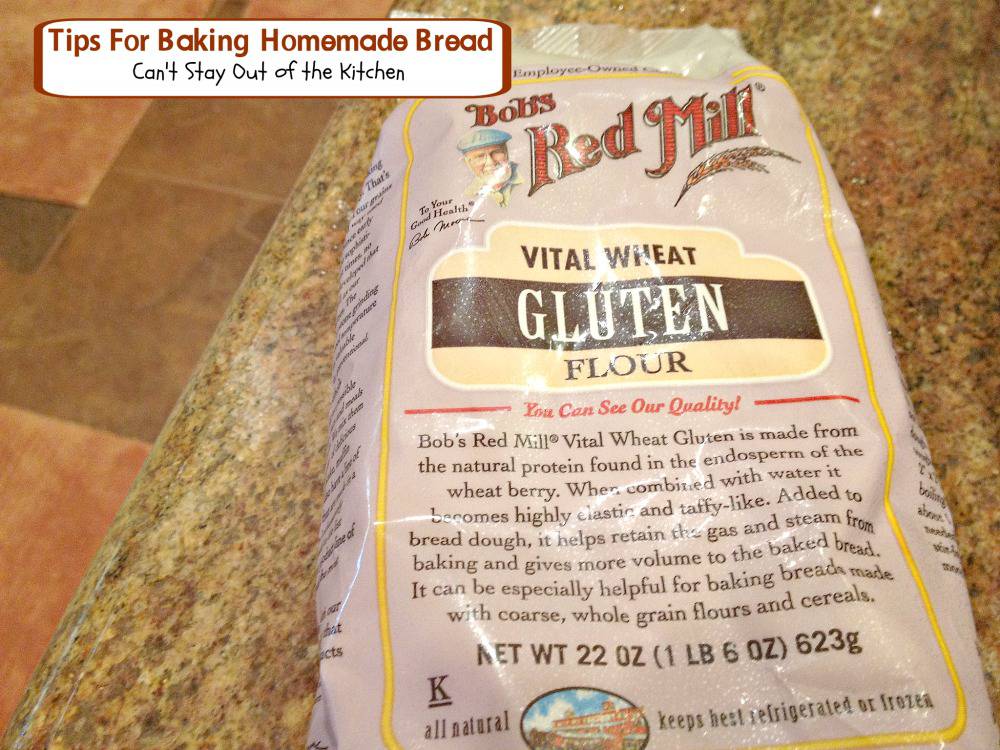
Vital Wheat Gluten helps raise the heavier whole wheat flours that are not over-processed from flour companies.
25) Sometimes you do everything right and the bread still doesn’t turn out right! This can be a case of bad yeast. I would try one more time to make a loaf of bread with that yeast, and if it turns out bad again, throw it out and get fresh yeast!

Red River Cereal Bread is a delicious homemade bread that I usually bake in the breadmaker. I think it’s time to go bake some homemade bread! 🙂
You may also enjoy these helpful posts!

Tips for Baking Homemade Bread
Notes
© Can’t Stay Out of the Kitchen
5 Comments
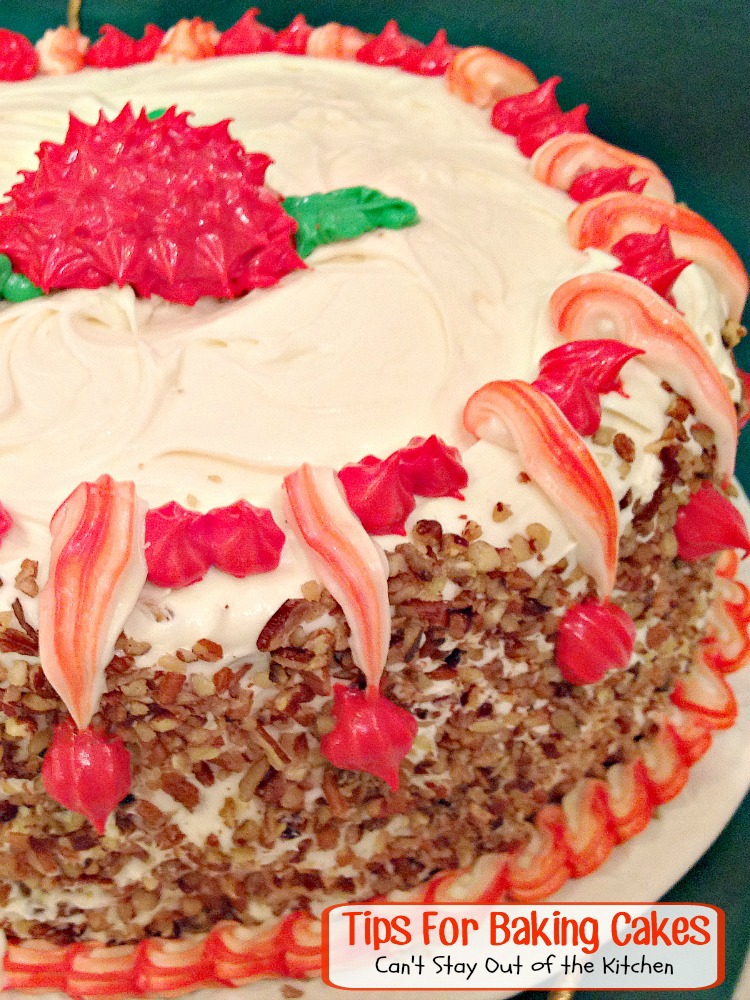
Tips for Baking Cakes – Can't Stay Out Of The Kitchen
January 23, 2015 at 1:47 pm
[…] Tips for Baking Homemade Bread […]
Honey Whole Wheat Bread – Can't Stay Out Of The Kitchen
October 2, 2014 at 8:37 pm
[…] I’m not going to load the videos on this post for kneading. That’s found on my “Tips for Baking Homemade Bread,” so this will be somewhat […]
Rapid Rise Italian Herb Bread | Can't Stay Out of the Kitchen
January 24, 2013 at 1:13 pm
[…] Tips for Baking Homemade Bread […]
Homemade Turkey and Dumplings | Can't Stay Out of the Kitchen
December 5, 2012 at 1:02 pm
[…] it yourself and so you can get the texture right. If you watch the short video on my “Tips for Baking Homemade Bread” you can get an idea of the kneading process. That’s the best I can offer. I use the […]
Homemade Rolls or Bread | Can't Stay Out of the Kitchen
September 15, 2012 at 9:37 pm
[…] Tips for Baking Homemade Bread […]