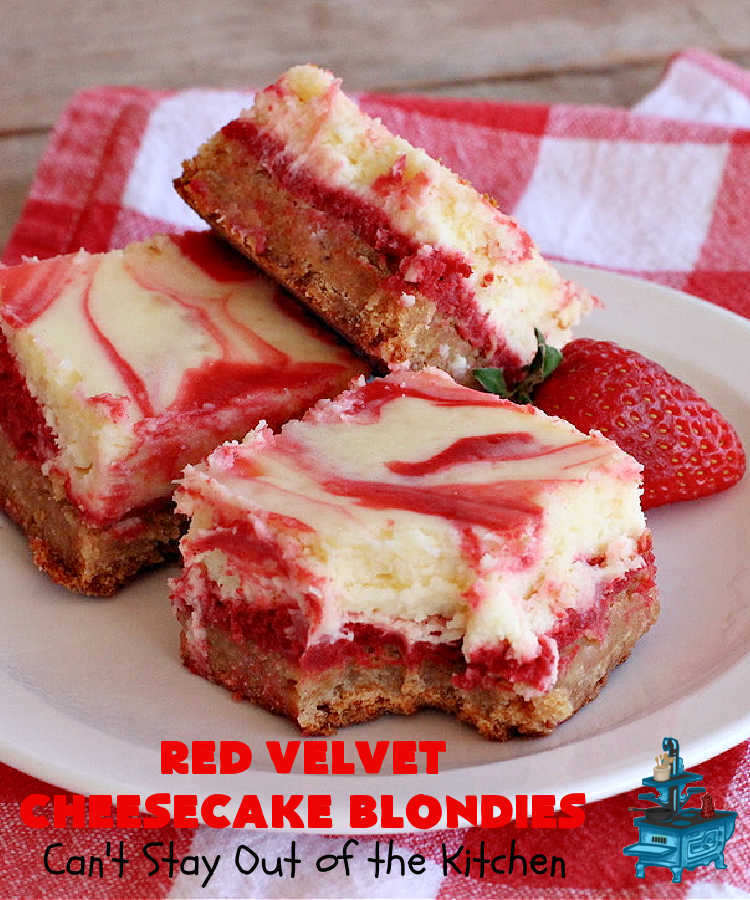
Red Velvet Cheesecake Blondies
Oh my goodness. Red Velvet Cheesecake Blondies. Talk about mouthwatering. Talk about decadent. Talk about irresistible. Talk about amazing. Talk about eating the whole pan! 🙂 I loved, loved, loved these fantastic brownies. There wasn’t anything I didn’t like about this recipe. It’s so cheesecakey (is that a word?) It makes a fantastic dessert for holidays like Valentine’s Day, Mother’s Day, birthdays or just because you enjoy Red Velvet desserts. Do I hear an Amen?
Follow Me On Instagram!
About a week or so before Valentine’s Day we got a copy of our monthly city style magazine. I like to look through those magazines for great places to eat and recipes! The recipe Red Velvet Cheesecake Blondies was in that magazine. They got it from a local bakery.
I read through the recipe a couple of times. I realized immediately that it wasn’t typed in correctly, Some of the measurements for vanilla and flour (with divided usage) weren’t adding up to the total amounts used. I corrected all of that. I will tell you I was leery of using nutmeg in the crust layer. But I decided to give it a go nonetheless.
I was not in the least disappointed. The nutmeg did not overwhelm the taste. The cheesecake itself was excellent. It doesn’t use a lot of cocoa, but it was still an excellent Red Velvet dessert. We gave out the brownies to several of our neighbors on Valentine’s Day just to say high and wish them the best.
I wasn’t the only one in our neighborhood who tried out the recipe. We heard from a few others that also gave it a whirl. Everybody enjoyed it but one of the gals said she would have preferred a graham cracker crust rather than the one given. I actually disagree. I thought this crust was better than a graham cracker crust. Because this recipe has a lot of steps and is more involved than some dessert recipes, I recommend you look at all the pictures and read through the recipe instructions thoroughly before making this lovely Red Velvet dessert.
Even though this dessert does call for a little more work, this is one delightful brownie recipe you don’t want to be without. Enjoy.
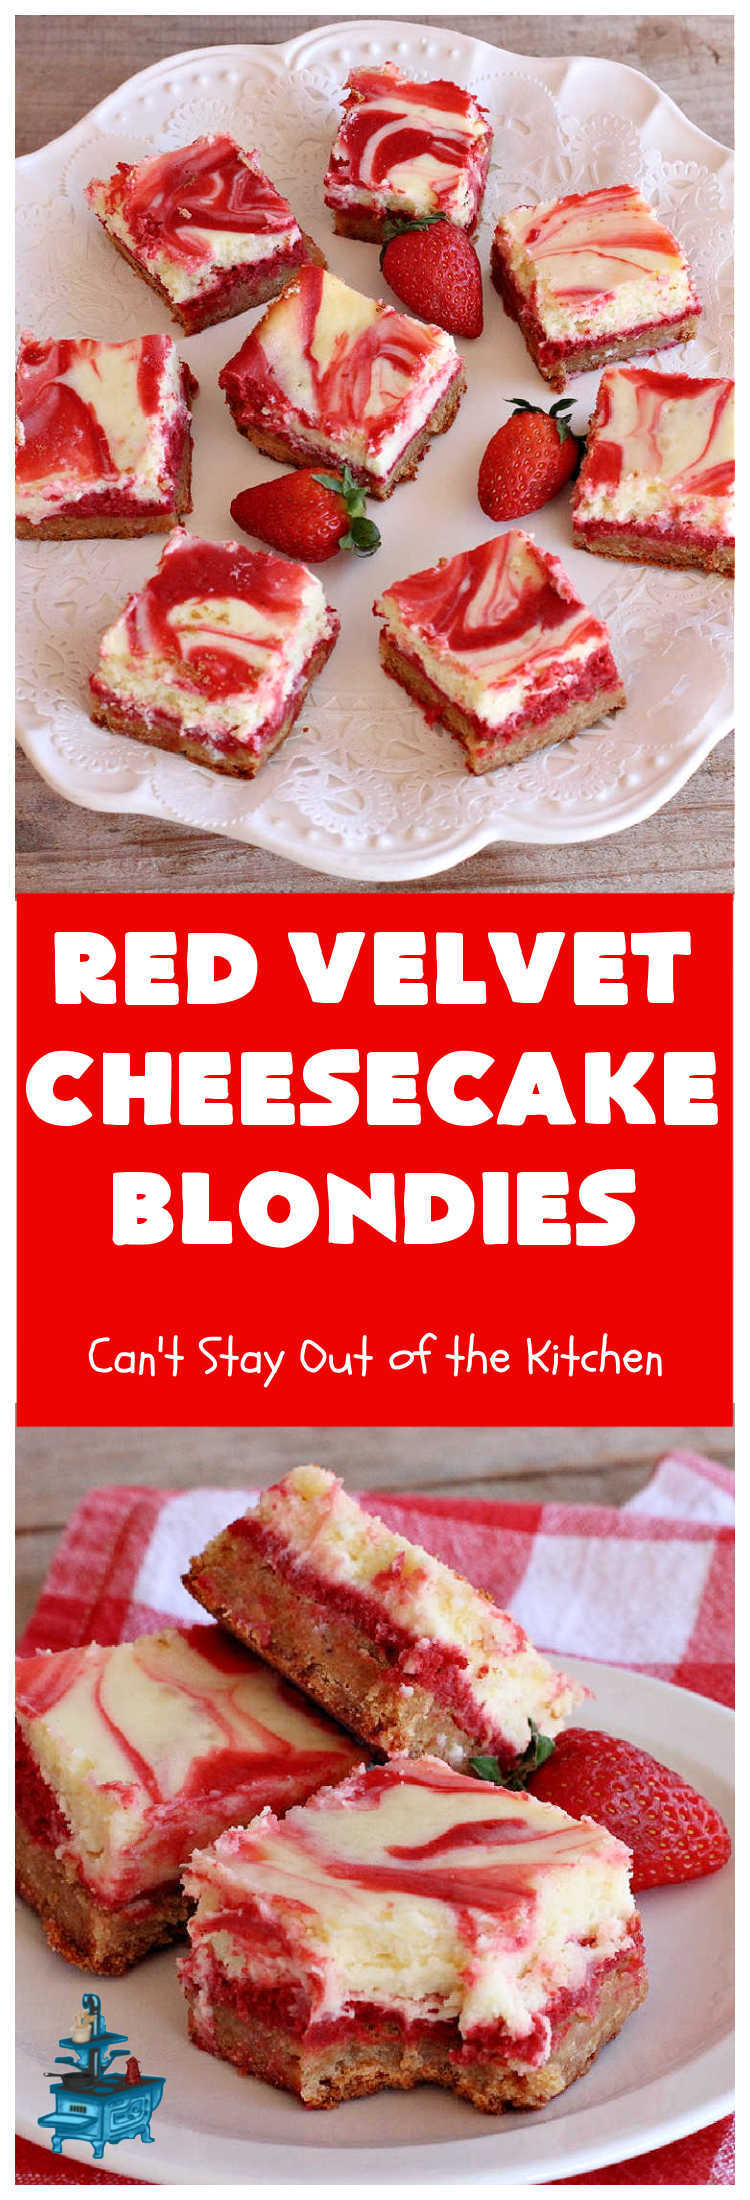
Red Velvet Cheesecake Blondies are superb.
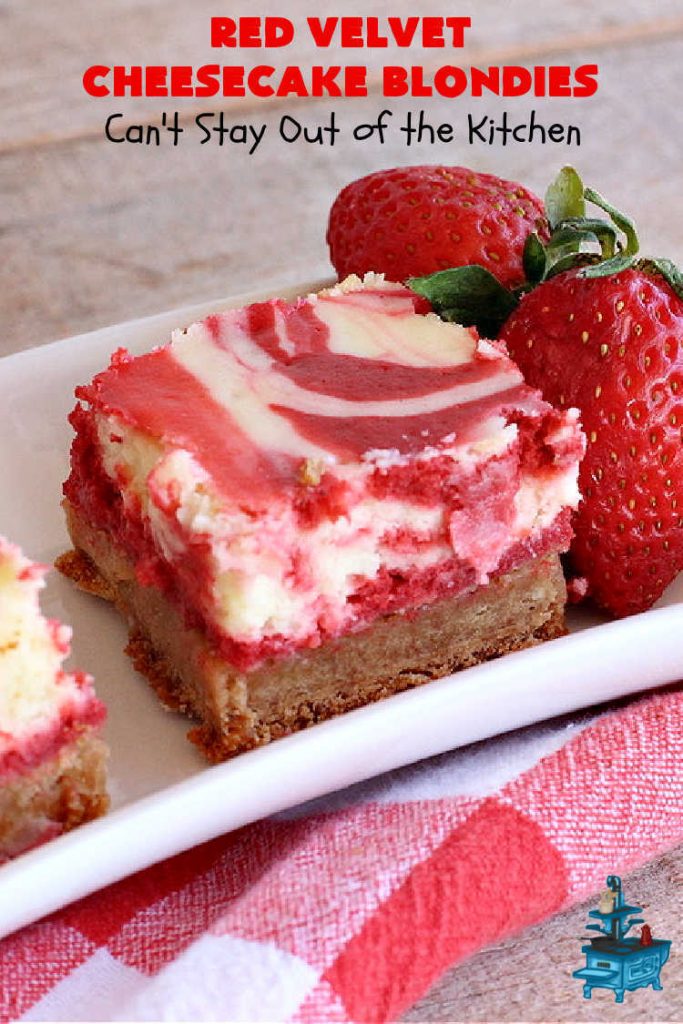
The cheesecake layer is so rich and cheesecakey. 🙂
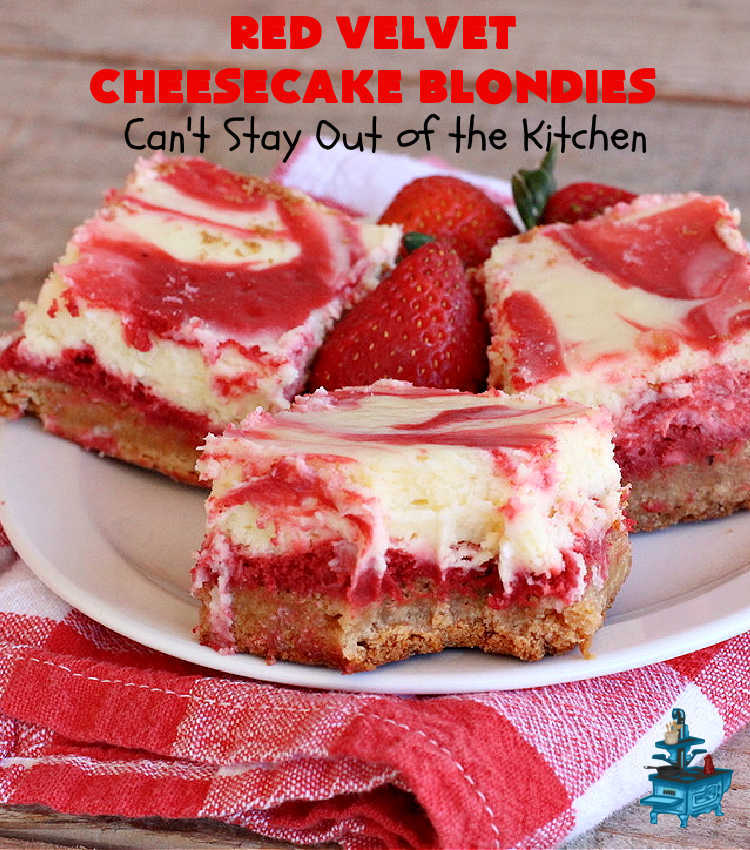
Every bite will rock your world! No kidding.
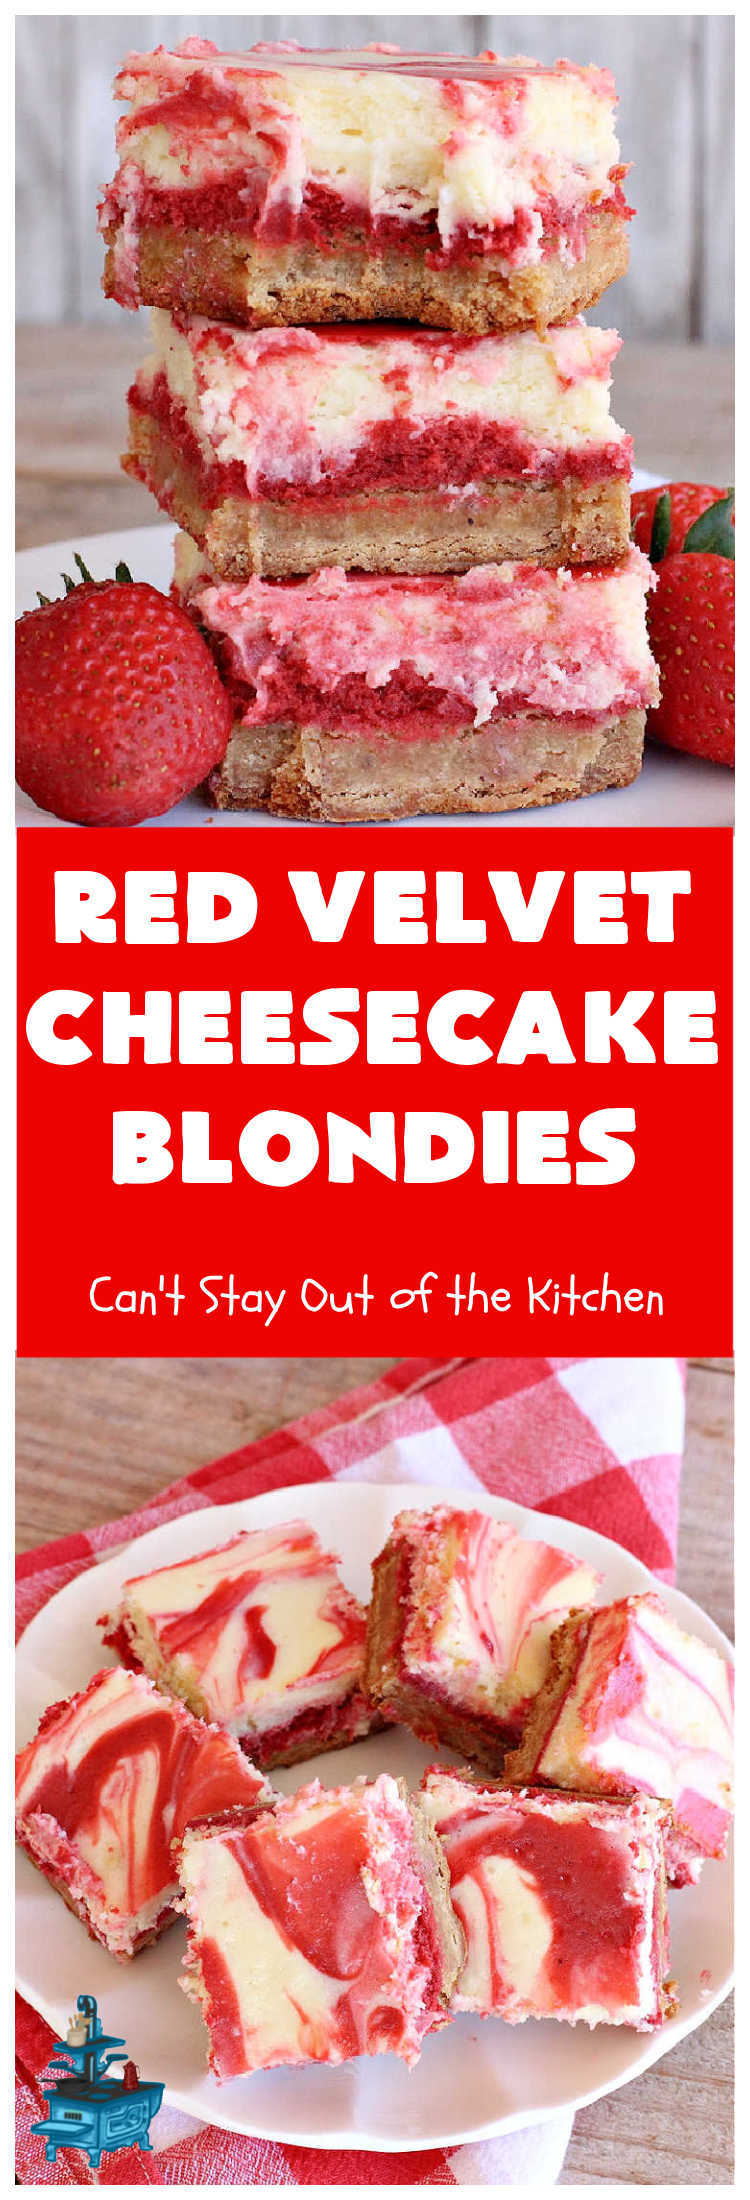
Red Velvet Cheesecake Blondies are rich, decadent and divine!
Here’s what I did.
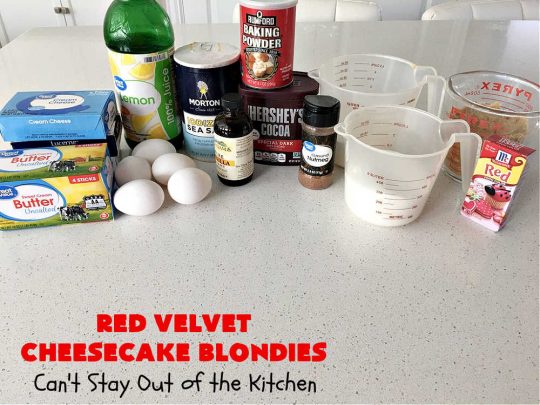
I used these ingredients.
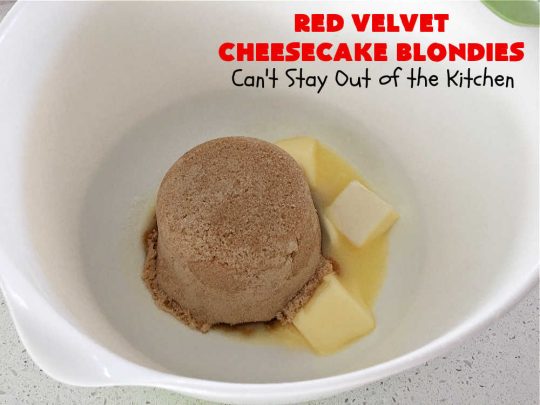
Soften butter. The recipe never specified if the butter was to be softened, melted or left cold. But since it was for a crust layer, I didn’t worry about it too much. Mine is kind of half way between softened and melted. Add brown sugar.
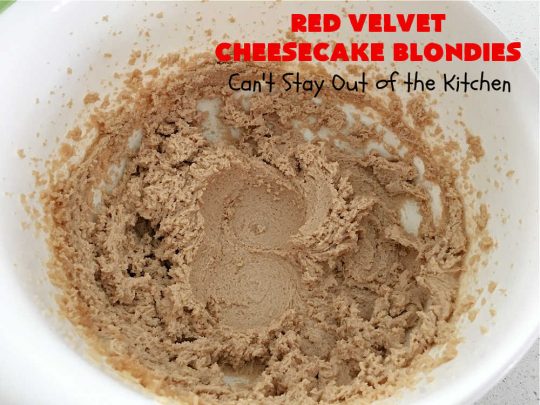
Mix with an electric mixer for 5 minutes until thoroughly combined. I only mixed this part for 3 minutes.
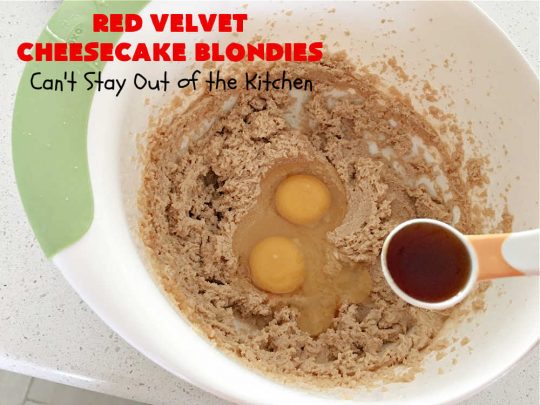
Add two of the eggs and 2 1/4 tsp. vanilla and keep beating.
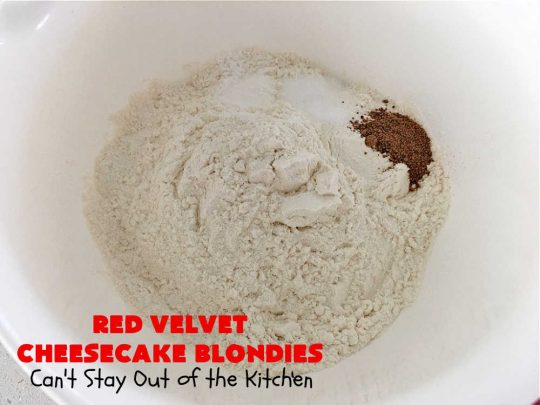
In a separate mixing bowl, place flour, salt, baking powder and nutmeg.
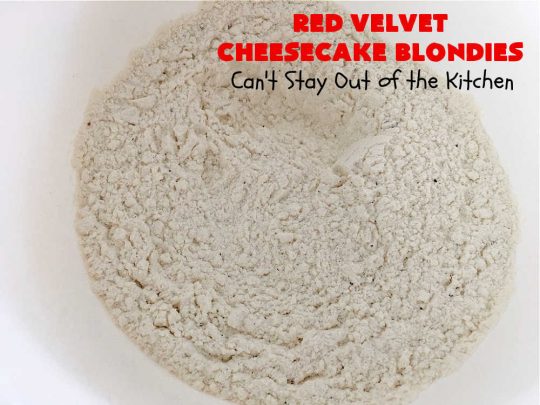
Stir ingredients very well to combine.
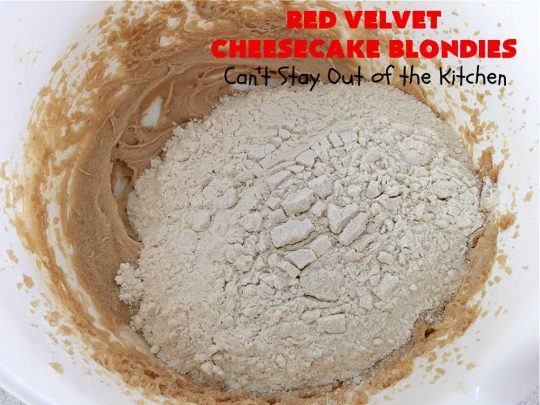
Add flour mixture to brown sugar mixture.
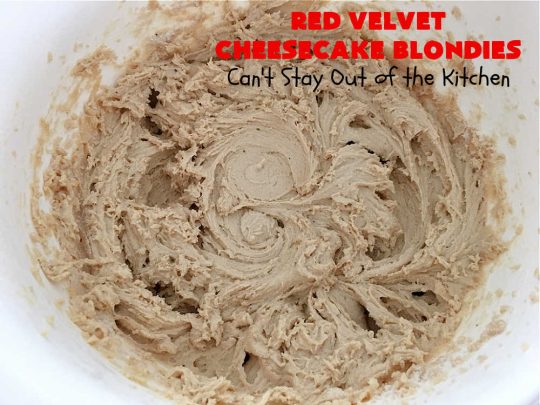
Mix ingredients with an electric mixer to combine.
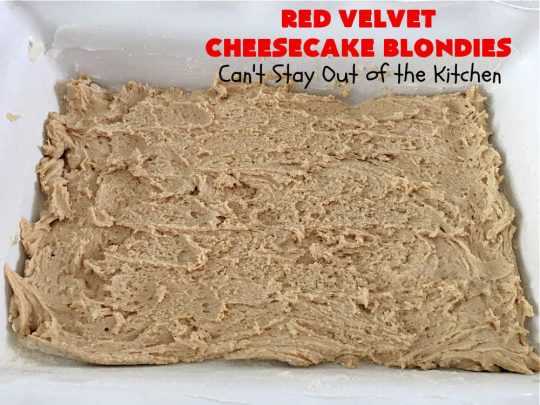
Spread crust mixture into a greased 9×13″ glass baking dish.
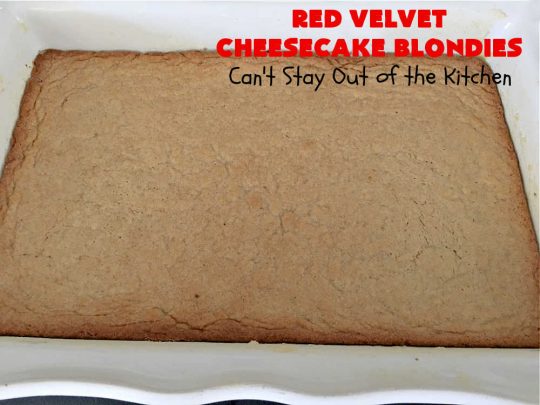
Bake at 350 degrees for 30-35 minutes or until crust is done and lightly browned on top.
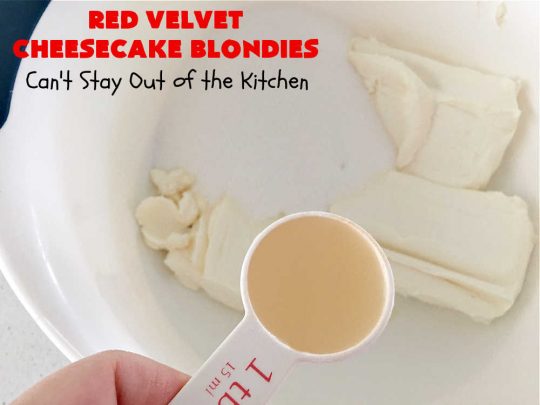
While crust is baking, prepare cheesecake layer. Soften cream cheese. Add granulated sugar, lemon juice and a teaspoon of real vanilla extract.
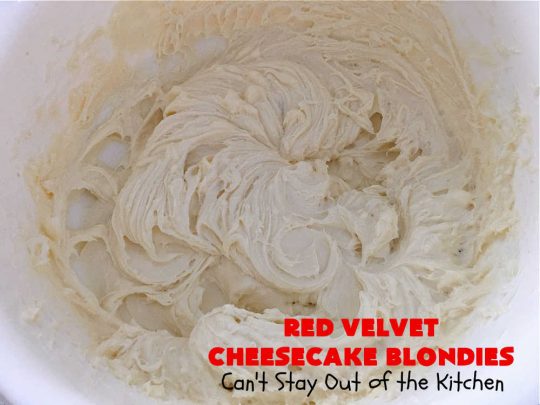
Cream ingredients with a mixer until smooth.
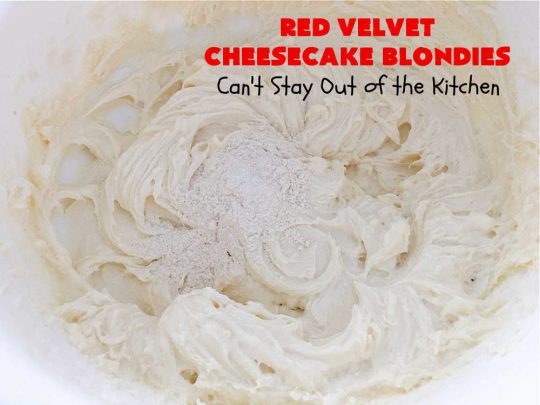
Add remaining 1 1/2 tablespoons flour.
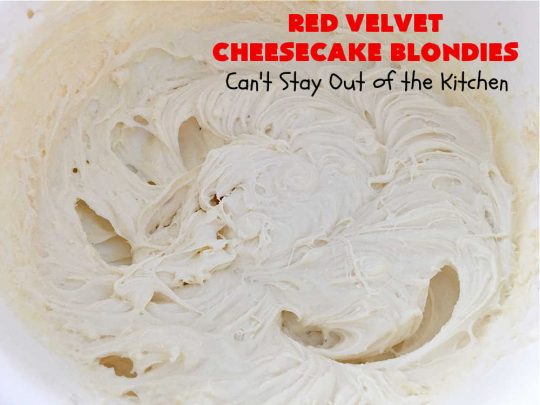
Mix again.
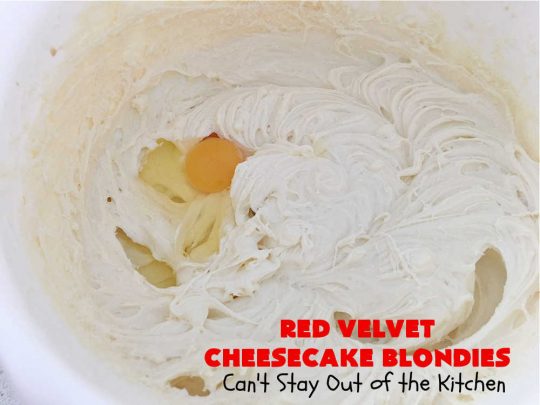
Add eggs one at a time, mixing with an electric mixer after each addition.
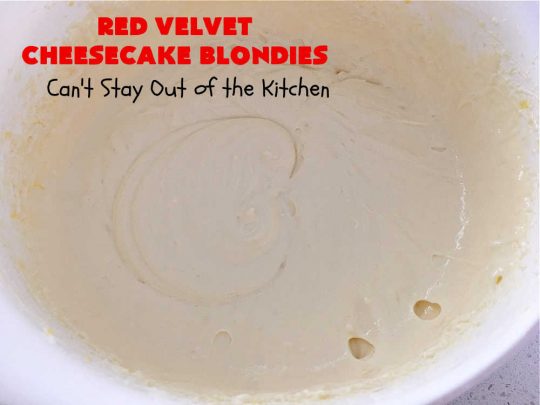
This is what the mixture looks like after adding all the eggs.
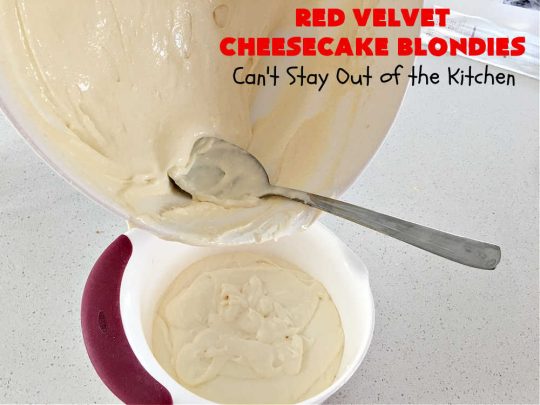
Transfer half of the cream cheese mixture to another bowl.
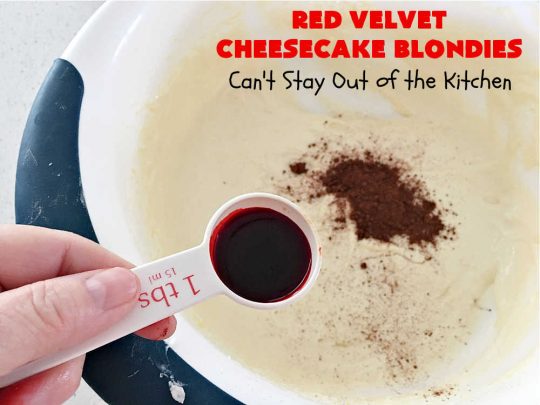
To one of the bowls, add cocoa powder and red food coloring.
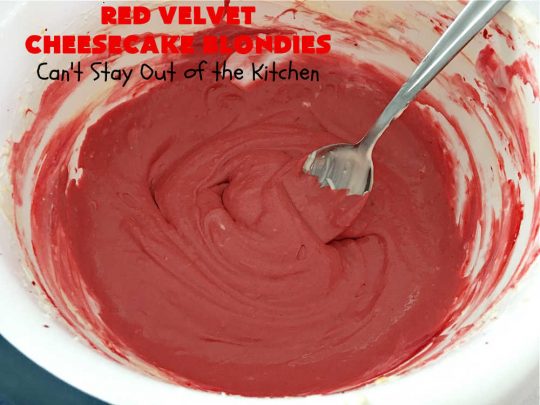
Mix with an electric mixer again until cocoa powder and food coloring is thoroughly mixed into the batter.
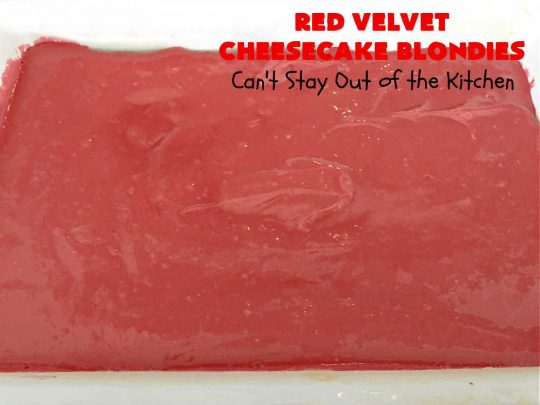
Spread the red cheesecake layer over top of the cooked crust layer.
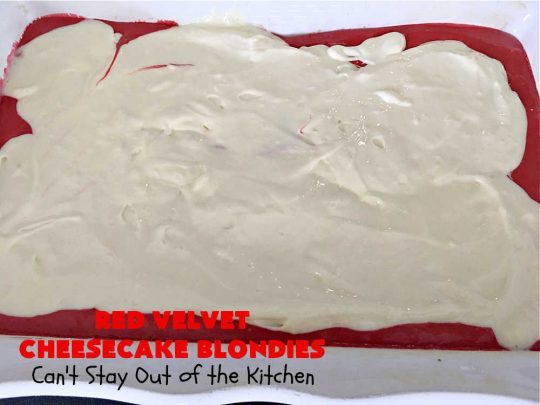
Spoon the white cheesecake layer over top of the red cheesecake layer.
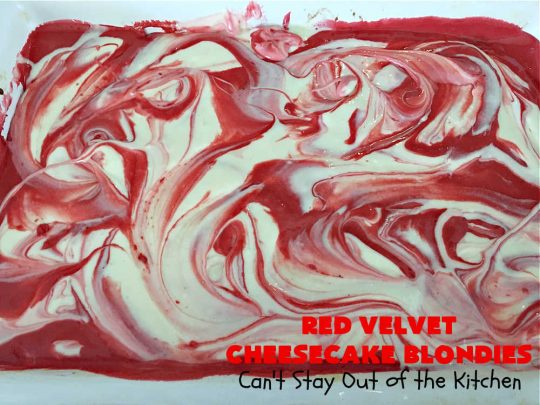
Using a spoon, gently combine the white and red layers making swirling and marbled effects in the cheesecake layer.
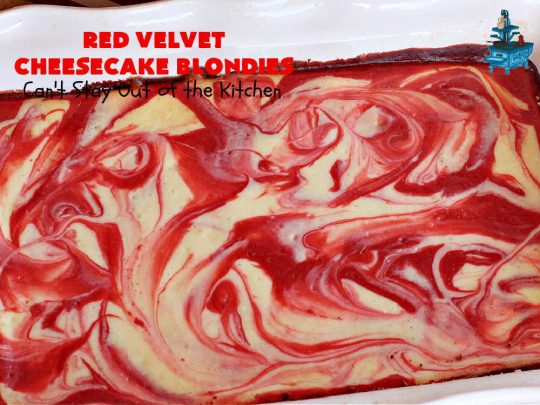
Bake at 350 degrees for about 40 minutes until the edges of the top layer are set, but the center of the bars are still a little “wobbly” and not firm. Allow the cheesecake bars to cool for at least four hours or overnight.
After four hours, I recommend refrigerating the bars overnight before cutting and serving. As the bars cool, the middle will sink into the cheesecake somewhat and will get firmer as the dessert cools.
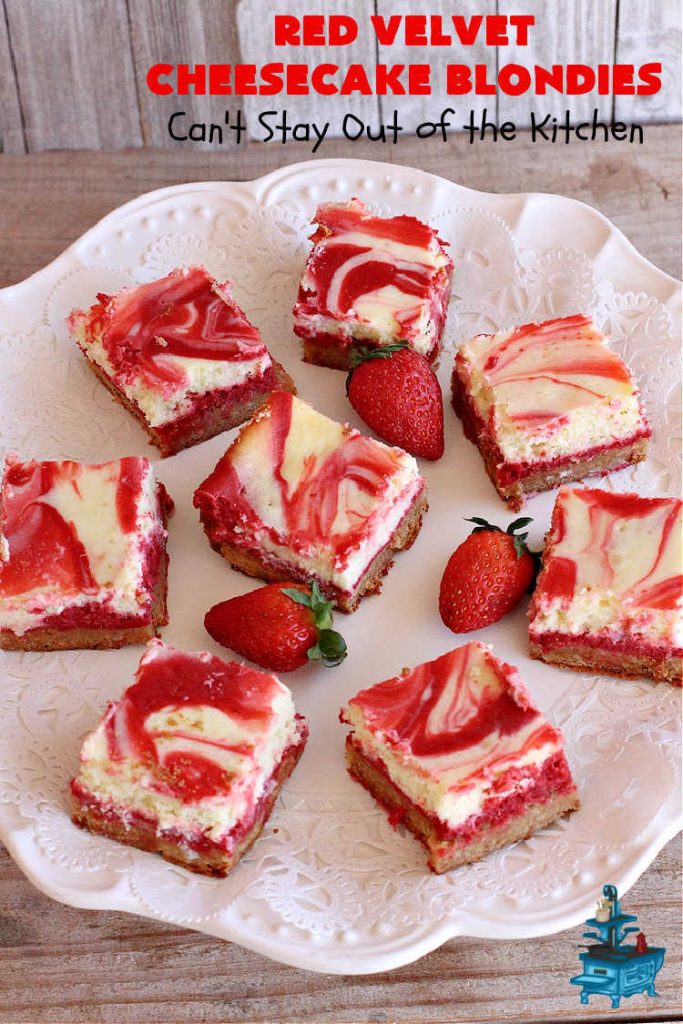
This is a fabulous dessert to take to baby showers, holiday parties or special occasions.

Red Velvet Cheesecake Blondies are spectacular. Every bite will have you drooling. No kidding!

If you’re looking for a splendid dessert to wow your family and friends, Red Velvet Cheesecake Blondies are sure to please.
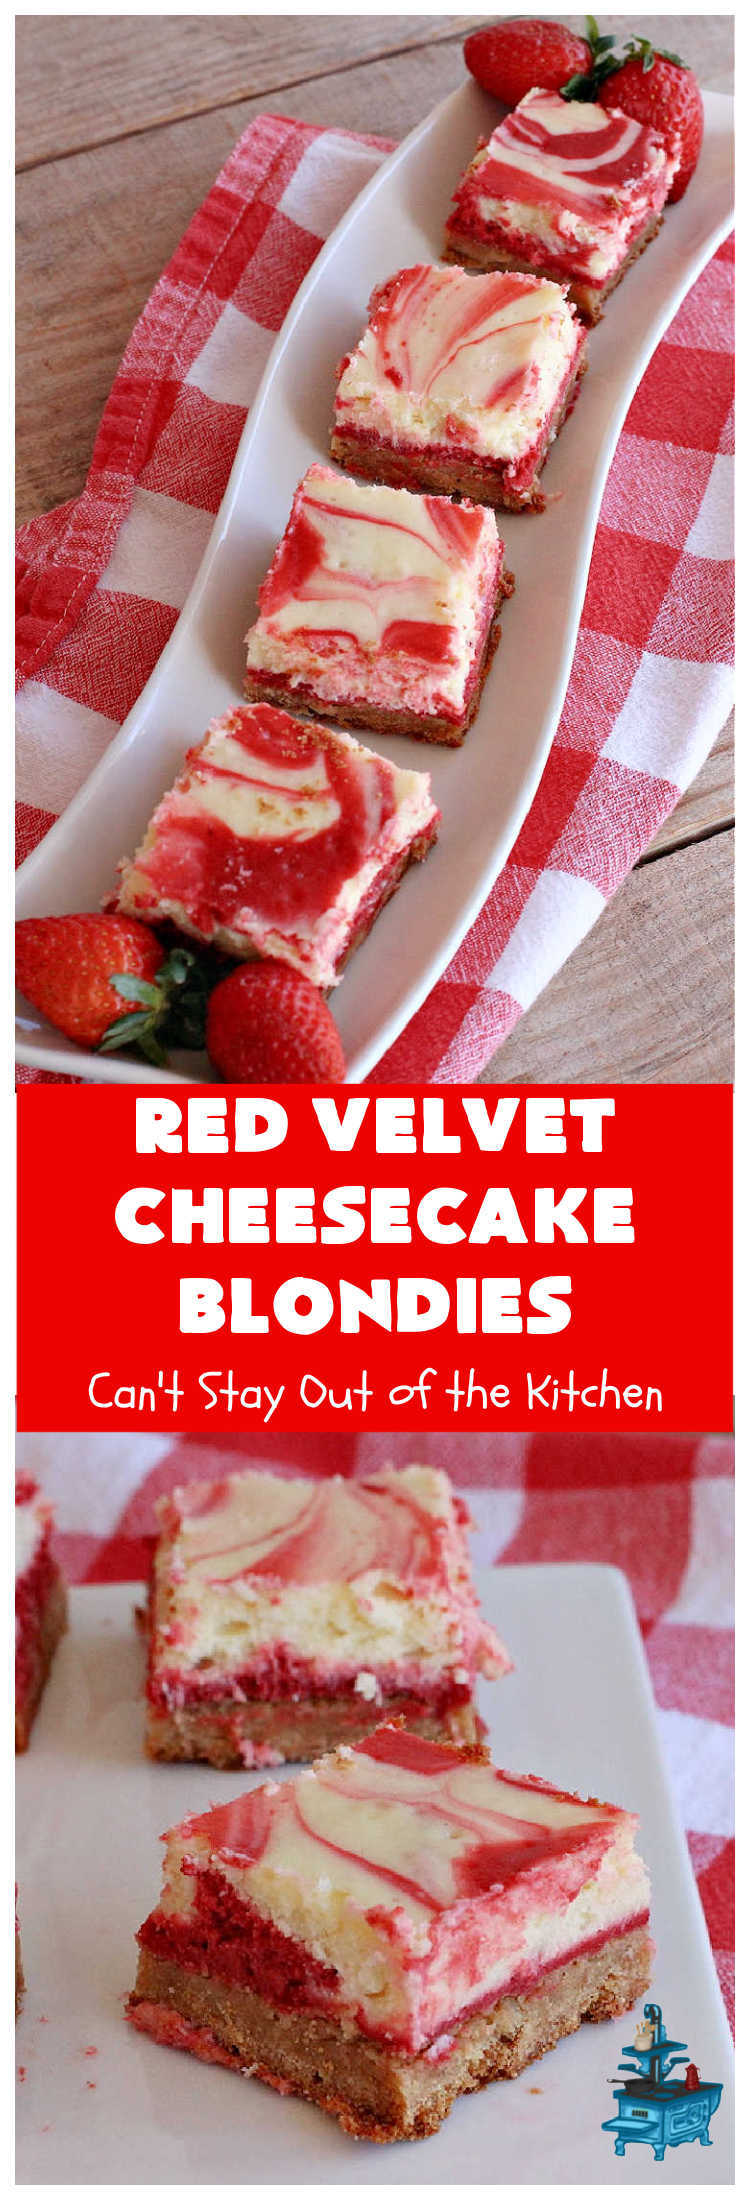
These delightful brownies are everything you can wish for in a dessert. The nutmeg adds a little pop to the crust layer, but doesn’t overwhelm the bars with too many competing flavors.
Here’s the recipe.
RED VELVET CHEESECAKE BLONDIES
(Recipe adapted from Da Bomb Brownies, Plano, TX, as printed in Frisco Style Magazine, February 2022)
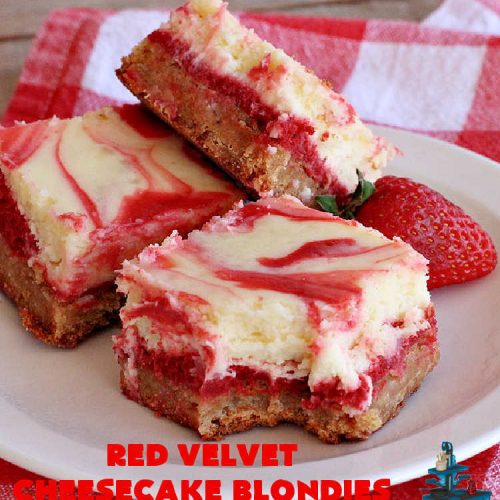
Red Velvet Cheesecake Blondies
Equipment
- 1 large mixing bowl
- 1 wooden spoon
- 1 electric mixer
- 2 medium mixing bowls
- 1 whisk
- 1 9x13" glass baking dish
- measuring cups
- measuring spoons
- 1 spatula
- 1 small mixing bowl
Ingredients
- 1 1/2 cups light brown sugar packed
- 9 tbsp. unsalted butter softened
- 5 large eggs divided use
- 3 1/4 tsp. real vanilla extract divided use, no substitutions
- 1 3/4 cups UNBLEACHED all-purpose flour (bleached flour toughens baked goods), divided use
- 1 1/2 tsp. baking powder `
- 3/4 tsp. sea salt
- 1/2 tsp. ground nutmeg
- 24 oz. pkg. cream cheese softened (three 8-ounce blocks)
- 1 1/4 cups granulated sugar
- 1 tbsp. lemon juice
- 3/4 tbsp. unsweetened cocoa powder
- 3/4 tbsp. red food coloring
Instructions
- BOTTOM LAYER: Preheat oven to 350°.
- Meanwhile, mix brown sugar and butter in a mixing bowl.
- Beat for 5 minutes with an electric mixer.
- Add two of the eggs, 2 ¼ tsp. vanilla extract and continue mixing with beater.
- In a separate bowl, whisk 1 ½ cups plus 2 ½ tbsp. flour, baking powder, salt and nutmeg together.
- Add flour mixture to the egg mixture and combine.
- Spread mixture into a greased and floured 9x13” glass baking dish.
- Bake at 350° for 30-35 minutes, or until the blondie has a golden top and is firm in the center of the dish.
- TOP LAYER: Beat softened cream cheese, granulated sugar, lemon juice and 1 tsp. vanilla extract with an electric mixer until smooth and well mixed.
- Add remaining 1 ½ tbsp. flour and mix again.
- Add eggs one at a time mixing well after each addition.
- Transfer half of the batter to a small mixing bowl.
- To one of the bowls of batter, add cocoa powder and red food coloring.
- Mix with an electric mixer until thoroughly combined.
- Pour the red velvet batter mixture on top of the baked blondie.
- Then pour the white cheesecake batter on top of the red velvet layer.
- Using a spoon, gently combine the red velvet and white cheesecake batters to create a marbled and swirled effect.
- Bake at 350° for 40 minutes or until the edges of the top layer are set but the center is still “wobbly” and not firm.
- Remove dish from oven and allow the blondies to cool at least four hours or overnight.
- Cut into bars to serve.
- Refrigerate after four hours.
Notes
Recipe adapted from Da Bomb Brownies, as printed in Frisco Style Magazine, February 2022.
© Can’t Stay Out of the Kitchen
Nutrition
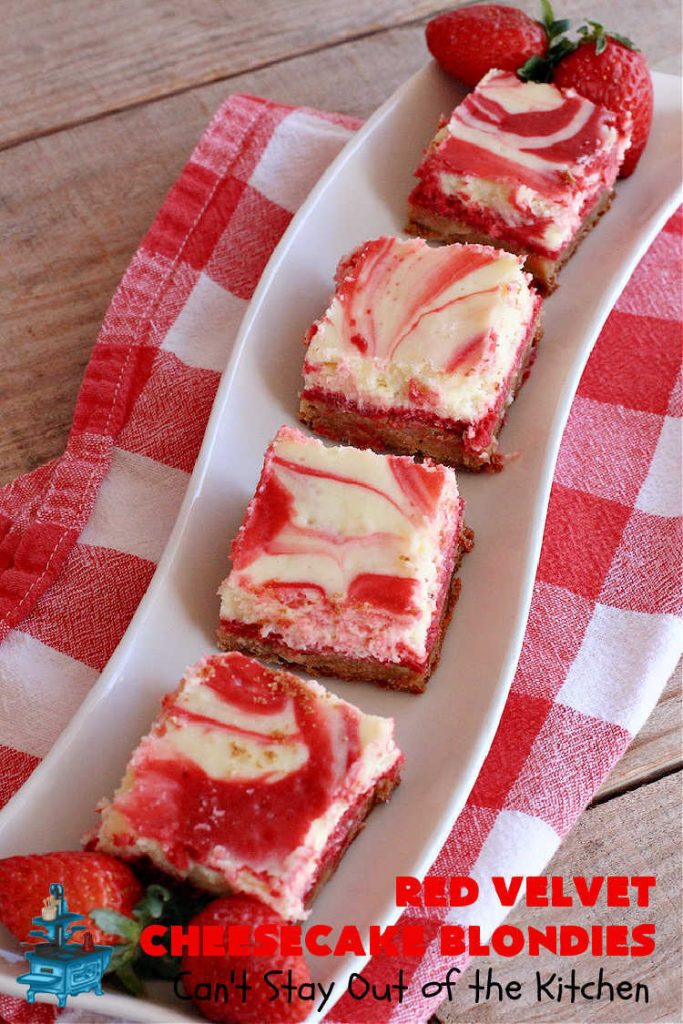
Don’t these Red Velvet Cheesecake Blondies look marvelous?
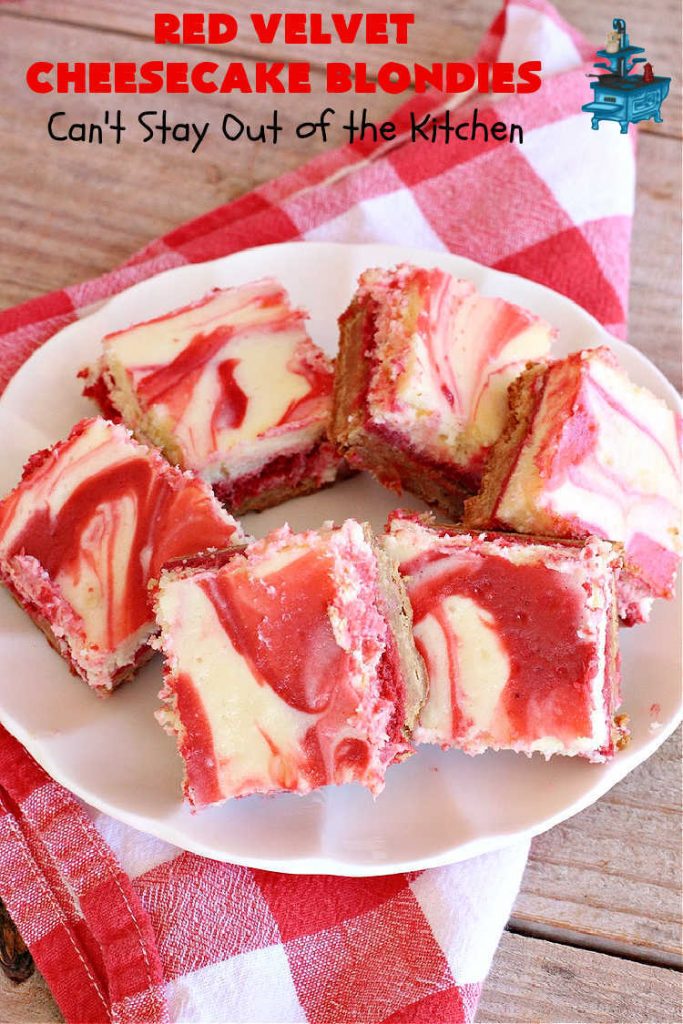
My husband and I split one of these jewels before giving them out to several neighbors for Valentine’s Day. Everyone loved these brownies.
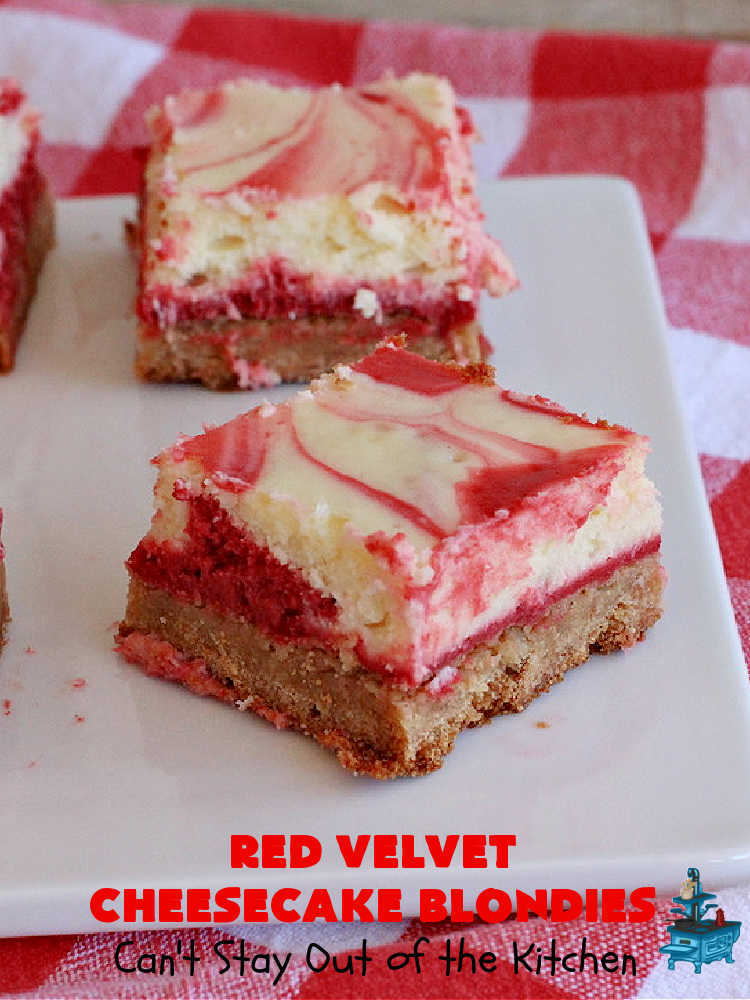
I love Red Velvet desserts anyway, but this one has a wonderful cheesecake layer.
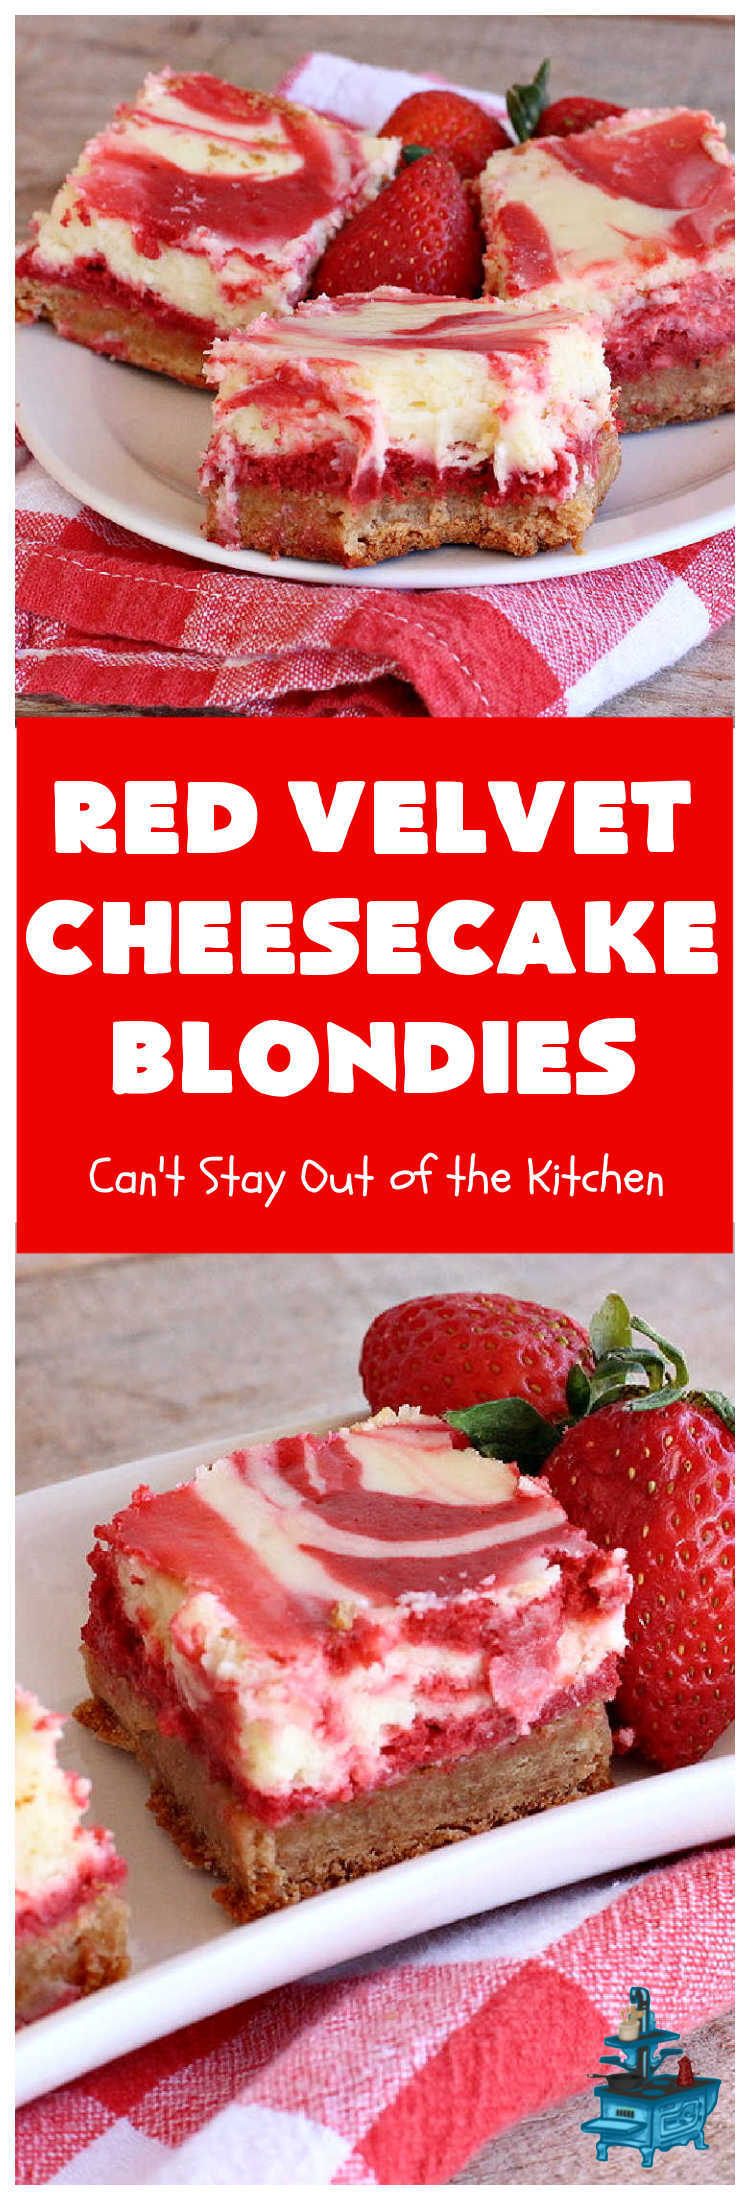
Every bite is irresistible.
You may also enjoy these delicious recipes!
Red Velvet Cheesecake Brownies

Red Velvet Cream Cheese Brownies
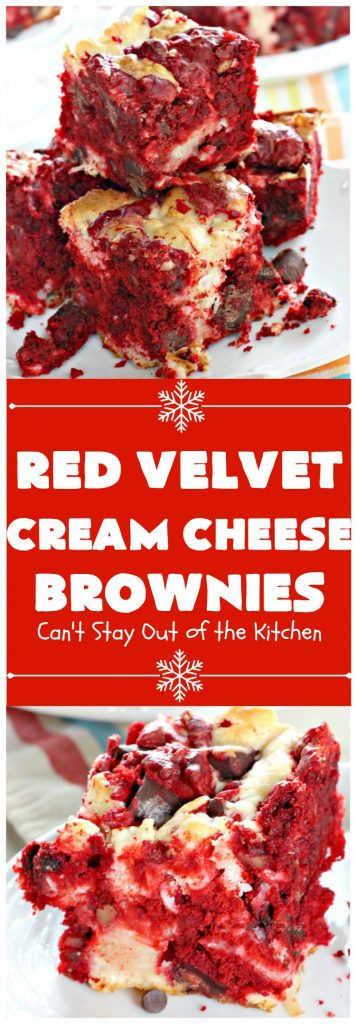
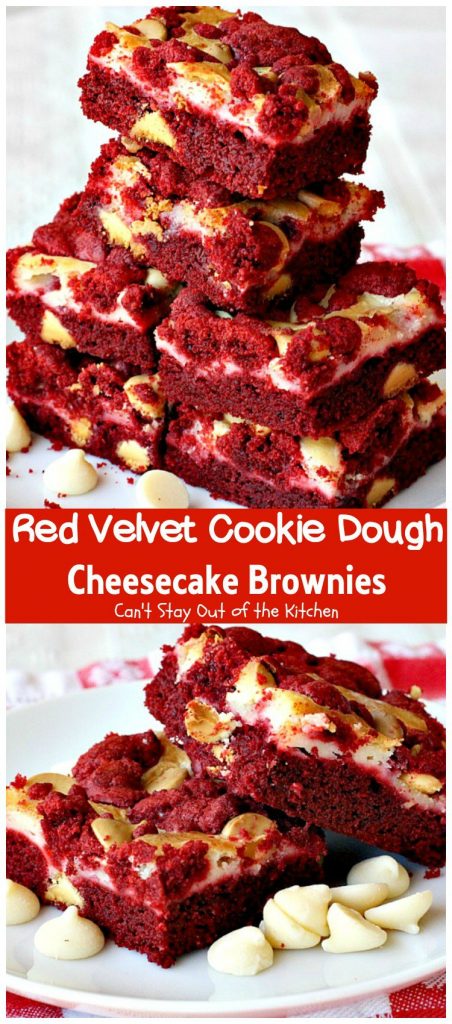
Red Velvet Cookie Dough Cheesecake Brownies

Red Velvet Cheesecake Blondies
Equipment
- 1 large mixing bowl
- 1 wooden spoon
- 1 electric mixer
- 2 medium mixing bowls
- 1 whisk
- 1 9×13" glass baking dish
- measuring cups
- measuring spoons
- 1 spatula
- 1 small mixing bowl
Ingredients
- 1 1/2 cups light brown sugar packed
- 9 tbsp. unsalted butter softened
- 5 large eggs divided use
- 3 1/4 tsp. real vanilla extract divided use, no substitutions
- 1 3/4 cups UNBLEACHED all-purpose flour (bleached flour toughens baked goods), divided use
- 1 1/2 tsp. baking powder `
- 3/4 tsp. sea salt
- 1/2 tsp. ground nutmeg
- 24 oz. pkg. cream cheese softened (three 8-ounce blocks)
- 1 1/4 cups granulated sugar
- 1 tbsp. lemon juice
- 3/4 tbsp. unsweetened cocoa powder
- 3/4 tbsp. red food coloring
Instructions
- BOTTOM LAYER: Preheat oven to 350°.
- Meanwhile, mix brown sugar and butter in a mixing bowl.
- Beat for 5 minutes with an electric mixer.
- Add two of the eggs, 2 ¼ tsp. vanilla extract and continue mixing with beater.
- In a separate bowl, whisk 1 ½ cups plus 2 ½ tbsp. flour, baking powder, salt and nutmeg together.
- Add flour mixture to the egg mixture and combine.
- Spread mixture into a greased and floured 9×13” glass baking dish.
- Bake at 350° for 30-35 minutes, or until the blondie has a golden top and is firm in the center of the dish.
- TOP LAYER: Beat softened cream cheese, granulated sugar, lemon juice and 1 tsp. vanilla extract with an electric mixer until smooth and well mixed.
- Add remaining 1 ½ tbsp. flour and mix again.
- Add eggs one at a time mixing well after each addition.
- Transfer half of the batter to a small mixing bowl.
- To one of the bowls of batter, add cocoa powder and red food coloring.
- Mix with an electric mixer until thoroughly combined.
- Pour the red velvet batter mixture on top of the baked blondie.
- Then pour the white cheesecake batter on top of the red velvet layer.
- Using a spoon, gently combine the red velvet and white cheesecake batters to create a marbled and swirled effect.
- Bake at 350° for 40 minutes or until the edges of the top layer are set but the center is still “wobbly” and not firm.
- Remove dish from oven and allow the blondies to cool at least four hours or overnight.
- Cut into bars to serve.
- Refrigerate after four hours.
2 Comments
Da Bomb Brownie
June 13, 2022 at 2:09 pm
Wonderful , wonderful recipe. Thank you much! I will bookmark this page for more great stuff.
Teresa
June 14, 2022 at 11:14 am
Thanks for the great recipe!