Red Velvet Cheesecake Brownies
Red Velvet Cheesecake Brownies are one of the most awesome brownies I make. No kidding. I love Red Velvet desserts! I made Red Velvet Whoopie Pies for our Christmas baking a few years back and everyone wants me to make them again!
Follow Me On Instagram!
So whether it’s Red Velvet Cake, Red Velvet Cupcakes, Red Velvet Cookies or Brownies, Red Velvet Truffles, Red Velvet Cheesecake, or Red Velvet Cake Roll, I love it all! So what about Red Velvet Cheesecake Brownies? Yum, even the name sounds amazing. This particular brownie is made with Ghirardelli’s semi sweet chocolate bars providing spectacular chocolaty flavor.
This is an amazing dessert your whole family will love. It has a delicious chocolate, red velvet layer and a cream cheese filling swirled into the batter. It bakes up beautifully and is one of those recipes that actually delivers in taste what it looks like in appearance.
This is a wonderful dessert to serve during the holidays or Valentine’s Day, other special occasions, or just because! We love this recipe and we think you will enjoy it, too.
When I served this at a large church social this past Sunday everybody loved it. It’s got great flavor and it’s really not all that difficult to put together. I made a few changes, the main one being doubling the ingredients for a larger pan.
I don’t waste my time with a 9″ square pan. If I’m going to take the time to bake, I’m going to get at least 2 dozen of something or more! Most of the time when I double recipes for 9″ pans I usually put them into a 9×13″ pan. However, on this occasion I decided to make it in a 10×15″ glass baking dish instead. It made 32 bars.
If you’re looking for an amazing brownie recipe for your next holiday function or special occasion party, then you need to try Red Velvet Cheesecake Brownies. You won’t be disappointed, and you may find yourself with a new fave for holiday baking.
I have to admit, when I made Red Velvet Cheesecake Brownies the first time in October 2012, I was really disappointed by the appearance. None of the recipes I looked at said anything about tenting cream cheese desserts with foil because they will brown easily (after about 20 minutes of baking). The red velvet part was dark brown, too, and not red like it should have been. The taste was great, but the presentation was not what I had hoped for.
I recently remade this recipe (February 2015), and after making my spectacular Earthquake Cake and Red Velvet Earthquake Cake(s) last year, I learned that you can’t bake red velvet or cream cheese desserts without tenting them with foil–at least part, if not ALL of the baking time. Otherwise, the red turns dark brown and the cream cheese darkens. Both of which are completely unattractively in my view.
So I rebaked this fabulous recipe again for our Super Bowl party (2015), and this time I tented the brownies with foil the WHOLE length of cooking time. Because of that, these brownies took over an hour to bake! Probably about an hour and 5-10 minutes total time before I could put a toothpick in the center and feel good about it.
It did take longer for the top of the brownies to cook with the foil over it. But if you saw these brownies this time, you would have said it was worth it. Are these a high maintenance brownie? YES! Are they the richest, most decadent, most fantastic brownie you will ever eat? Definitely, YES!
I brought them to our Super Bowl party this year and they were a big hit with everyone. Even though we were stuffed to the gills with Navaho Tacos, Sliders, and so many other sides, I made sure everyone had a chance to eat one of these jewels. Red Velvet Cheesecake Brownies not only look beautiful, they actually taste better than they look! I mean, these brownies absolutely rock!
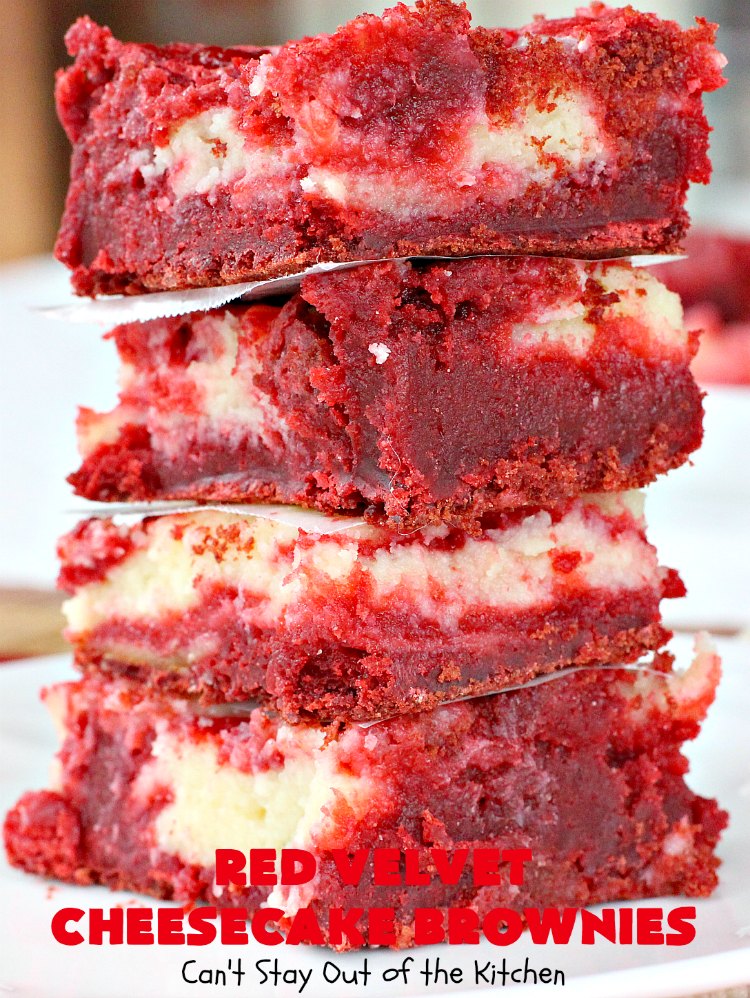
One of the things I like best about this brownie is it really tastes like a brownie. It’s not cakey, but really dense like a cookie. I refrigerated these brownies overnight before I actually cut them (to make for easier and straighter cutting. Even refrigerating them a few hours before you need them is preferred. I would not recommend baking them in a metal pan as they may not come out of the pan as easily as using a glass baking dish.
I hope you enjoy the new pictures. I sure do. 🙂
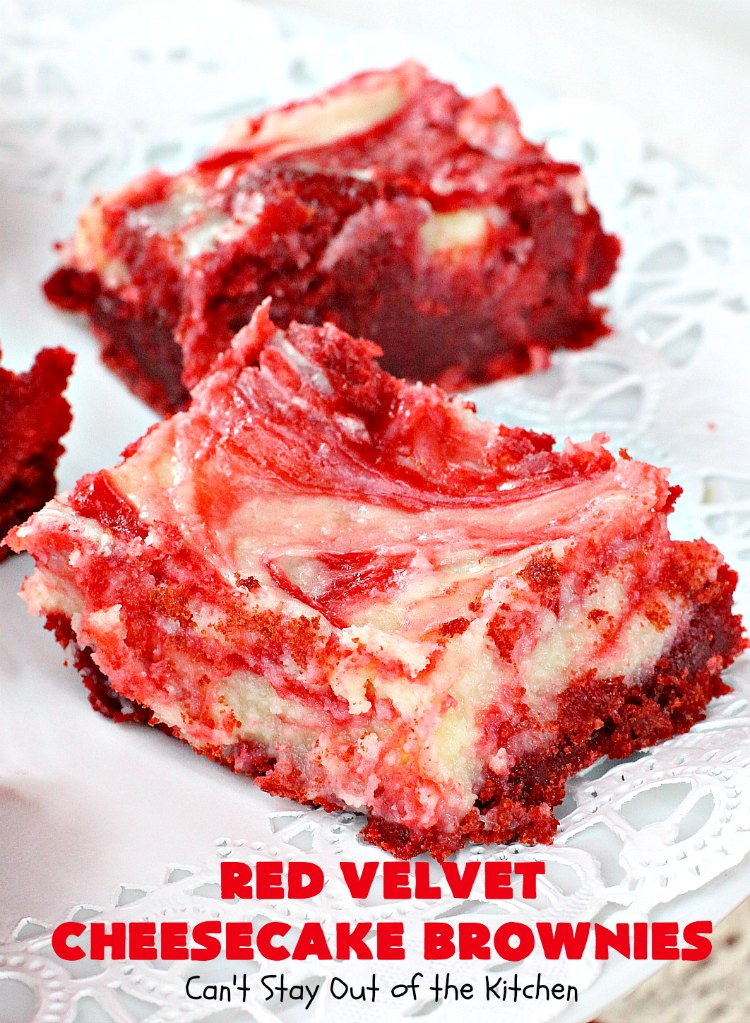
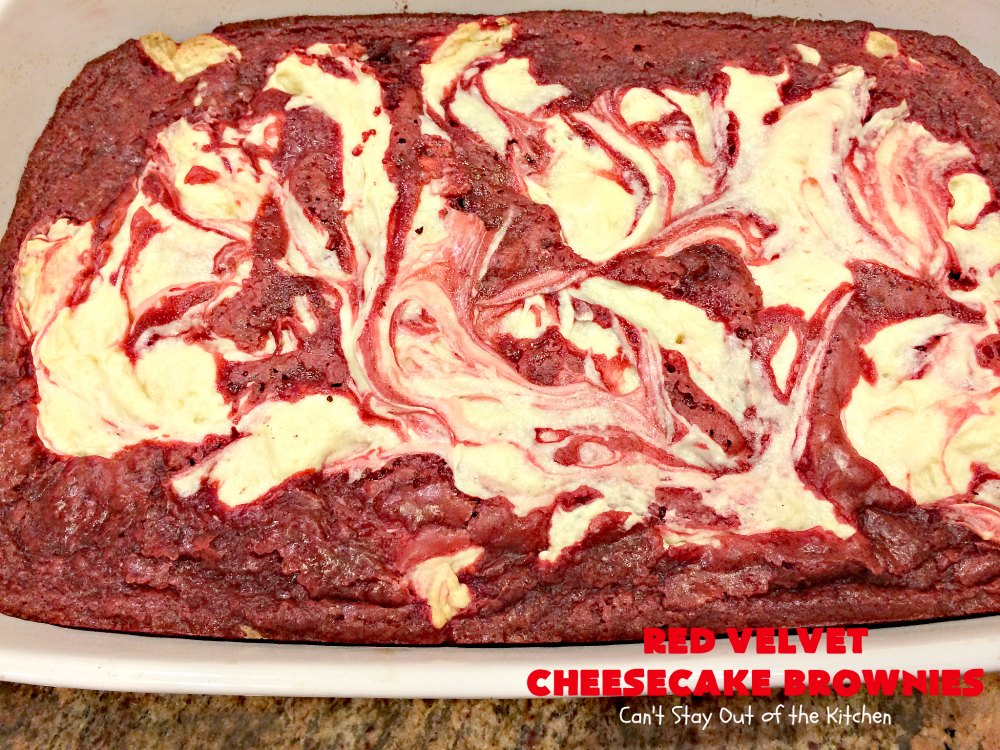
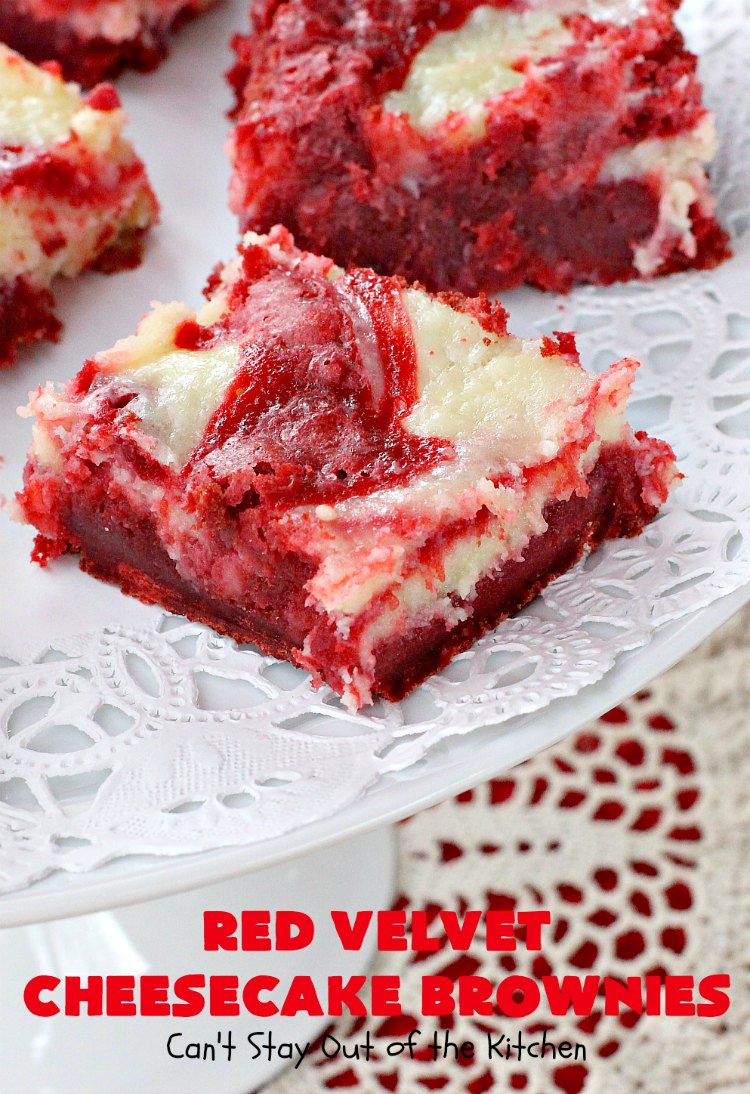
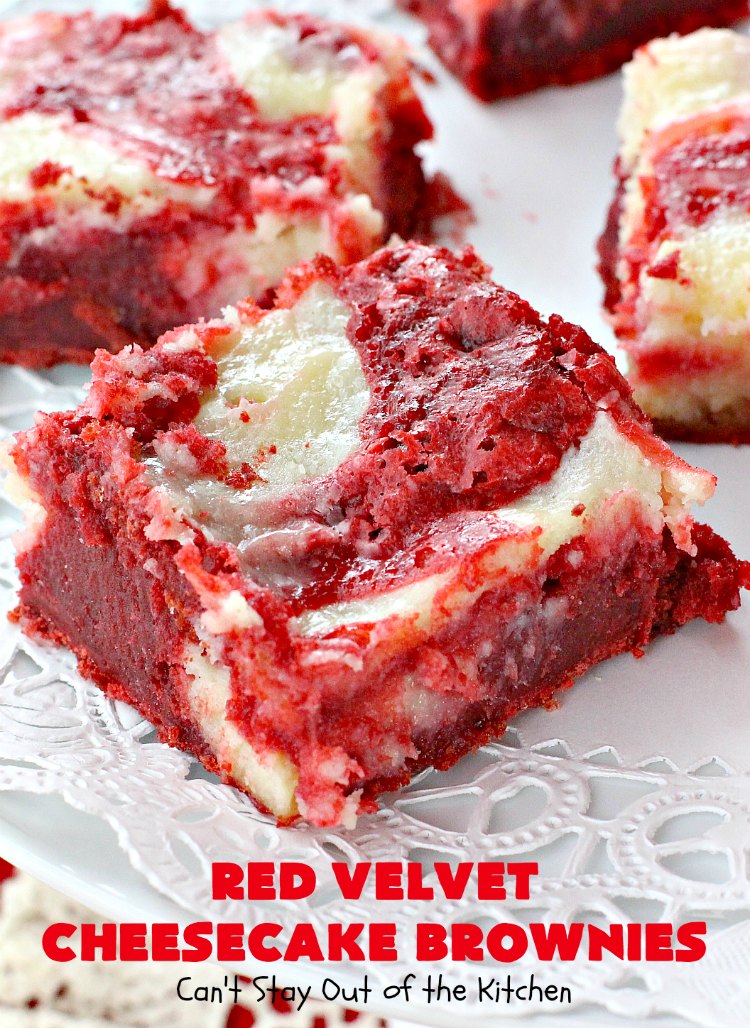
Don’t Red Velvet Cheesecake Brownies look delicious? This time the brownies turned out red and the cream cheese isn’t brown on top. Yay!
Red Velvet Cheesecake Brownies have a rich, fudgy, chocolaty layer swirled with cheesecake!
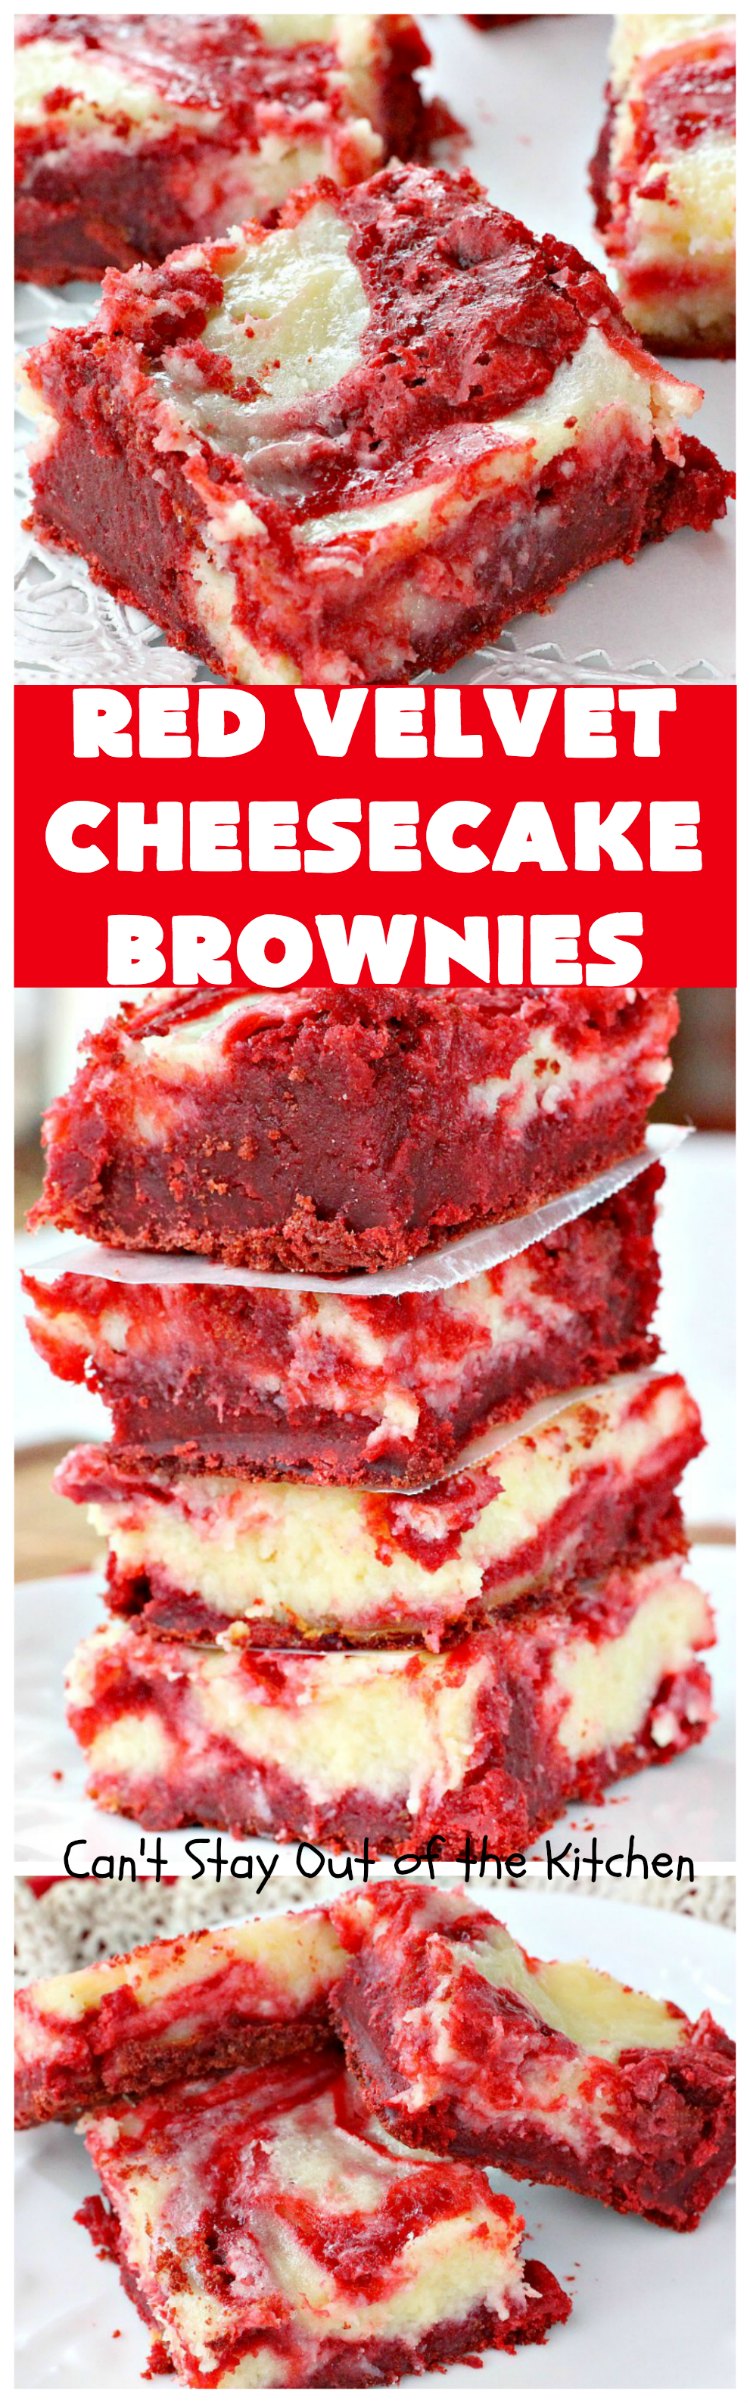
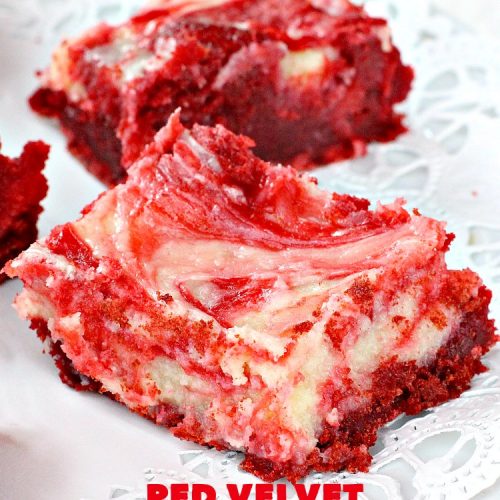
Red Velvet Cheesecake Brownies are some of the best brownies you’ll ever eat. Seriously.
Our company drooled over every bite of these spectacular Red Velvet Cheesecake Brownies.
Here’s what I did.
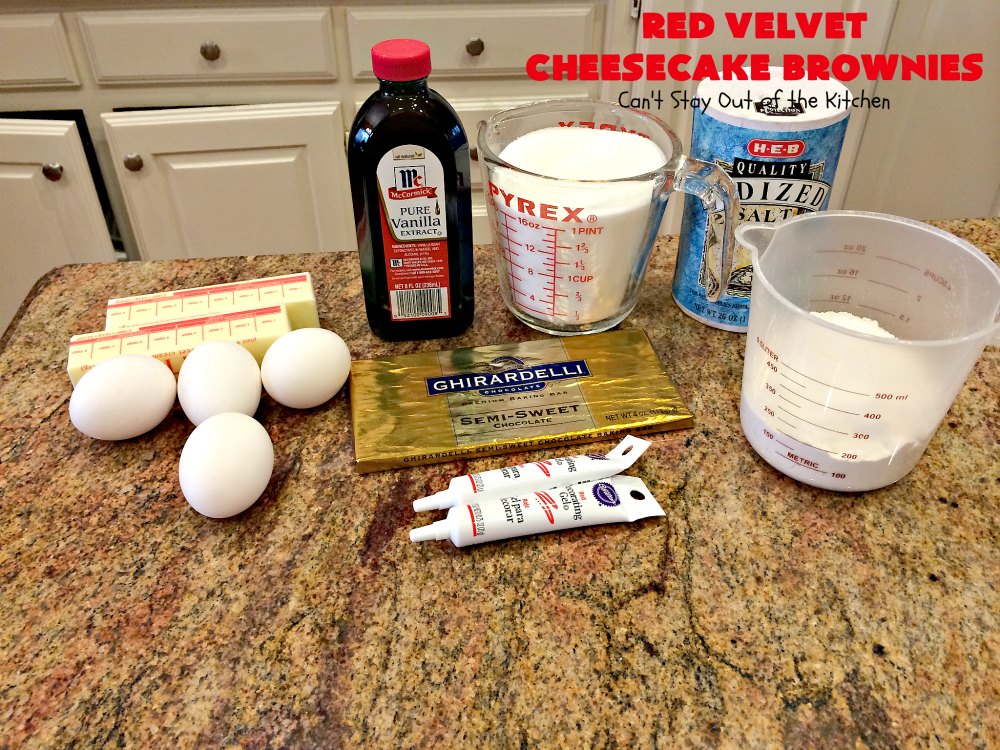
I used these ingredients for the brownie layer. Then I realized the red color gel my husband had picked up a the store wasn’t going to make the batter red enough. Thankfully, I found a whole bottle of red food coloring in my pantry and used it as well.
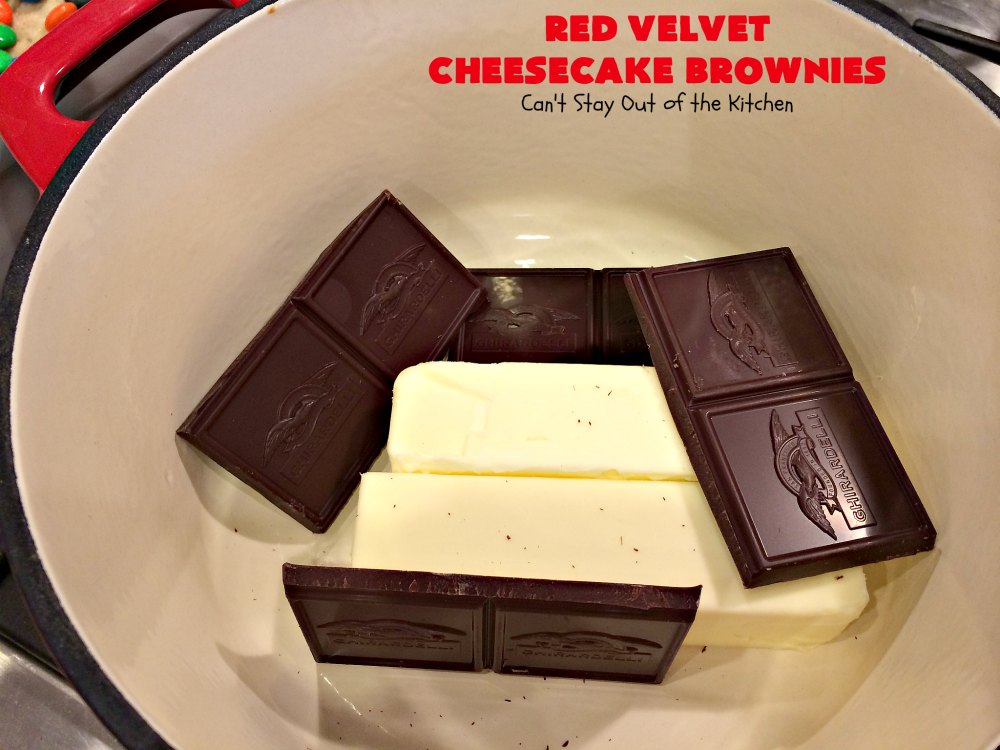
Place butter and chocolate in a saucepan over low heat. Stir occasionally until chocolate melts completely. Don’t heat over high heat or the chocolate will scorch. I recommend using Ghiardelli’s semi-sweet chocolate baking bars for superior taste.
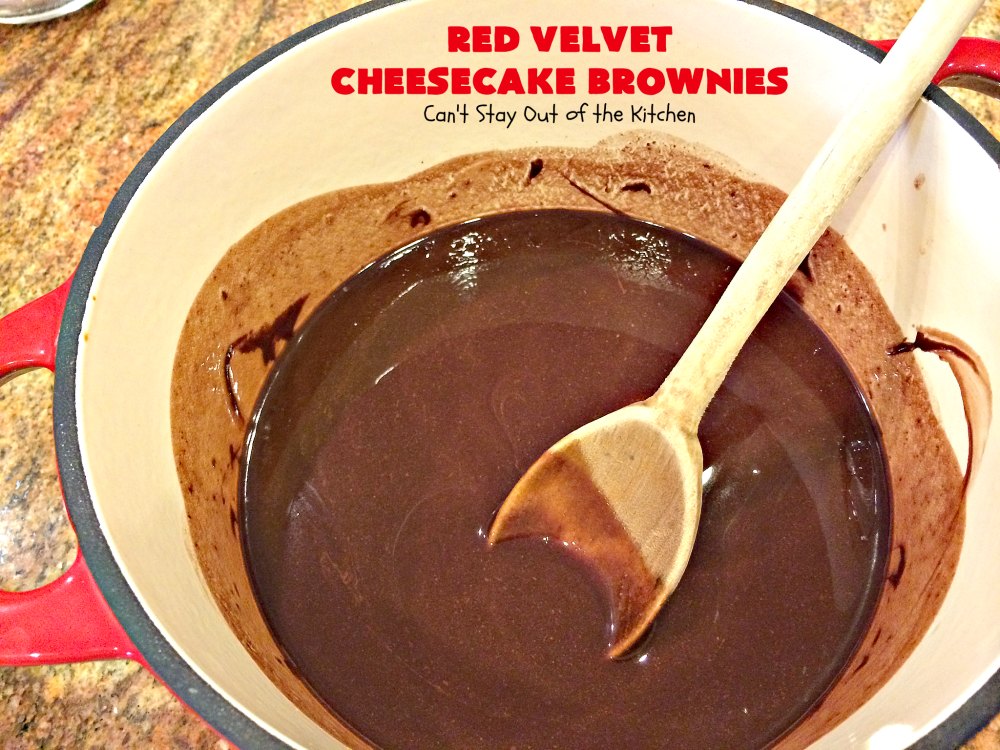
After the chocolate is melted, remove from heat and allow it to cool for 5-10 minutes before adding it to your other ingredients.
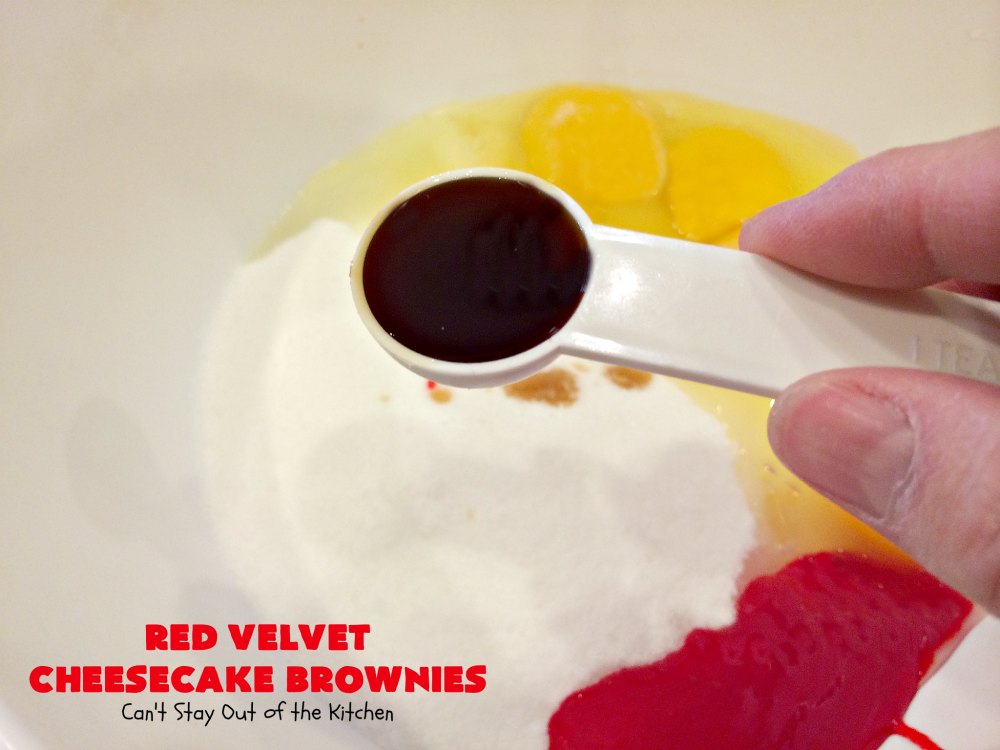
In another bowl add sugar, eggs, salt, red food coloring and vanilla. Add real vanilla extract rather than imitation.
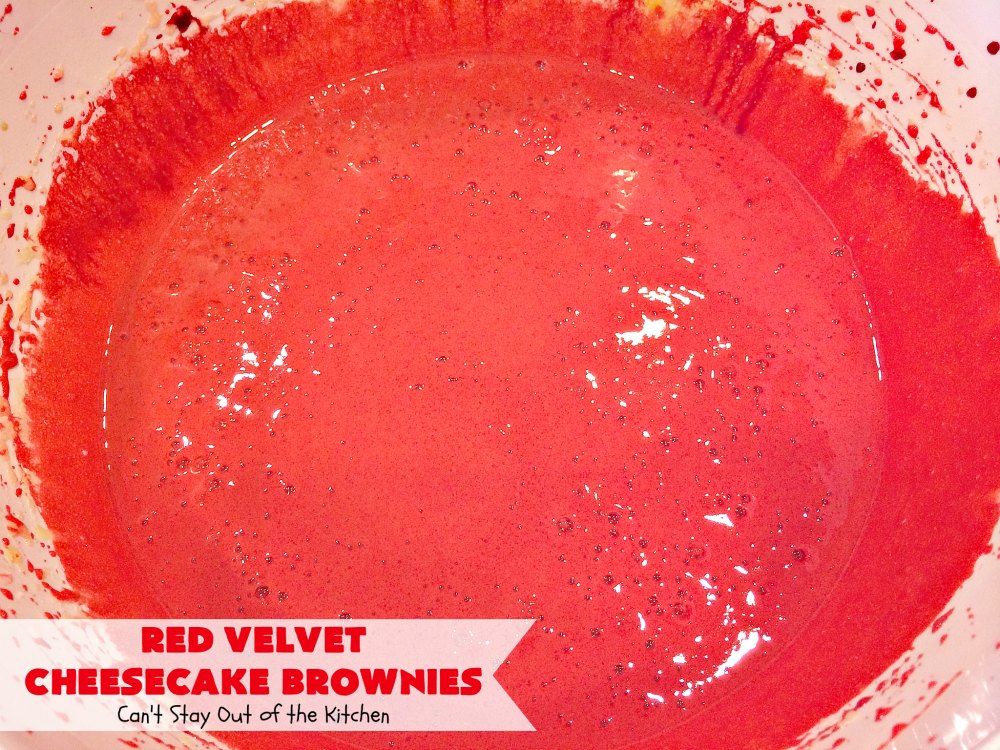
Beat with an electric mixer until well combined. The two containers of gel caused this to be a sickly pink color. So I hunted through my pantry and thankfully found a bottle of real red food coloring which I added before this picture was taken. I use a full ounce of red food coloring to get that nice red color. Stir the cooled chocolate mixture into the red mixture.
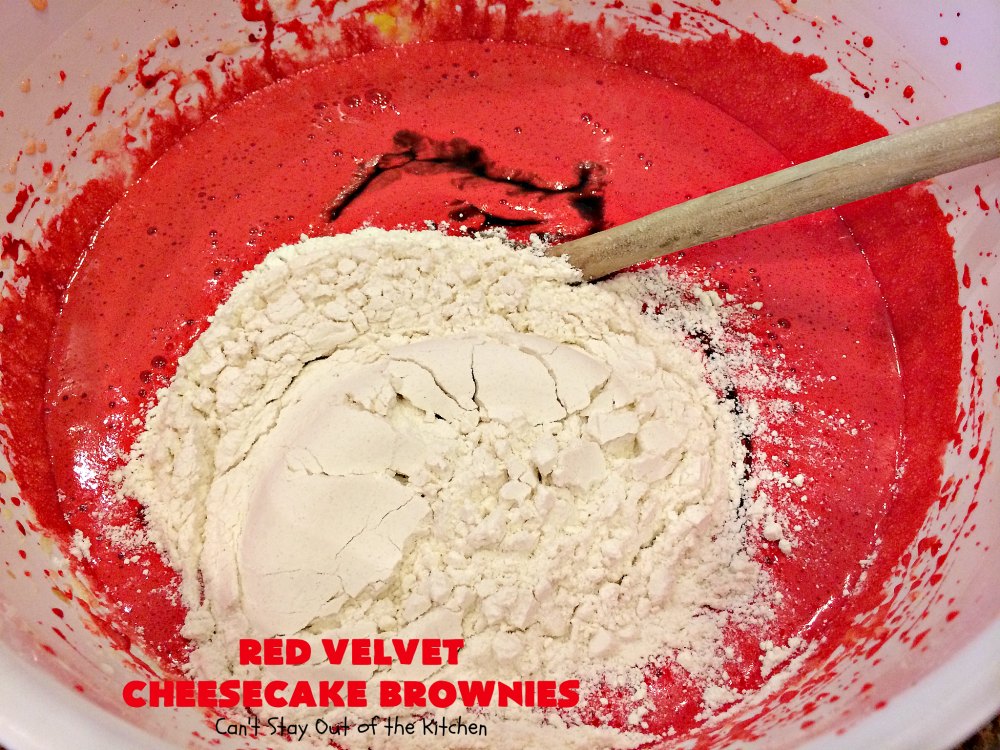
Add UNBLEACHED all-purpose flour. Bleached flour toughens baked goods.
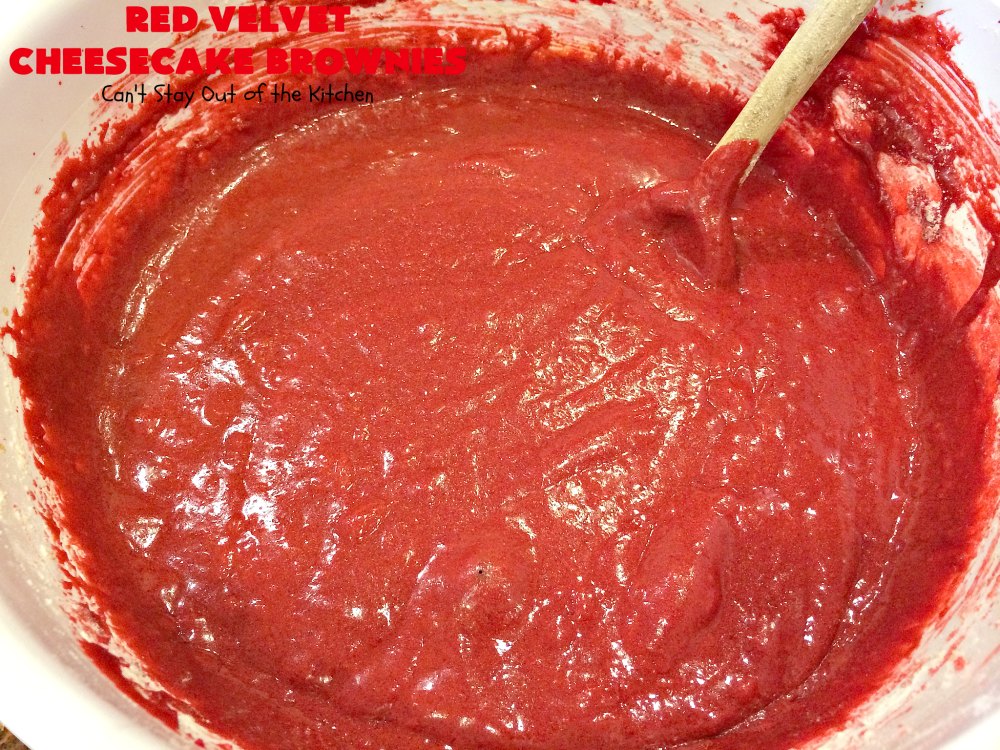
Stir mixture with a wooden spoon until well combined.
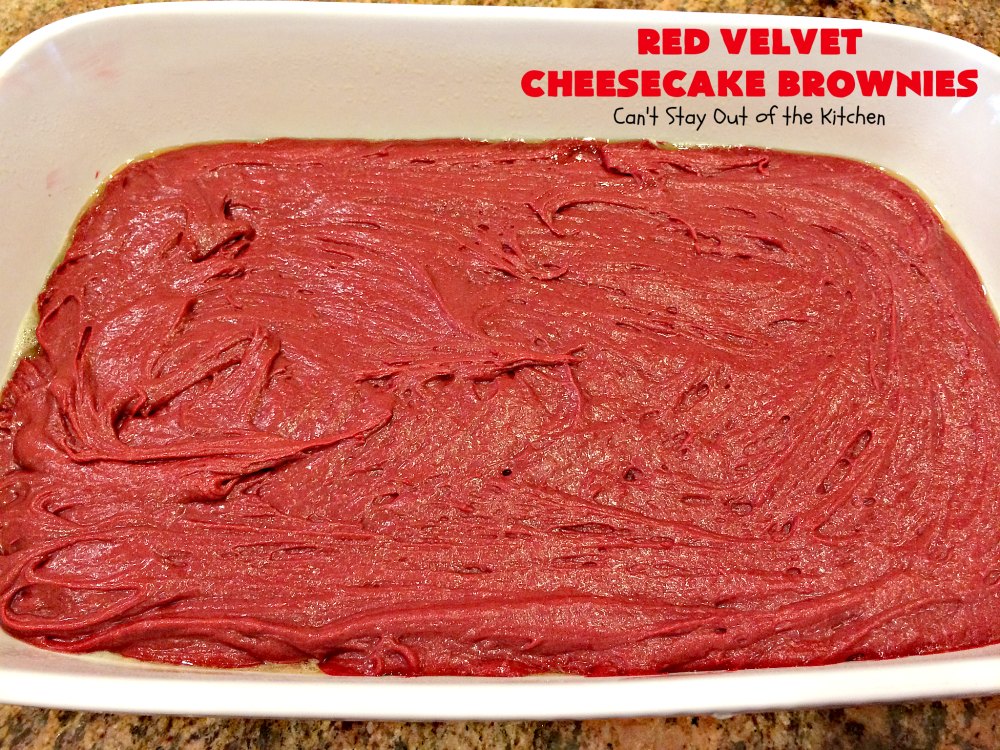
Generously spray a 10×15″ glass baking dish (don’t use a metal pan) with Baker’s Joy cooking spray. Pour Red Velvet chocolate mixture into prepared baking dish.
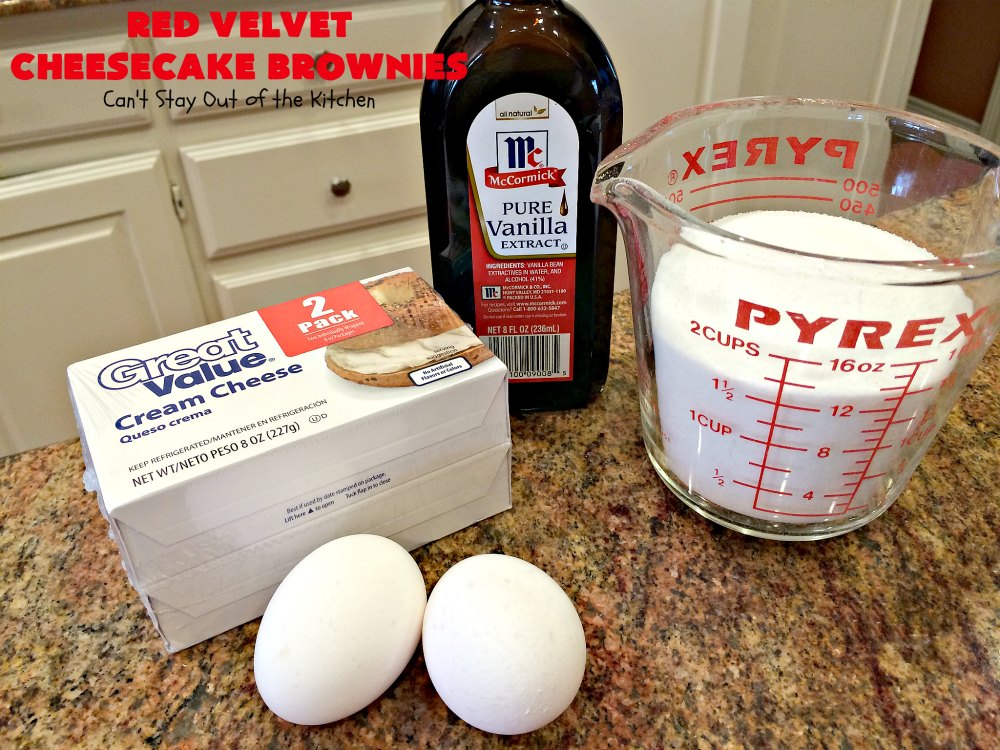
I used these ingredients for the cream cheese layer. Use real vanilla extract rather than imitation for superior flavor.
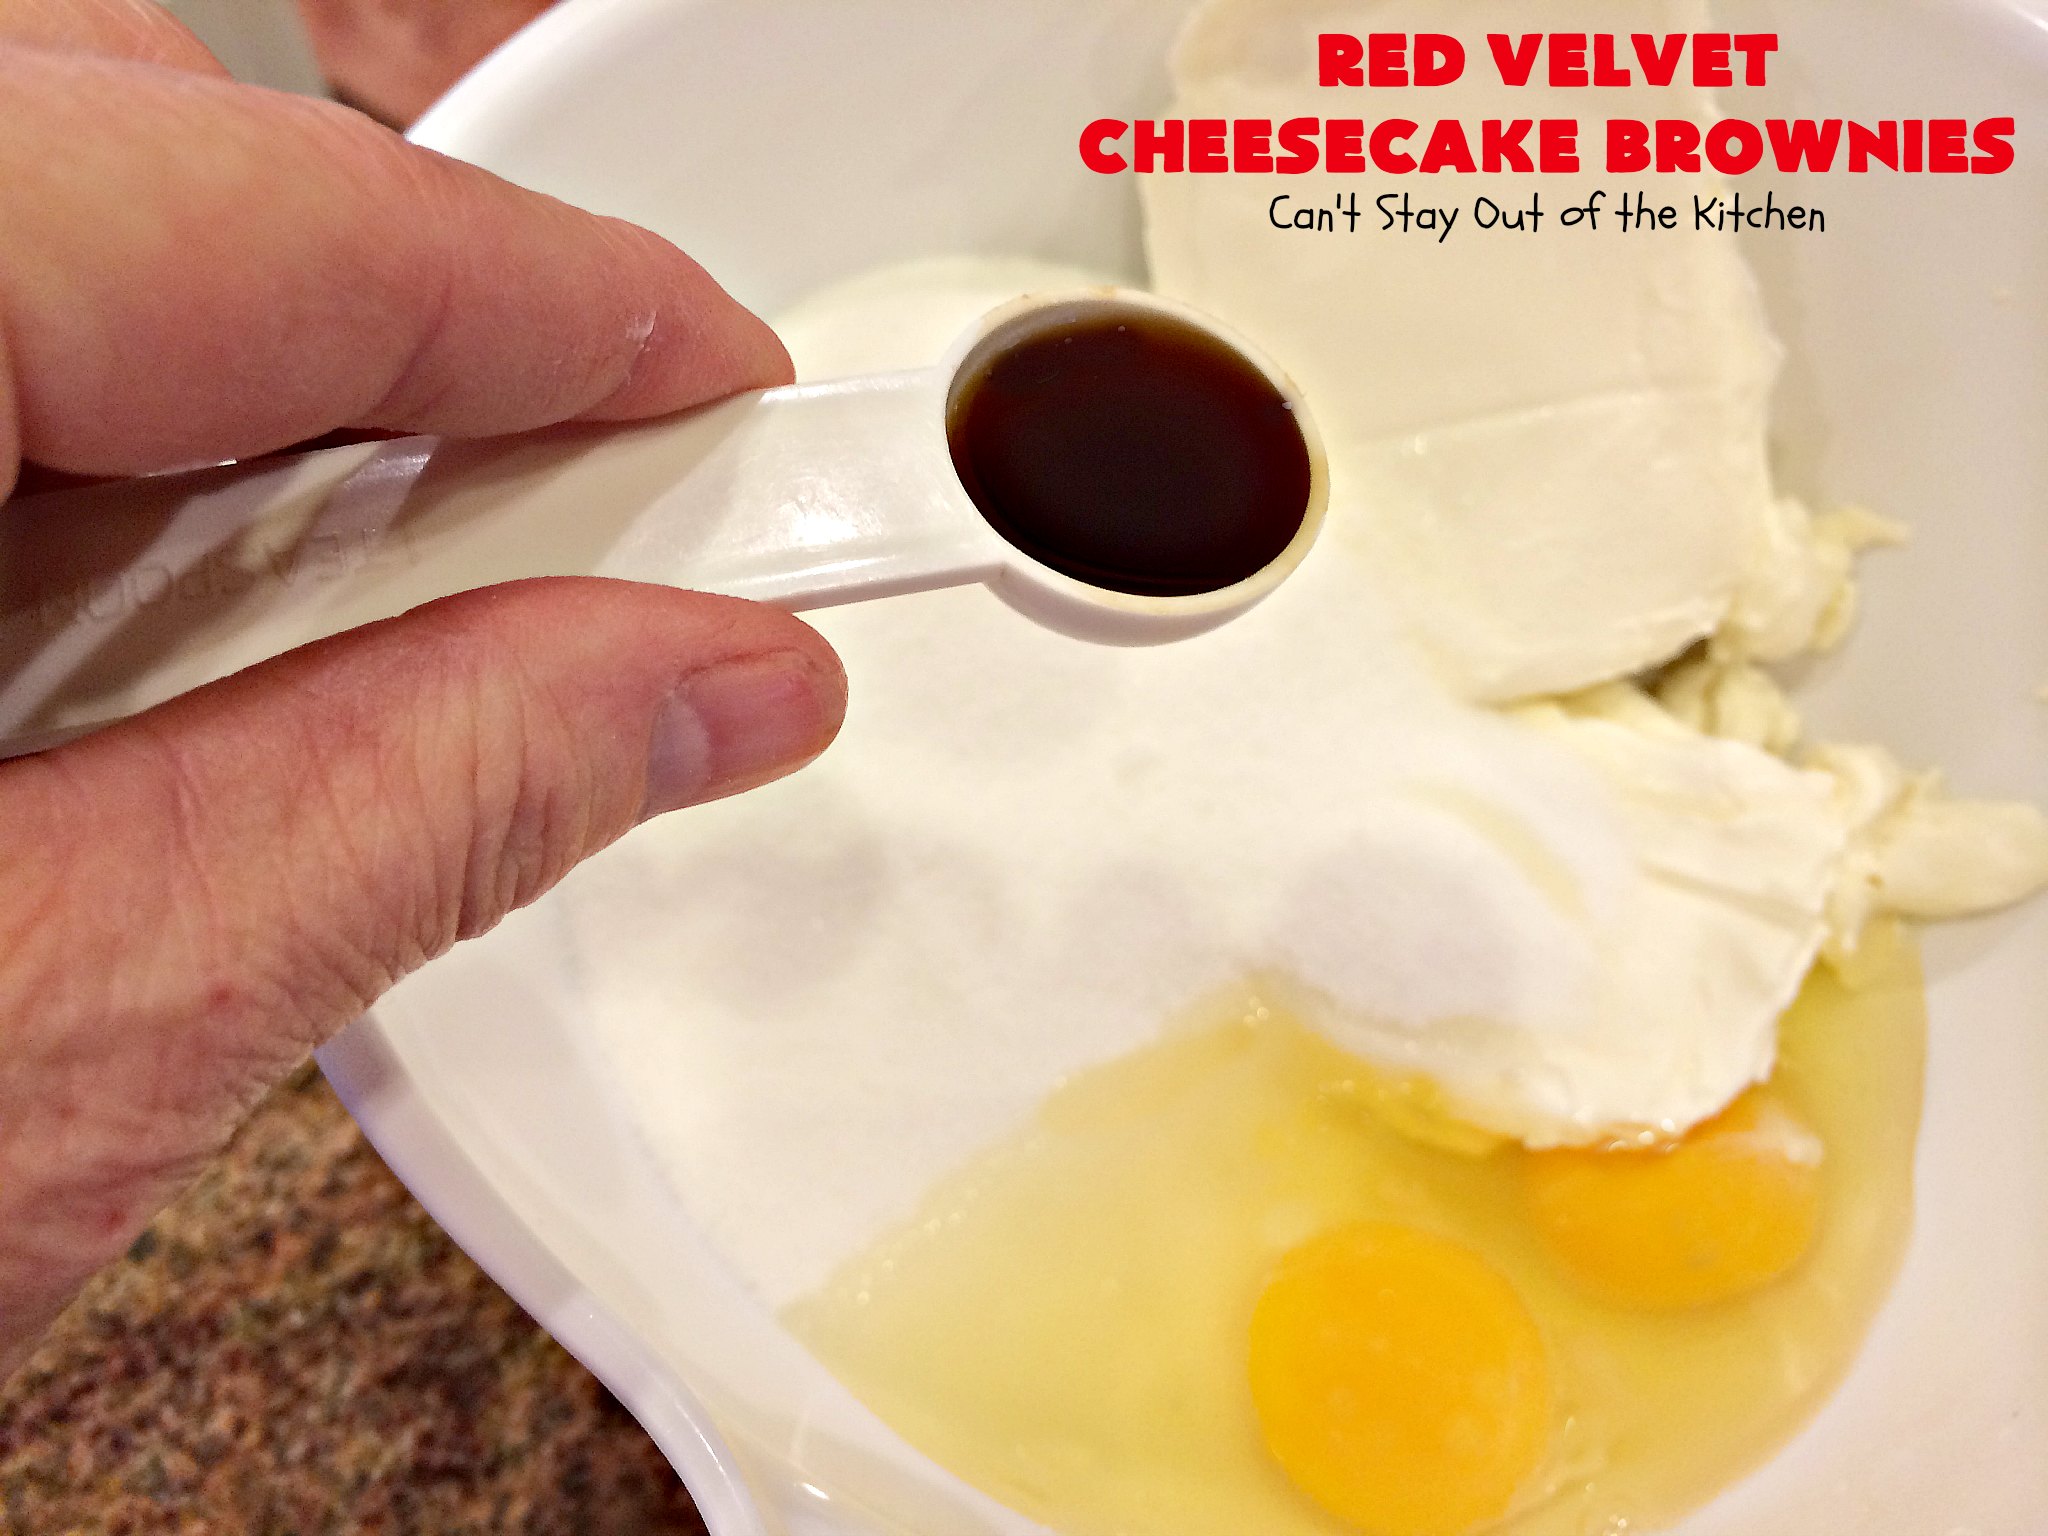
Soften cream cheese in bowl. Add eggs, pure vanilla extract (not imitation vanilla), and sugar. I increased the sugar substantially here since it was low (in both this portion and the chocolate portion) and to counterbalance the dark chocolate in the recipe.
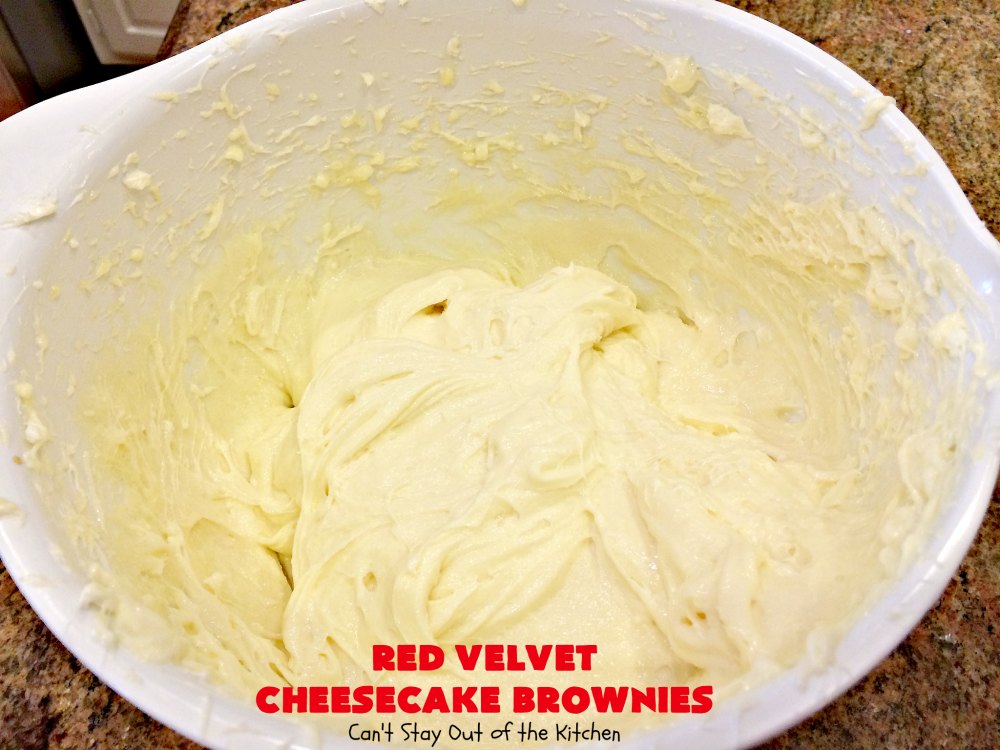
Mix cream cheese ingredients with an electric mixer until smooth.
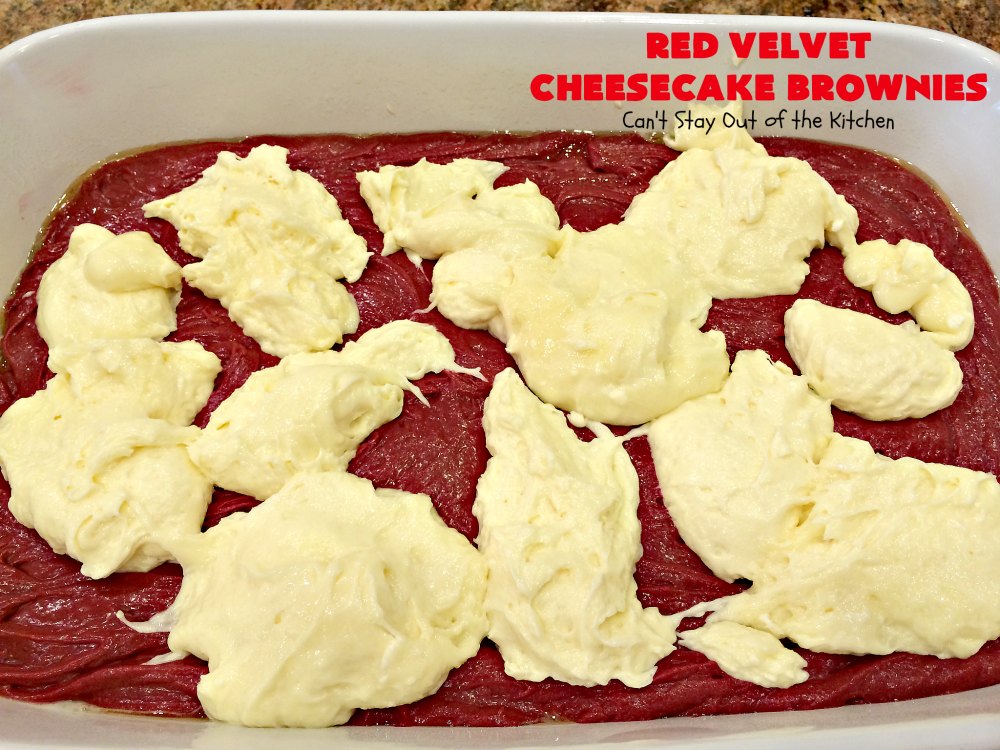
Dollop the cream cheese mixture over top of the brownie mixture.
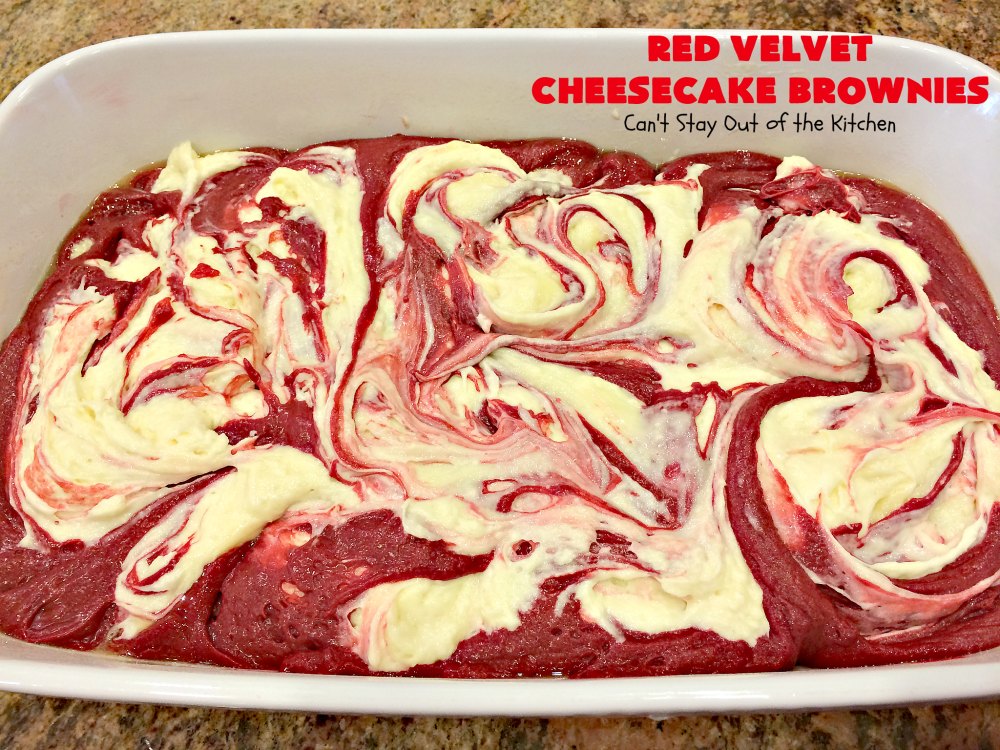
Insert a knife into the two batters and swirl the layers gently together and marbleize.
Bake at 350 for 30-40 minutes (see my time note below) or until a toothpick inserted in center comes out clean.
I tented these brownies from the beginning with foil so they didn’t get too brown on top like the last time I made them. This time it took about 65-70 minutes before the top was baked sufficiently. I kept checking under the foil every 1o minutes after about 30 minutes but the top just wasn’t cooked all the way through until then.
Cool completely. You may want to refrigerate these bars before cutting. Cut into 32 pieces.
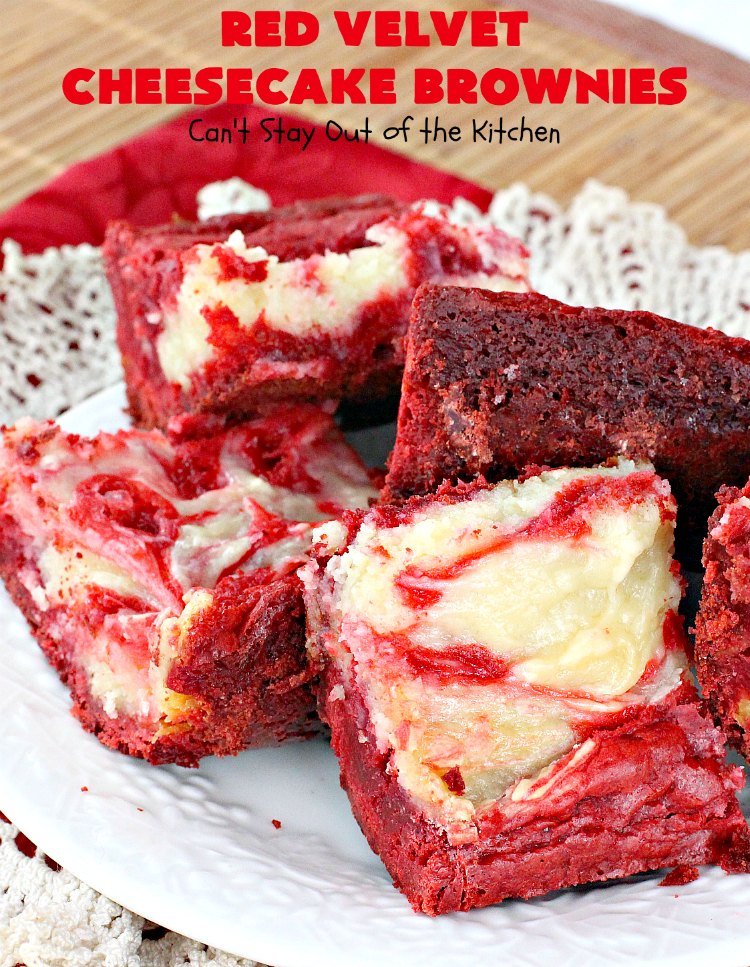
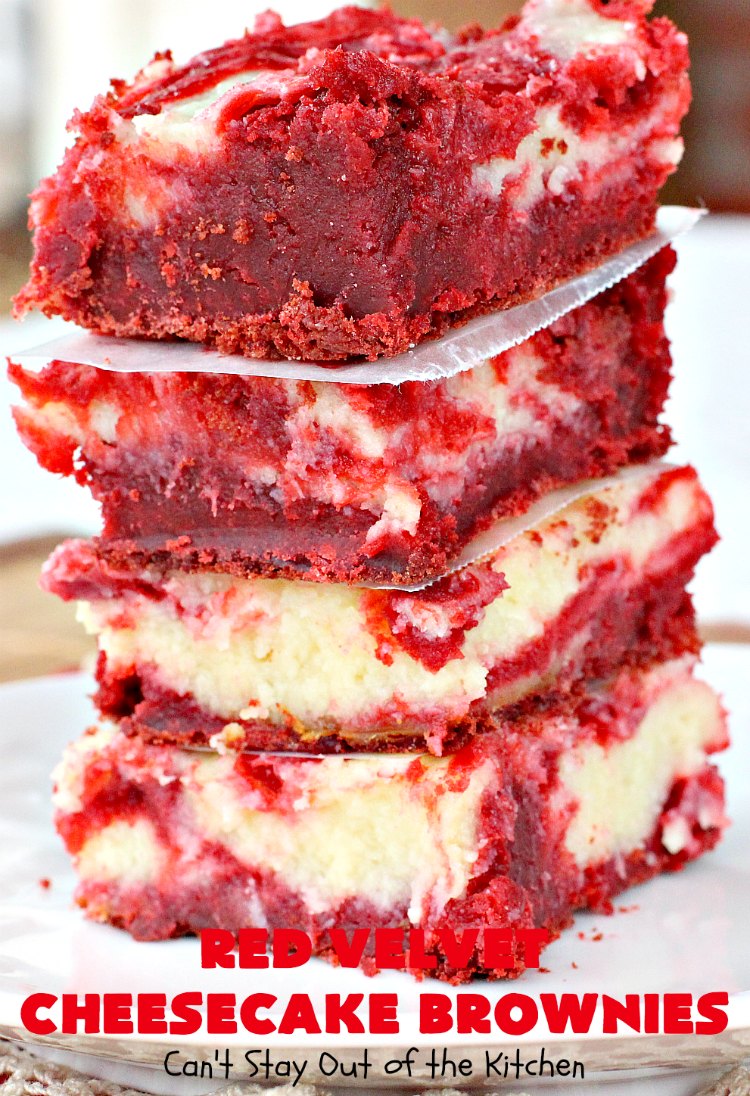
Red Velvet Cheesecake Brownies are rich, decadent and heavenly.
Red Velvet Cheesecake Brownies are so delectable, once you taste them you won’t be able to stay out of them. While they are somewhat of a “high maintenance” brownie, they are so good they are worth the extra effort.
These are the perfect brownies for Valentine’s Day or Christmas holiday baking.
Here’s the recipe.
RED VELVET CHEESECAKE BROWNIES
(Recipe adapted from Sweet Peas Kitchen, source: adapted from Baking Bites)
Red Velvet Cheesecake Brownies
Equipment
- 1 10x15" glass baking dish
- 1 electric mixer
- measuring cups
- measuring spoons
- 1 small saucepan
- 1 spatula
- 1 whisk
Ingredients
RED VELVET LAYER:
- 1 cup unsalted butter 2 sticks
- 4 oz. ghirardelli semi-sweet chocolate
- 2 cups granulated sugar
- 4 large eggs
- 2 tsp. real vanilla extract
- 1 oz. bottle liquid red food coloring
- 1 1/3 cups UNBLEACHED all-purpose flour bleached flour toughens baked goods
- 1/2 tsp. salt
CHEESECAKE LAYER:
- 2 8-oz. pkgs. cream cheese softened
- 2 large eggs
- 1 1/2 cups granulated sugar
- 1 tsp. real vanilla extract
Instructions
RED VELVET LAYER:
- Preheat oven to 350°.
- Spray a 10x15” baking dish very generously with Baker’s Joy cooking spray. Set aside.
- Melt butter and chocolate in small saucepan over low heat on you stove.
- Set aside to cool for a few minutes.
- In a large bowl, whisk together granulated sugar, eggs, vanilla extract, salt, and red food coloring.
- Add chocolate mixture and stir until smooth.
- Add flour and stir just until combined.
- Do not use a mixer to add in the flour or brownies can become tough.
- Pour into prepared pan and spread evenly.
- Dollop cheesecake mixture over top of the red velvet layer.
- Swirl both layers with a knife.
- Bake for 35-40 minutes, until brownies and cheesecake are set.
- (After 15 minutes tent brownies with foil so cream cheese doesn’t brown too much).
- To test for doneness, insert a toothpick into the center of the pan and see if it comes out clean.
- Remove brownies from oven.
- Let brownies cool completely in pan on a cooling rack before cutting into squares.
CHEESECAKE LAYER:
- Beat cream cheese, granulated sugar, eggs and vanilla extract in a medium bowl with an electric mixer until smooth.
- Spread the cream cheese mixture over top of the brownie layer.
- Swirl the two layers together gently with a knife or spatula.
Notes
Recipe source: adapted from Baking Bites.
© Can’t Stay Out of the Kitchen
Nutrition
- [b]RED VELVET LAYER:[/b][br]
- 1 cup unsalted butter
- 4-oz. [url href=”http://www.ghirardelli.com/shop-1/products.html” target=”_blank” title=”ghirardelli chocolate”]Ghirardelli [/url]semi-sweet chocolate
- 2 cups sugar
- 4 large eggs
- 2 tsp. [url href=”http://www.mccormick.com/Spices-and-Flavors/Extracts-and-Food-Colors/Extracts/Pure-Vanilla-Extract” target=”_blank” title=”mccormick real vanilla extract”]McCormick[/url] real vanilla extract
- 1-oz. [url href=”http://www.mccormick.com/Spices-and-Flavors/Extracts-and-Food-Colors/Food-Colors/Assorted-Food-Colors-and-Egg-Dye” target=”_blank” title=”mccormick red food color”]McCormick[/url] liquid red food coloring
- 1 1/3 cups [url href=”http://www.goldmedalflour.com/” target=”_blank” title=”gold medal flour”]Gold Medal[/url] UNBLEACHED all purpose flour (bleached flour toughens baked goods)
- ½ tsp. salt
- [br]
- [b]CHEESECAKE LAYER:[/b][br]
- 2 8-oz. pkg. cream cheese, softened
- 1 ½ cups sugar
- 2 large eggs
- 1 tsp. [url href=”http://www.mccormick.com/Spices-and-Flavors/Extracts-and-Food-Colors/Extracts/Pure-Vanilla-Extract” target=”_blank” title=”mccormick real vanilla extract”]McCormick[/url] real vanilla extract
- Preheat oven to 350°.
- Spray a 10×15” baking dish very generously with Baker’s Joy cooking spray. Set aside. [br]
- Melt butter and chocolate in small saucepan over low heat on you stove.
- Set aside to cool for a few minutes.
- In a large bowl, whisk together sugar, eggs, vanilla extract, salt, and red food coloring.
- Add chocolate mixture and stir until smooth.
- Add flour and stir just until combined.
- Do not use a mixer to add in the flour or brownies can become tough.
- Pour into prepared pan and spread evenly.
- Dollop cheesecake mixture over top of the red velvet layer.
- Swirl both layers with a knife.
- Bake for 35-40 minutes, until brownies and cheesecake are set.
- (After 15 minutes tent brownies with foil so cream cheese doesn’t brown too much).
- To test for doneness, insert a toothpick into the center of the pan and see if it comes out clean.
- Remove brownies from oven.
- Let brownies cool completely in pan on a cooling rack before cutting into squares. [br]
- Beat cream cheese, sugar, eggs and vanilla extract in a medium bowl until smooth.
- Spread the cream cheese mixture over top of the brownie layer.
- Swirl the two layers together gently with a knife or spatula.
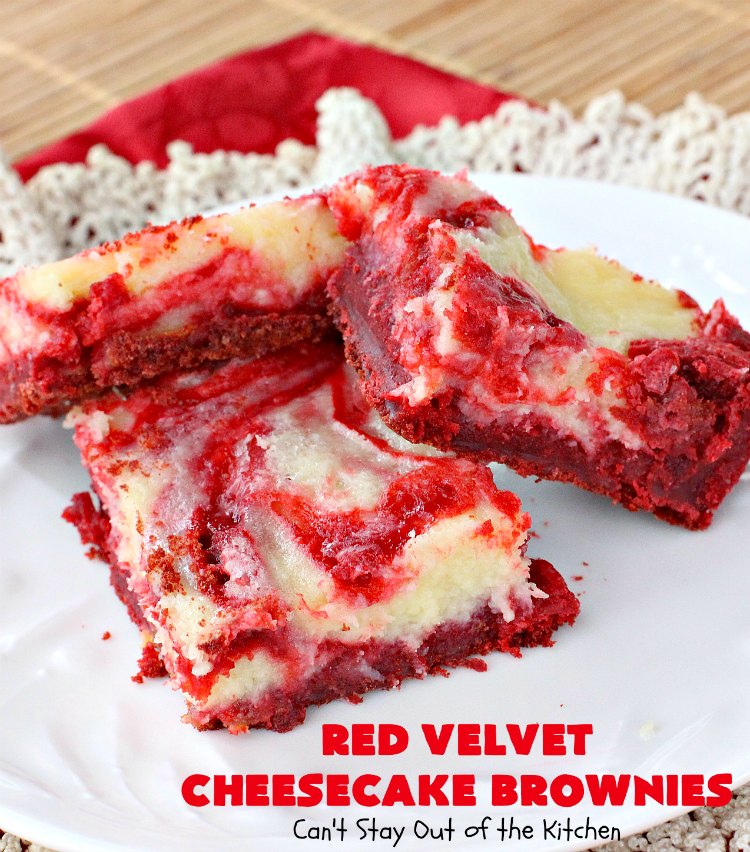
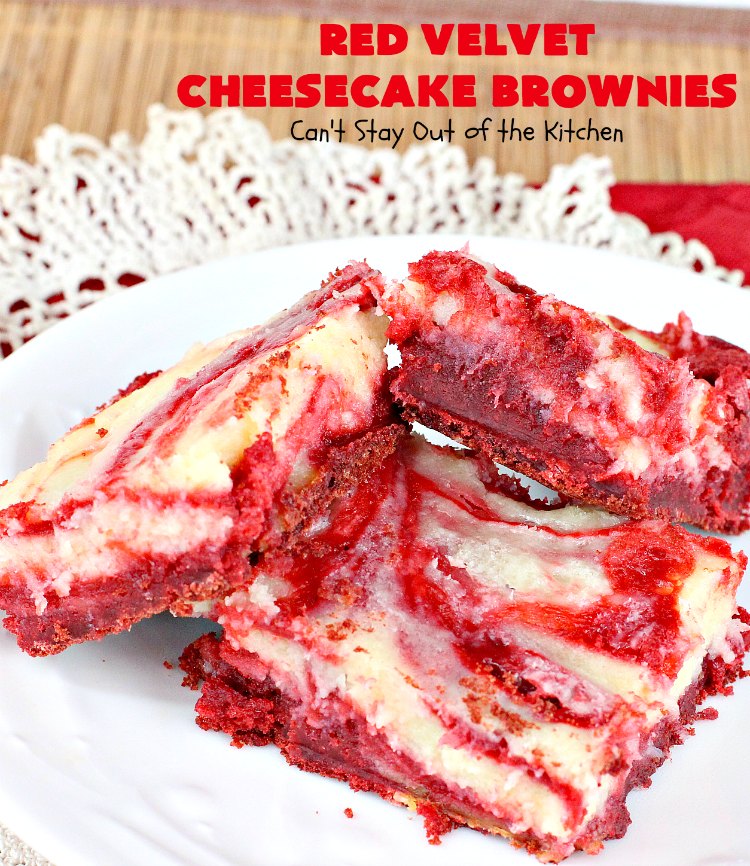
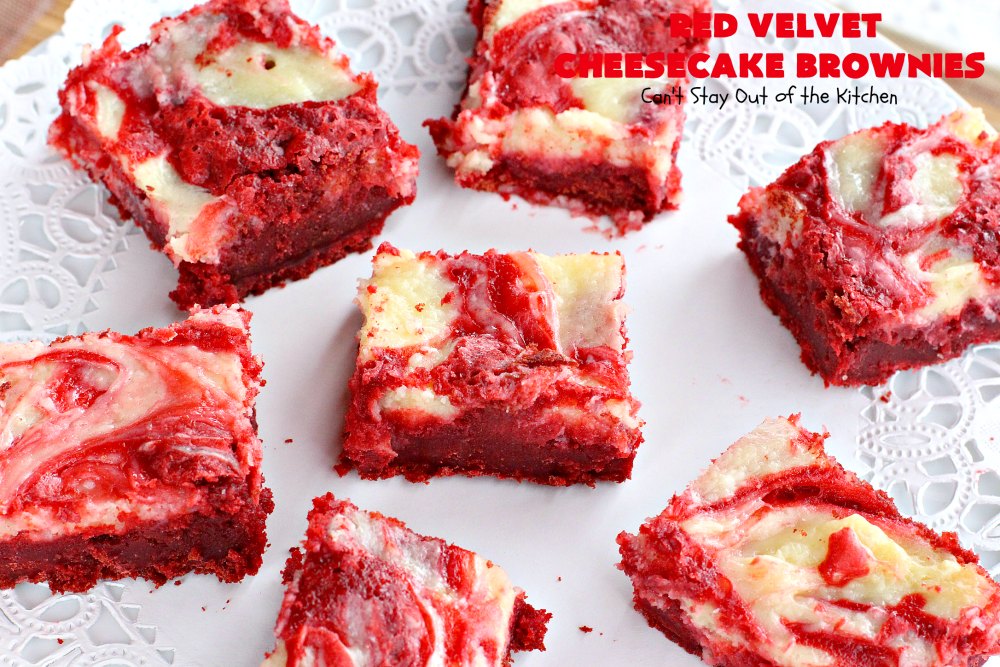
Here’s a plate of these wonderful treats. Red Velvet Cheesecake Brownies are so festive and beautiful in appearance. Everyone just loves eating them!
Red Velvet Cheesecake Brownies are a great dessert for Valentine’s Day, Christmas and holiday parties, or other special occasions. Guys, this is a great dessert to make for your sweetheart on her birthday – and it’s not too difficult!
Red Velvet Cheesecake Brownies are fantastic, delightful brownies that your family will love.
You may also enjoy these delicious recipes!
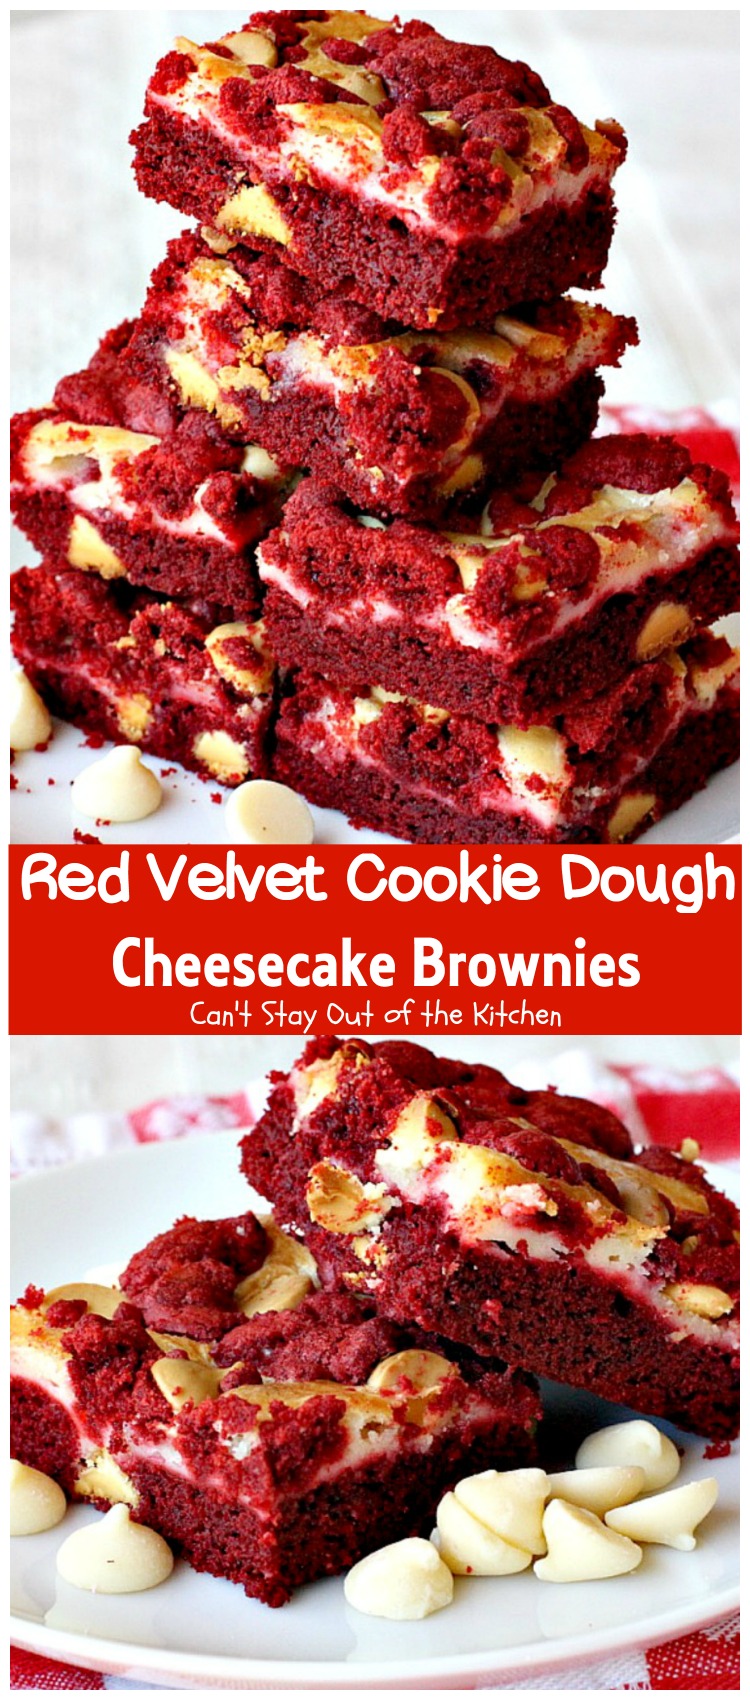
Red Velvet Cookie Dough Cheesecake Brownies
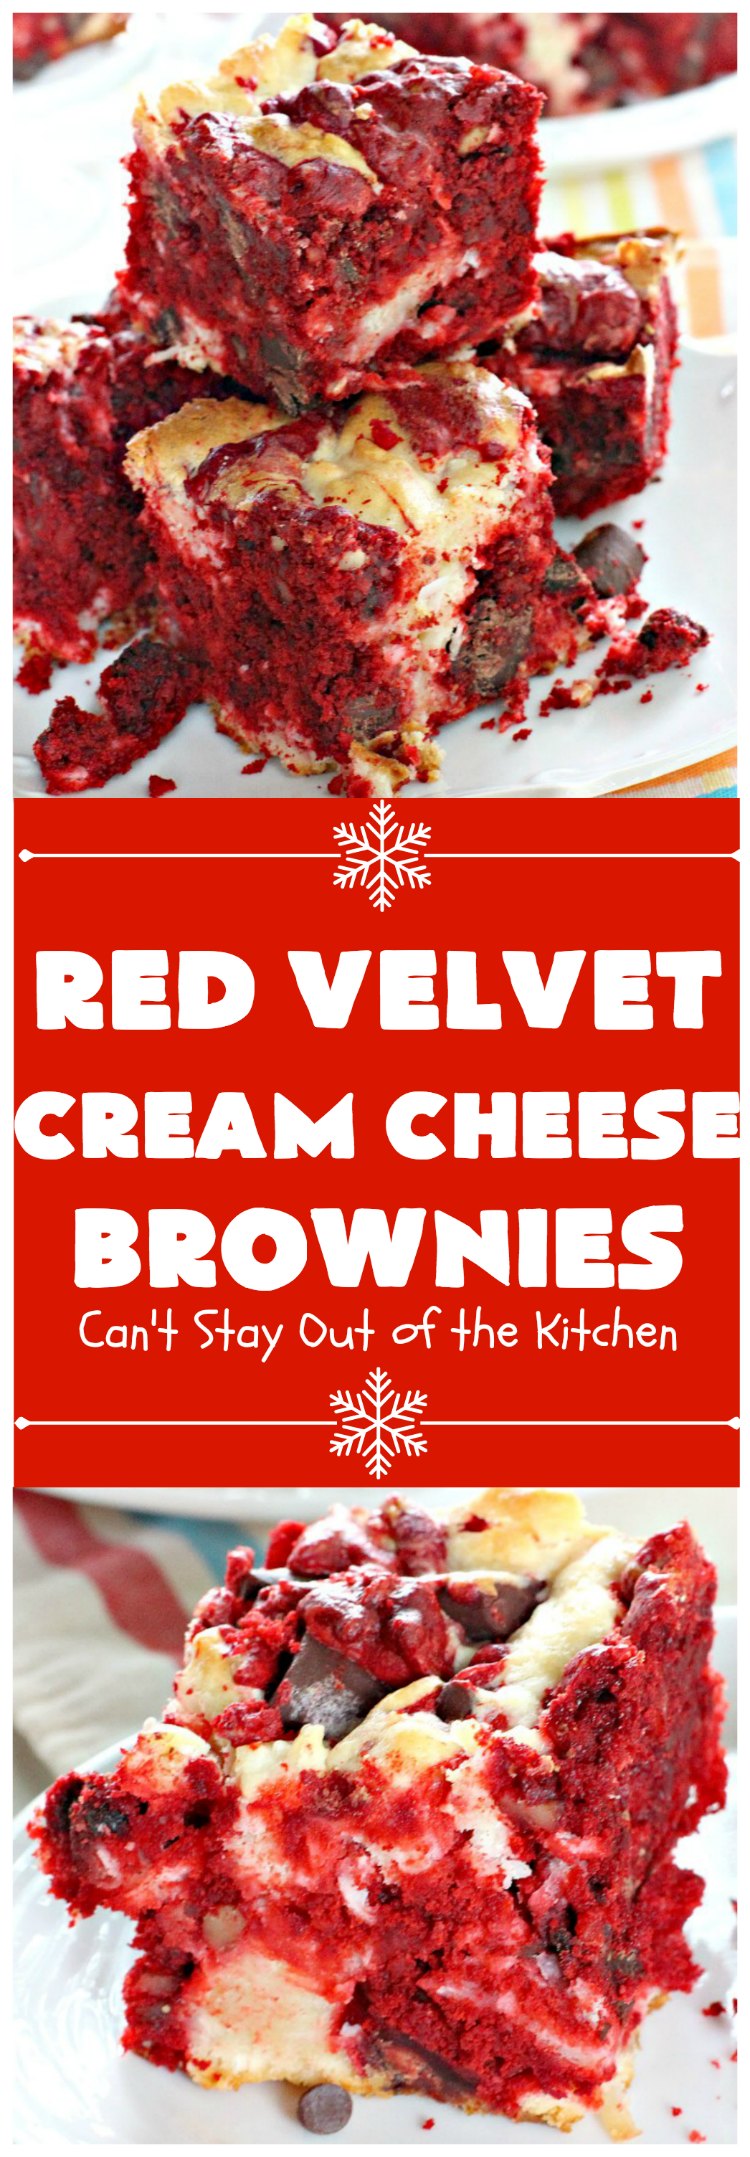
Red Velvet Cream Cheese Brownies
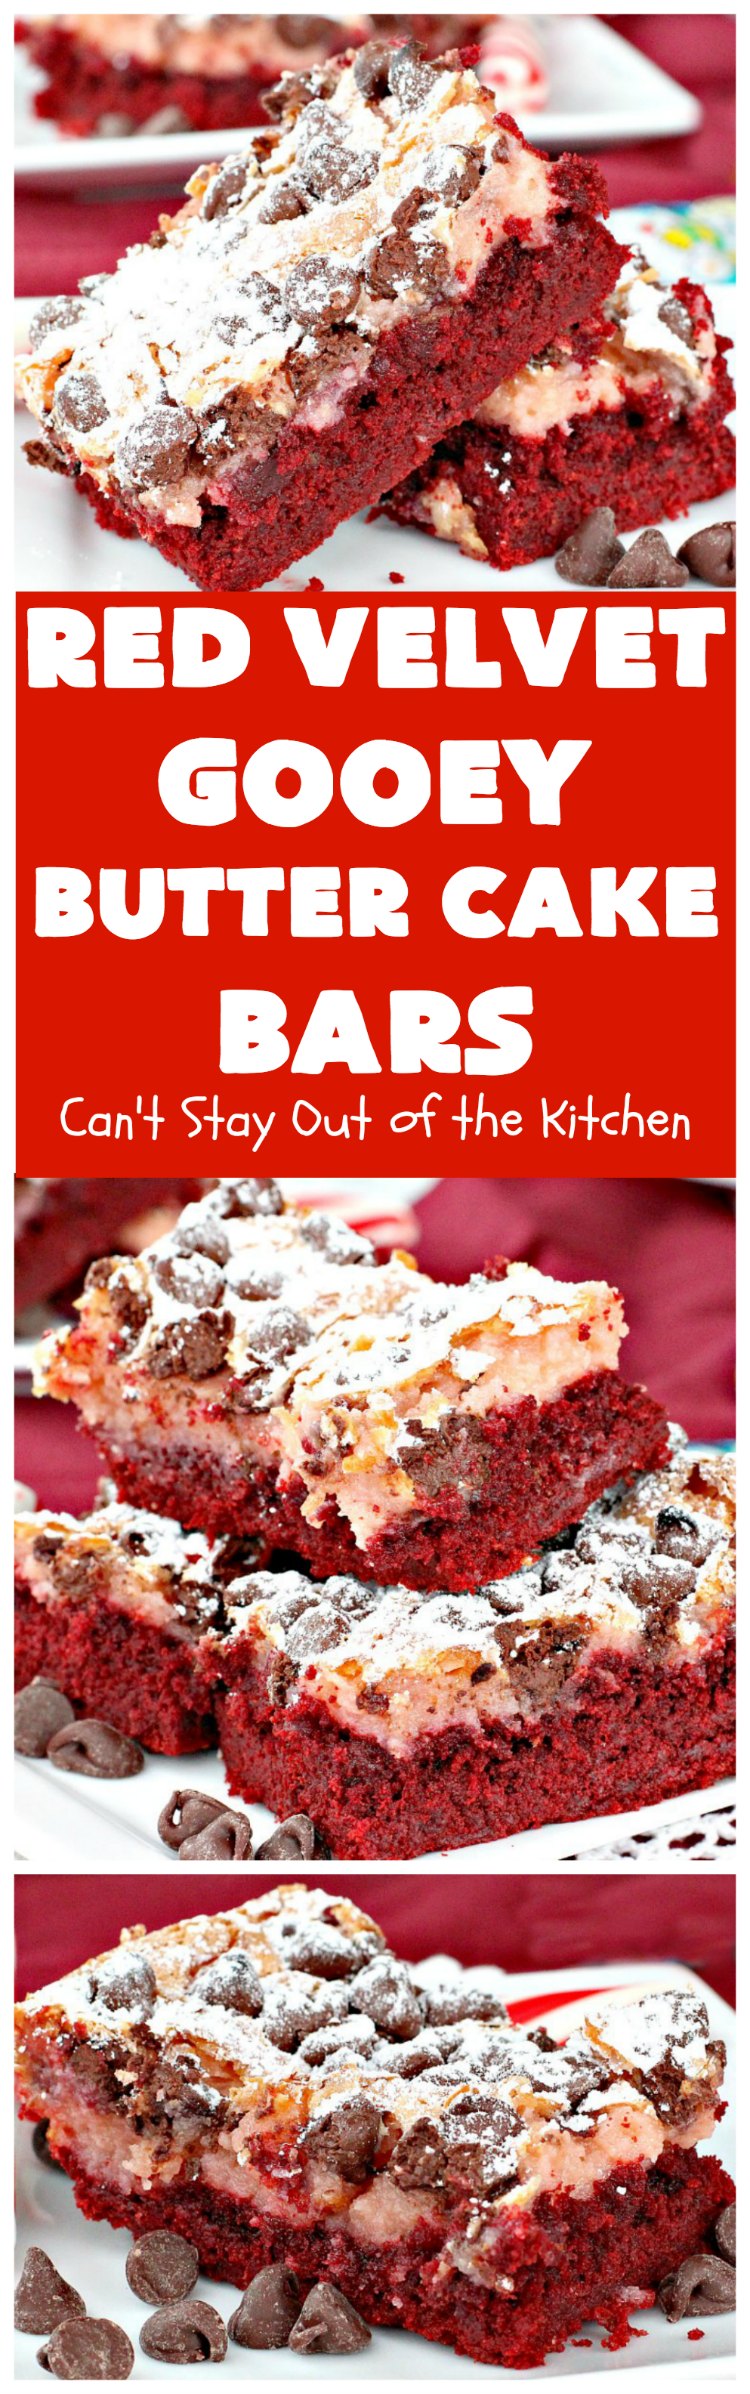
Red Velvet Gooey Butter Cake Bars
Red Velvet Cheesecake Brownies
Equipment
- 1 10×15" glass baking dish
- 1 electric mixer
- measuring cups
- measuring spoons
- 1 small saucepan
- 1 spatula
- 1 whisk
Ingredients
RED VELVET LAYER:
- 1 cup unsalted butter 2 sticks
- 4 oz. ghirardelli semi-sweet chocolate
- 2 cups granulated sugar
- 4 large eggs
- 2 tsp. real vanilla extract
- 1 oz. bottle liquid red food coloring
- 1 1/3 cups UNBLEACHED all-purpose flour bleached flour toughens baked goods
- 1/2 tsp. salt
CHEESECAKE LAYER:
- 2 8-oz. pkgs. cream cheese softened
- 2 large eggs
- 1 1/2 cups granulated sugar
- 1 tsp. real vanilla extract
Instructions
RED VELVET LAYER:
- Preheat oven to 350°.
- Spray a 10×15” baking dish very generously with Baker’s Joy cooking spray. Set aside.
- Melt butter and chocolate in small saucepan over low heat on you stove.
- Set aside to cool for a few minutes.
- In a large bowl, whisk together granulated sugar, eggs, vanilla extract, salt, and red food coloring.
- Add chocolate mixture and stir until smooth.
- Add flour and stir just until combined.
- Do not use a mixer to add in the flour or brownies can become tough.
- Pour into prepared pan and spread evenly.
- Dollop cheesecake mixture over top of the red velvet layer.
- Swirl both layers with a knife.
- Bake for 35-40 minutes, until brownies and cheesecake are set.
- (After 15 minutes tent brownies with foil so cream cheese doesn’t brown too much).
- To test for doneness, insert a toothpick into the center of the pan and see if it comes out clean.
- Remove brownies from oven.
- Let brownies cool completely in pan on a cooling rack before cutting into squares.
CHEESECAKE LAYER:
- Beat cream cheese, granulated sugar, eggs and vanilla extract in a medium bowl with an electric mixer until smooth.
- Spread the cream cheese mixture over top of the brownie layer.
- Swirl the two layers together gently with a knife or spatula.
Notes
Recipe source: adapted from Baking Bites.
© Can’t Stay Out of the Kitchen
Nutrition
Red Velvet Cheesecake Brownies
Ingredients
RED VELVET LAYER:
- 1 cup unsalted butter 2 sticks
- 4 oz. ghirardelli semi-sweet chocolate
- 2 cups sugar
- 4 large eggs
- 2 tsp. McCormick real vanilla extract
- 1 oz. bottle McCormick liquid red food coloring
- 1 1/3 cups Gold Medal UNBLEACHED all-purpose flour bleached flour toughens baked goods
- 1/2 tsp. salt
CHEESECAKE LAYER:
- 2 8-oz. pkgs. cream cheese softened
- 2 large eggs
- 1 1/2 cups sugar
- 1 tsp. McCormick’s real vanilla extract
Instructions
RED VELVET LAYER:
- Preheat oven to 350°.
- Spray a 10x15” baking dish very generously with Baker’s Joy cooking spray. Set aside.
- Melt butter and chocolate in small saucepan over low heat on you stove.
- Set aside to cool for a few minutes.
- In a large bowl, whisk together sugar, eggs, vanilla extract, salt, and red food coloring.
- Add chocolate mixture and stir until smooth.
- Add flour and stir just until combined.
- Do not use a mixer to add in the flour or brownies can become tough.
- Pour into prepared pan and spread evenly.
- Dollop cheesecake mixture over top of the red velvet layer.
- Swirl both layers with a knife.
- Bake for 35-40 minutes, until brownies and cheesecake are set.
- (After 15 minutes tent brownies with foil so cream cheese doesn’t brown too much).
- To test for doneness, insert a toothpick into the center of the pan and see if it comes out clean.
- Remove brownies from oven.
- Let brownies cool completely in pan on a cooling rack before cutting into squares.
CHEESECAKE LAYER:
- Beat cream cheese, sugar, eggs and vanilla extract in a medium bowl until smooth.
- Spread the cream cheese mixture over top of the brownie layer.
- Swirl the two layers together gently with a knife or spatula.