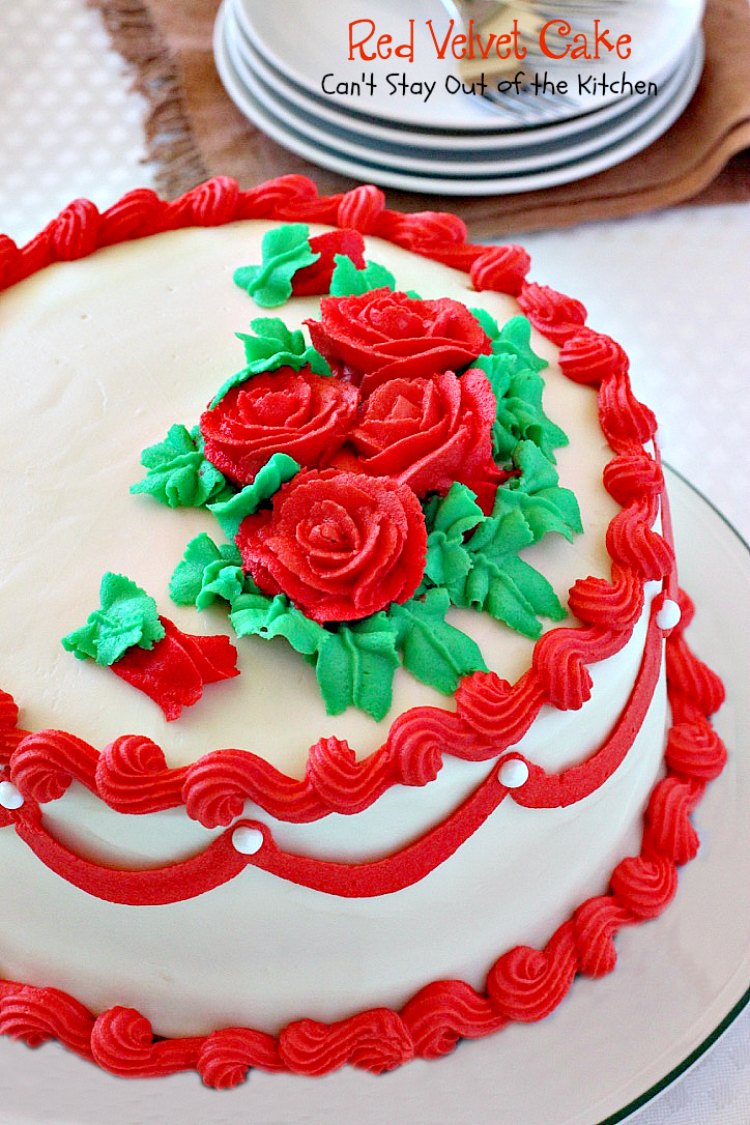
Red Velvet Cake
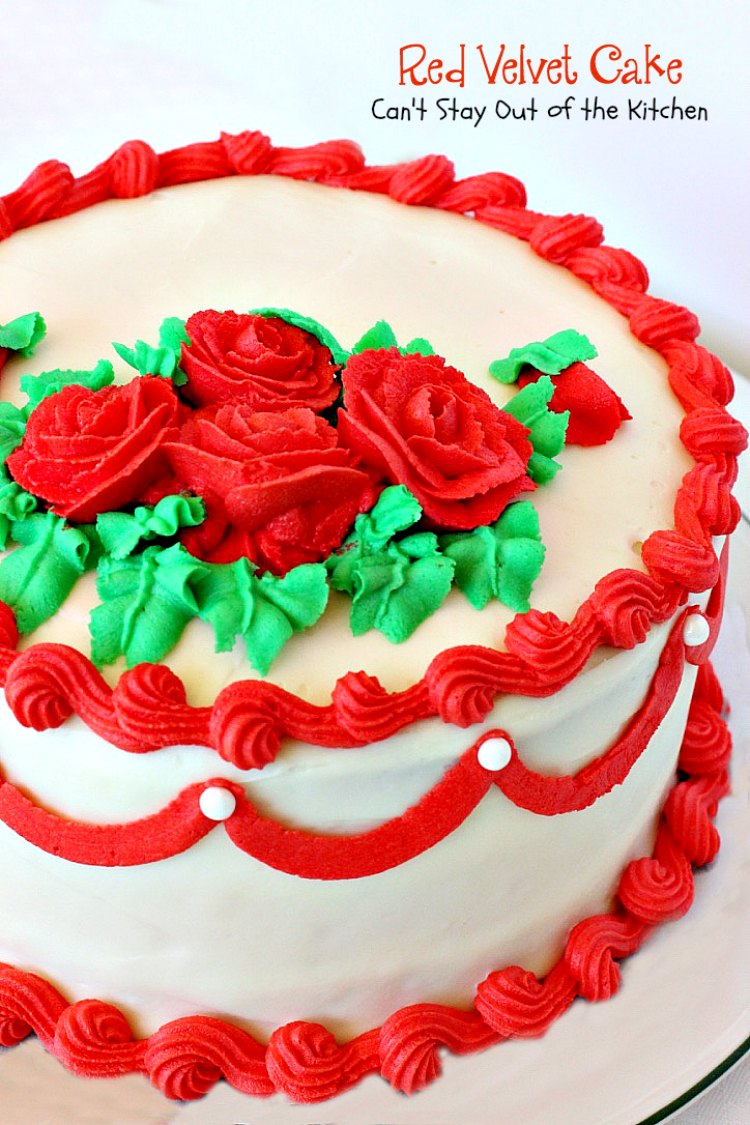
I love Red Velvet Cake especially because it’s iced with a rich cream cheese frosting (usually a double batch!). I like it even more when its piped with extra swirls and roses around the bottom and top. Even better is to throw in a few chocolate and white chocolate shavings on the top! No matter how you make it with lots of toppings or not, I love it. But quite frankly, the more gooey icing on top, the better I enjoy this delightful cake!
Follow Me On Instagram!
I made this lovely cake again this past week–about a month after posting the original recipe. I had a friend from church, Hannah Noice, help me decorate it. I think you will love the way it turned out. If you’ve never tasted Red Velvet Cake you don’t know what you’re missing.
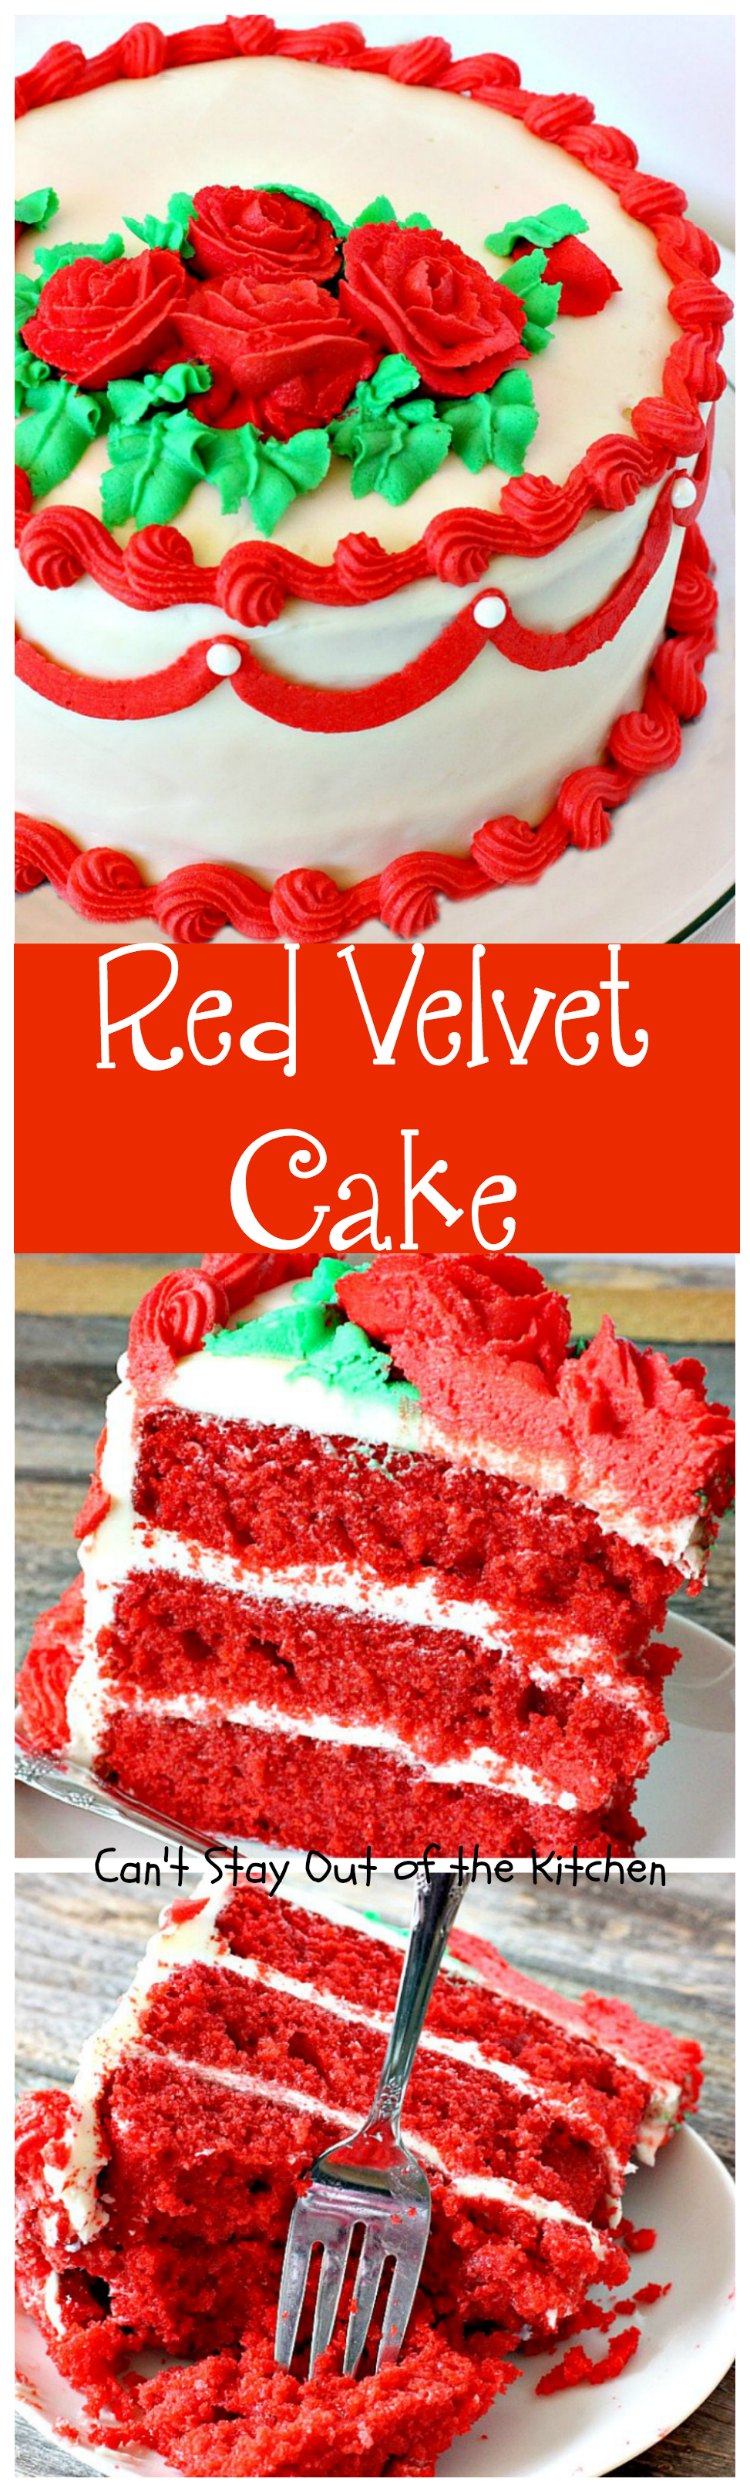
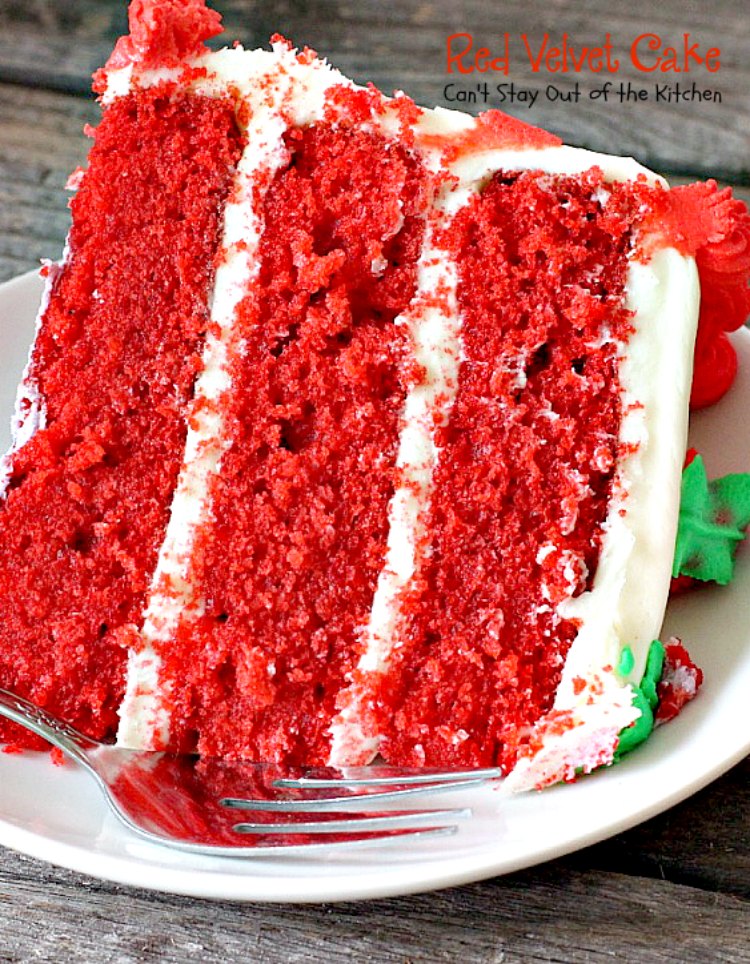
My Red Velvet Cake is moist and delicious. This recipe is truly spectacular and superior to any other recipe for it I’ve tried. And, yes, I have several. The interesting thing about this recipe is it uses only one teaspoon of cocoa, but a whole bottle of red food coloring.
I have two recipes for Red Velvet Cake. The main difference is in the icing. This one has a cream cheese frosting so I’ve determined to showcase it first. I got this recipe from Sheila Cook, wife of Dr. Gary Cook, former president of Dallas Baptist University.
She hosted an afternoon party for students around Christmas one year when I worked there. She had made it in an oblong pan and cut it down to pieces about the size of petit fours, as I recall. It was absolutely fabulous. I have no idea where Sheila found the recipe but it has been around for awhile.
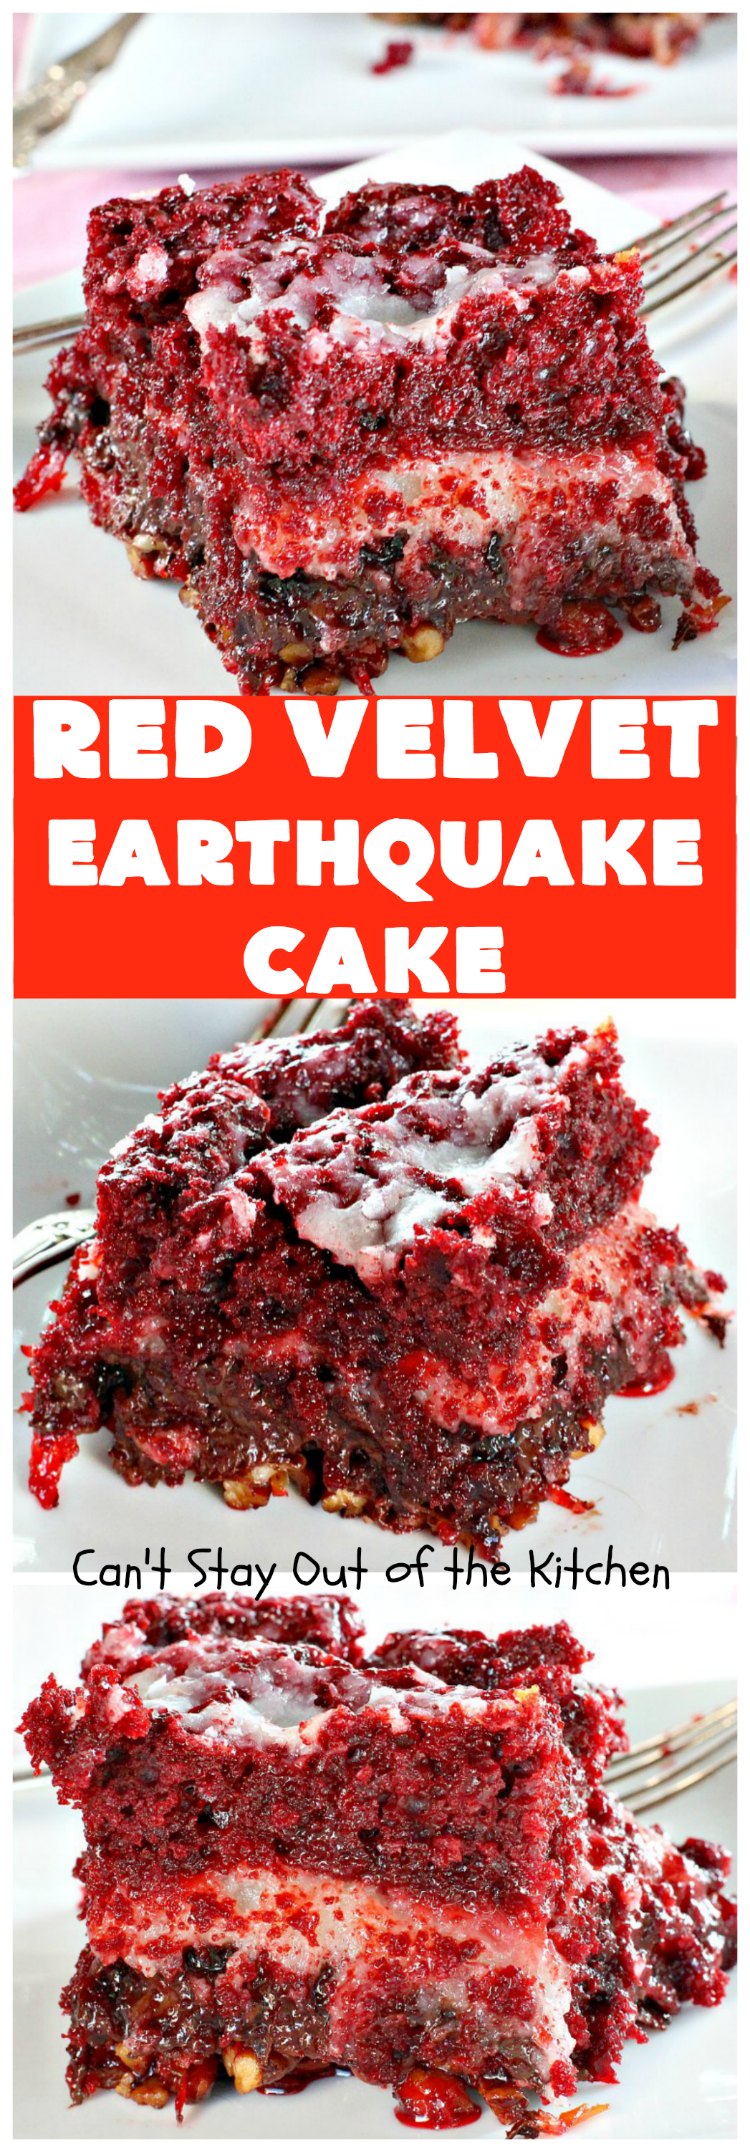
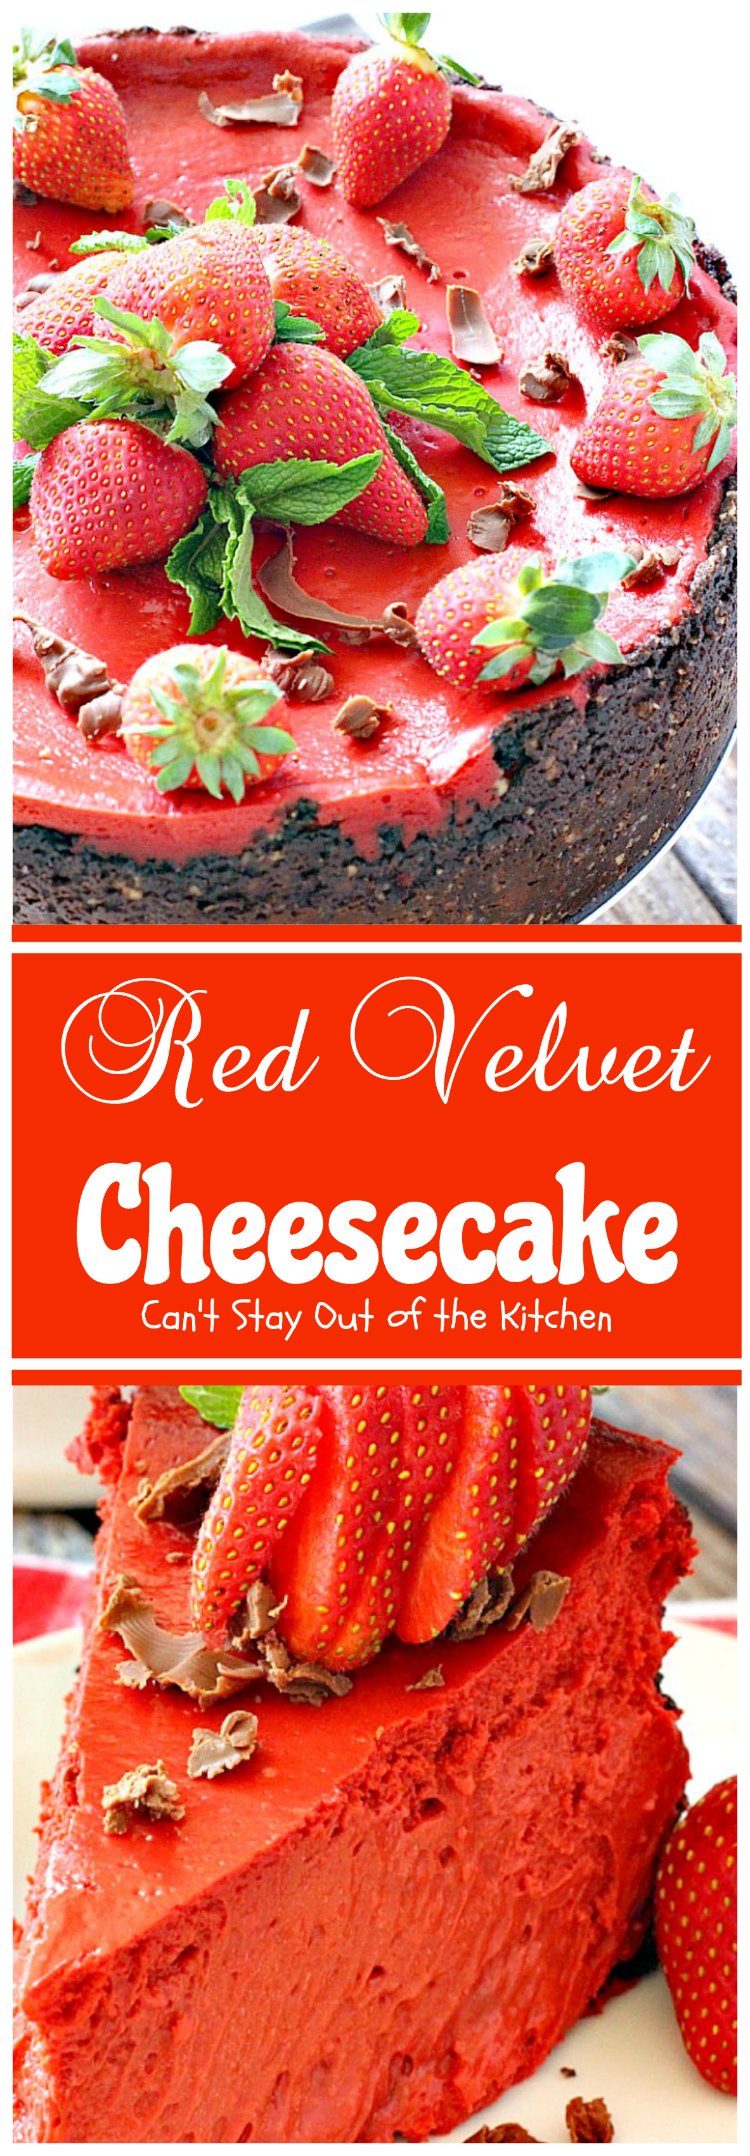
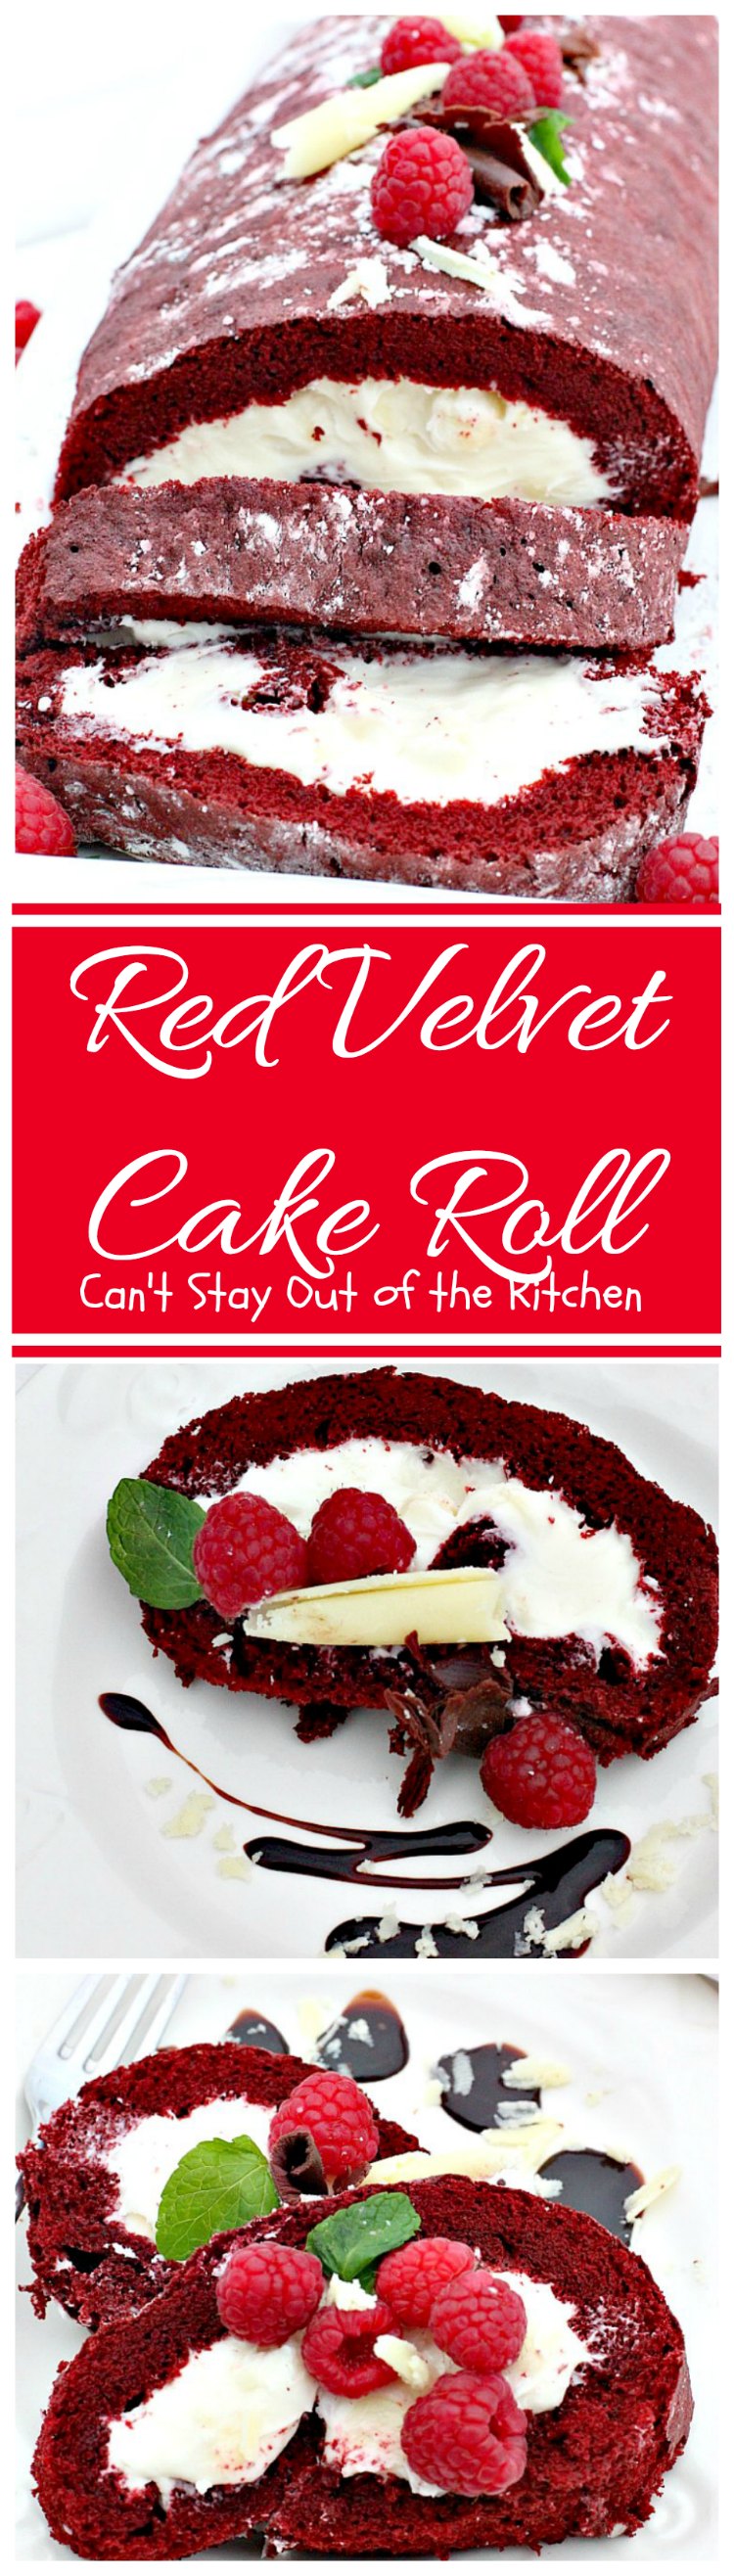
I’m addicted to Red Velvet desserts and I have tons of them. Red Velvet Cheesecake, Red Velvet Cake Roll, Red Velvet Cookie Dough Cheesecake Brownies, and Red Velvet Earthquake Cake are a few of my favorites. Red Velvet desserts make wonderful party treats. My Red Velvet Cake is a sensational dessert to serve for Christmas or Valentine’s Day parties, anniversaries, birthdays or other special occasions.
If you want a rich, decadent Red Velvet dessert, I highly recommend trying this lovely Red Velvet Cake. You will drool over every bite–and so will your family and friends. Bon appetit!
When I initially published this Red Velvet Cake in August 2012, it was very early in my blogging days. I was taking pictures with an iPhone so they were not as sharp, clear or as beautiful as they deserved to be.
I recently remade this cake (March 2017) for a bridal shower I was having for a friend’s daughter. I served it along with a Carrot Cake and an Italian Creme Cake. Hannah decorated all of the cakes and they got rave reviews for beauty as well as taste.
What do you think? Doesn’t Red Velvet Cake look yummy? It’s really a beautiful cake to make either during the Christmas holidays or Valentine’s day. But I made it for a special occasion yesterday. All the ladies who tried it thought it was delicious! It certainly is one of my favorite cakes.
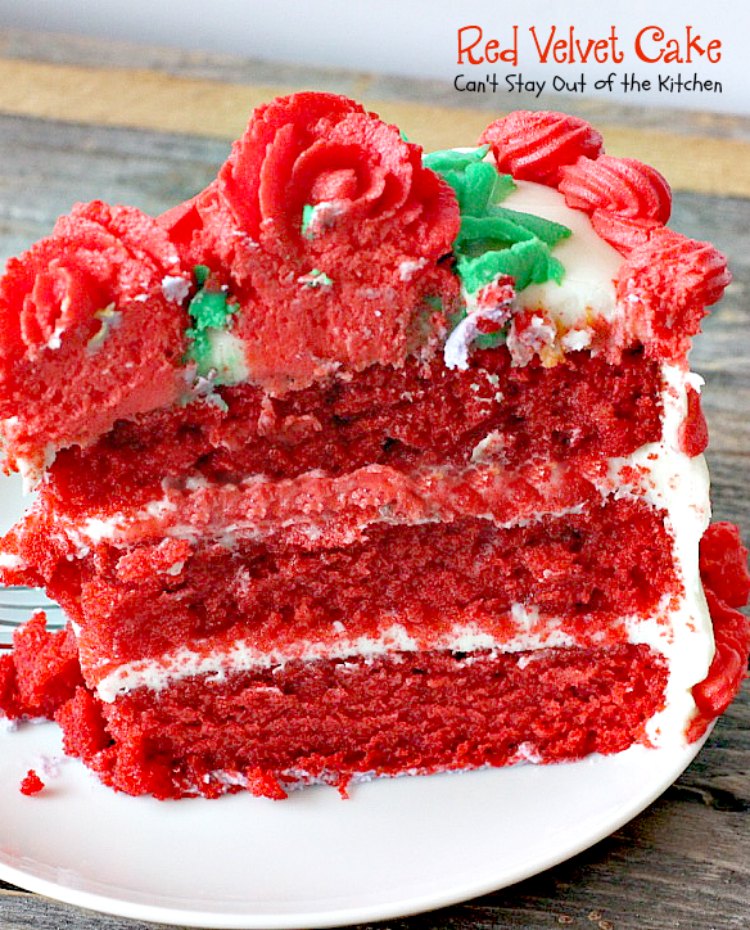
My Red Velvet Cake is very moist, not dry like some Red Velvet Cakes.
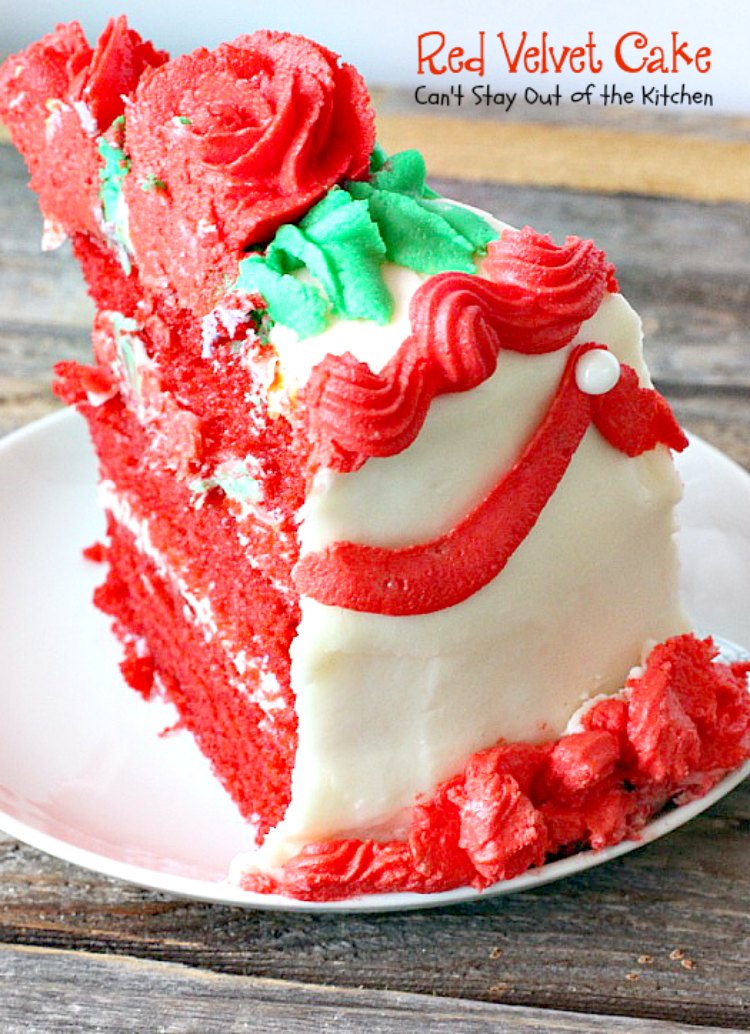
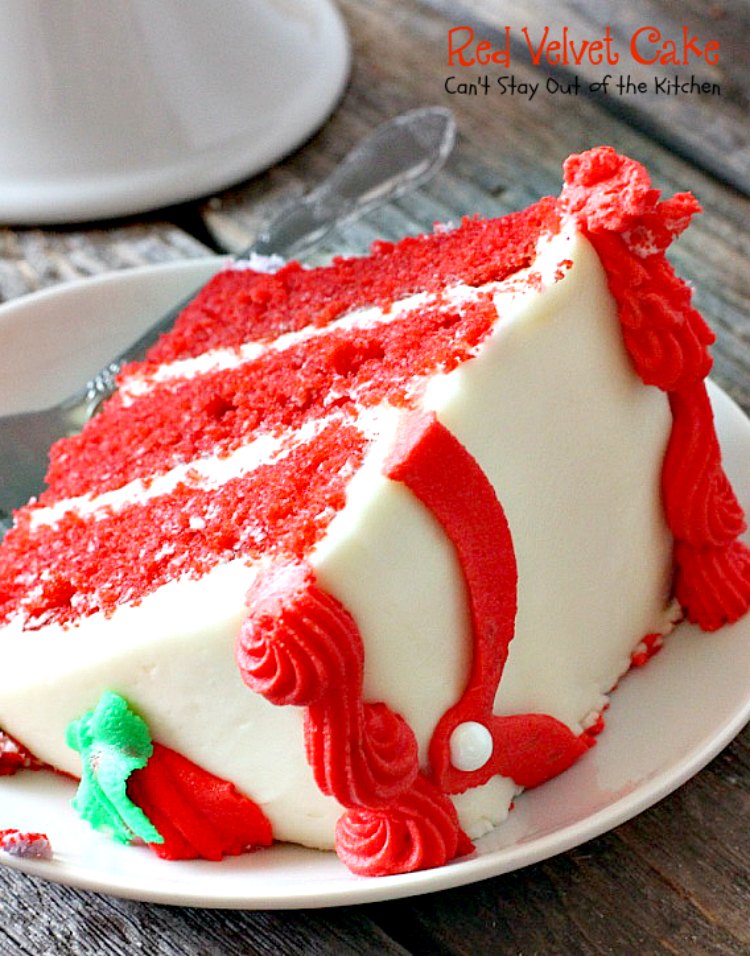
Even the back of the cake is beautiful.
Red Velvet Cake is one of our favorite cakes, but it’s especially wonderful for Valentine’s Day or Christmas.
Here’s what I did.
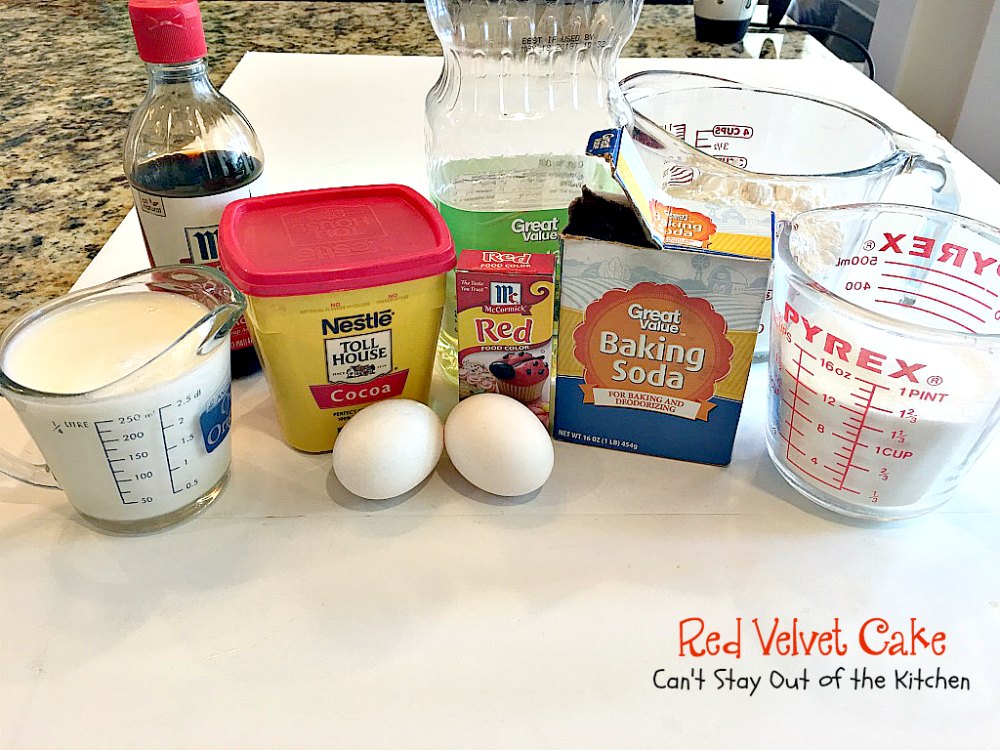
I used these ingredients for the cake. The measuring glass on the left contains soured milk (buttermilk).
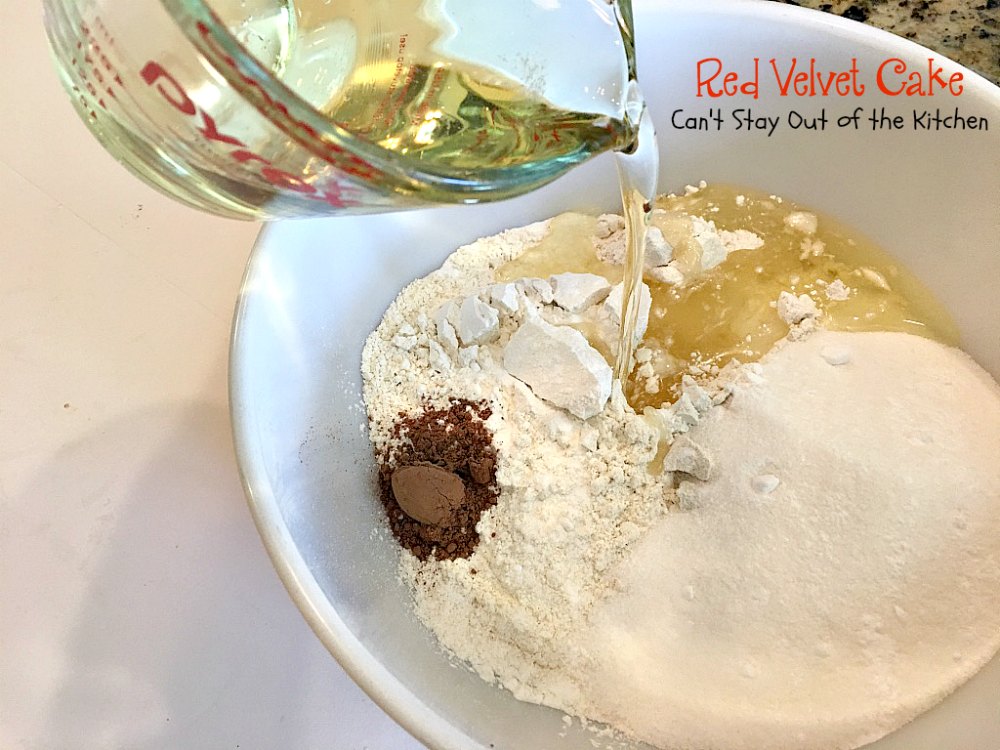
Place UNBLEACHED all-purpose flour in a mixing bowl. Bleached flour toughens baked goods. Add sugar, baking soda, and cocoa. Add oil.
Cream ingredients with an electric mixer until smooth.
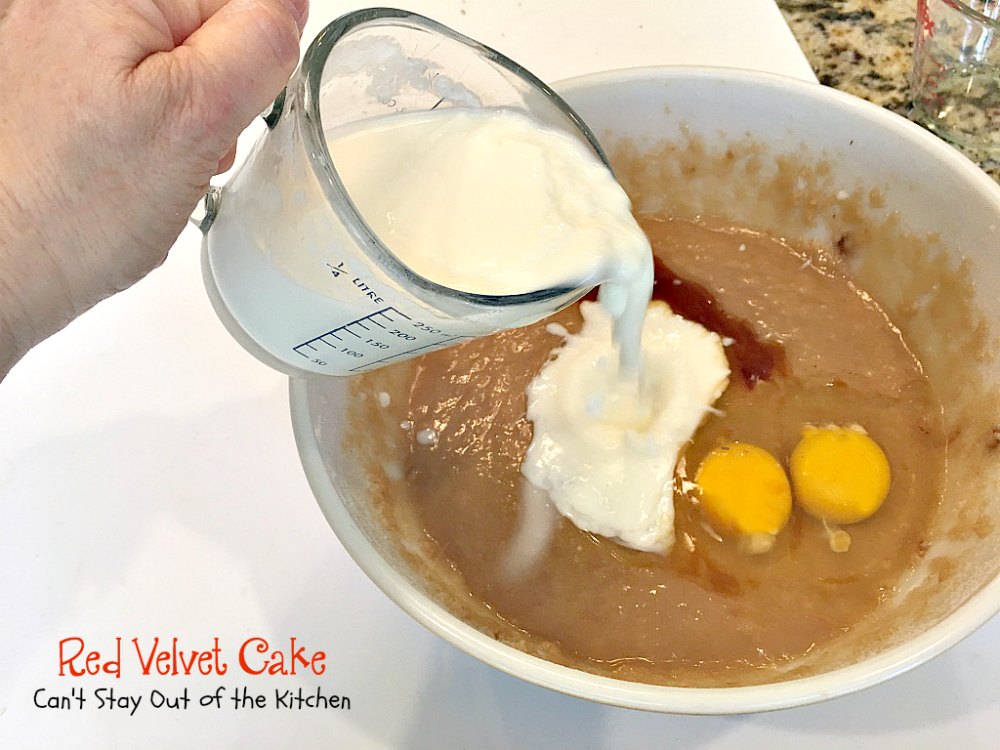
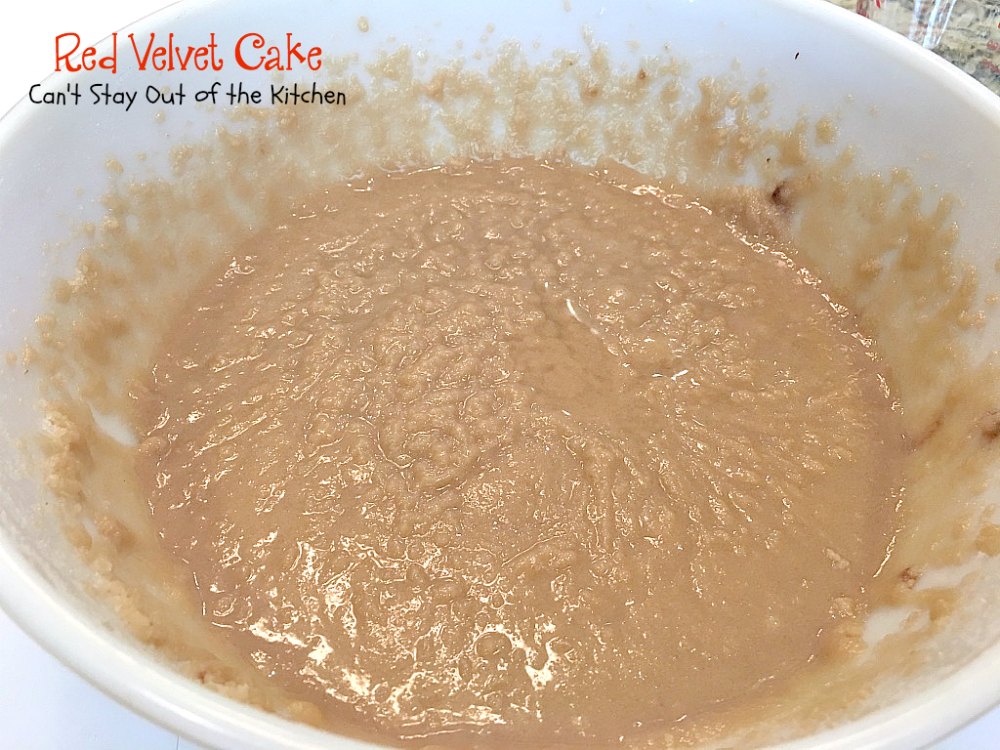
Add vanilla, eggs and buttermilk. Mix with an electric mixer until smooth.
If you don’t have buttermilk you can take a cup of milk and and a couple of tablespoonfuls of vinegar or lemon juice and let it sit on the counter for about 5 minutes. It will curdle and you will have soured milk.
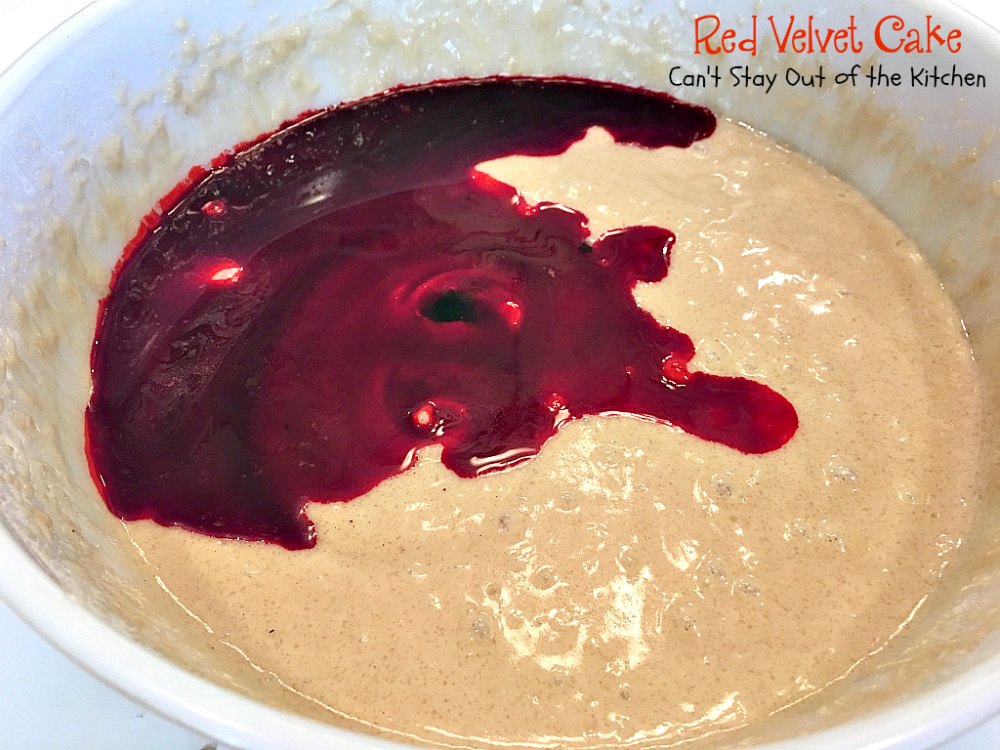
Add red food coloring.

Mix with an electric mixer until thoroughly mixed.
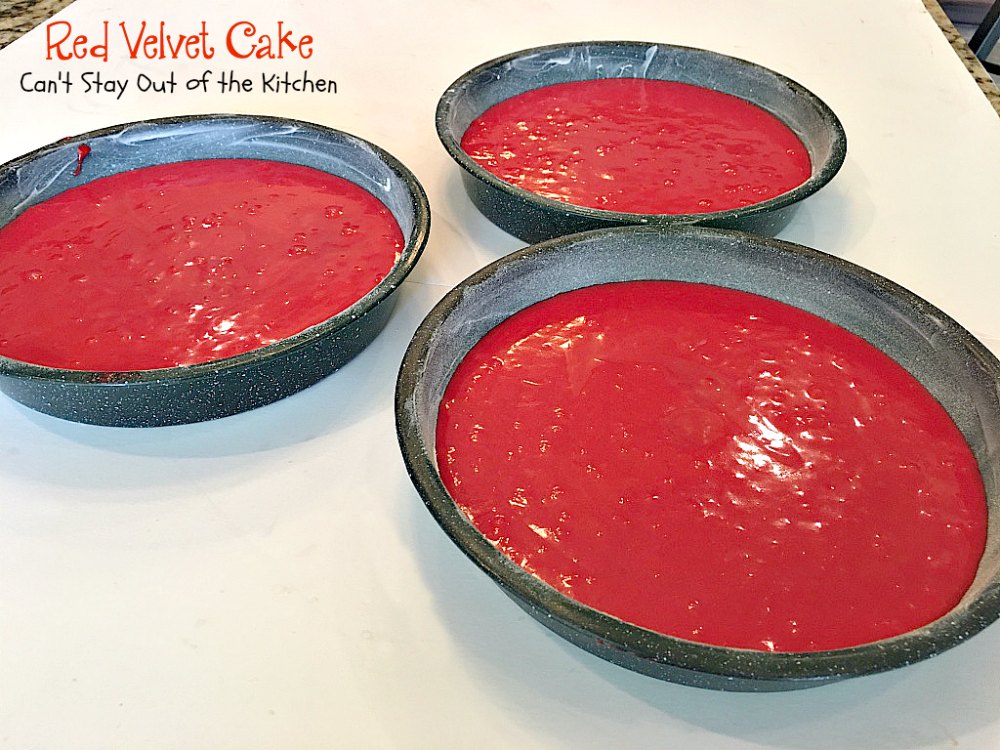
Grease and flour baking pans really well. Make sure you tilt the pans so the sides get floured too. Try to spread the batter evenly among the three baking pans.
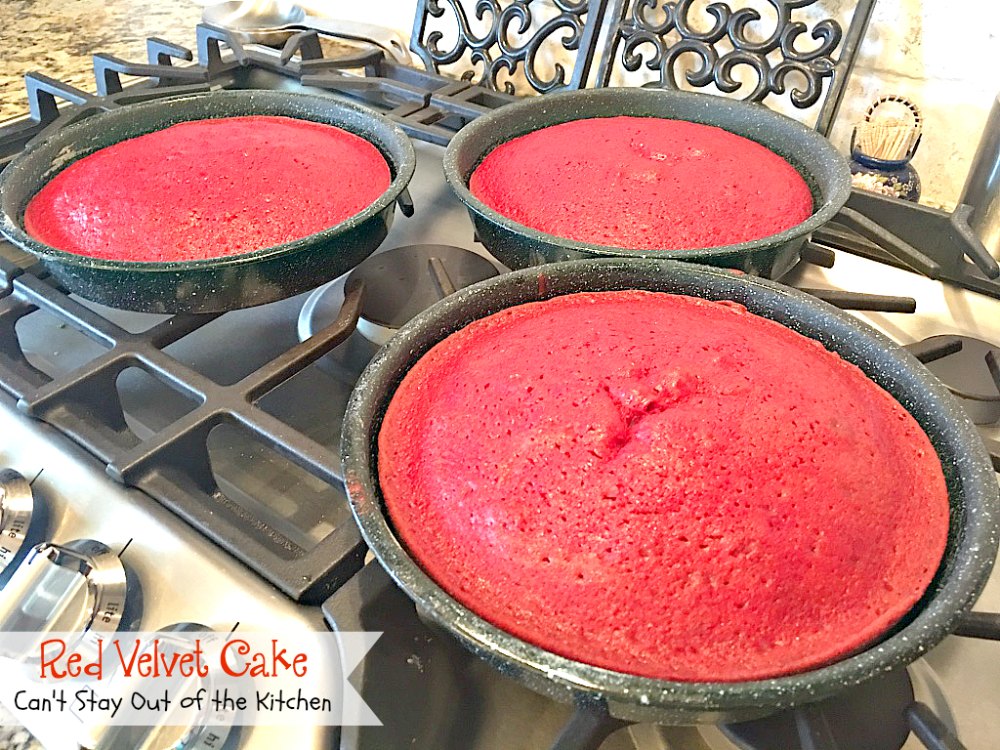
Bake in the oven at 350 for 30-35 minutes or so. Insert a toothpick in the center and when it comes out clean the cakes are baked.
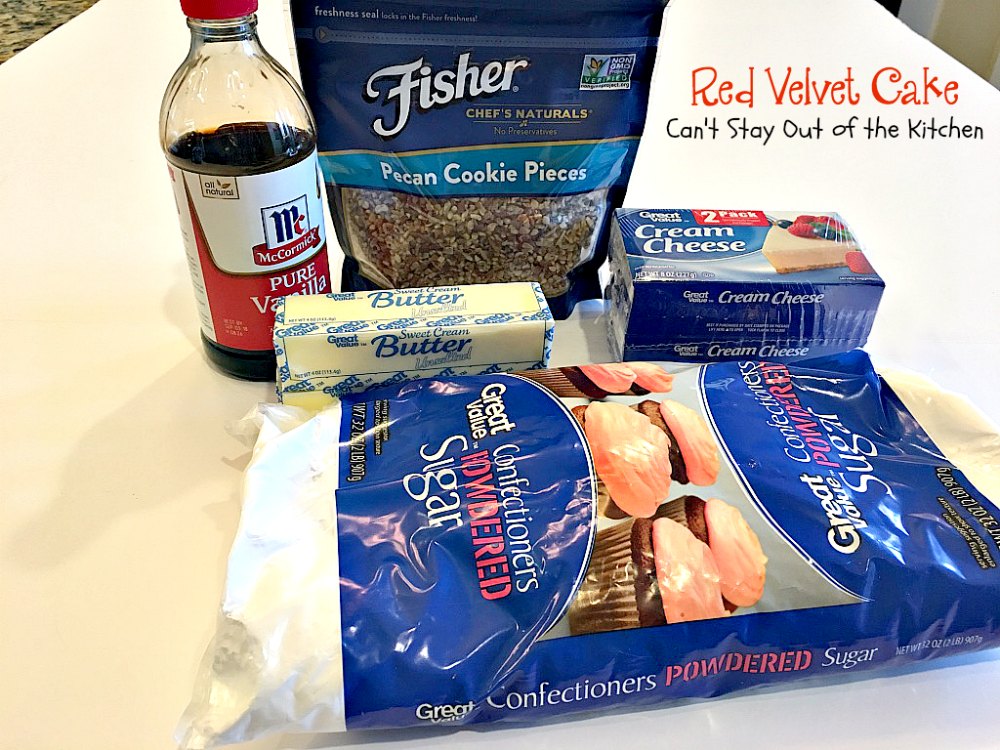
I used these ingredients for the icing, except I chose not to use the pecans this time. Usually I place them on the sides if I’m not going to put decorative icing on the sides.
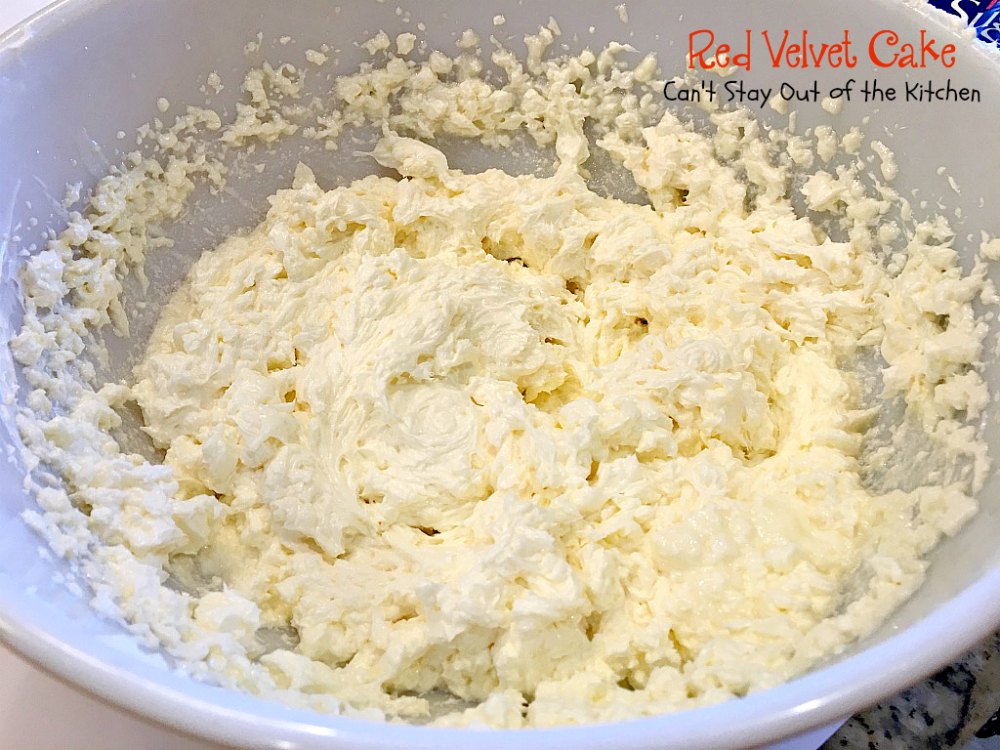
For the icing: Soften butter. Add cream cheese. Mix ingredients with an electric mixer until smooth.
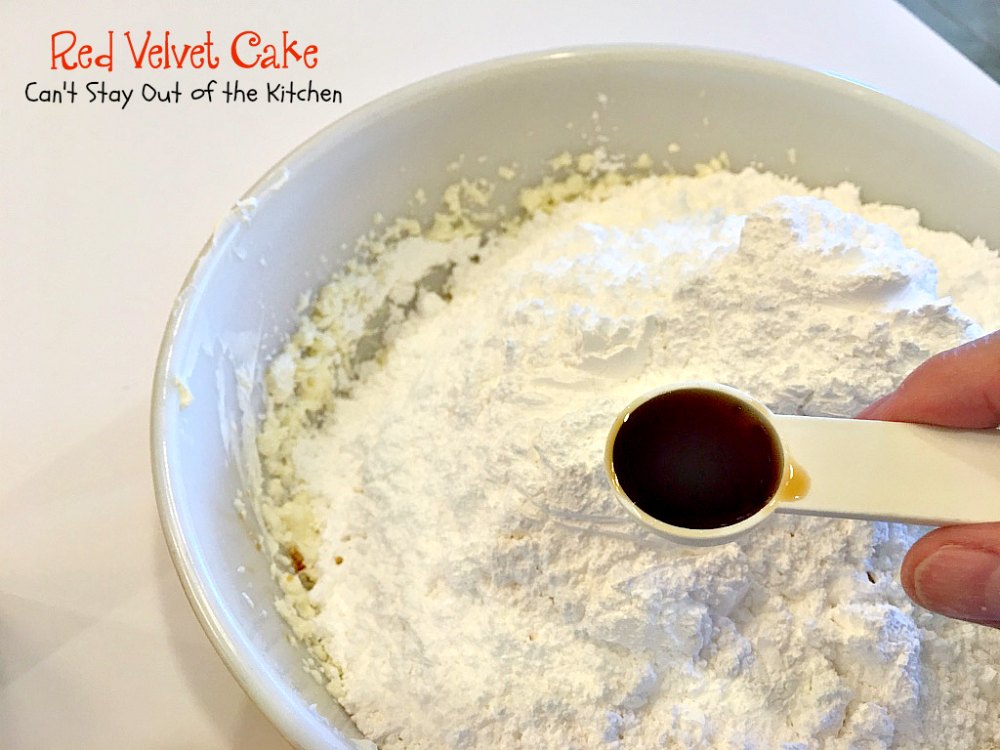
Add powdered sugar and vanilla. You may have to add more powdered sugar than the recipe calls for if the mixture seems weepy.
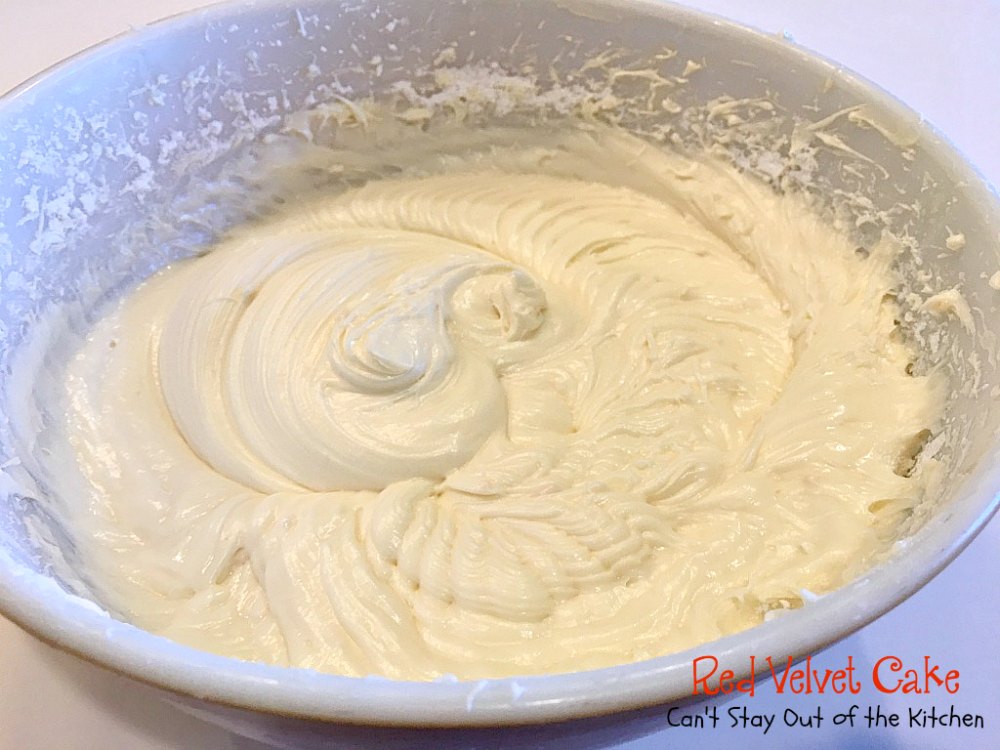
Mix with an electric mixer until smooth.
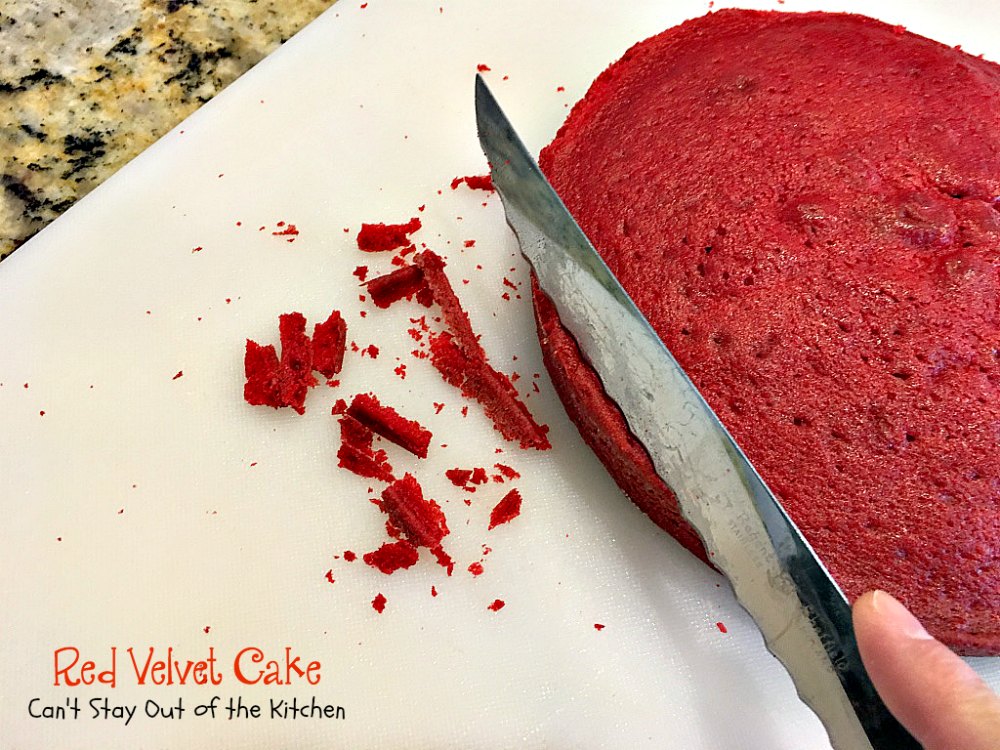
Trim the hard edges off the edges of the cake.
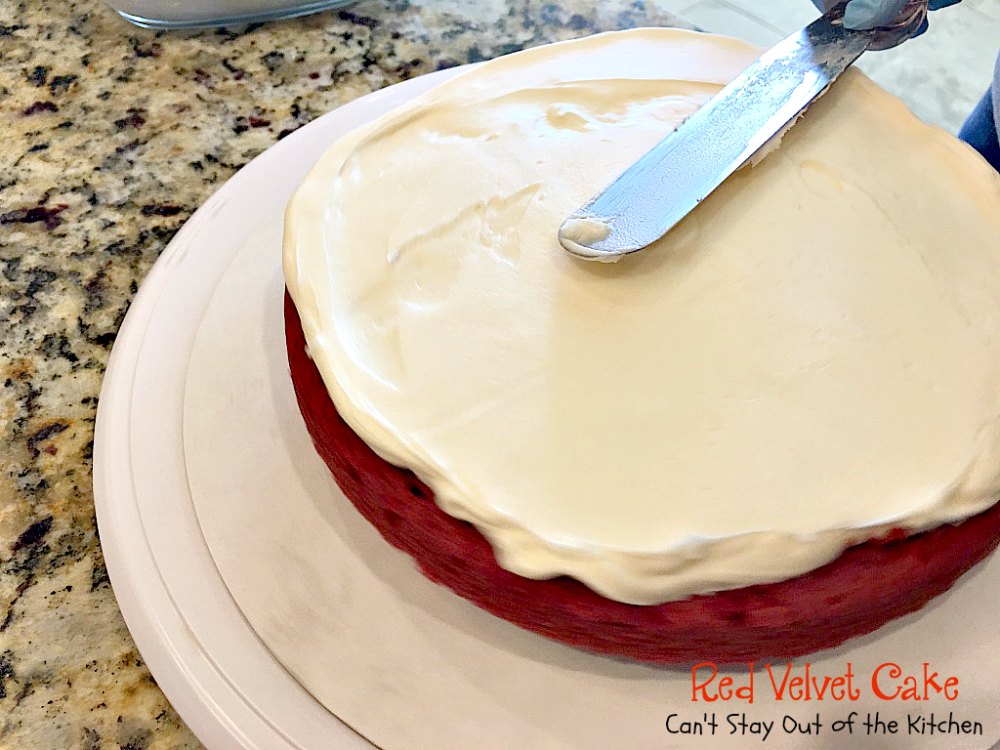
Place some of the cream cheese frosting on the bottom of the plate so the cake adheres well and doesn’t topple over or move out of place. Spread cream cheese frosting over top of the cake. We placed the cake on a turntable and turned it with one hand while spreading the icing with a spatula in the other.
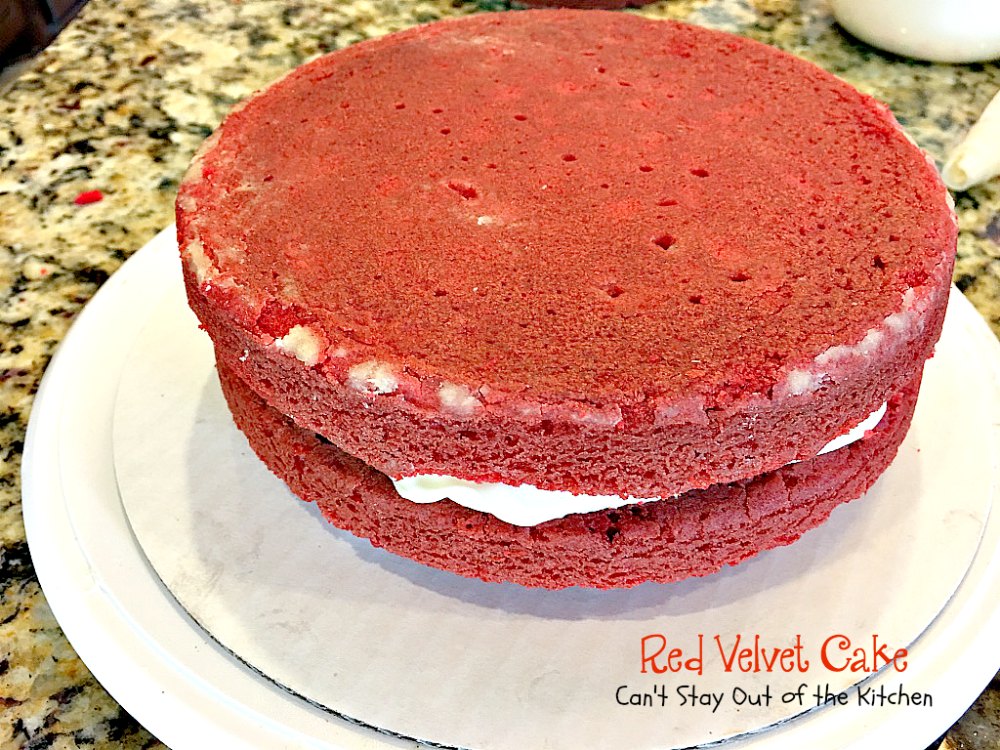
Top with another trimmed cake layer.
Spread cream cheese lavishly on top of the cake. This is a supposed to be a rich, decadent cake. Don’t be stingy with the icing. I usually make a double batch for this cake. I would recommend that you do that too.
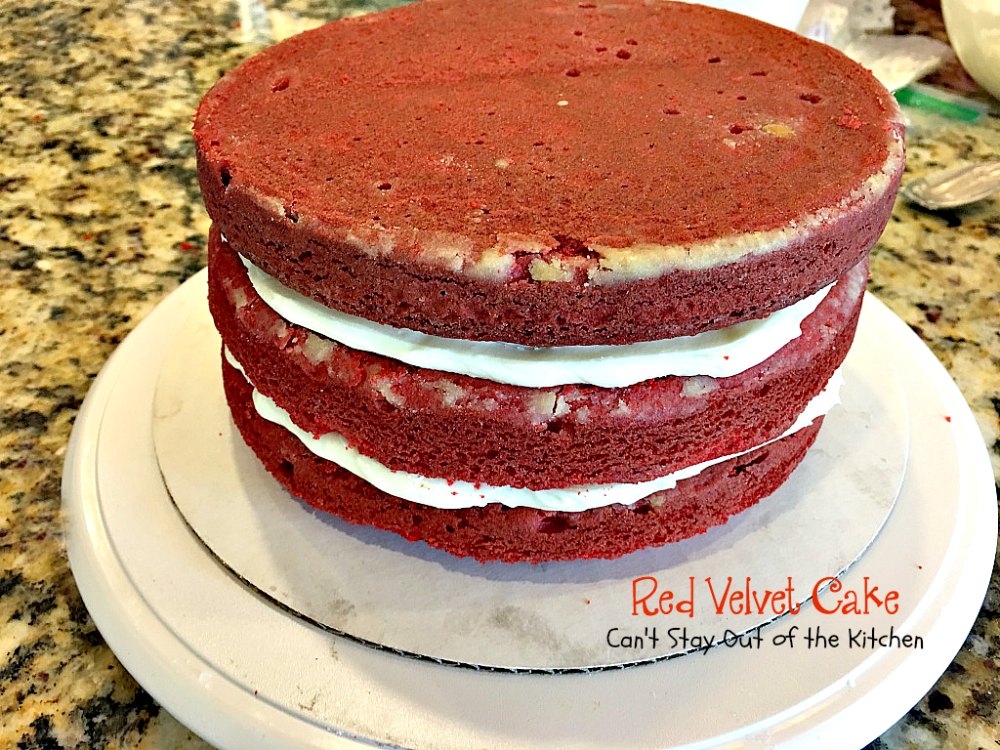
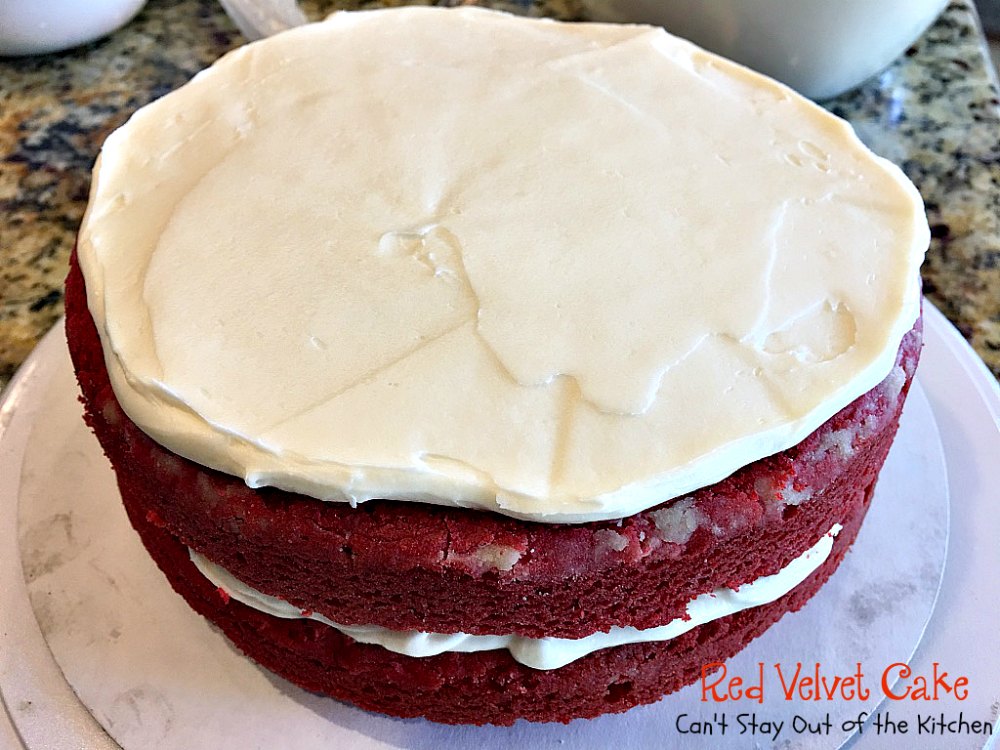
Add the third trimmed layer of cake.

Slather top of cake with a lot of cream cheese frosting.
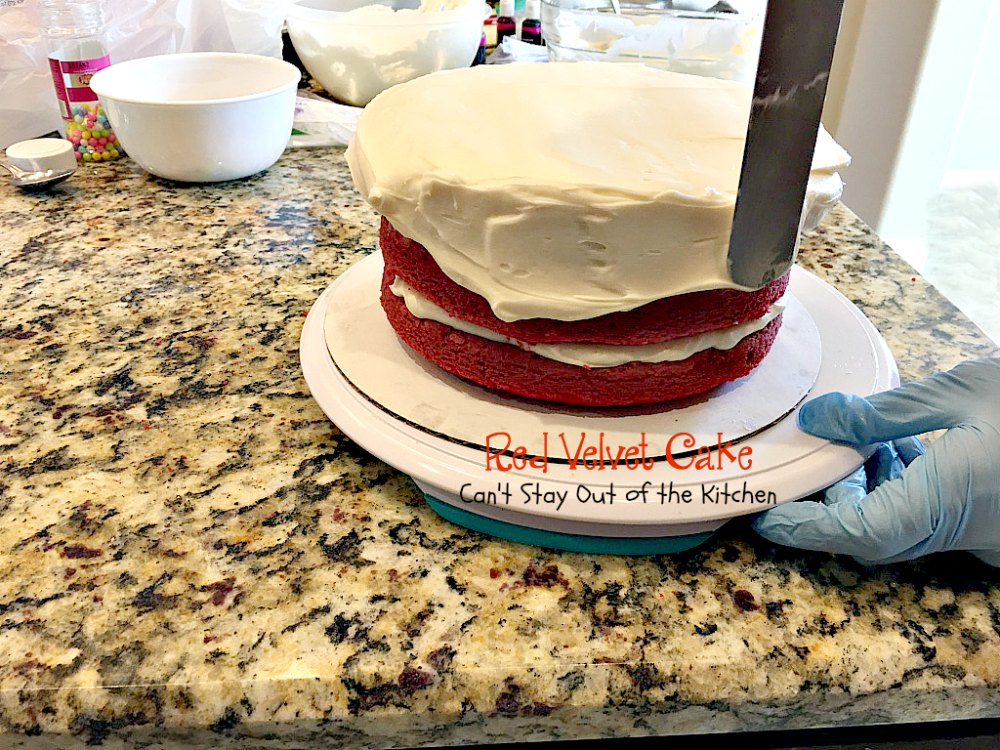
Spread the icing on top and the sides of the cake.
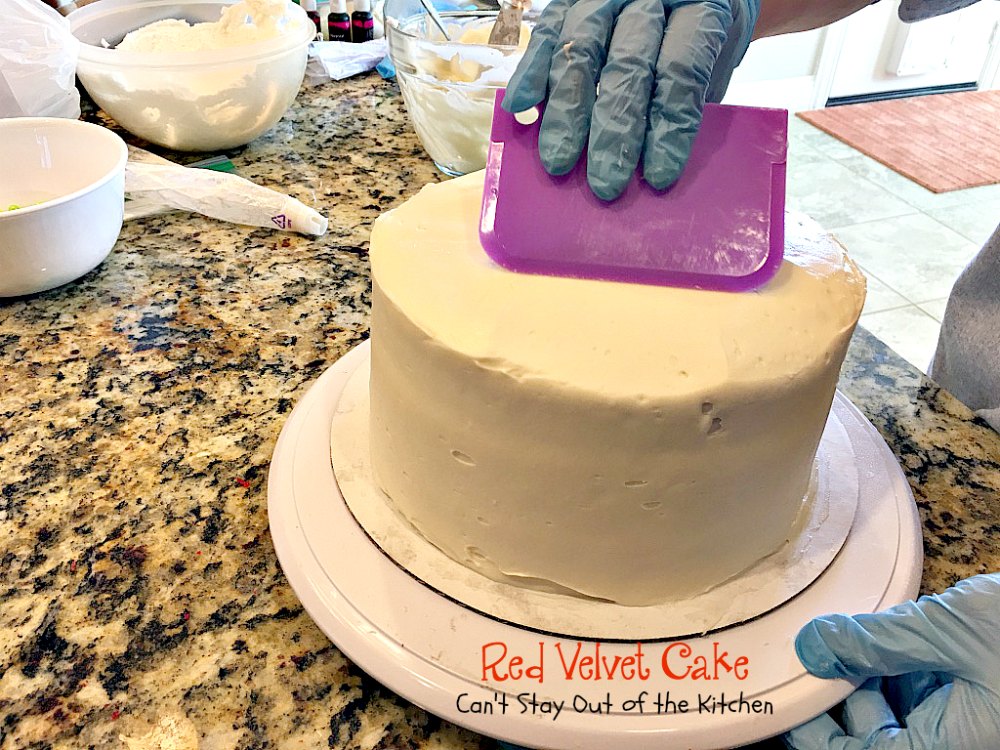
Scrape the sides and edges of the top so icing is smooth.
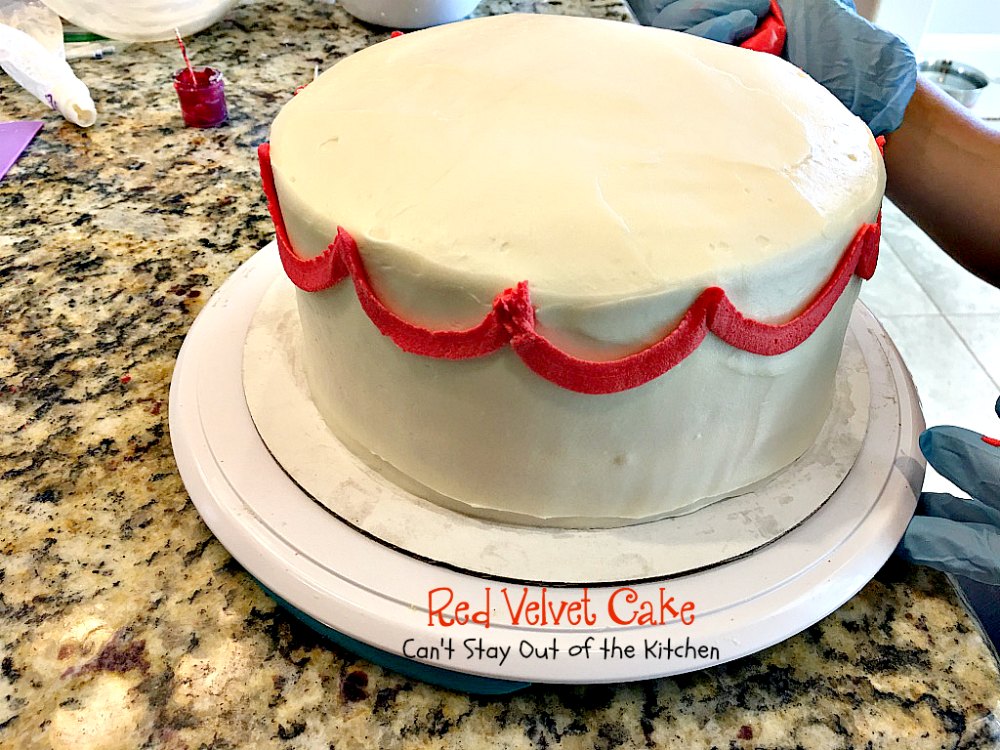
Hannah added a bow around the cake.

We used a reverse border on the bottom and the top of the cake.
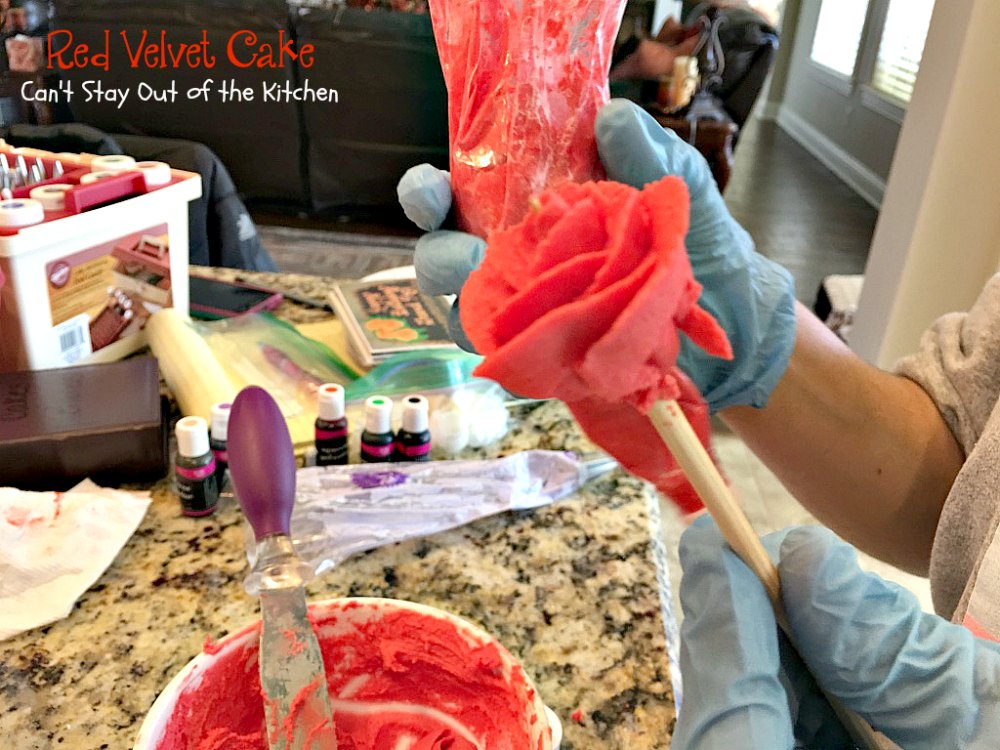
Hannah prefers to make the roses on a stick although many prefer to make it on a small rose platform.
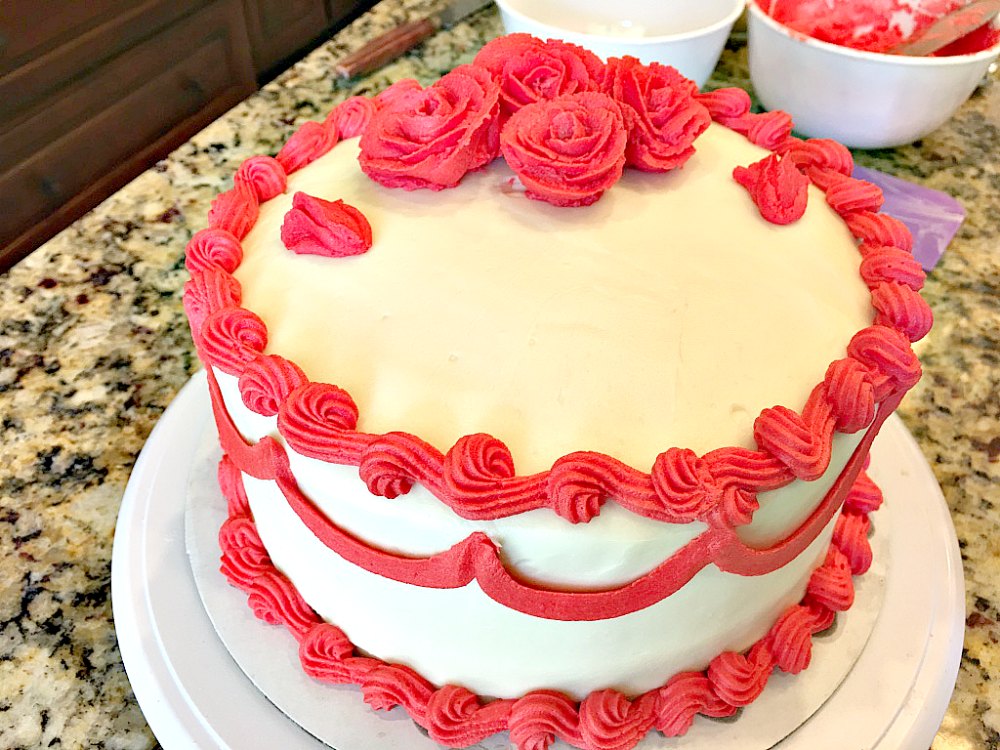
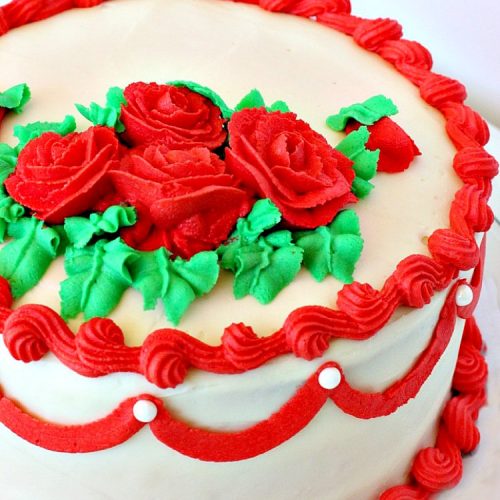
Here the roses have been added to the top.
Here the flower petals and beads have been added.
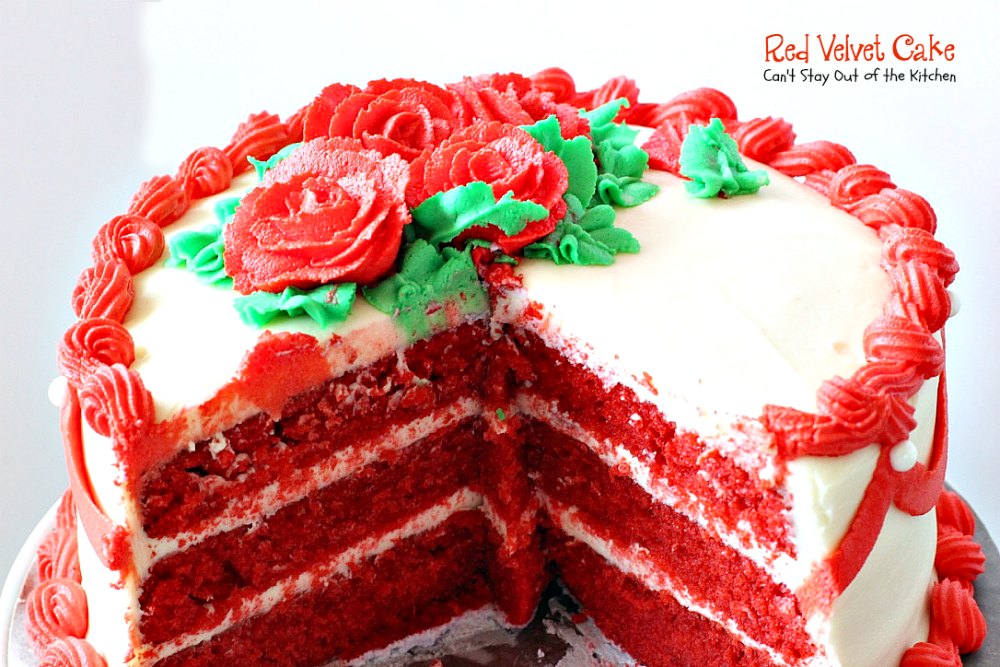
Red Velvet Cake is so wonderful. I ate way too many pieces of it.

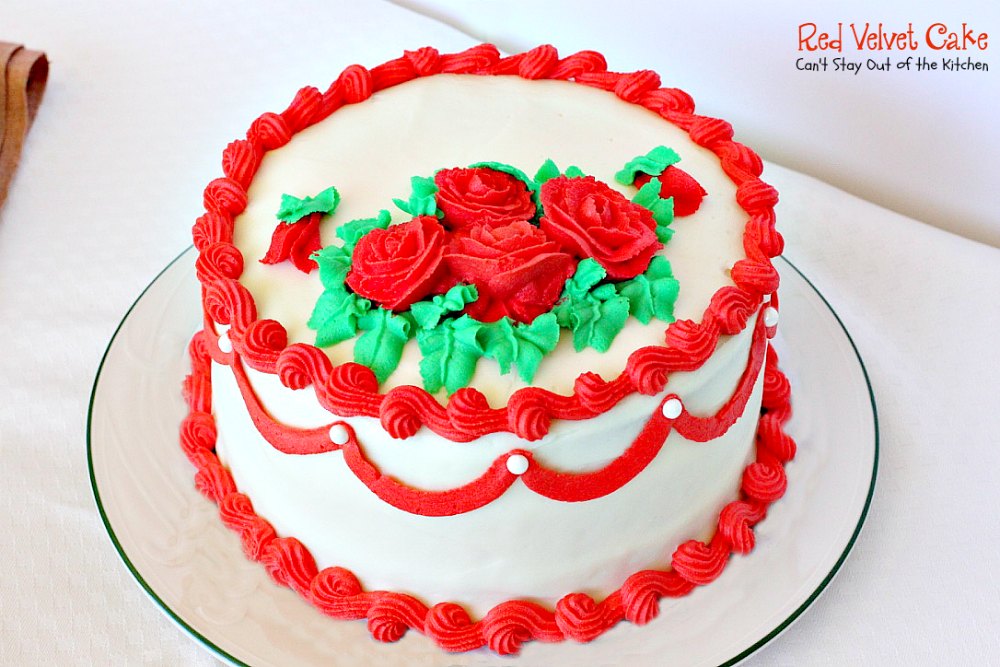
Here’s a bird’s eye view of the top.
Red Velvet Cake is perfect for special occasions like Christmas, anniversaries or birthdays, or Valentine’s Day.
This elegant cake is so scrumptious you will want to make it frequently.
Here’s the recipe.
RED VELVET CAKE
(Recipe from Sheila Cook, wife of former President, Dr. Gary Cook, Dallas Baptist University)
Red Velvet Cake
Equipment
- 3 9-inch round cookie pans
- 2 large mixing bowls
- 1 electric mixer
- pastry decorator tips and bag for frosting the cake if desired
- measuring cups
- measuring spoons
- 1 wooden spoon
Ingredients
RED VELVET CAKE:
- 2 1/2 cups UNBLEACHED all-purpose flour bleached flour toughens baked goods
- 1 1/2 cups granulated sugar
- 1 tsp. baking soda
- 1 tsp. cocoa
- 2 large eggs
- 1 1/2 cups canola oil or use coconut oil or avocado oil
- 1 tsp. vanilla extract
- 1 oz. bottle red food coloring 1 fluid ounce
- 1 cup buttermilk or soured milk (see note below)
CREAM CHEESE FROSTING:
- 8 oz. pkg. cream cheese softened
- 1 stick unsalted butter softened (1/2 cup)
- 16 oz. powdered sugar
- 1 cup pecans or walnuts, chopped (measure after chopping)
- 1 tsp. vanilla extract
Instructions
RED VELVET CAKE:
- Mix flour, granulated sugar, soda and cocoa with oil with an electric mixer in a large mixing bowl.
- Add the rest of the ingredients and mix well.
- Bake in oven at 350° for 30-35 minutes in three 9” greased and floured baking pans.
- Vary baking time if using only 2 layers or oblong pan).
- Cool cake completely before adding frosting.
CREAM CHEESE FROSTING:
- Soften cream cheese and butter and place in a large mixing bowl; beat with an electric mixer.
- Add remaining ingredients.
- Mix all ingredients together and beat until smooth and creamy.
- Spread frosting on cooled cake on each layer and on top and sides.
- Decorate, if desired.
Notes
© Can’t Stay Out of the Kitchen
Nutrition
- 2 ½ cups UNBLEACHED all-purpose flour (bleached flour toughens baked goods)
- 1 ½ cups sugar
- 1 tsp. soda
- 1 tsp. cocoa
- 2 eggs
- 1 ½ cups oil
- 1 tsp. vanilla
- 1 bottle red food coloring (1 fluid ounce)
- 1 cup buttermilk[br]
- [b]ICING:[/b][br]
- 8-oz. cream cheese
- 1 stick butter (her recipe calls for margarine, I always use butter in frostings)
- 1 box powdered sugar
- 1 cup chopped nuts
- 1 tsp. vanilla
- Mix flour sugar, soda and cocoa with oil.
- Add the rest of the ingredients and mix well.
- Bake in oven at 350° for 15-20 minutes in 3 9” greased and floured baking pans.
- Vary time if using only 2 layers or oblong pan). [br]
- Soften cream cheese and butter.
- Mix all ingredients together and spread on cooled cake.

Red Velvet Cake is a fantastic cake to make for special occasions like bridal showers!
Every bite of Red Velvet Cake is so mouthwatering. This is one of those cakes that gets rave reviews every time I make it.

I usually make a double batch of cream cheese icing for this cake so it’s incredibly rich and decadent.
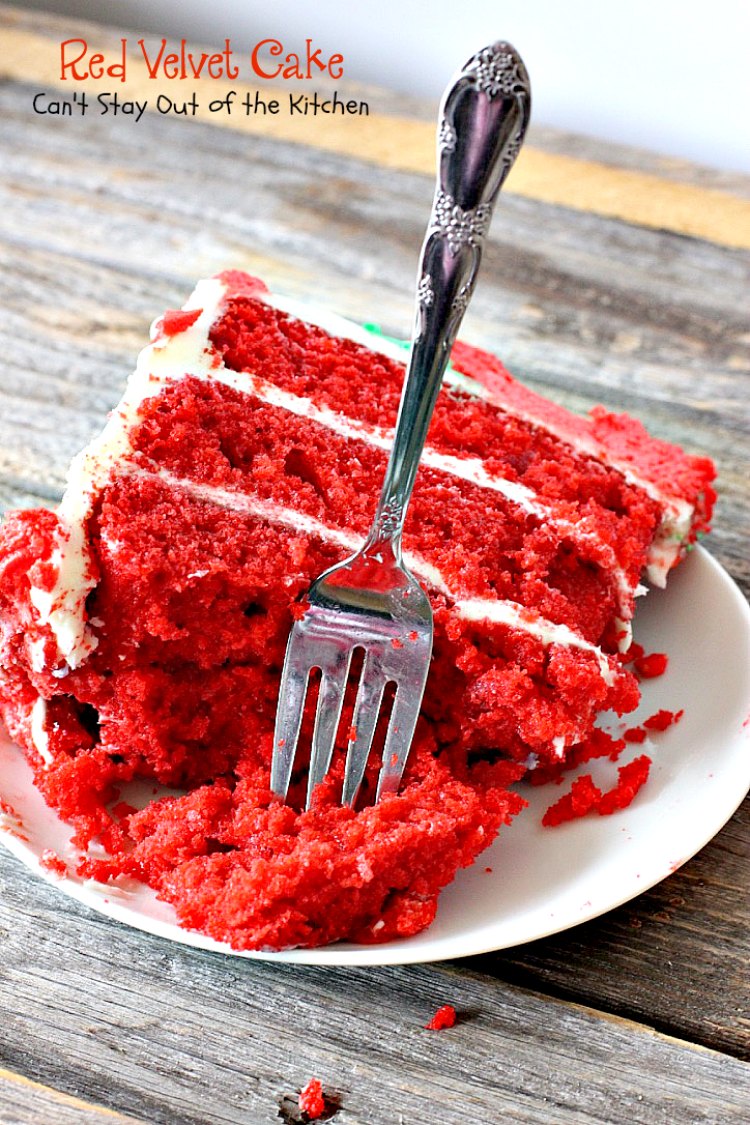
Every forkful will have you drooling.
You may also enjoy these delicious recipes!
Red Velvet Cake
Equipment
- 3 9-inch round cookie pans
- 2 large mixing bowls
- 1 electric mixer
- pastry decorator tips and bag for frosting the cake if desired
- measuring cups
- measuring spoons
- 1 wooden spoon
Ingredients
RED VELVET CAKE:
- 2 1/2 cups UNBLEACHED all-purpose flour bleached flour toughens baked goods
- 1 1/2 cups granulated sugar
- 1 tsp. baking soda
- 1 tsp. cocoa
- 2 large eggs
- 1 1/2 cups canola oil or use coconut oil or avocado oil
- 1 tsp. vanilla extract
- 1 oz. bottle red food coloring 1 fluid ounce
- 1 cup buttermilk or soured milk (see note below)
CREAM CHEESE FROSTING:
- 8 oz. pkg. cream cheese softened
- 1 stick unsalted butter softened (1/2 cup)
- 16 oz. powdered sugar
- 1 cup pecans or walnuts, chopped (measure after chopping)
- 1 tsp. vanilla extract
Instructions
RED VELVET CAKE:
- Mix flour, granulated sugar, soda and cocoa with oil with an electric mixer in a large mixing bowl.
- Add the rest of the ingredients and mix well.
- Bake in oven at 350° for 30-35 minutes in three 9” greased and floured baking pans.
- Vary baking time if using only 2 layers or oblong pan).
- Cool cake completely before adding frosting.
CREAM CHEESE FROSTING:
- Soften cream cheese and butter and place in a large mixing bowl; beat with an electric mixer.
- Add remaining ingredients.
- Mix all ingredients together and beat until smooth and creamy.
- Spread frosting on cooled cake on each layer and on top and sides.
- Decorate, if desired.
27 Comments
Rose
March 20, 2017 at 4:05 pm
Wow colorful, beautiful and delicious 🙂
Teresa
March 20, 2017 at 7:14 pm
Thanks, Rose. This is one of our favorite cake recipes. So moist and delicious.
sahana
February 11, 2015 at 4:00 am
Hello,
It looks great. As I’m vegetarian, can you suggest me “without egg” recipe, like what one can do get soft and delicious cake without using egg, or is it possible or not?
Teresa
February 11, 2015 at 11:30 am
Sahana, this recipe also has cream cheese, do you have a cream cheese substitute? I have heard that you can take flax seed and add it to water. Allow it to sit for a few minutes and this can be used to substitute for the egg. You may need to go online to find out exactly how to do it. You may be able to find a soy substitute for the cream cheese. Please let me know how it works with these substitutions.
15 Fabulous Red Velvet Desserts for Valentine's Day – Can't Stay Out Of The Kitchen
February 10, 2015 at 12:14 pm
[…] Red Velvet Cake […]
Red Velvet Earthquake Cake – Can't Stay Out Of The Kitchen
February 5, 2015 at 9:35 am
[…] Red Velvet Cake […]
Phyllis
December 3, 2022 at 7:46 am
This cake no vinegar or salt in it
Teresa
December 3, 2022 at 7:53 am
That is correct, Phyllis. It uses sour cream to activate the baking soda.
Chocolate Buttermallow Cake – Can't Stay Out Of The Kitchen
November 8, 2014 at 9:38 pm
[…] actually a lot of steps for a brand new cook, but this cake is worth it. It is almost like a Red Velvet Cake except it has a toffee layer and a Marshmallow Frosting. Regardless, this cake is exceptionally […]
Red Velvet Cookie Dough Cheesecake Brownies | Can't Stay Out of the Kitchen
February 12, 2013 at 8:27 pm
[…] Red Velvet Cake […]
Red Velvet Cherry Chocolate Brownies | Can't Stay Out of the Kitchen
February 8, 2013 at 7:43 pm
[…] Red Velvet Cake […]
Be My Valentine M&M Cookies | Can't Stay Out of the Kitchen
February 6, 2013 at 1:25 pm
[…] Red Velvet Cake […]
Red Velvet Cake Roll | Can't Stay Out of the Kitchen
February 5, 2013 at 3:56 pm
[…] you could ask for in a holiday or Valentine’s Day dessert. It is simply divine! If you like Red Velvet Cake, Red Velvet Crinkle Cookies, Red Velvet Cheesecake Brownies, or Red Velvet Gooey Butter Cake Bars, […]
Red Velvet White Chocolate Chip Cookies | Can't Stay Out of the Kitchen
January 30, 2013 at 11:00 pm
[…] Red Velvet Cake […]
Red Velvet Cheesecake | Can't Stay Out of the Kitchen
January 27, 2013 at 8:52 pm
[…] Red Velvet Cake […]
Red Velvet Peppermint Kisses | Can't Stay Out of the Kitchen
January 23, 2013 at 10:46 pm
[…] Red Velvet Cake […]
Red Velvet Gooey Butter Cake Bars | Can't Stay Out of the Kitchen
January 22, 2013 at 8:39 pm
[…] Red Velvet Cake […]
Red Velvet Kisses | Can't Stay Out of the Kitchen
January 7, 2013 at 11:02 pm
[…] Red Velvet Cake […]
Red Velvet Crinkle Cookies | Can't Stay Out of the Kitchen
December 13, 2012 at 5:45 pm
[…] Red Velvet Cake […]
Red Velvet Sandwich Cookies | Can't Stay Out of the Kitchen
December 12, 2012 at 10:15 pm
[…] Red Velvet Cake […]
Caramel Apple Cake with Apple Cider Frosting | Can't Stay Out of the Kitchen
November 5, 2012 at 2:29 pm
[…] Red Velvet Cake […]
Red Velvet Cheesecake Brownies | Can't Stay Out of the Kitchen
October 18, 2012 at 8:59 pm
[…] Red Velvet Cake […]
Italian Cream Cake | Can't Stay Out of the Kitchen
September 11, 2012 at 12:29 am
[…] a picture of Laureen. She’s the amazing cake decorator! Check out my Red Velvet Cake and Carrot Cake for some of her other creations. I am very grateful she was willing to spend a […]
Carrot Cake | Can't Stay Out of the Kitchen
September 10, 2012 at 9:00 pm
[…] Red Velvet Cake […]
nutsfortreasure
August 17, 2012 at 4:04 pm
I have an award waiting for you! Beautiful Blogger Award! Enjoy!
Teresa
August 17, 2012 at 6:26 pm
Again, thank you. See my note on your blog.
trialsinfood
August 16, 2012 at 3:15 pm
yum!