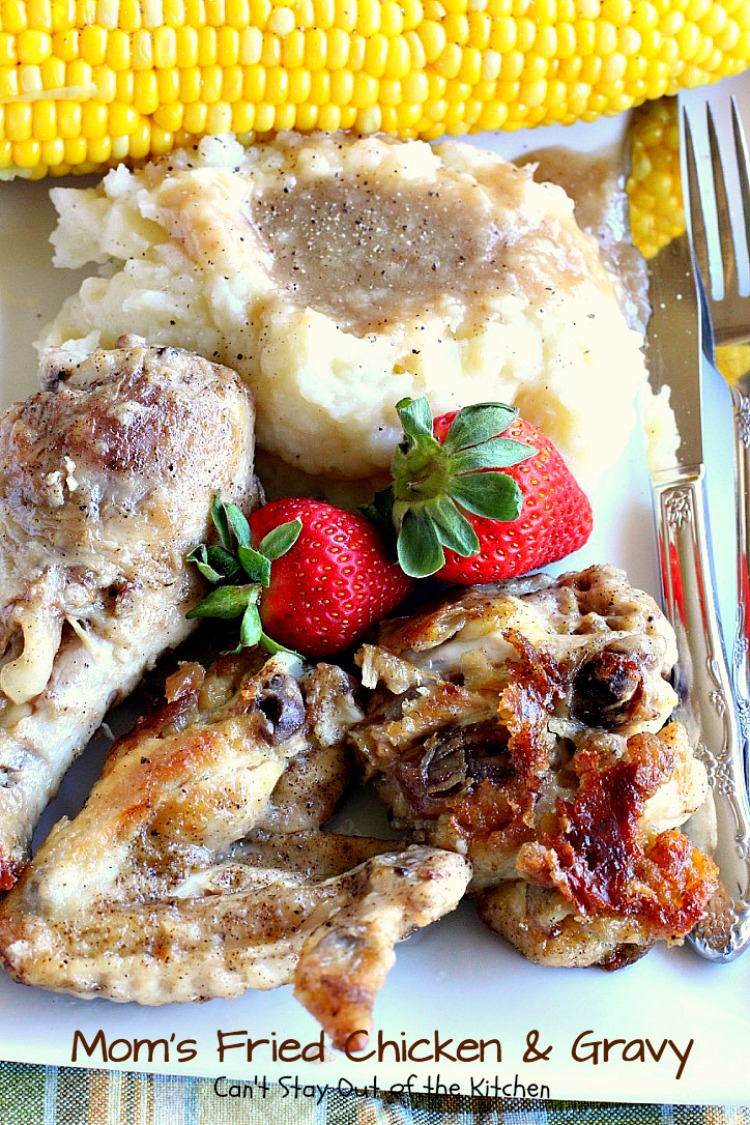
Mom’s Fried Chicken and Gravy
There is nothing more delectable than Mom’s Fried Chicken and Gravy. It was always one of my favorite comfort foods growing up. Mom usually served it with mashed potatoes, cole slaw, green beans and homemade bread served with jellies and jams. Mom’s Fried Chicken always crisped up nicely and was tastier than any restaurant food back in the day when restaurant’s were a lot fewer and farther between than they are now.
Follow Me On Instagram!
Mom would make the potatoes earlier in the day and use the potato water for her homemade bread recipe as well as for making the gravy to accompany the Fried Chicken. Back in those days when there were seven of us eating at home, Mom made one whole chicken do for the whole family.
We were lucky if we got a leg or a wing, but we never got more than one piece usually. I would beg Mom to make more, but as it was it usually took two large cast iron skillets, plus her food budget was really low so she had to stretch everything.
Mom used to cook her Fried Chicken in lard or Crisco shortening. So while this is my “mom’s recipe,” I just couldn’t bring myself to cook in either. I fried the chicken in coconut oil instead and it turned out very well. It has been some time since I left skin on chicken, too. But since that’s how Mom used to make it, that’s what I did.
Mom was very basic in her recipe because my dad was an extremely picky eater. Salt, pepper, flour, grease and chicken. That’s it. For the gravy, Mom used salt, pepper, flour, potato water and Kitchen Bouquet browning and seasoning sauce. I still use it today for any kind of gravy and it adds terrific flavor and color to the gravy. While I didn’t upgrade the recipe for the gravy for this recipe, I usually add garlic powder and parsley to my gravies.
One of the keys to making good homemade Fried Chicken is to have plenty of oil in the skillet, don’t crowd the chicken (use two skillets), and turn the chicken over about every 5 minutes or so, so that it doesn’t get burned. After the chicken has gotten a nice color (after 30 minutes or so), cover the chicken with a lid so that it cooks through.
One other key factor is Mom ALWAYS soaked her chicken pieces in cold, salted water at least an hour before starting. This draws out all the blood and makes for better flavor and everything else, in my opinion. It’s just an old cook’s secret that works.
If you have a hunger for old-fashioned Fried Chicken I suggest you give my Mom’s Fried Chicken and Gravy a try. While it’s not the healthiest way to serve chicken, in sure is one of the most delightful ways you’ll ever eat it! 🙂
Mom’s tasty recipe is featured at Favorite Southern Recipes here.
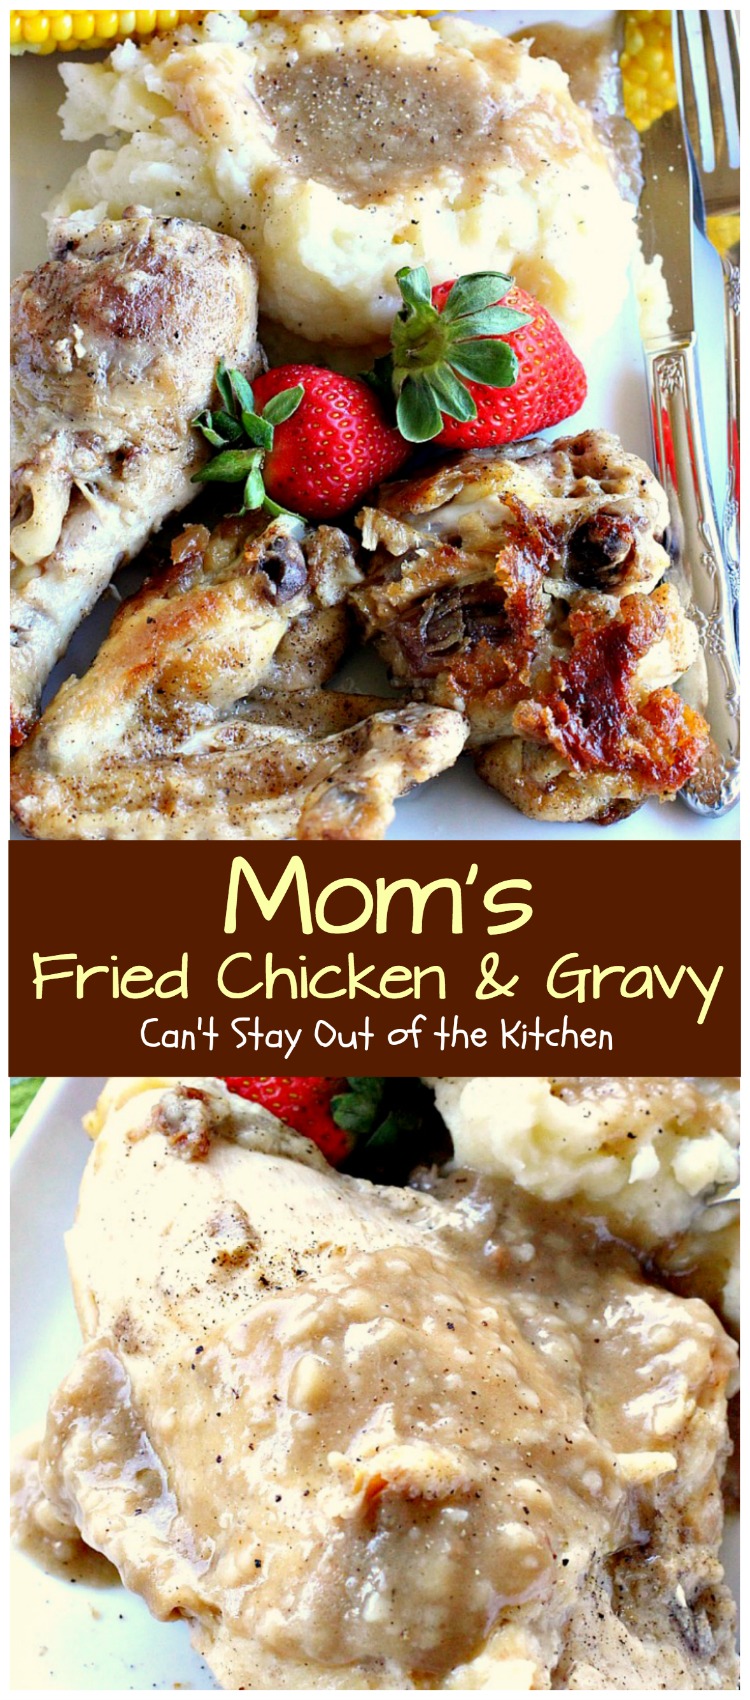
Mom’s Fried Chicken and Gravy is absolutely mouthwatering. Mom’s homemade gravy is so much richer since she uses potato water and Kitchen Bouquet browning & seasoning sauce to make it.
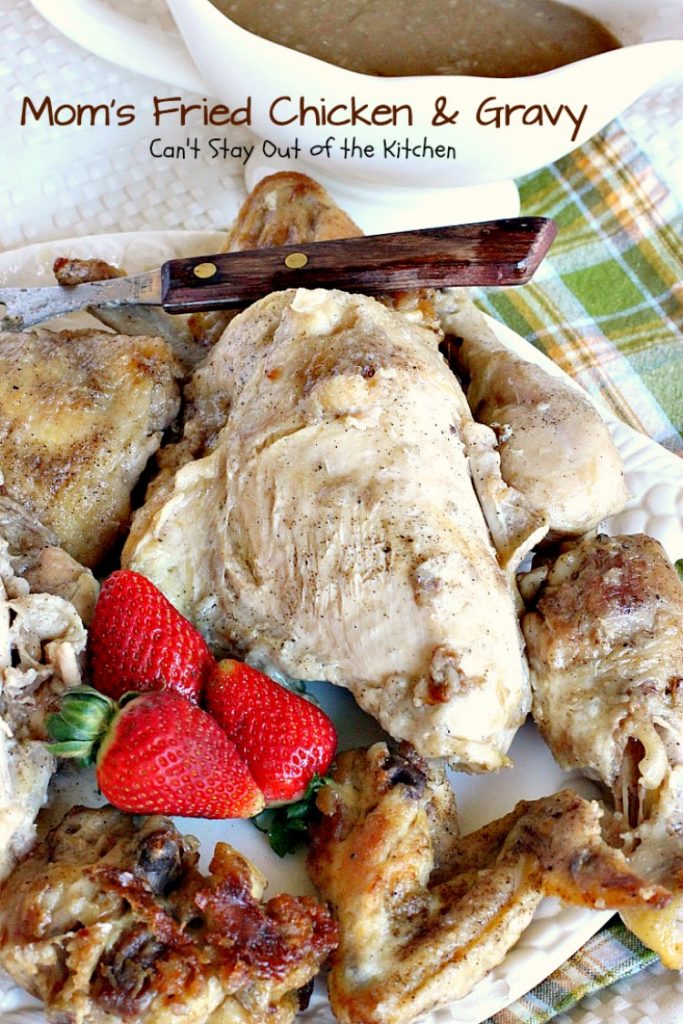
The skin from the chicken breasts came off during cooking, so I ended up eating that while the chicken was cooking. Yum, the cook always gets to sample while cooking. 🙂
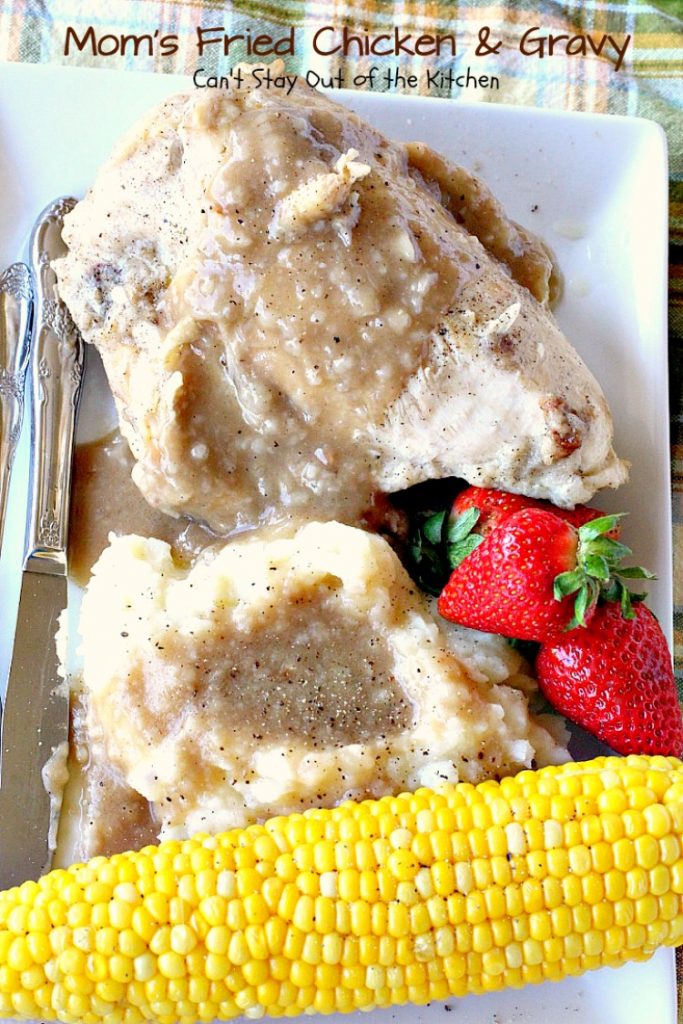
Serve the chicken plain or with gravy poured over top. Either way it’s scrumptious.
Here’s what I did.
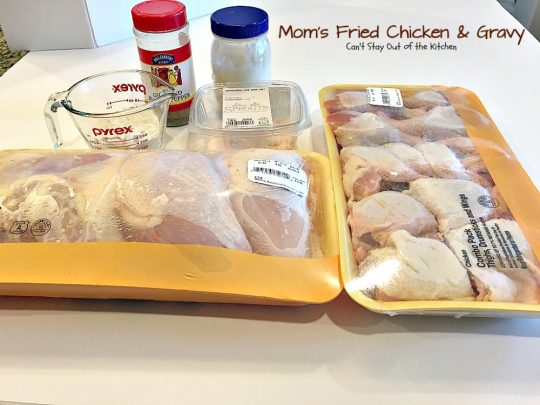
I use these ingredients for the chicken. The jar with the blue lid contains coconut oil which I used for frying.
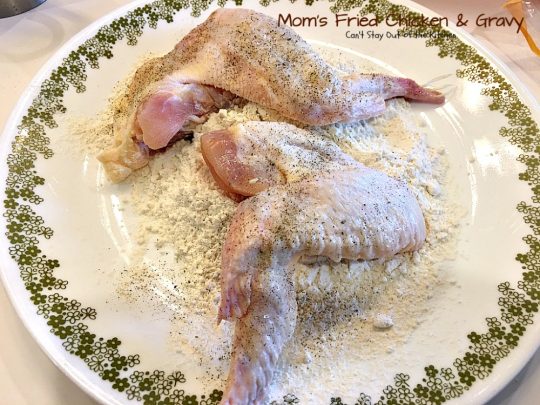
If you have time, I highly recommend you soak the chicken pieces in cold, salted water for at least one hour before cooking time. That will draw out all the blood.
Place flour on a plate. Sprinkle both sides of chicken pieces generously with salt and pepper. Dredge chicken pieces in flour.
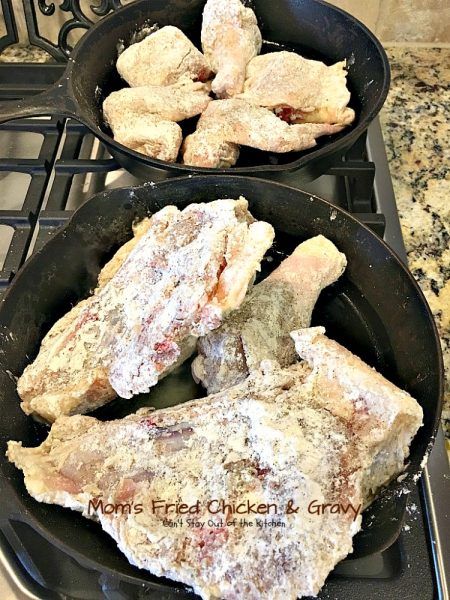
Place coconut oil in cast iron skillets and heat over medium heat. The pan is hot enough when a few drops of water dropped into the hot grease begins to sizzle. Add chicken pieces.
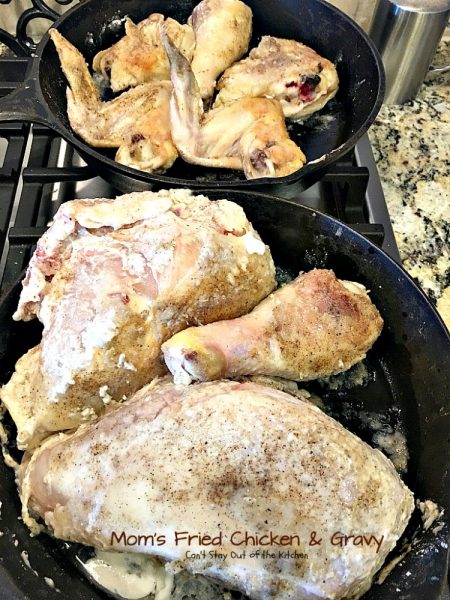
After about 5 minutes turn chicken pieces over. Don’t overcrowd the chicken, it needs to be cooked in at least two large skillets. The larger chicken breasts will take a lot longer to cook through than the smaller pieces of chicken. Here, I’ve turned the smaller pieces of chicken over because I started with them first.
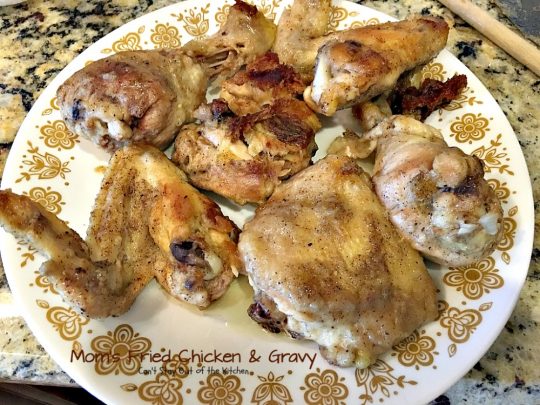
Once chicken pieces are done, remove to a plate and keep warm.
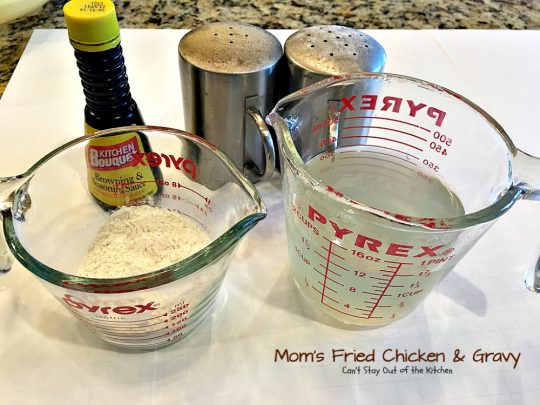
I used these ingredients for the gravy. Potato water is in the measuring cup on the right. This makes a thicker, richer gravy.
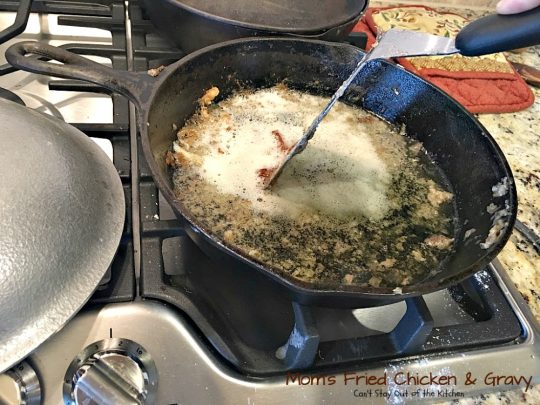
With a spatula, dig up the pieces of chicken that have stuck to the pan. Don’t discard, just work them into the gravy. Increase heat to medium high.
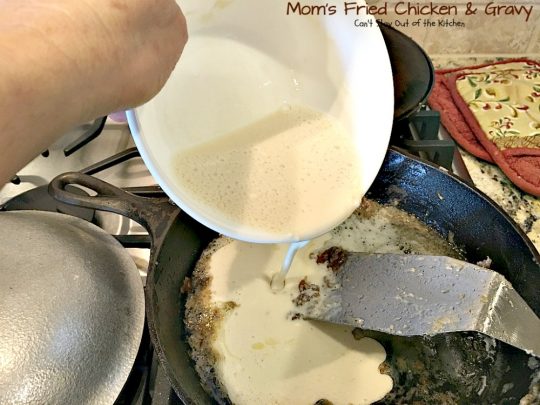
Combine flour with water to make a thin paste. Make sure you have worked out all the lumps. Add to skillet and whisk until fully incorporated.
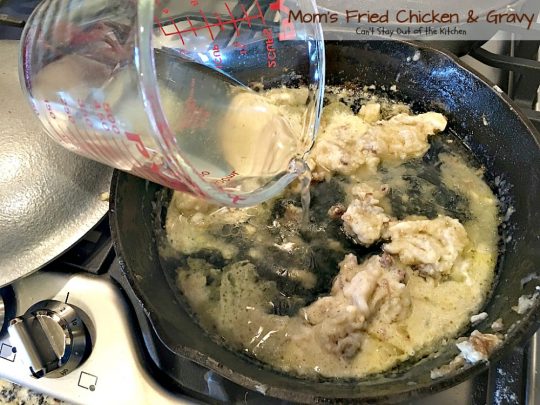
Add potato water a little at a time and whisk after each addition until the sauce thins out.
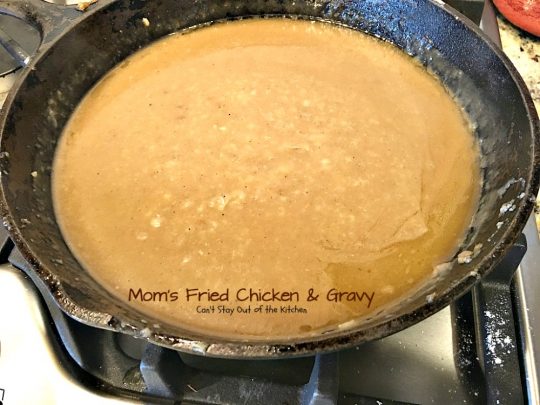
Add salt, pepper and several drops of Kitchen Bouquet seasoning and cook until gravy is thick. Stir or whisk constantly while gravy is boiling.
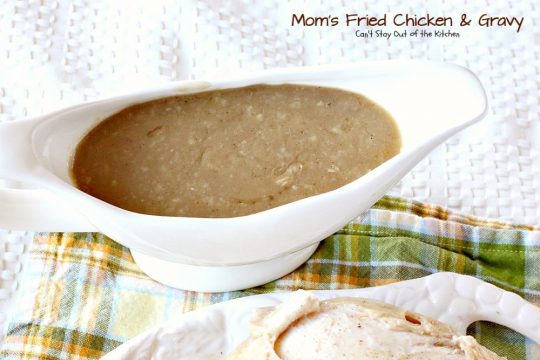
Pour gravy into a gravy boat to serve. The gravy should have lumps from the chicken bits and pieces, but not from the flour.
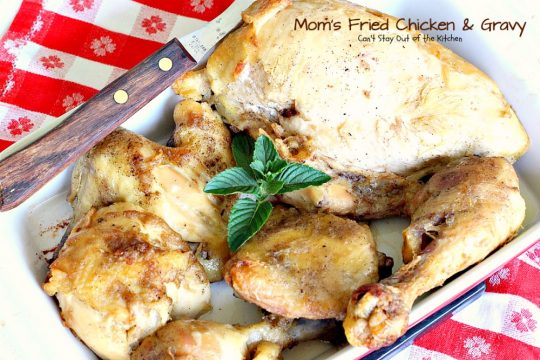
Serve Mom’s Fried Chicken and Gravy with Mashed Potatoes and your favorite veggie or salad.
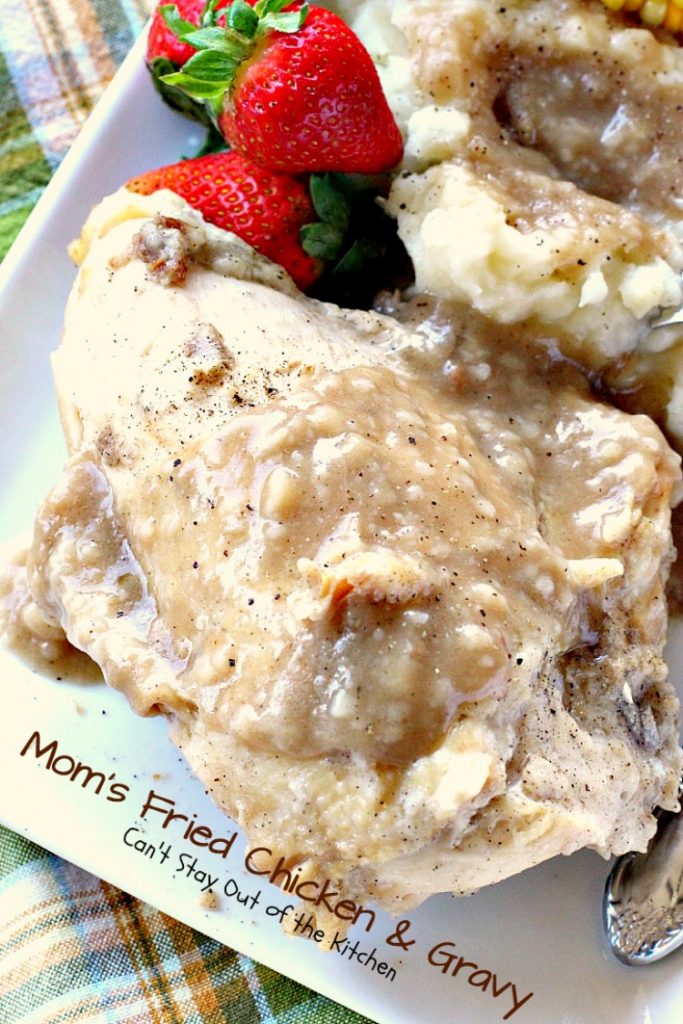
I have to admit I’m a gravy lover. I guess because Mom’s gravies were always so delicious I’ve had a hard time giving them up to eat healthier.
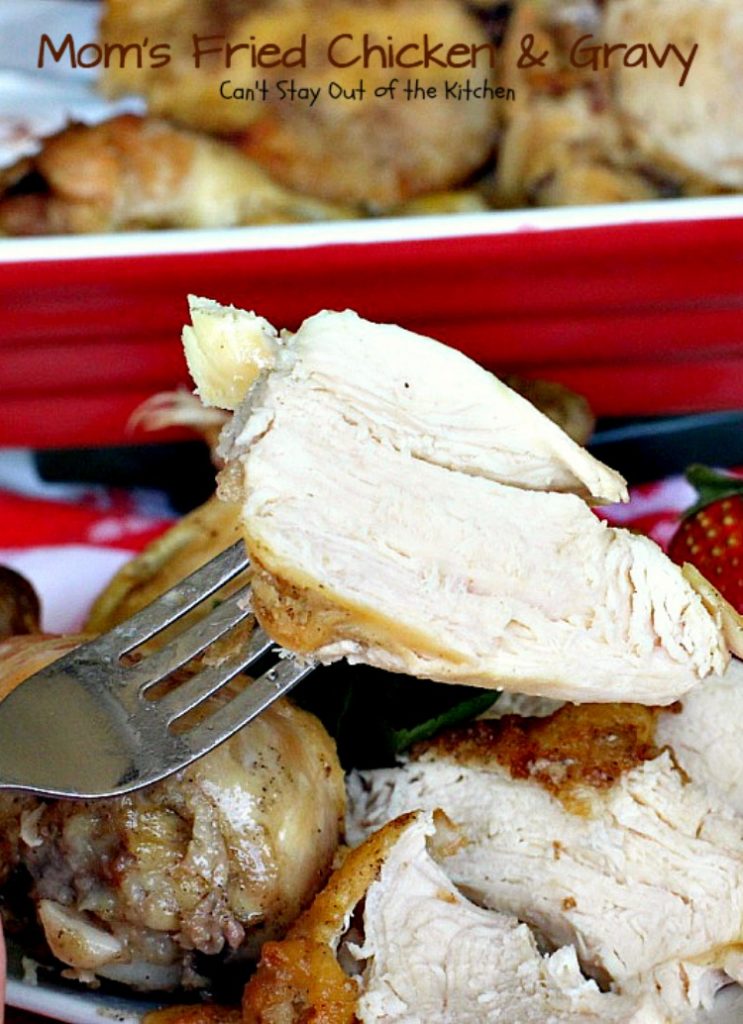
The chicken is juicy and savory prepared this way.
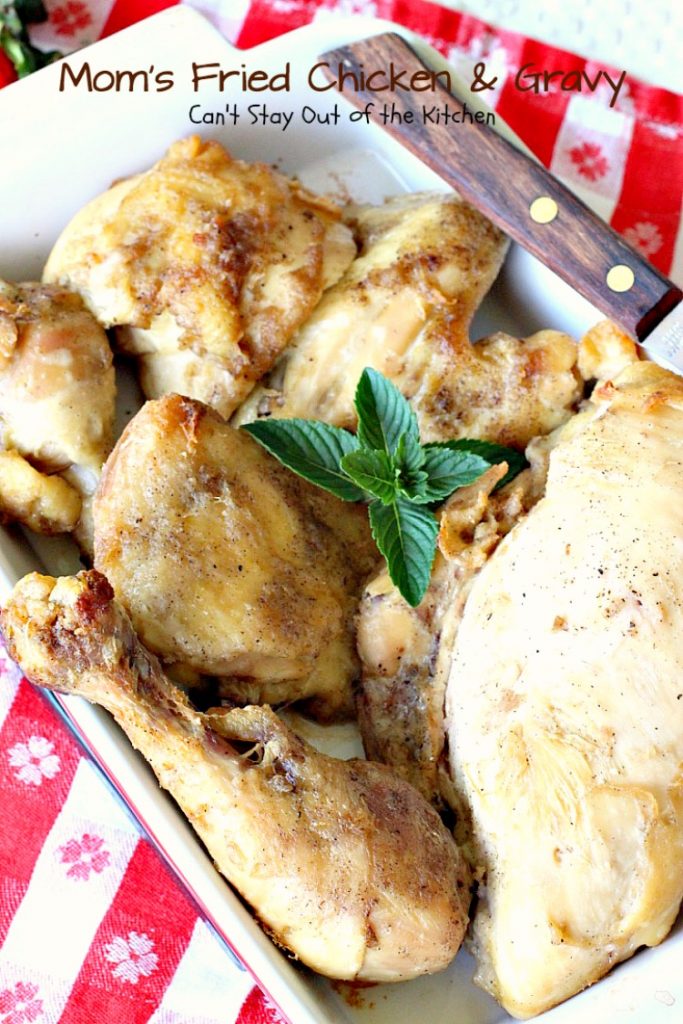
Mom’s Fried Chicken and Gravy is great cold or reheated, too. However, don’t count on very many leftovers.
Here’s the recipe.
MOM’S FRIED CHICKEN AND GRAVY
(Recipe adapted from my mom, Helen Mattis, Titusville, FL)
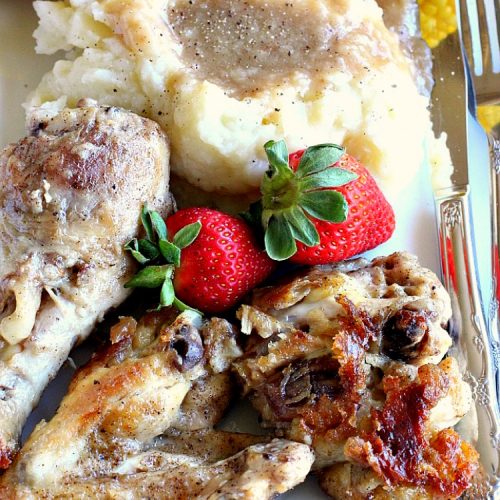
Mom's Fried Chicken and Gravy
Equipment
- 2 extra large skillets with lids or a cast iron skillet
- 1 spatula or two-pronged fork, or both
- measuring cups
- measuring spoons
- 1 large bowl
- 1 very sharp knife to cut the chicken at the joints if not previously cut
Ingredients
CHICKEN:
- 3 lb. chicken cut up into 8 pieces, 2 breasts, 2 legs, 2 wings, 2 thighs
- 1 tsp. Salt & pepper to taste
- 1/2 cup coconut oil avocado oil, lard or other cooking oil (as needed)
- 1/2 cup all-purpose flour (I used UNBLEACHED all-purpose flour)
PAN GRAVY:
- 1/2 cup all-purpose flour (I used UNBLEACHED all-purpose flour)
- 1 tsp. Salt and pepper to taste
- 4-6 drops Kitchen Bouquet browning & seasoning sauce
- 2 cups reserved potato water or more, as needed
- dash garlic powder if desired
- 1/8 tsp. dried parsley if desired
Instructions
CHICKEN:
- Place chicken pieces in a large bowl filled with ice water.
- Sprinkle with a tablespoon of salt.
- Allow chicken to soak in water at least one hour to draw out all the blood.
- To prepare chicken, season both sides of chicken generously with salt and pepper.
- Dredge in flour.
- Meanwhile, heat coconut oil in two large cast iron skillets over low to medium heat.
- Add chicken pieces.
- Allow chicken to cook about 5 minutes, turn pieces over.
- Continue cooking, allowing chicken pieces to cook only about 5 minutes at a time before turning.
- After about 15 minutes, season chicken pieces with additional salt and pepper.
- If necessary, add more oil to prevent sticking.
- Turn chicken over and season opposite side with additional salt and pepper.
- Cover with lid.
- Continue cooking until pieces are cooked thoroughly and no blood comes out when pierced with a fork.
- Meat thermometer will reach about 165°.
PAN GRAVY:
- After cooking mashed potatoes, drain the water and reserve.
- You can also refrigerate the potato water a few days if necessary if you’re not going to fry the chicken right away.
- Remove chicken from cast iron skillet and keep warm.
- Gently scrape any meat from the pan with a spatula but do not remove.
- Do not drain grease.
- Add flour and whisk to combine.
- Begin adding potato water about ½ cup at a time, adding as much as needed to make a nice gravy.
- Season with salt and pepper, Kitchen Bouquet, and if desired, the garlic powder and parsley.
- Bring to a boil, reduce heat and simmer until thickened – about 3-5 minutes.
- Serve over mashed potatoes and Mom’s Fried Chicken.
Notes
© Can’t Stay Out of the Kitchen
Nutrition
- [b]CHICKEN:[/b][br]
- 1 whole chicken, cut up into 8 pieces (2 breasts, 2 legs, 2 wings, 2 thighs)
- salt & pepper to taste
- coconut oil, lard or other cooking oil
- ½ cup flour[br]
- [b]PAN GRAVY:[/b][br]
- 1/2 cup flour
- salt and pepper as desired
- few drops [url href=”https://www.cloroxprofessional.com/products/kitchen-bouquet-browning-seasoning-sauce/at-a-glance/” target=”_blank”]Kitchen Bouquet seasoning[/url]
- potato water
- Place chicken pieces in a large bowl filled with ice water.
- Sprinkle with a tablespoon of salt.
- Allow chicken to soak in water at least one hour to draw out all the blood.
- To prepare chicken, season both sides of chicken generously with salt and pepper.
- Dredge in flour.
- Meanwhile, heat coconut oil in two large cast iron skillets over low to medium heat.
- Add chicken pieces.
- Allow chicken to cook about 5 minutes, turn pieces over.
- Continue cooking, allowing chicken pieces to cook only about 5 minutes at a time before turning.
- After about 15 minutes, season chicken pieces with additional salt and pepper.
- If necessary, add more oil to prevent sticking.
- Turn chicken over and season opposite side with additional salt and pepper.
- Cover with lid.
- Continue cooking until pieces are cooked thoroughly and no blood comes out when pierced with a fork.
- Meat thermometer will reach about 165°. [br]
- After cooking mashed potatoes, drain the water and reserve.
- You can also refrigerate the potato water a few days if necessary if you’re not going to fry the chicken right away.
- Remove chicken from cast iron skillet and keep warm.
- Gently scrape any meat from the pan with a spatula but do not remove.
- Do not drain grease.
- Add flour and whisk to combine.
- Begin adding potato water about ½ cup at a time, adding as much as needed to make a nice gravy.
- Season with salt and pepper and Kitchen Bouquet.
- Bring to a boil, reduce heat and simmer until thickened – about 3-5 minutes.
- Serve over mashed potatoes and Mom’s Fried Chicken.
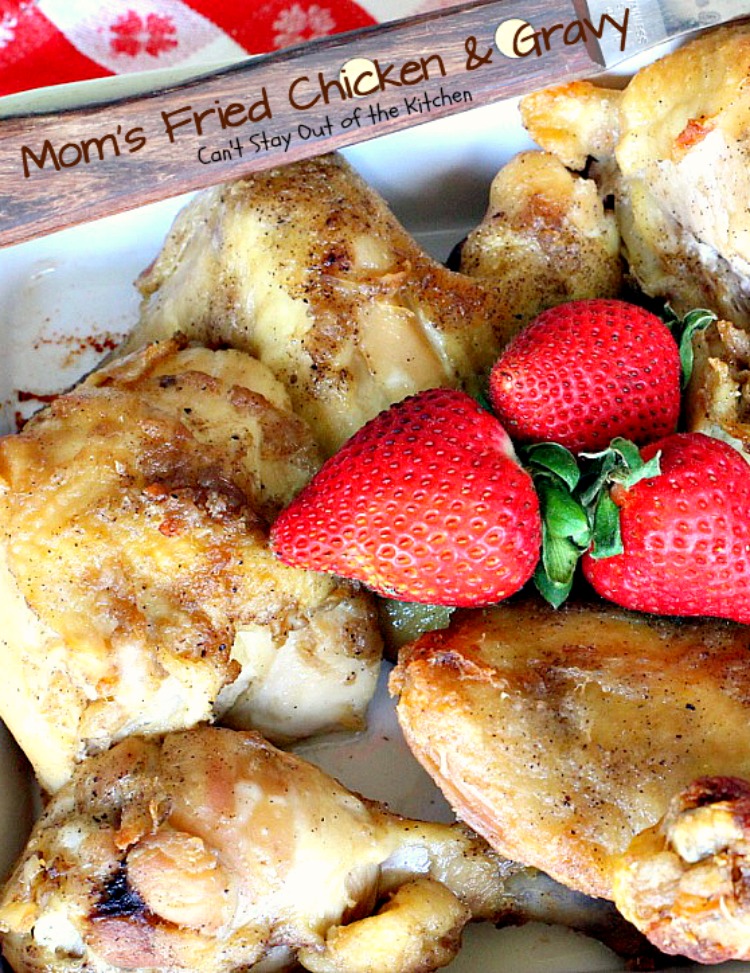
Our family always loved Mom’s Fried Chicken and Gravy when we were growing up. We still do. Now that Mom has passed I think I’m the only one who still makes Fried Chicken this way on occasion. I love Mom’s great recipes and remember with fondness watching her cook over the stove to make our favorite dishes.
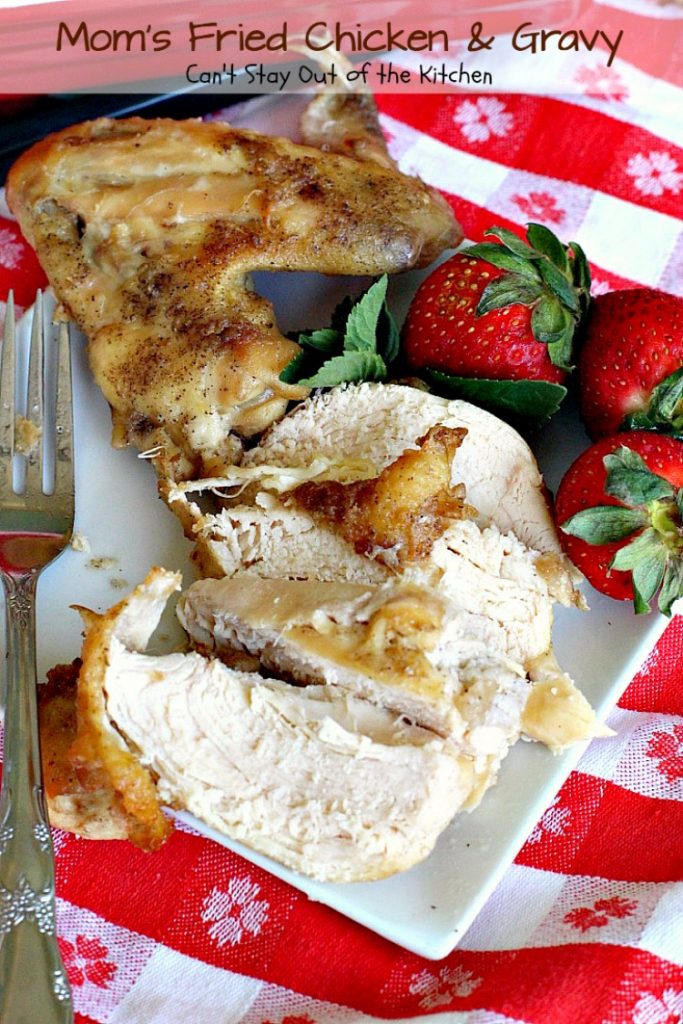
I know frying is not as good for you as baking, but if you allow yourself to eat fried foods on occasion, this chicken is one you won’t be able to sink your teeth into fast enough.
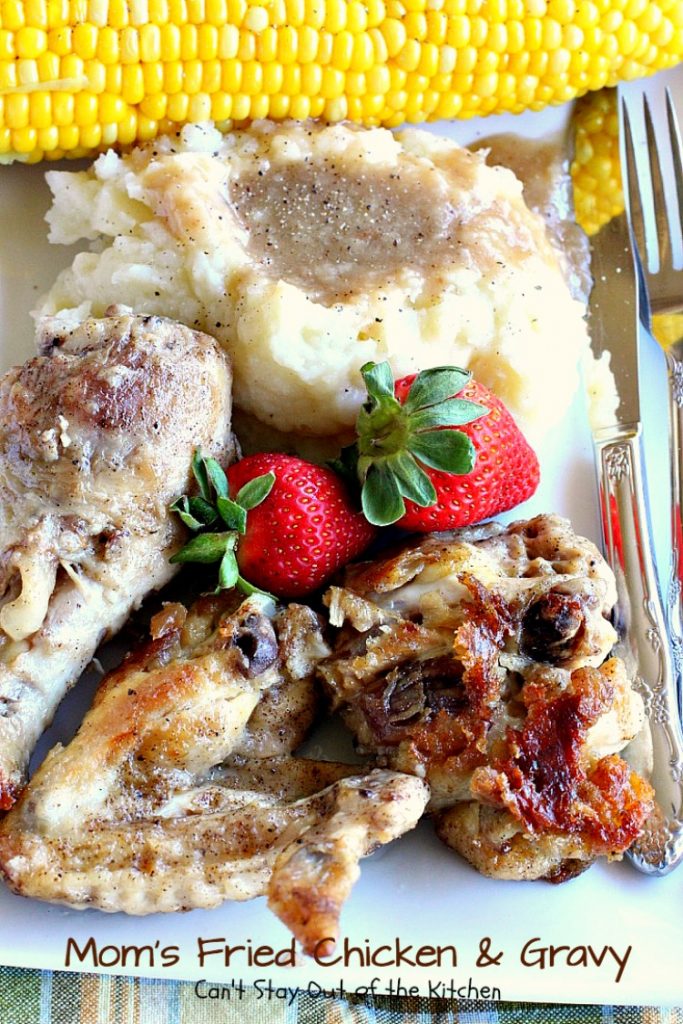
Time for another piece. My brothers and I would always fight over the last piece! They usually prevailed.
You may also enjoy these delicious recipes!
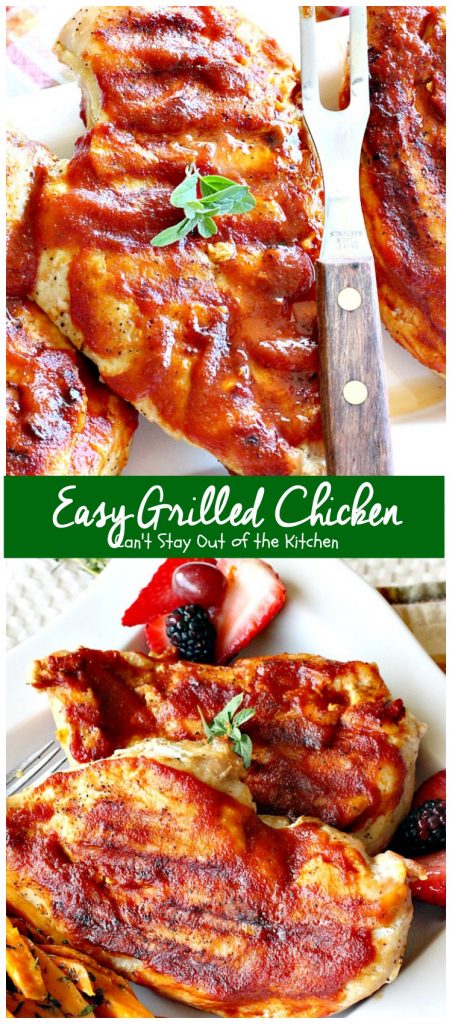
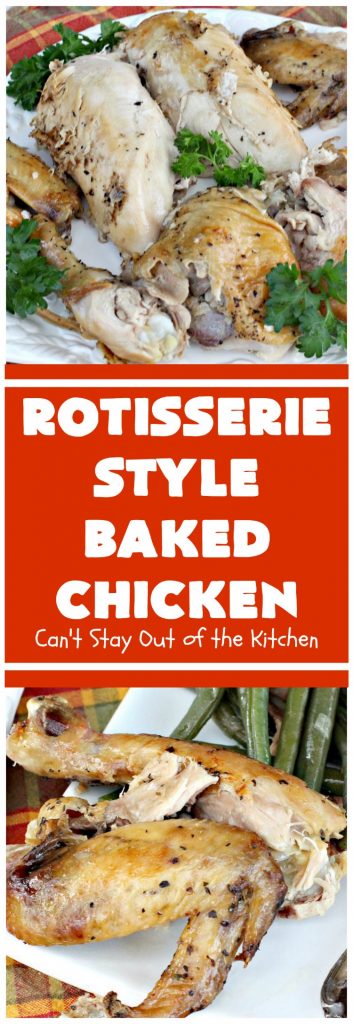
Rotisserie Style Baked Chicken

Mom’s Fried Chicken and Gravy
Equipment
- 2 extra large skillets with lids or a cast iron skillet
- 1 spatula or two-pronged fork, or both
- measuring cups
- measuring spoons
- 1 large bowl
- 1 very sharp knife to cut the chicken at the joints if not previously cut
Ingredients
CHICKEN:
- 3 lb. chicken cut up into 8 pieces, 2 breasts, 2 legs, 2 wings, 2 thighs
- 1 tsp. Salt & pepper to taste
- 1/2 cup coconut oil avocado oil, lard or other cooking oil (as needed)
- 1/2 cup all-purpose flour (I used UNBLEACHED all-purpose flour)
PAN GRAVY:
- 1/2 cup all-purpose flour (I used UNBLEACHED all-purpose flour)
- 1 tsp. Salt and pepper to taste
- 4-6 drops Kitchen Bouquet browning & seasoning sauce
- 2 cups reserved potato water or more, as needed
- dash garlic powder if desired
- 1/8 tsp. dried parsley if desired
Instructions
CHICKEN:
- Place chicken pieces in a large bowl filled with ice water.
- Sprinkle with a tablespoon of salt.
- Allow chicken to soak in water at least one hour to draw out all the blood.
- To prepare chicken, season both sides of chicken generously with salt and pepper.
- Dredge in flour.
- Meanwhile, heat coconut oil in two large cast iron skillets over low to medium heat.
- Add chicken pieces.
- Allow chicken to cook about 5 minutes, turn pieces over.
- Continue cooking, allowing chicken pieces to cook only about 5 minutes at a time before turning.
- After about 15 minutes, season chicken pieces with additional salt and pepper.
- If necessary, add more oil to prevent sticking.
- Turn chicken over and season opposite side with additional salt and pepper.
- Cover with lid.
- Continue cooking until pieces are cooked thoroughly and no blood comes out when pierced with a fork.
- Meat thermometer will reach about 165°.
PAN GRAVY:
- After cooking mashed potatoes, drain the water and reserve.
- You can also refrigerate the potato water a few days if necessary if you’re not going to fry the chicken right away.
- Remove chicken from cast iron skillet and keep warm.
- Gently scrape any meat from the pan with a spatula but do not remove.
- Do not drain grease.
- Add flour and whisk to combine.
- Begin adding potato water about ½ cup at a time, adding as much as needed to make a nice gravy.
- Season with salt and pepper, Kitchen Bouquet, and if desired, the garlic powder and parsley.
- Bring to a boil, reduce heat and simmer until thickened – about 3-5 minutes.
- Serve over mashed potatoes and Mom’s Fried Chicken.

6 Comments
Anonymous
February 9, 2017 at 4:03 pm
This was very good… My husband really liked this recipe. It’s a keeper!
Teresa
February 9, 2017 at 8:42 pm
Thanks so much. I love my Mom’s Fried Chicken recipe. We used to eat it once a week when we were kids. Grateful you and your family liked it. Thanks for stopping by.
gary moore
June 17, 2016 at 3:08 pm
One extra ingredient needed. Add buttermilk to the salt water and soak in frig for 12-24 hours. The buttermilk helps to tenderize the meat and make it softer to eat.
Teresa
June 17, 2016 at 3:40 pm
Great idea, Gary. I’ll have to give it a try! Thanks for the tip.
Audrie Denkins
June 14, 2016 at 3:07 am
I have to say that for the last few of hours i have been hooked by the amazing posts on this blog. Keep up the great work.
Teresa
June 14, 2016 at 1:03 pm
Thanks so much!