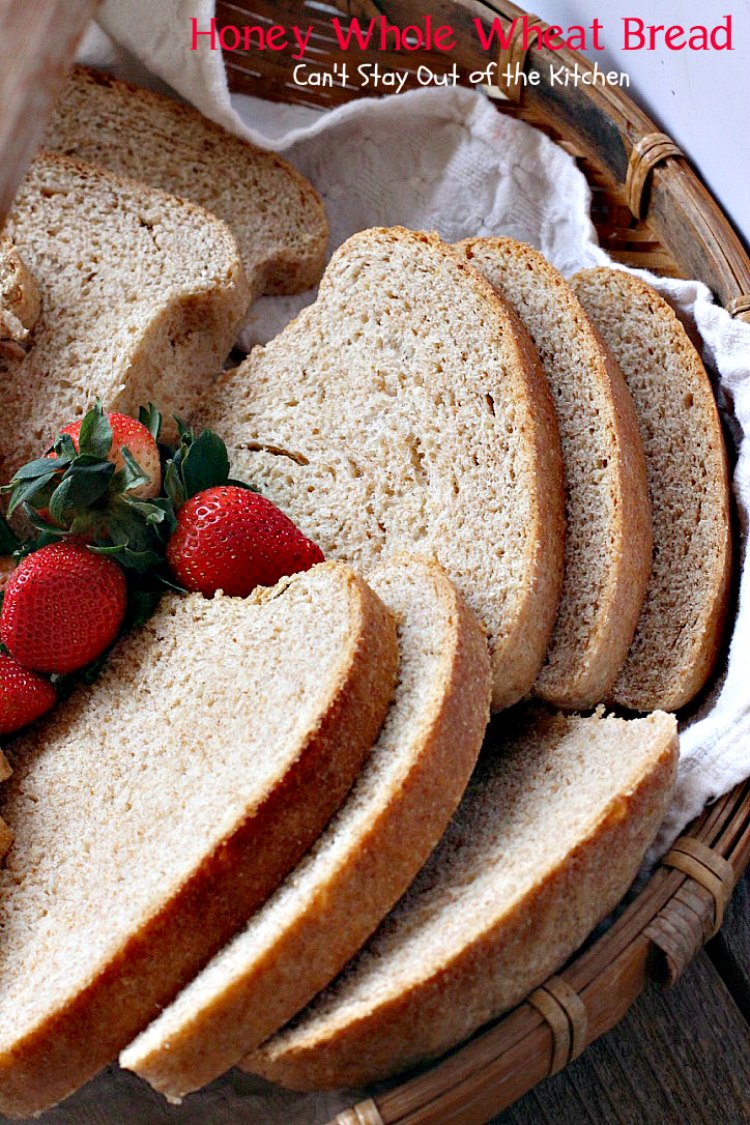
Honey Whole Wheat Bread
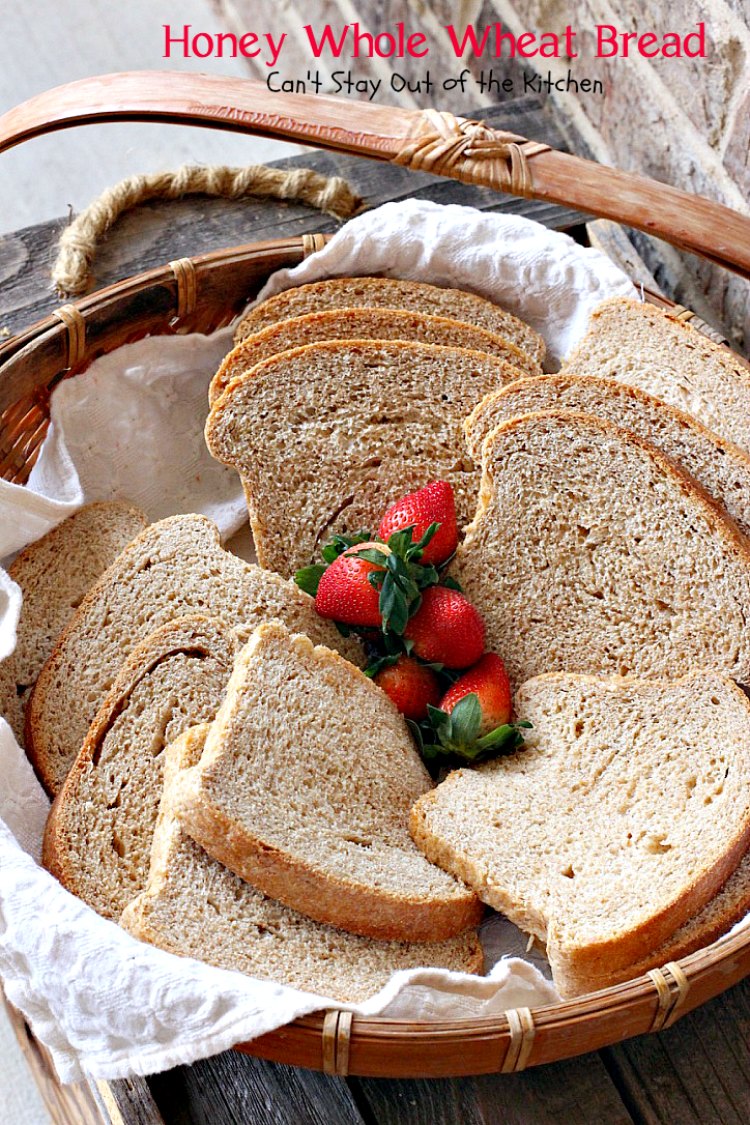
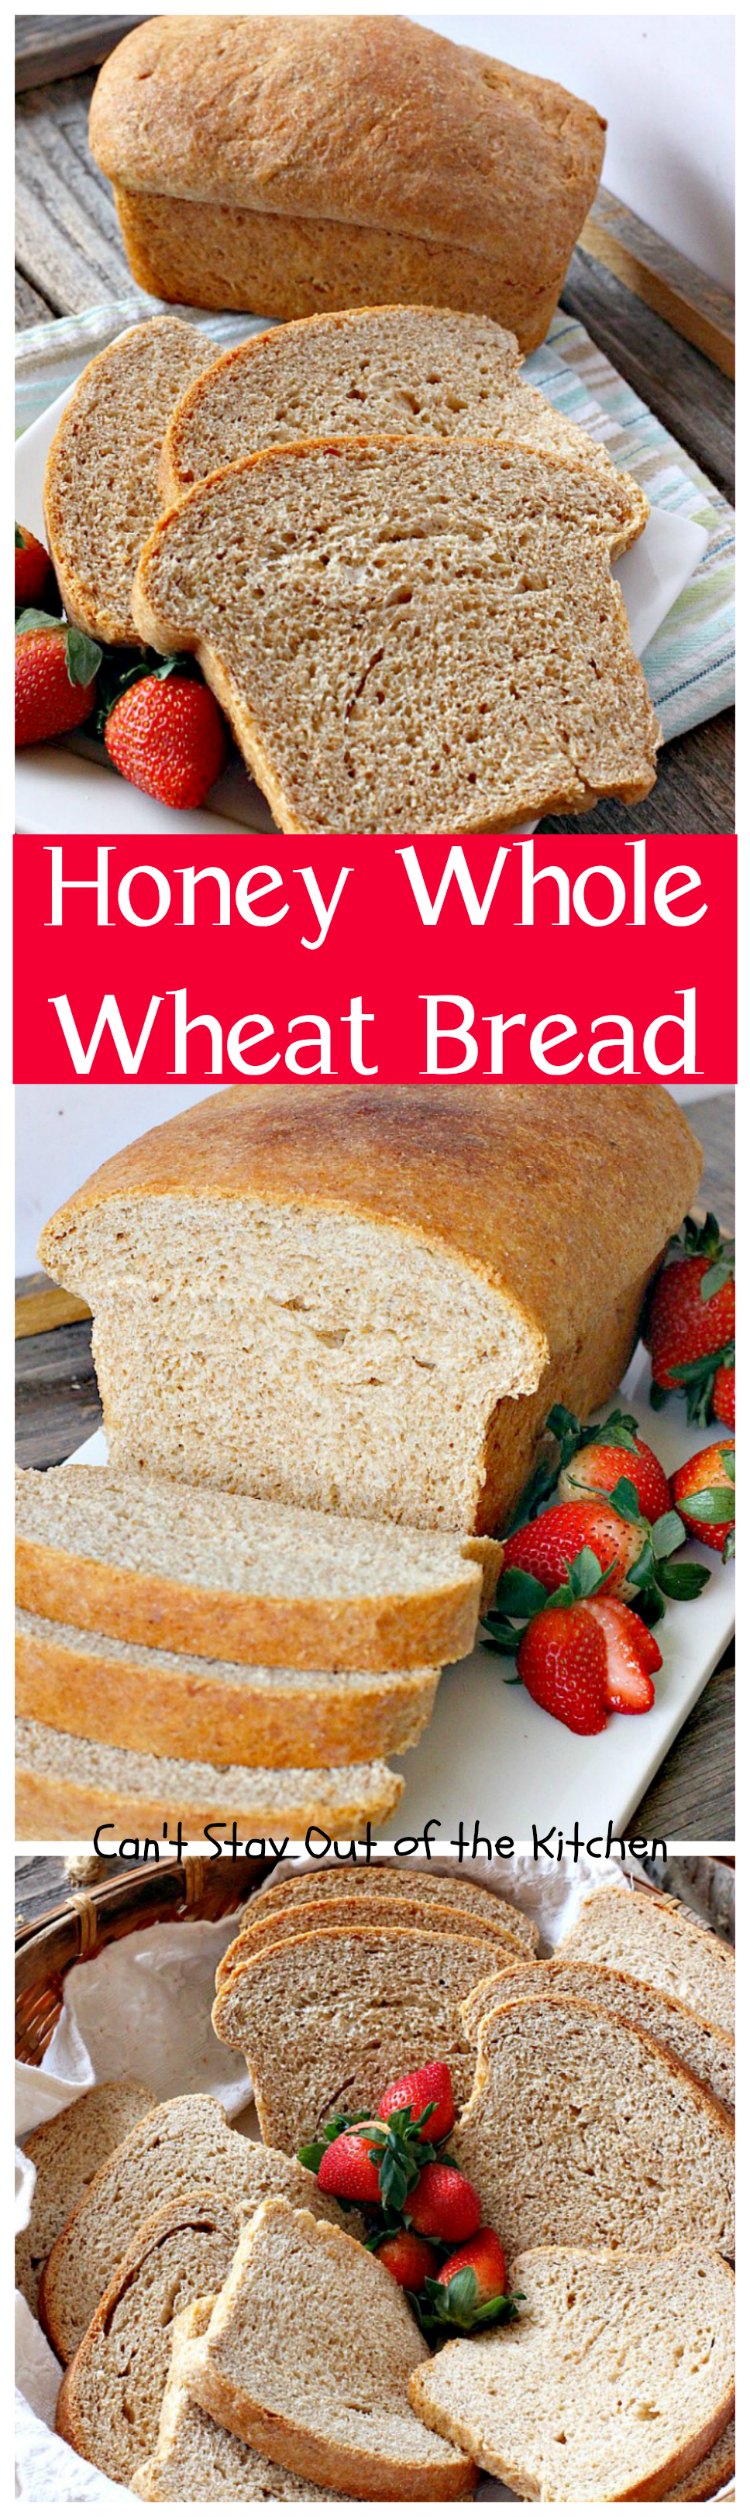
Honey Whole Wheat Bread is our favorite homemade bread–bar none! It’s quite sweet for a whole wheat bread since it uses both honey and sugar. It’s also light and fluffy from all the kneading and yeast. It bakes up so wonderfully. It’s been a treasured family recipe for years.
Follow Me On Instagram!
This is a recipe I collected from my mom though it was not her traditional bread recipe. I was looking for a whole wheat bread and Mom gave me this version. I used to bake this bread weekly when we had young children. For several years we ate no other bread than this bread at our table–for sandwiches, with soup, main dishes or for breakfast.
Honey Whole Wheat Bread is amazing. There is nothing quite like sitting down to a slice of buttered home made bread with jelly spread on it and a large glass of milk! I think this was my favorite meal growing up. Especially because my mom used to place buttered bread on a cookie sheet and put it under the broiler in the oven for 3-5 minutes first. Then we would slather the bread with jelly and eat.
Oh my! It was not uncommon to come home from school and find 15 loaves of fresh home baked bread and 2 huge cookie sheets of homemade cinnamon rolls out on the counters cooling. To this day, my husband has always preferred my mom’s homemade cinnamon roll recipe to any other.
Mom was a wonderful bread baker. When she was only 8 years old her mother put her in charge of their farm kitchen on Saturdays baking home made bread and desserts for the week. She had 1 older brother and 2 older sisters at this time. She also had 2 younger brothers and a new baby sister by then. Two more sisters came along the last being born when she was 15.
Apparently the older sisters got out of these chores because they were taking piano lessons. This caused much sibling rivalry and the reason my mom would never allow musical instruments in our house when we were growing up. 🙁
As part of her weekly duties Mom had to make up about 15-20 loaves of homemade bread, 6-8 pies, 2 or 3 cakes, and at least 1 or 2 batches of cookies for the week. To hear her tell it, she spent all day Saturday, every Saturday, at these tasks.
She grew up on a farm in southeastern Ohio. They had their own cows for milk and beef, their own pigs, chickens, and a mammoth garden (it took a lot to feed 9 kids all year round). They had blackberry and raspberry bushes, strawberry fields, and cherry, apple, and pear trees in their yard. And it was common for the boys to hunt rabbit, squirrels, birds, ducks, etc., for additional food.
They had a pretty self-supporting farm during her growing up years. They made their own soap, candles, toothpaste, blankets, clothing–just about everything. During the week, Mom’s jobs were to milk cows and feed the chickens and pigs. In the evenings they were always mending socks and clothes – almost like your typical Little House on the Prairie kind of home.
They didn’t have an automobile right away. They used horses and buggies to get to town. They walked a couple of miles to and from school each day. They didn’t have electricity in the beginning either. It took awhile before electricity made it to the hills of southeastern Ohio.
Mom obviously learned to bake from her mother. She told me her mom came from Czechoslovakian roots although my dad always said her mom had a Polish background. Her father came over to America from Czechoslovakia at the turn of the century. They had an arranged marriage which was common to keep different cultures and ethnicities together in those days. Grandma was 14 and Grandpa was 22 when they married.
Mom was terrific in the kitchen. I wish I learned more from her than I did, but I’m grateful for what I did learn. I learned how to bake bread from her basic white bread recipe. But after we had been married 5 or 6 years and kids had come along I asked my mom if she had a whole wheat bread recipe. We took this basic recipe and adapted it to fit our needs.
If you’re looking for a delicious homemade Honey Whole Wheat Bread recipe, then I certainly suggest giving this one a try. It’s wonderful plain, toasted, with jelly, or even with garlic butter!
When I initially posted this recipe in September 2012, I had only been blogging a few months and my pictures were taken with an iPhone. As a result, they were not very clear and the lighting was poor. I recently remade this recipe when I took a meal to friends (February 2017) and grabbed a few new shots. This is still our favorite homemade bread recipe–one we can never get enough of!
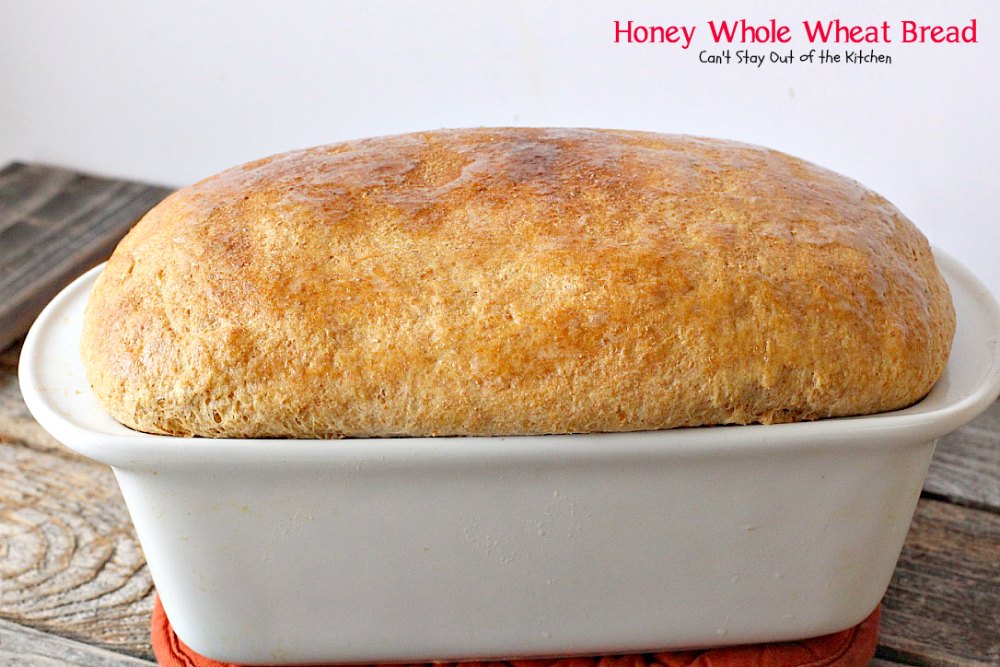
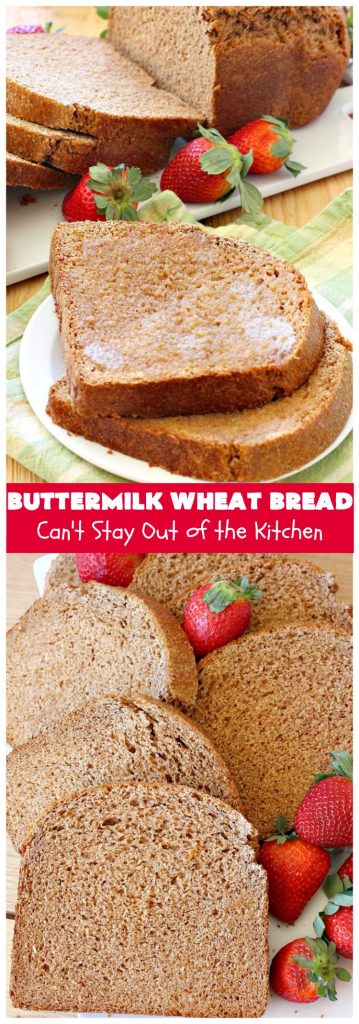
Honey Whole Wheat Bread has always been our favorite homemade bread recipe.
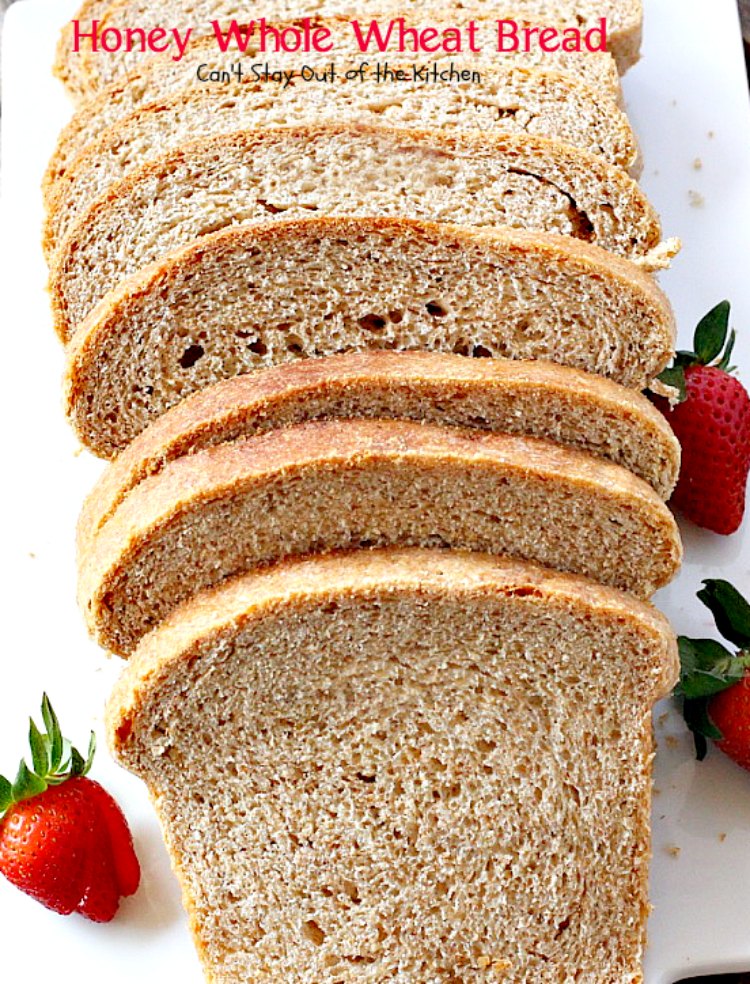
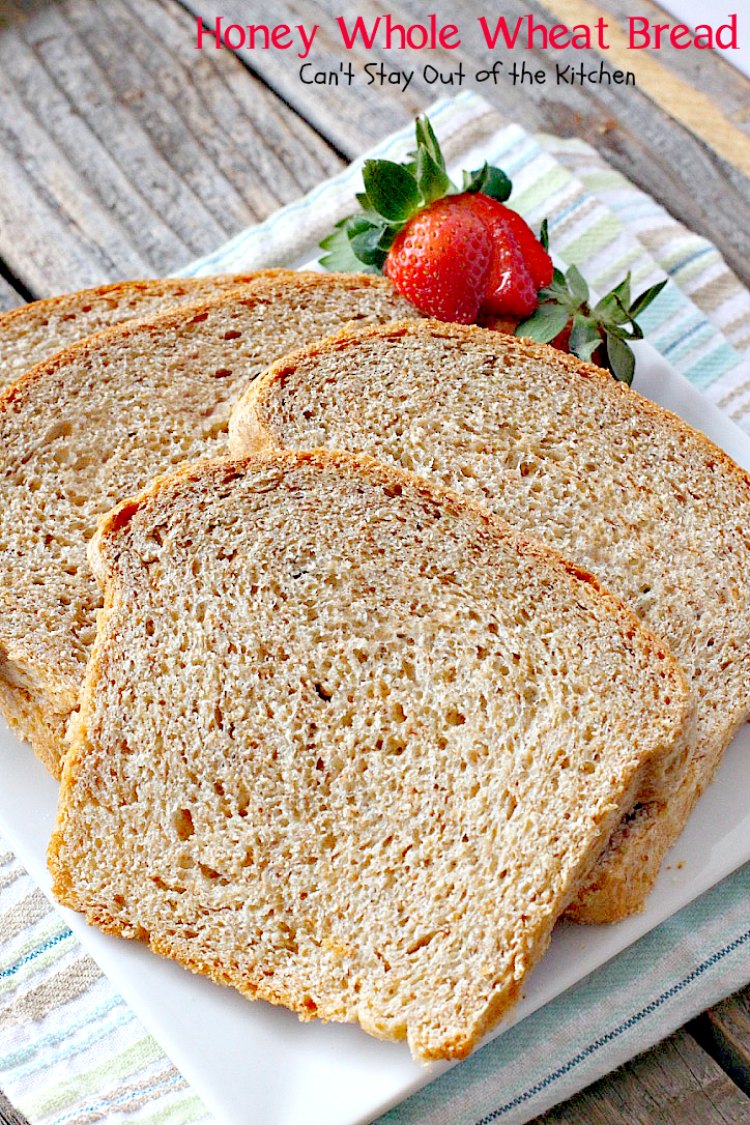
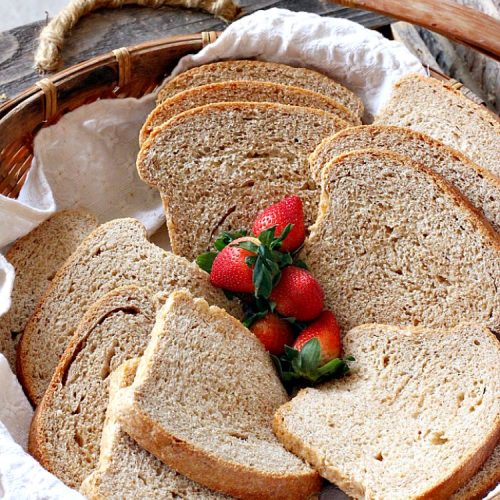
This close up shows the texture of Honey Whole Wheat Bread.
This delicious bread is perfect with a bowl of soup on cold, winter nights!
Here’s what I did.
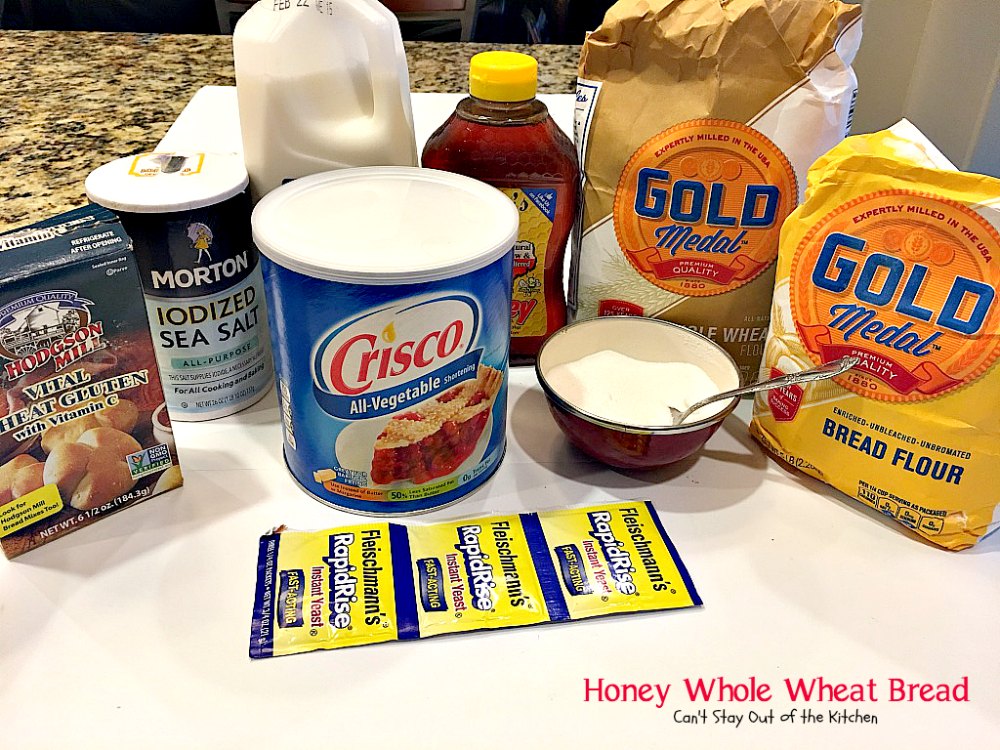
I used these ingredients.
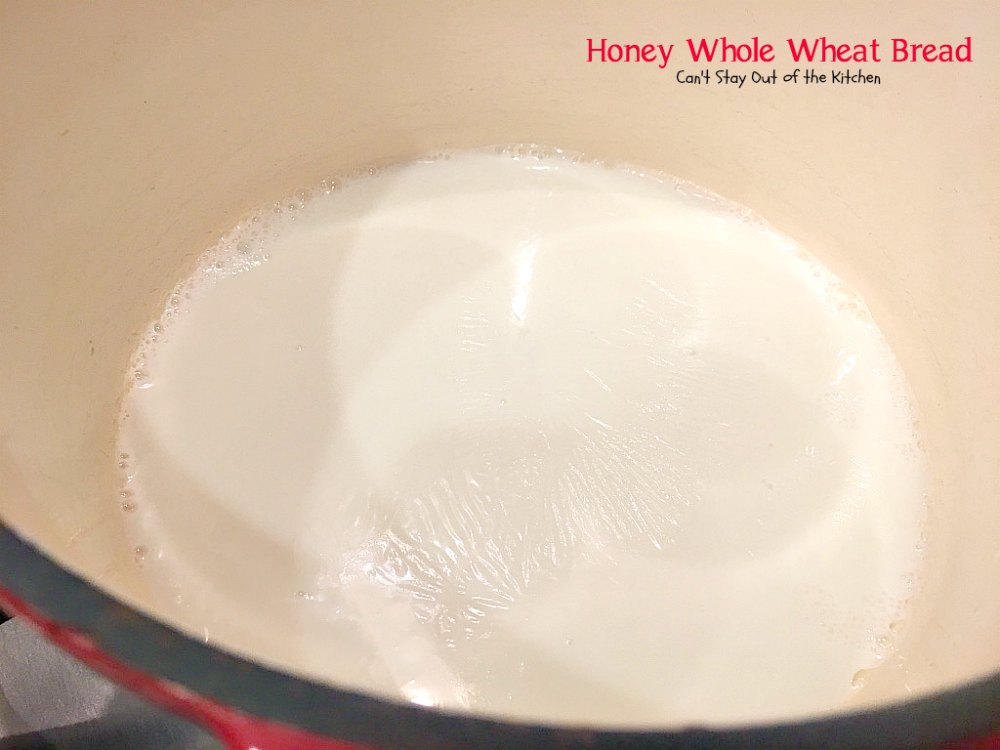
Scald milk. Place milk in a saucepan over low heat. When you see the wrinkles form on the top, it’s ready.
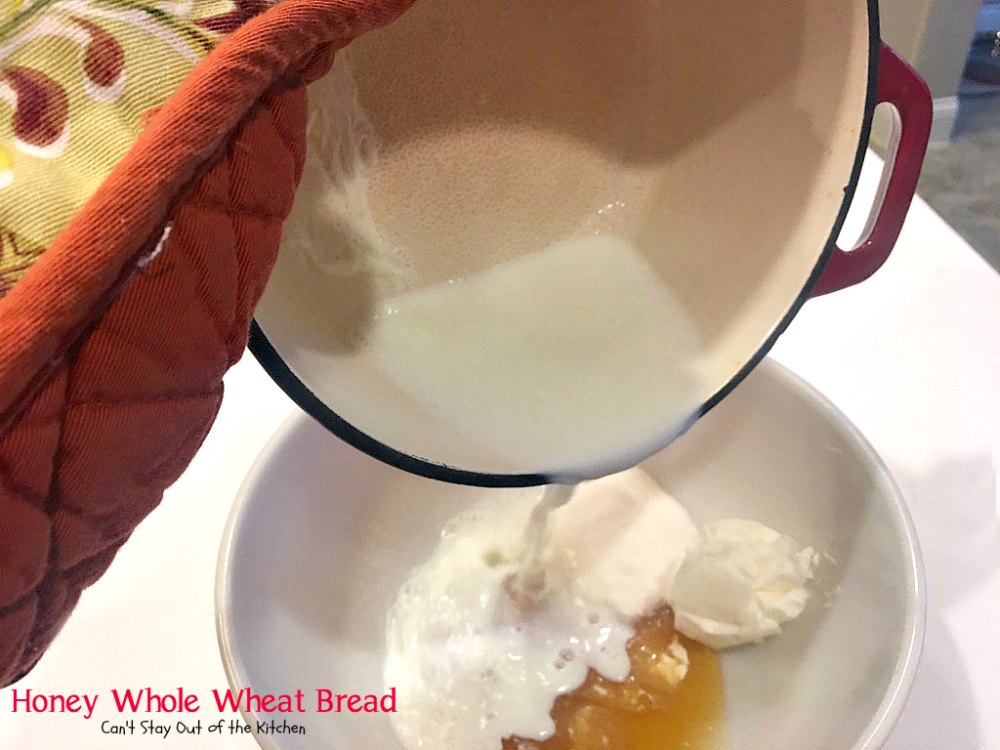
In a large mixing bowl put the salt, Crisco shortening, honey and sugar. Add the scalded milk.
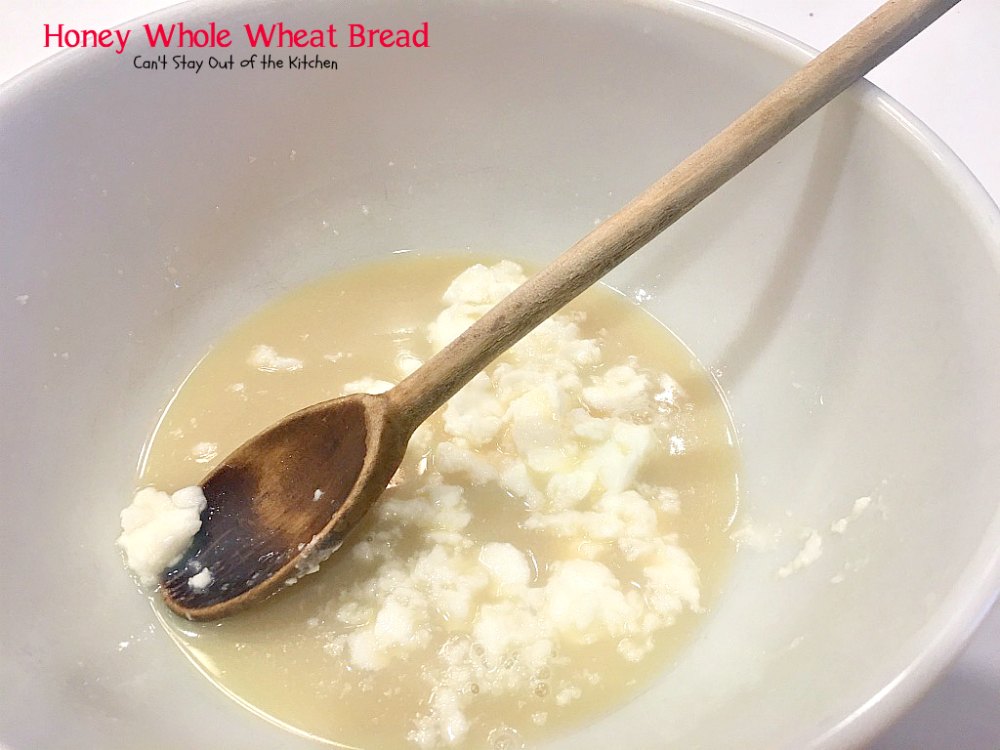
Stir ingredients to combine. The shortening will never dissolve entirely.
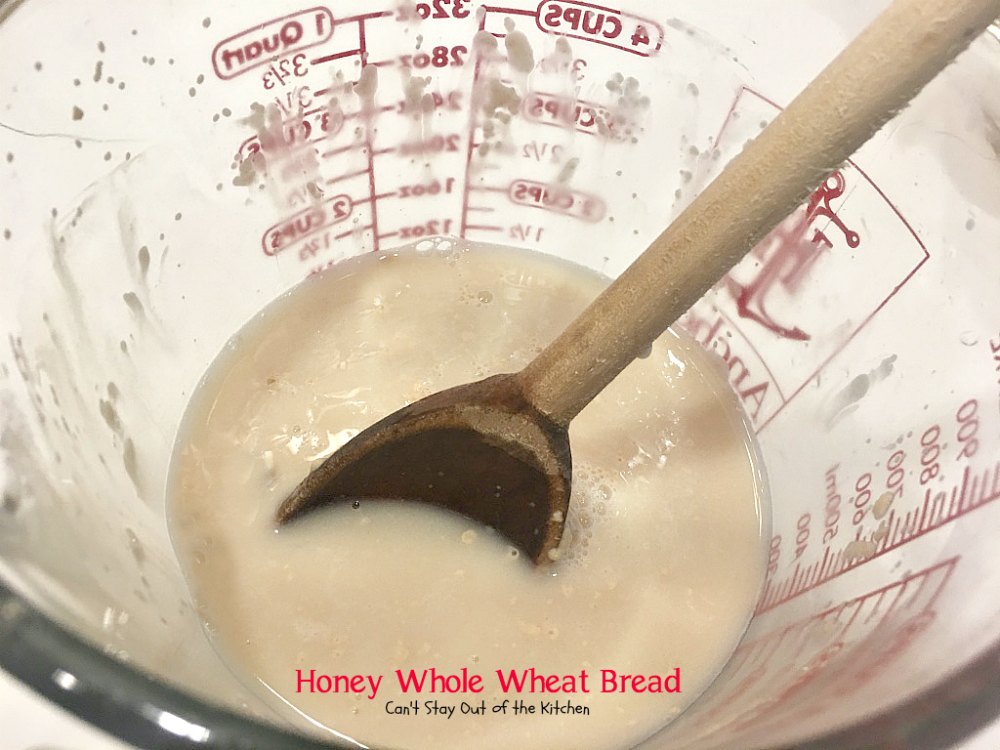
Dissolve yeast in hot water. Add to mixing bowl with other ingredients.
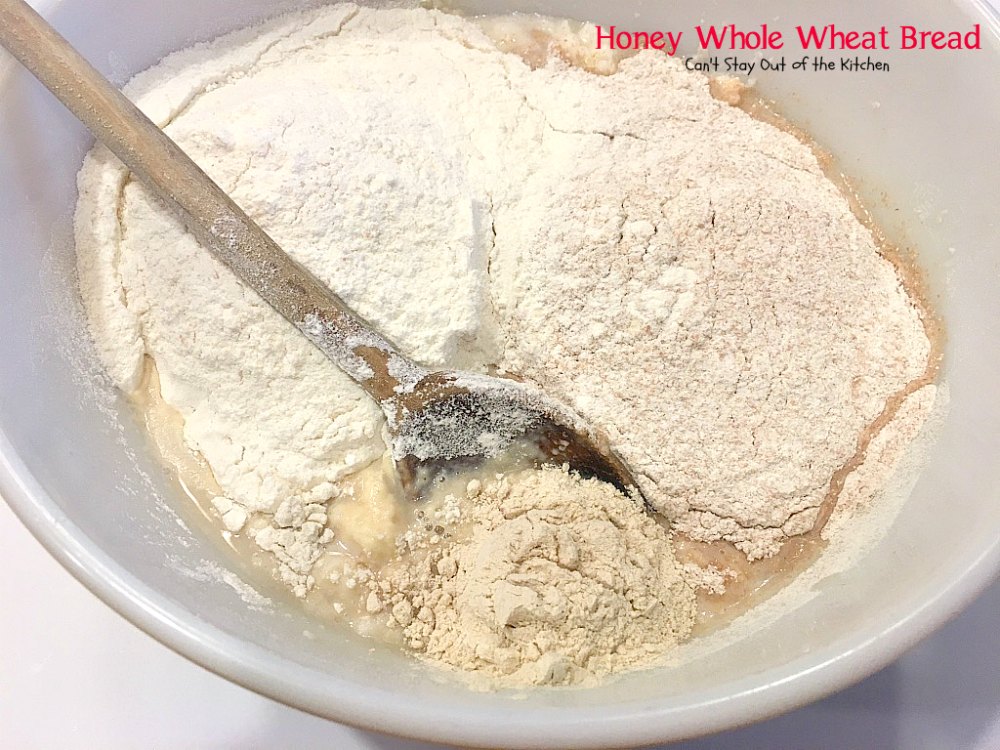
Add part of the wheat flour and bread flour and all of the vital wheat gluten.
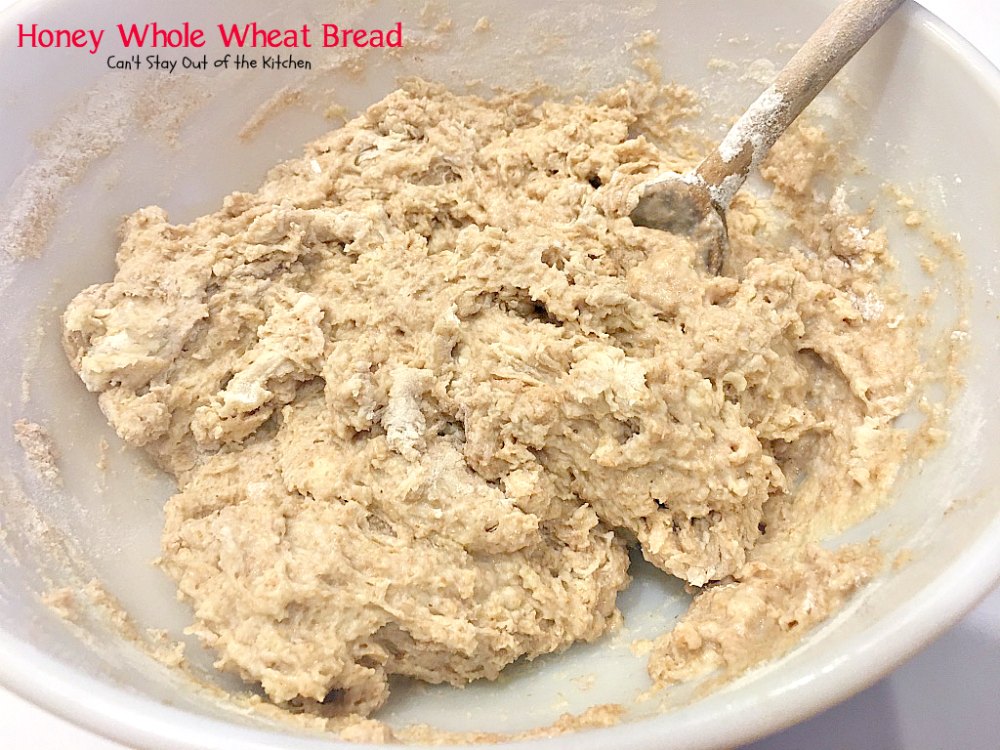
Stir to combine.
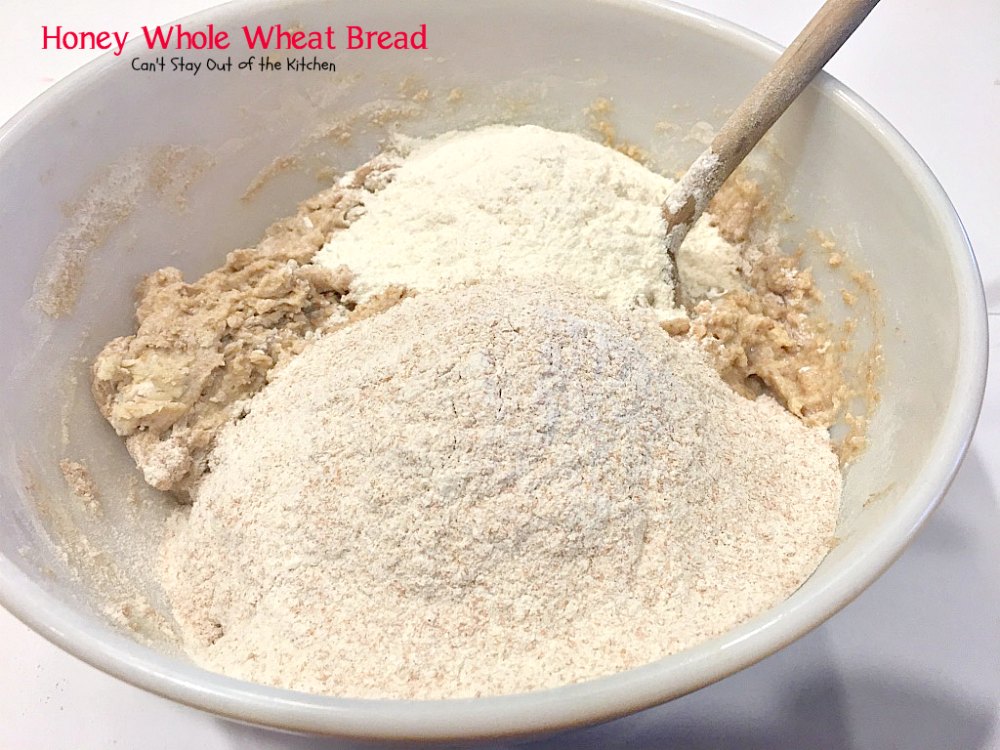
Add additional wheat flour and bread flour.
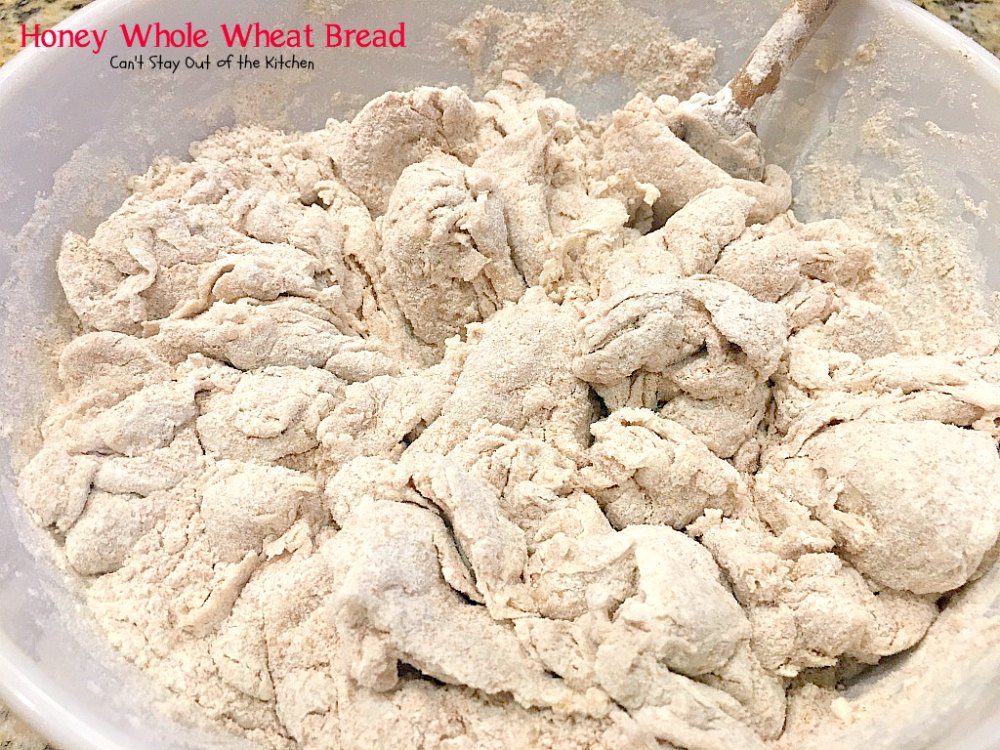
Stir as well as possible. Batter will be stiff. Use the rest of the bread flour on the counter to work into the dough.
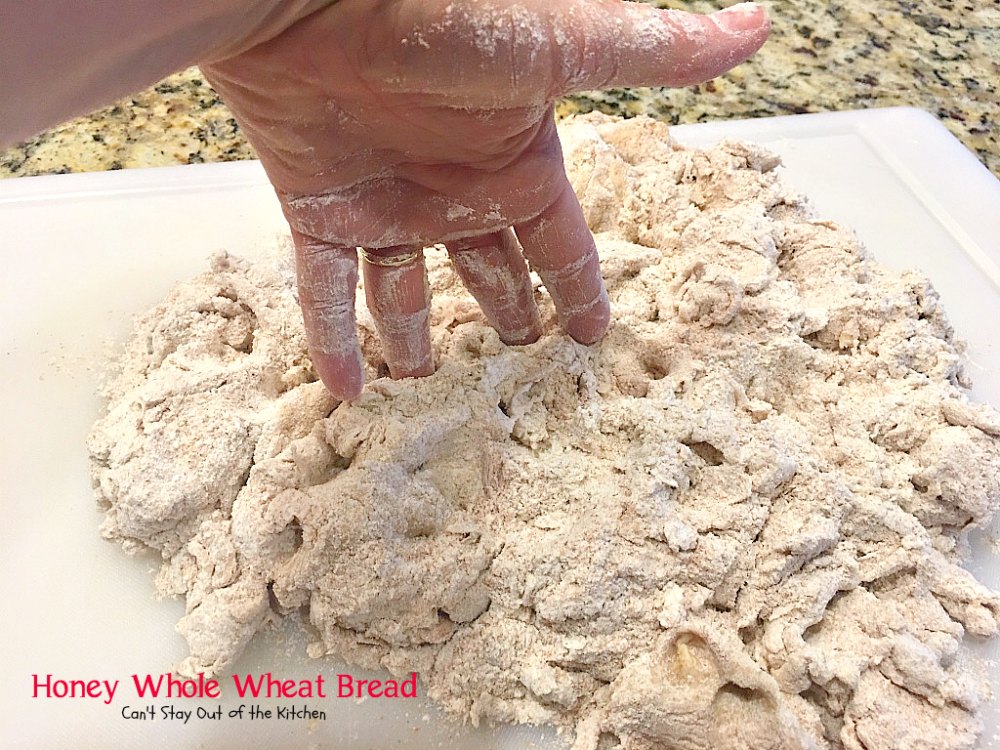
Spread dough onto a well-floured board. Sprinkle more flour on top of the dough. Poke your fingers through the dough working the flour from the board into the bread dough.
The dough is still really gooey, so I separate my fingers wide and poke flour into the dough several times to get it to an easier consistency to work with. (It’s very hard to knead really sticky bread dough!)

When you have enough flour worked into the dough start kneading. With the left hand pull the dough toward you from the back and with the right hand push it back like this.
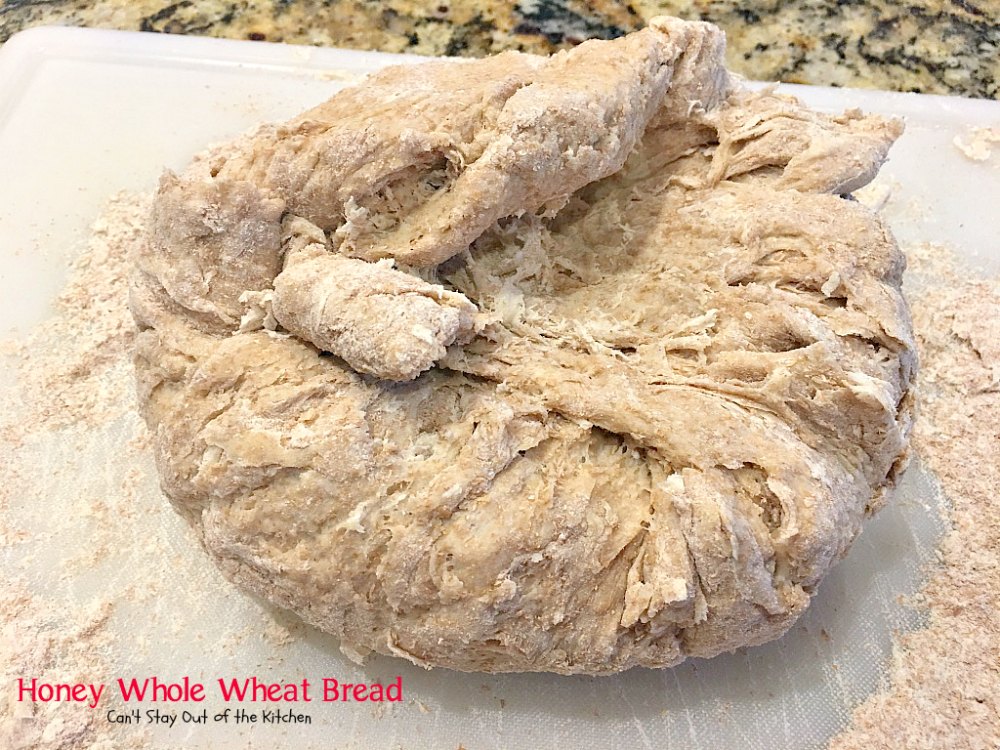
Sweep the flour from the counter top into the bread dough as you pull the bread toward you with one hand and push it away with the heel of your other hand. Your arms and hands get tired when you are doing these large amounts, so you learn to knead with both hands rather than just one.

Here I’ve turned the dough over and tried to stuff all the remaining flour and bits of dough from the board into the dough with my fingers.
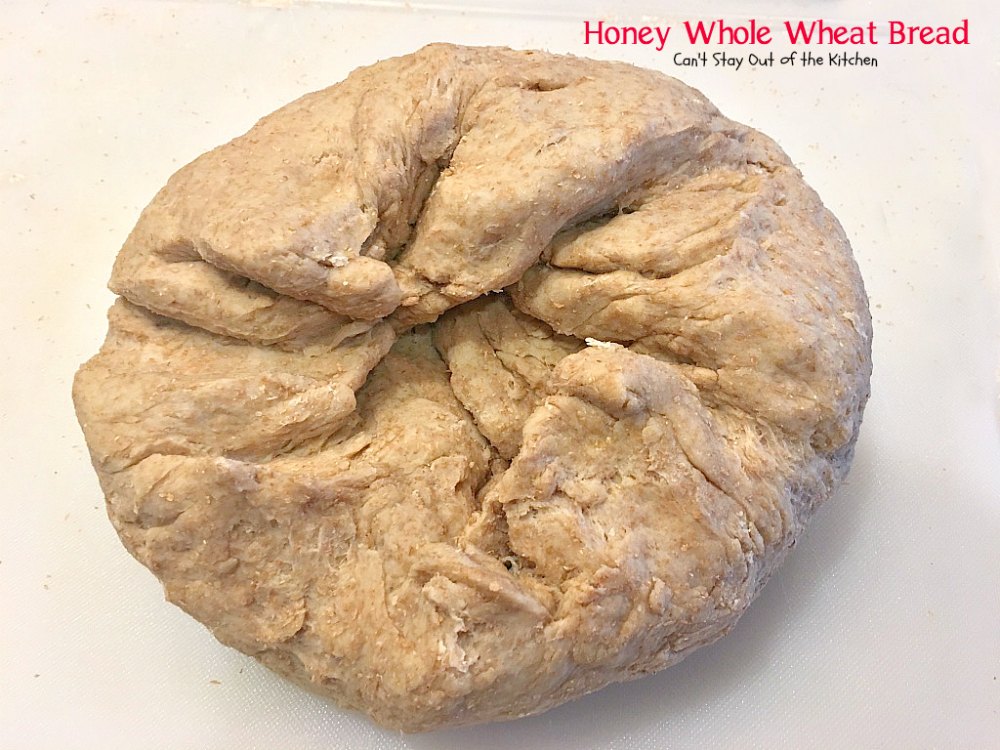
Continue kneading the bread until it is no longer sticky, but smooth, elastic in texture, and the yeast and flour completely worked through the whole lump of dough.
Plain white bread is a lot easier to get completely smooth. The heavier, denser whole wheat bread just doesn’t get quite as smooth. As you knead with the heel of your hand you begin pressing out air which goes out of the dough like a woosh sound. That’s when you know it’s about done. This is much louder in plain white bread than with the denser whole wheat bread.
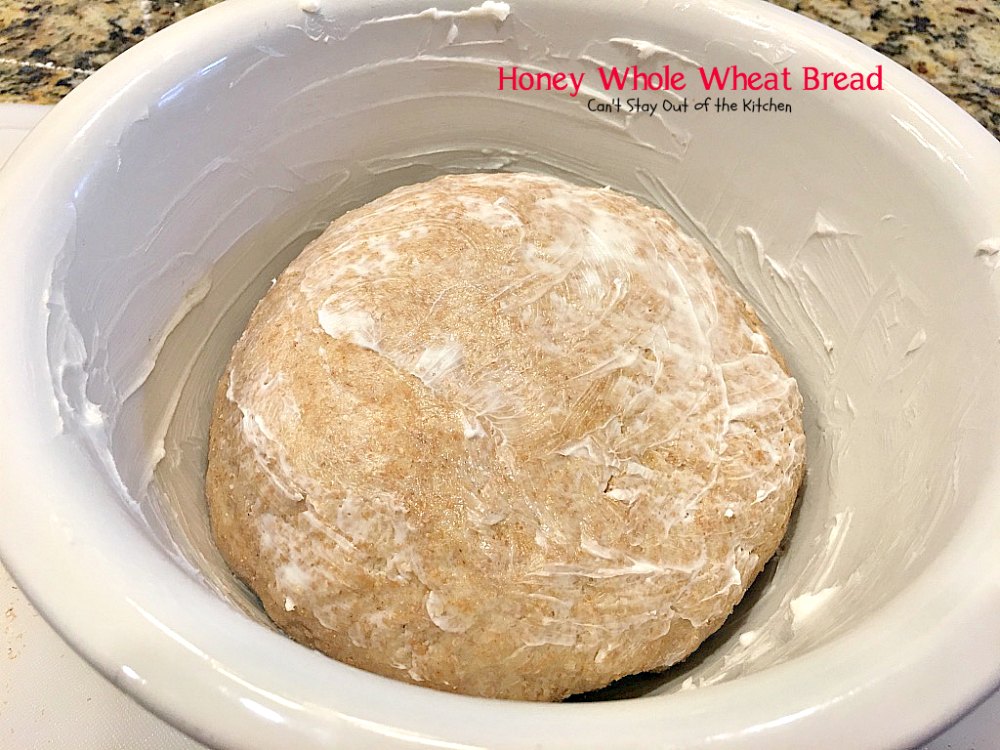
Grease a large mixing bowl. Place dough into greased bowl. Turn dough greased-side-up. If necessary, add some more Crisco shortening to the top of the dough ball. Cover dough with a tea towel and place in a warm place to raise.
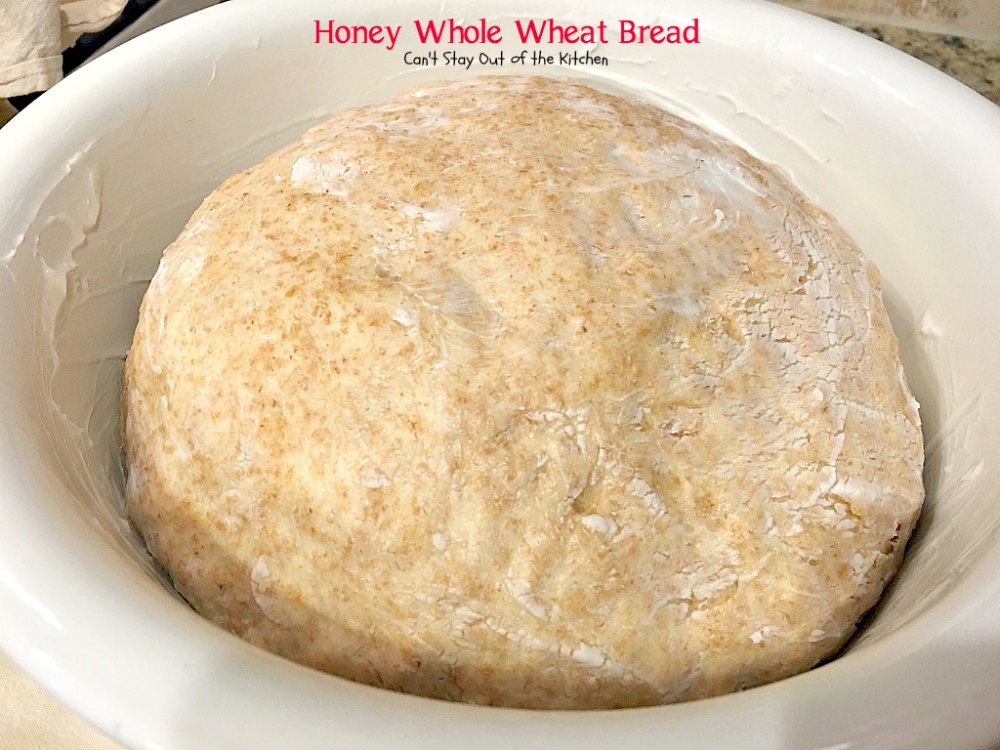
Here the dough has doubled in bulk. It took about an hour.
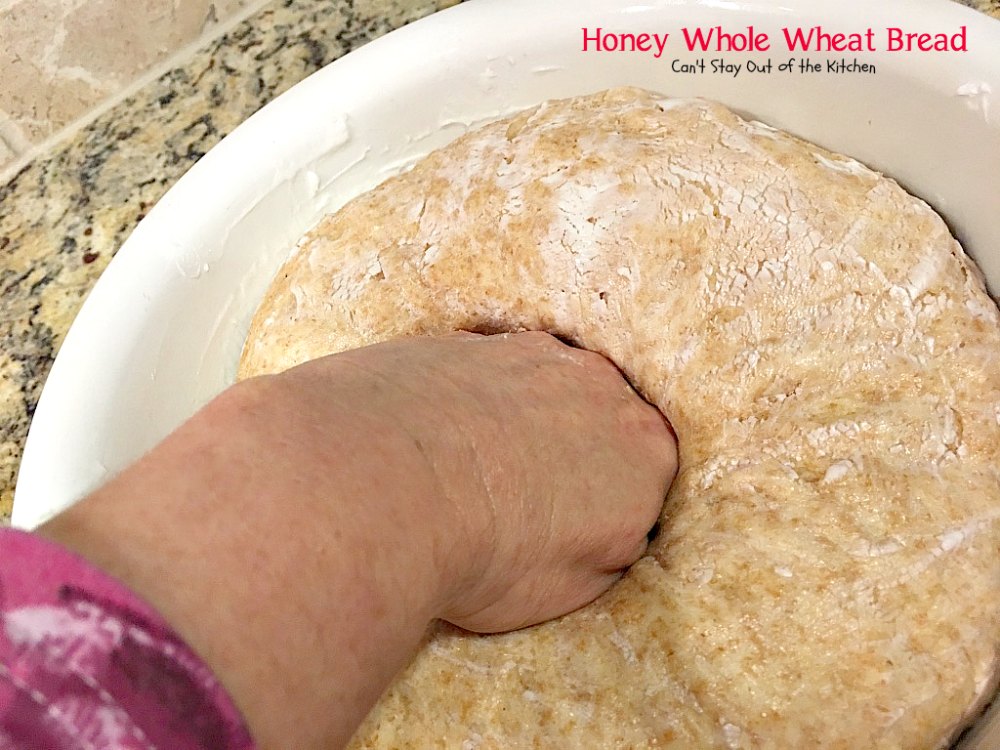
Push dough down with your fist. Mom always poked holes through the remaining dough to release extra air.
Grease two regular-sized loaf pans really well with Crisco shortening.
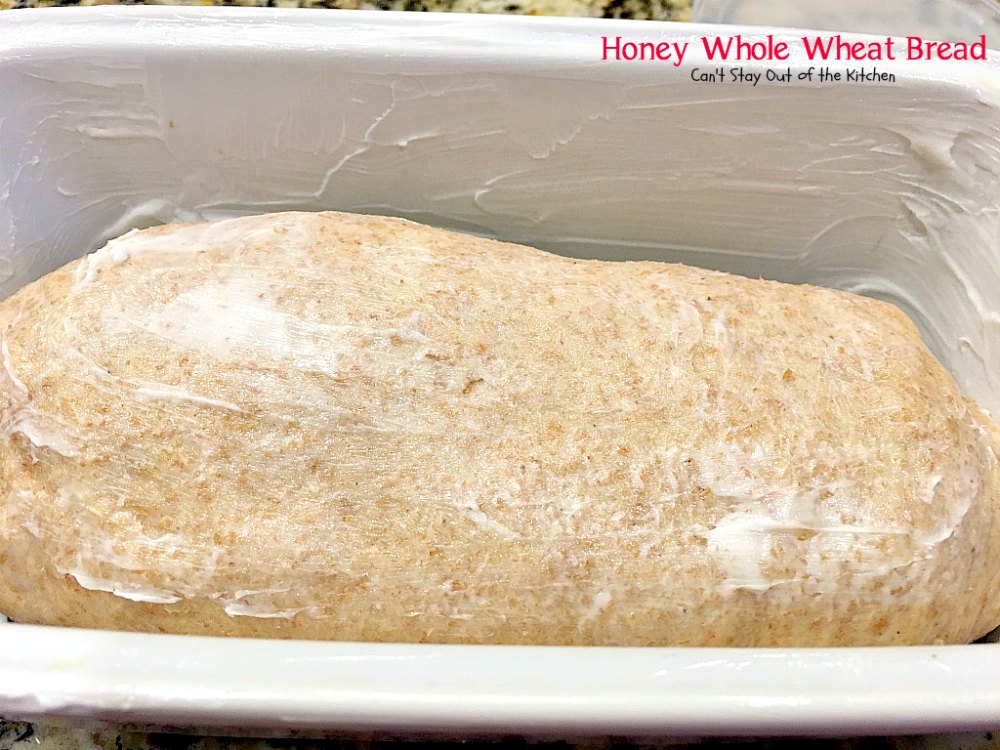
Cut the dough in half with a knife. Place dough out on counter and rub the dough out with your hands kind of in a rocking motion to work all the lines and seams out of the dough. Turn that side up and fold and tuck the rest of the dough underneath. That will go on the bottom of the pan and you won’t see it after baking. Place dough in bread pans. Grease the tops of the bread. Cover the bread with the tea towel again and let raise in a warm place a second time. This time, my bread raised in about 45 minutes instead of an hour.
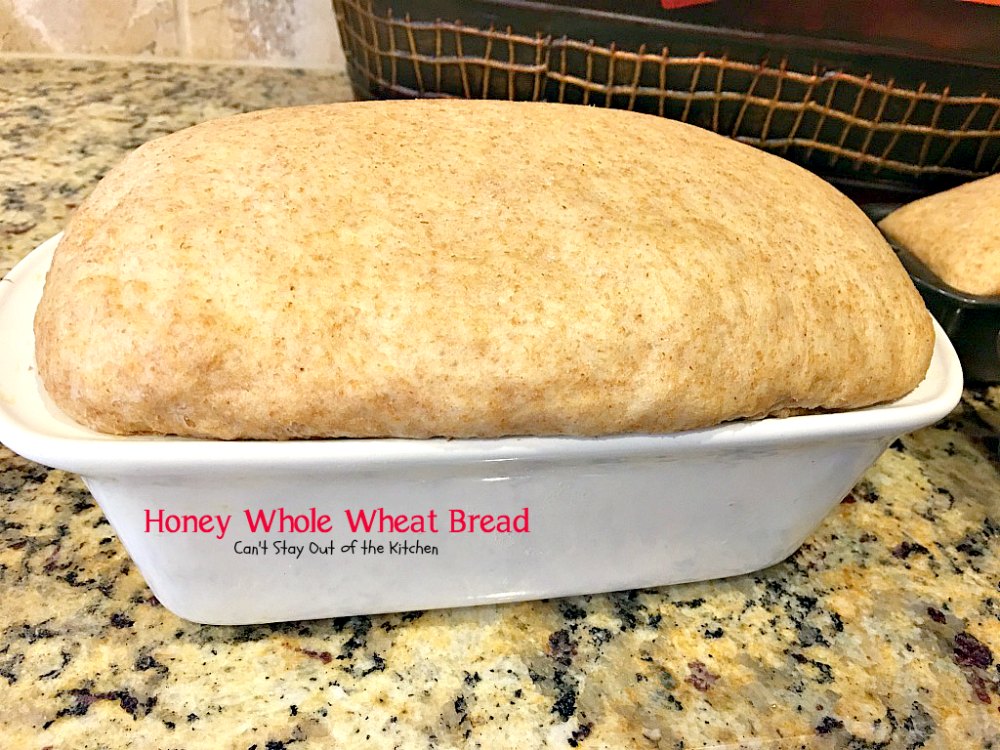
Ready for the oven.
Preheat oven to 300 degrees. Place the bread in the oven and bake about 45 minutes for regular 9×5″ loaves. To check for doneness, tap the bottom of the pan with your knuckles. It should have a hollow kind of sound to it.

Remove from pans immediately and place on wire rack. Butter tops with butter to keep bread soft and not allow crust to get too hard.

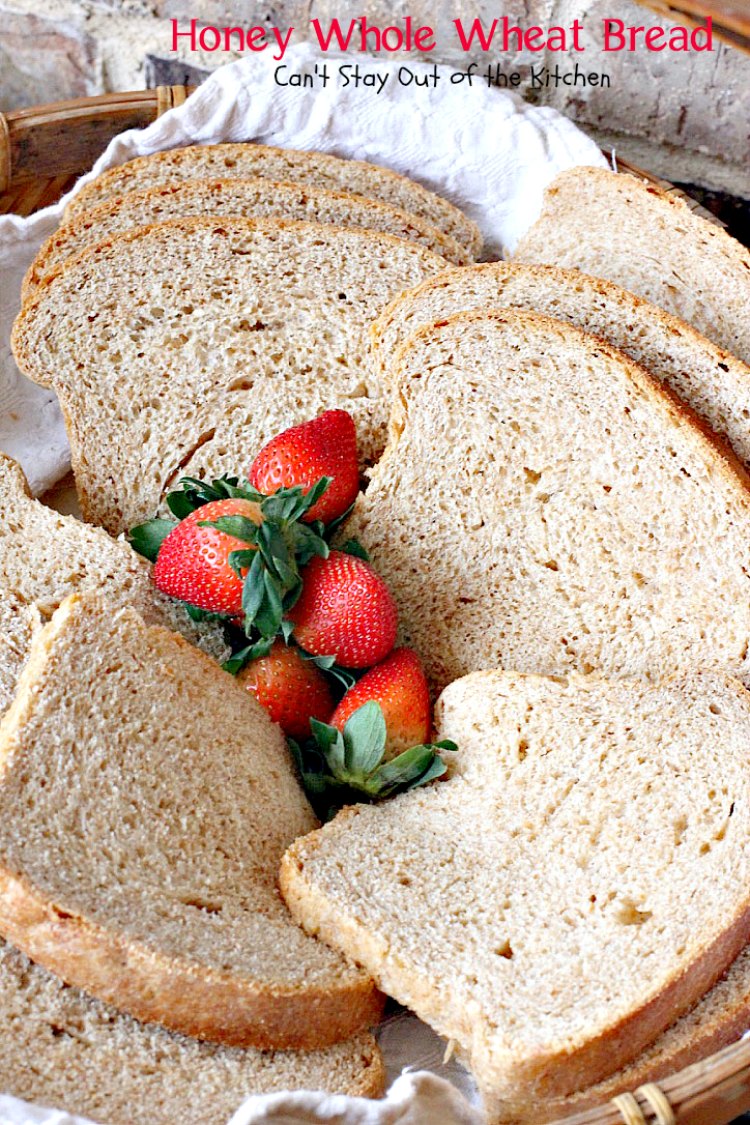
After bread cools, slice down to serve.
Butter and jam are nice accompaniments for Honey Whole Wheat Bread, but I love to toast it and serve Fried Eggs over top!
Honey Whole Wheat Bread is great for breakfast or as a side for lunch or dinner.
This is a great bread to take for meals to friends.
Here’s the recipe.
HONEY WHOLE WHEAT BREAD
(Recipe from my mom, Helen Mattis, Titusville, FL)
Honey Whole Wheat Bread
Equipment
- 2 9x5" bread loaf pans
- 1 large mixing bowl
- measuring cups
- measuring spoons
- 1 wooden spoon
- 1 small sauce pan
- 1 small mixing bowl
- 1 tea towel not a terry cloth towel
- 2 wire cooling racks
- 1 large bowl to raise the dough
Ingredients
- 3/4 cup 2% milk
- 3 heaping tablespoons granulated sugar
- 1/3 cup Crisco shortening
- 1 tsp. sea salt
- 1/3 cup honey the original recipe called for molasses, we substituted honey instead
- 1 1/2 cups very warm water 105 to 115° (115 is awful hot. I probably dissolve the yeast in water about 105 degrees)
- 2 pkg. yeast
- 4 1/2 cups whole wheat flour
- 2 3/4 cups bread flour
- 4 tsp. vital wheat gluten
- 1 tbsp. unsalted butter melted, to brush top and sides of bread with after it comes out of the oven
Instructions
- Scald milk in a sauce pan over low to medium heat.
- Place granulated sugar, salt, shortening and honey in a large mixing bowl.
- Stir scalded milk into this mixture and keep stirring to dissolve shortening and honey.
- Cool to lukewarm.
- Measure very warm water into bowl.
- Dissolve yeast, stirring with a fork or spoon until every bit of yeast is completely dissolved.
- Stir yeast mixture into lukewarm milk mixture.
- Add 2 cups whole wheat flour and 2 cups bread flour.
- Beat with a wooden spoon until smooth.
- Sprinkle with vital wheat gluten.
- Add enough remaining flours to make a soft dough.
- Turn out onto lightly floured board.
- Knead until smooth and elastic adding more flour to surface as necessary to keep dough from sticking, about 8-10 minutes.
- Place in greased bowl, turning dough to grease top.
- Cover with a tea towel; let rise in warm place, free from draft until double in bulk, about 1 hour.
- Punch down with fist and let rest 20 minutes.
- Divide dough into 2 pieces.
- Roll and shape into loaf.
- Place in two well-greased 9x5” loaf pans.
- Brush with melted butter on the top.
- Cover and let rise again about another hour.
- Bake in preheated 300° oven for 45 minutes.
- Remove from oven promptly and tap on bottom to remove loaf from pan.
- Allow to cool on wire rack.
- Brush with melted butter immediately after placing on wire rack to keep tops from hardening.
- Makes 2 loaves.
Notes
© Can’t Stay Out of the Kitchen
Nutrition
- ¾ cup milk (I used heavy whipping cream because I was trying to use it up)
- 3 heaping tablespoonfuls sugar (I eliminated this and used 1/2 cup honey instead)
- 1/3 cup Crisco shortening (I used unsalted butter instead)
- 1 tsp. salt
- 1/3 cup honey (the original recipe called for molasses, we substituted honey instead)
- 1 ½ cups very warm water (105 to 115°) (115 is awful hot. I probably dissolve the yeast in water about 105 degrees)
- 2 pkg. yeast
- 4 ½ cups whole wheat flour (we used 3 cups whole wheat and 3 cups bread flour. For this recipe I used about 3 cups whole wheat flour, 1 1/2 cups spelt flour, and 3 cups bread or pastry flour)
- 2 ¾ cups bread flour
- 4 tsp. vital wheat gluten
- Scald milk; stir milk into sugar, (I eliminated the sugar) salt, shortening, and honey.
- Cool to lukewarm.
- Measure warm water into large bowl.
- Dissolve yeast.
- Stir into lukewarm milk mixture adding 2 cups whole wheat flour and 2 cups bread flour.
- Beat until smooth.
- Sprinkle with vital wheat gluten.
- Add enough remaining flours to make a soft dough.
- Turn out onto lightly floured board.
- Knead until smooth and elastic adding more flour to surface as necessary to keep dough from sticking, about 8-10 minutes.
- Place in greased bowl, turning dough to grease top.
- Cover, let rise in warm place, free from draft until double in bulk, about 1 hour.
- Punch down and let rest 20 minutes.
- Divide dough into 2 pieces.
- Roll and shape into loaf.
- Place in well greased 9×5” loaf pan.
- Brush with shortening on the top.
- Cover and let rise again about another hour.
- Bake in preheated 300° oven for 45 minutes.
- Remove from oven promptly and tap on bottom to remove loaf from pan.
- Allow to cool on wire rack.
- Brush with melted butter or margarine immediately after placing on wire rack to keep tops from hardening. Makes 2 loaves.
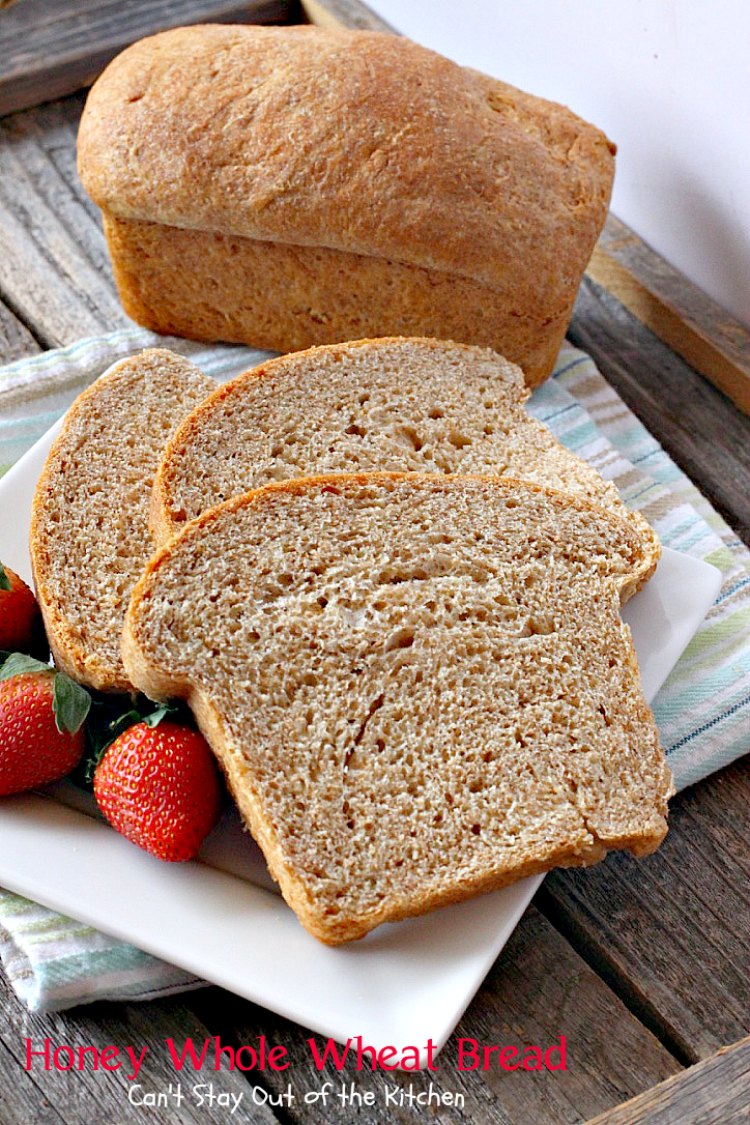
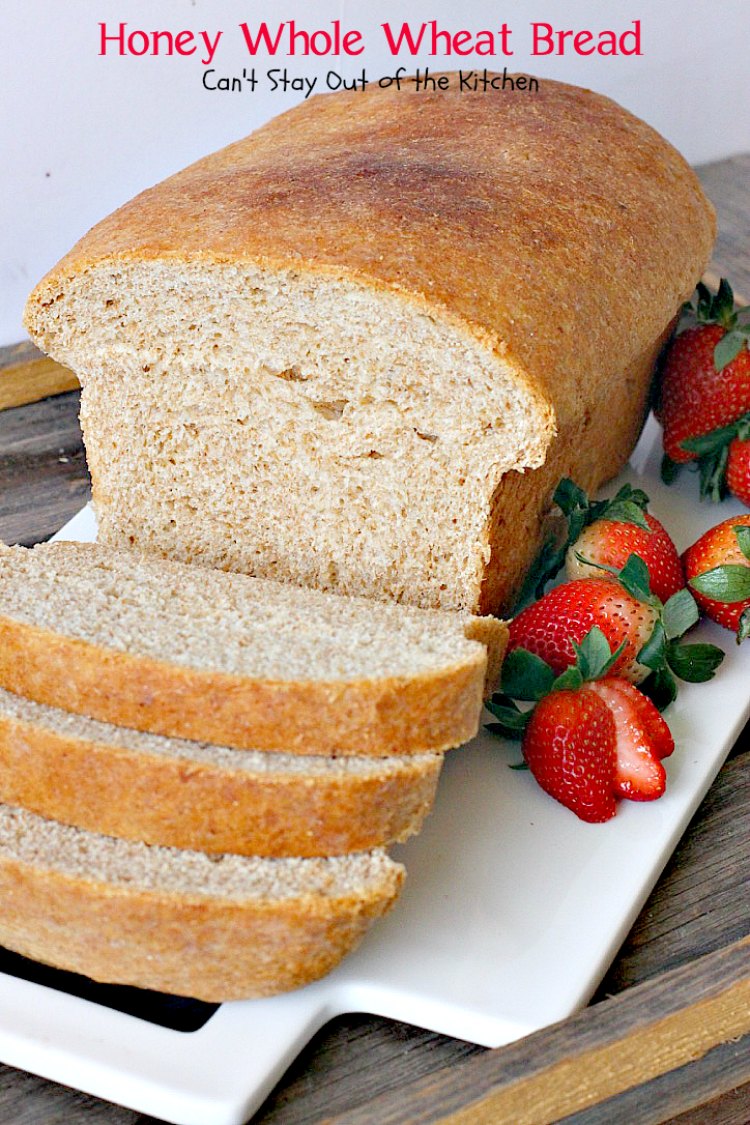
Here the Honey Whole Wheat Bread is cut and ready to serve! The difference between the texture of hand-kneaded bread and bread kneaded with a dough hook or in the breadmaker is amazing. It is softer–just wonderful!

Homemade Honey Whole Wheat Bread is a wonderful tasting bread your family will love!
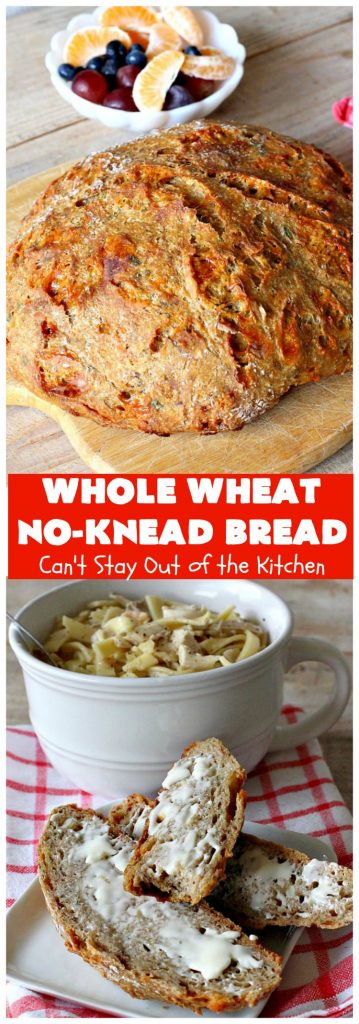
You may also enjoy these delicious recipes!

Honey Whole Wheat Bread
Equipment
- 2 9×5" bread loaf pans
- 1 large mixing bowl
- measuring cups
- measuring spoons
- 1 wooden spoon
- 1 small sauce pan
- 1 small mixing bowl
- 1 tea towel not a terry cloth towel
- 2 wire cooling racks
- 1 large bowl to raise the dough
Ingredients
- 3/4 cup 2% milk
- 3 heaping tablespoons granulated sugar
- 1/3 cup Crisco shortening
- 1 tsp. sea salt
- 1/3 cup honey the original recipe called for molasses, we substituted honey instead
- 1 1/2 cups very warm water 105 to 115° (115 is awful hot. I probably dissolve the yeast in water about 105 degrees)
- 2 pkg. yeast
- 4 1/2 cups whole wheat flour
- 2 3/4 cups bread flour
- 4 tsp. vital wheat gluten
- 1 tbsp. unsalted butter melted, to brush top and sides of bread with after it comes out of the oven
Instructions
- Scald milk in a sauce pan over low to medium heat.
- Place granulated sugar, salt, shortening and honey in a large mixing bowl.
- Stir scalded milk into this mixture and keep stirring to dissolve shortening and honey.
- Cool to lukewarm.
- Measure very warm water into bowl.
- Dissolve yeast, stirring with a fork or spoon until every bit of yeast is completely dissolved.
- Stir yeast mixture into lukewarm milk mixture.
- Add 2 cups whole wheat flour and 2 cups bread flour.
- Beat with a wooden spoon until smooth.
- Sprinkle with vital wheat gluten.
- Add enough remaining flours to make a soft dough.
- Turn out onto lightly floured board.
- Knead until smooth and elastic adding more flour to surface as necessary to keep dough from sticking, about 8-10 minutes.
- Place in greased bowl, turning dough to grease top.
- Cover with a tea towel; let rise in warm place, free from draft until double in bulk, about 1 hour.
- Punch down with fist and let rest 20 minutes.
- Divide dough into 2 pieces.
- Roll and shape into loaf.
- Place in two well-greased 9×5” loaf pans.
- Brush with melted butter on the top.
- Cover and let rise again about another hour.
- Bake in preheated 300° oven for 45 minutes.
- Remove from oven promptly and tap on bottom to remove loaf from pan.
- Allow to cool on wire rack.
- Brush with melted butter immediately after placing on wire rack to keep tops from hardening.
- Makes 2 loaves.
10 Comments
Easter Dinner Ideas – Can't Stay Out of the Kitchen
March 29, 2021 at 7:16 am
[…] Honey Whole Wheat Bread […]
Tips for Baking Homemade Bread – Can't Stay Out Of The Kitchen
January 23, 2015 at 6:55 pm
[…] days because it doesn’t tie up my time as much. But there is nothing quite like hand-kneaded homemade bread. It doesn’t have the tougher texture that breadmakers or using dough hooks tend to provide. […]
Weekly Meal Plan Suggestions – Week 4 – Can't Stay Out Of The Kitchen
November 23, 2013 at 12:40 pm
[…] Honey Whole Wheat Bread […]
Pesto Bread | Can't Stay Out of the Kitchen
February 14, 2013 at 10:59 am
[…] Honey Whole Wheat Bread […]
Cheese ‘N Onion Bread | Can't Stay Out of the Kitchen
February 7, 2013 at 8:02 pm
[…] Honey Whole Wheat Bread […]
Rapid Rise Italian Herb Bread | Can't Stay Out of the Kitchen
January 24, 2013 at 1:13 pm
[…] Honey Whole Wheat Bread […]
Homemade Rolls or Bread | Can't Stay Out of the Kitchen
September 15, 2012 at 9:37 pm
[…] Honey Whole Wheat Bread […]
petit4chocolatier
September 13, 2012 at 4:56 am
Delicious recipe and I love your vivid and clear directions!
Teresa
September 13, 2012 at 12:16 pm
Thanks! We love this bread.
trkingmomoe
September 13, 2012 at 12:02 am
Reblogged this on Trkingmomoe's Blog and commented:
Wonderful tutorial on bread making. Please visit Teresa’s blog site, there are some wonderful recipes posted..