Tips for Preparing Holiday Turkey
Tips For Preparing Holiday Turkey will help you have a successful turkey dinner for your family without all the blood, sweat and tears of a first trial run. I thought I would write a post for those who are not used to cooking turkeys each year for thanksgiving to provide tips and guidance through the process. Preparing a holiday turkey doesn’t have to be a big ordeal.
Follow Me On Instagram!
You don’t need to be freaked out by the process, and no one needs extra drama due to problems with the turkey! So, I’m going to try to take you through the process with step-by-step instructions and pictures that hopefully will help first-timers have a much smoother go of it.
I wished I’d had Tips For Preparing Holiday Turkey the first time I ever baked a turkey. I had no help at all. In fact, the first year I cooked a turkey was when I was about 20 years old and it took over 7 hours! I followed my Fanny Farmer cookbook for directions. The turkey turned out okay but I was really put off by the long cooking time. And, by the time it reached the correct internal temperature some parts of the bird were dried out.
A couple of years later my mom suggested I consider using the jumbo size turkey oven cooking bags instead. What a wonder! It decreased the cooking time by almost half and ever since then for more than 30 years I have used cooking bags to cook holiday turkeys. They turn out so wonderful. Moist, tender, succulent, nicely browned on top, not dried out in spots like cooking in the oven for long periods of time, and the process is just so easy–no basting, no constant checking to see when the bird is done.
Quite frankly, I’m usually so busy making side dishes, pies, and homemade rolls that I don’t have time to be basting a turkey continually, that’s why cooking bags work for me. They also work for large hams and other meats. You can even cook vegetables that way. Everything turns out with a wonderful savory flavor.
When I first posted Tips For Preparing Holiday Turkey in November 2012, I was still using an iPhone 3 for a camera so my pictures weren’t as nice as I would have liked. I have been away from home for Thanksgiving and Christmas for the past three years since then (choosing to spend those occasions with family members out of state on each occasion).
Finally, this year I told my husband I really wanted to be home for both Christmas and Thanksgiving this year. Especially so, since we are currently building a new home. Anyone who’s gone through the home building process knows how you have to stay on top of everything or else things get done incorrectly.
That was another reason why I wanted to stay home this year (December 2015). So I decided to retake pictures of how we prepare turkey. I’ve included a lot more pictures than normal so you can understand each part of the process. It’s really not that difficult once you get the hang of it and have an idea of what’s supposed to happen.
If you’ve never prepared your own holiday turkey before, I hope these Tips For Preparing Holiday Turkey will help you consider making your own in the future. While I could easily make a turkey any other way, we’ve had such success with this method and, quite frankly, I’ve been too lazy to change. If you like easy, scan through these pictures and directions and you’ll see that holiday turkeys don’t have to be a nightmare.
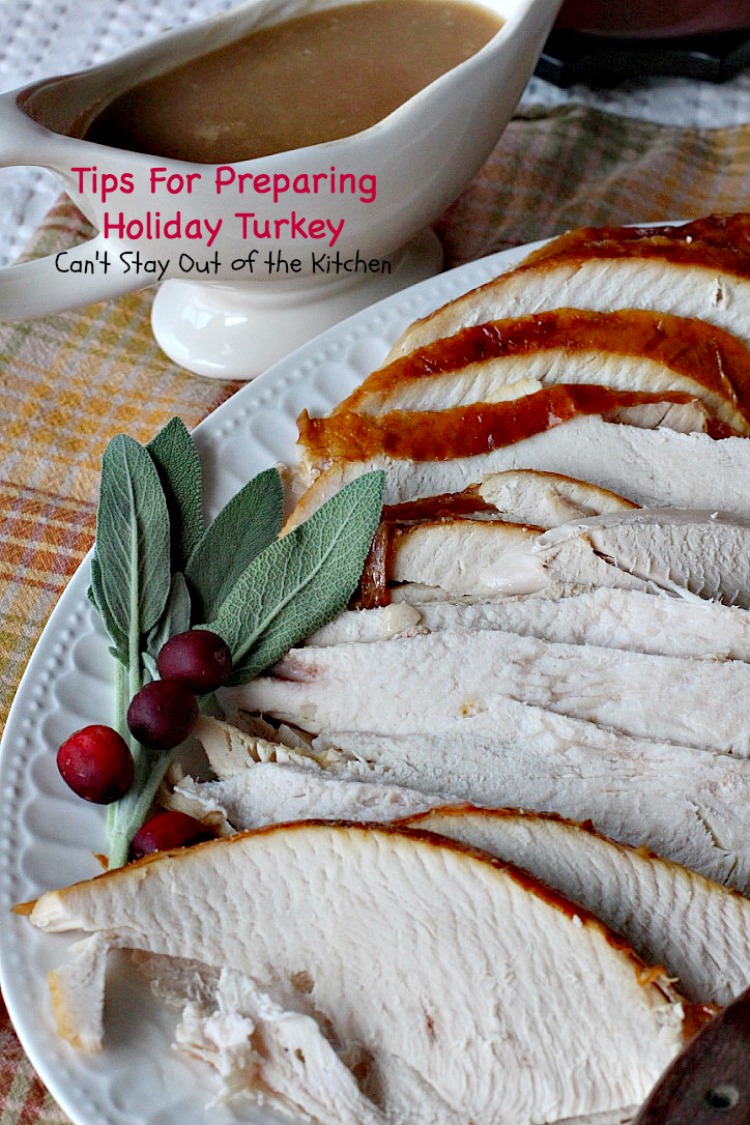
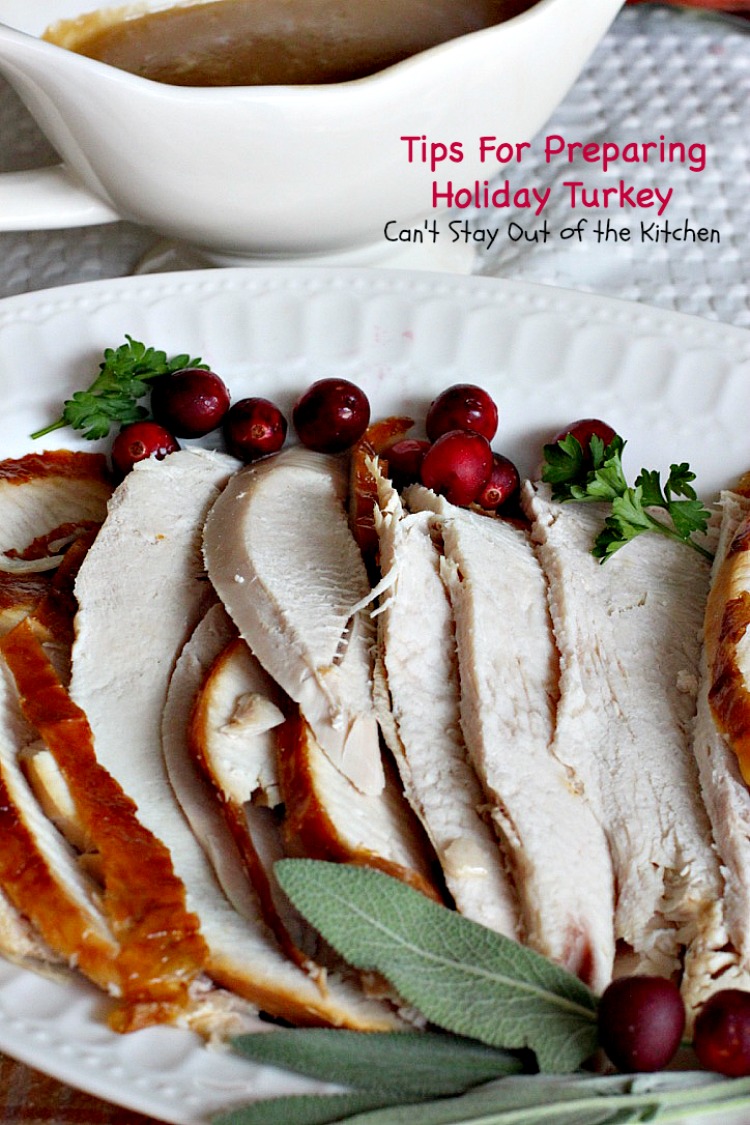
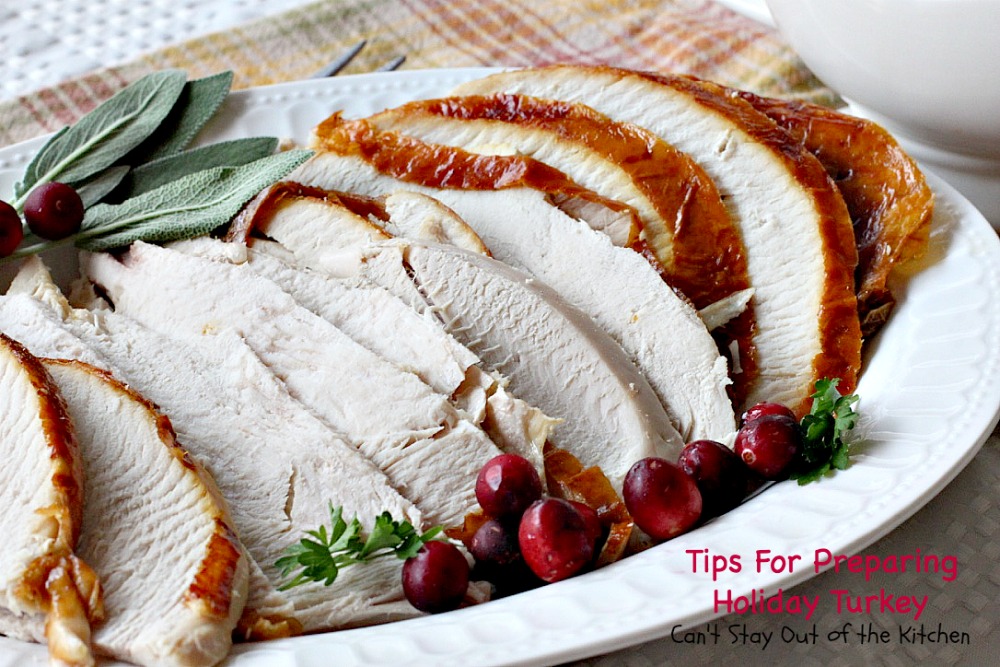
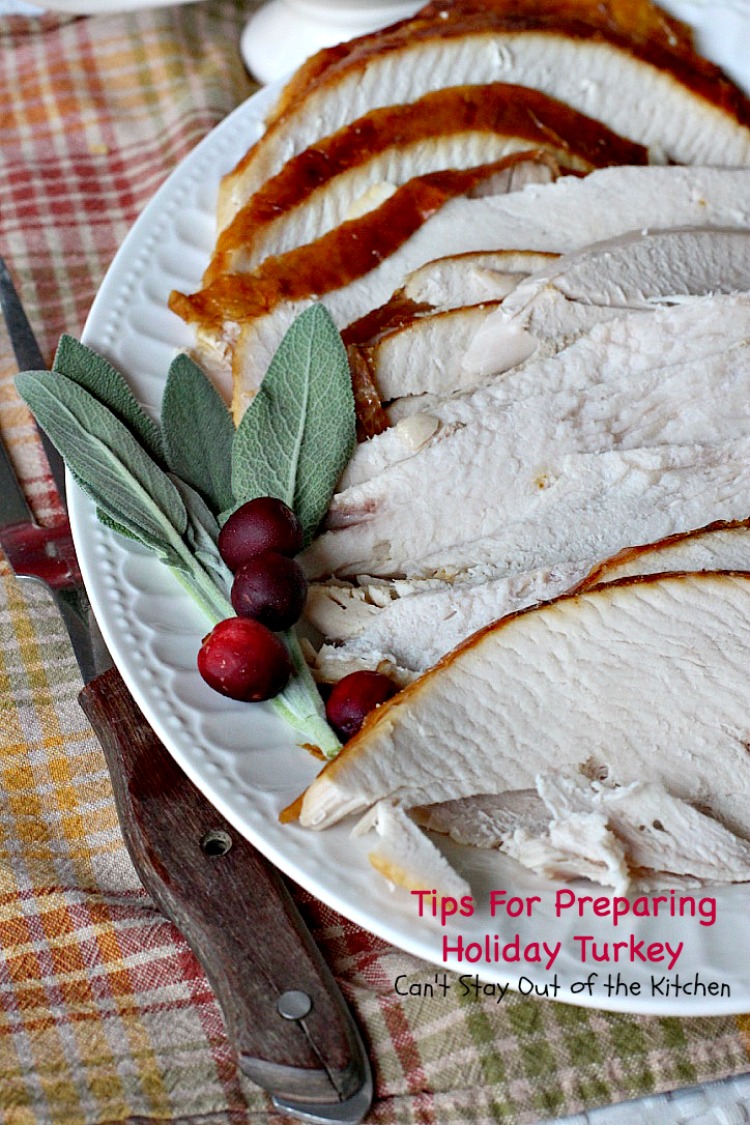
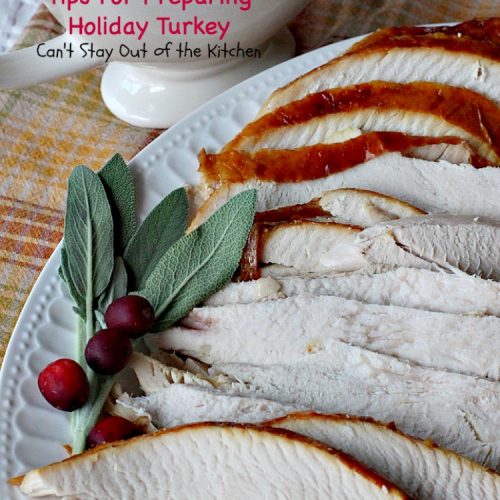
Tips For Preparing Holiday Turkey will help you make the best of your holiday dinners. Turkey and Gravy–there’s nothing quite like it. The turkey is sliced down and I’ve made turkey gravy. Wow, was it ever fantastic!
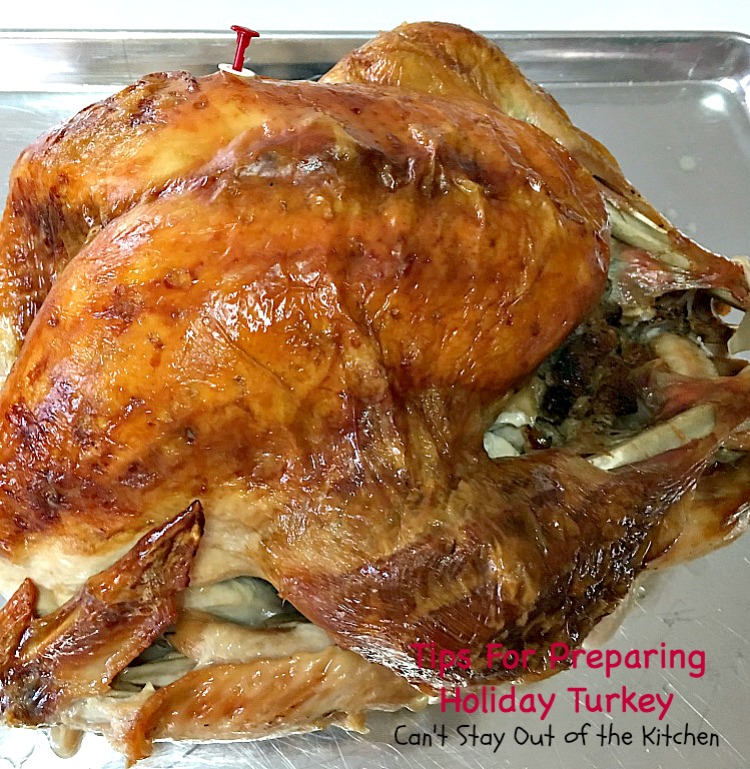
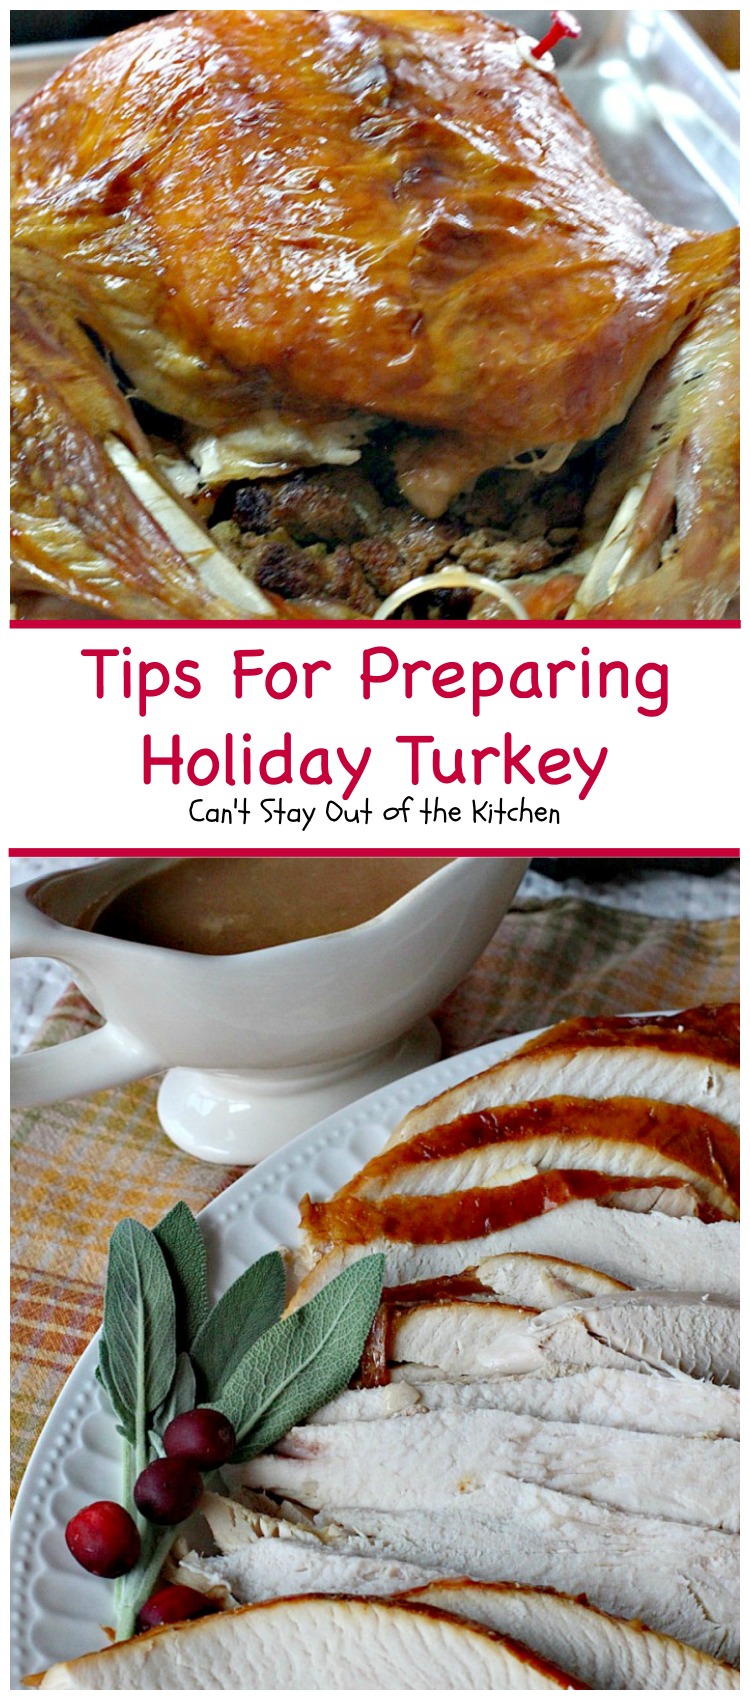
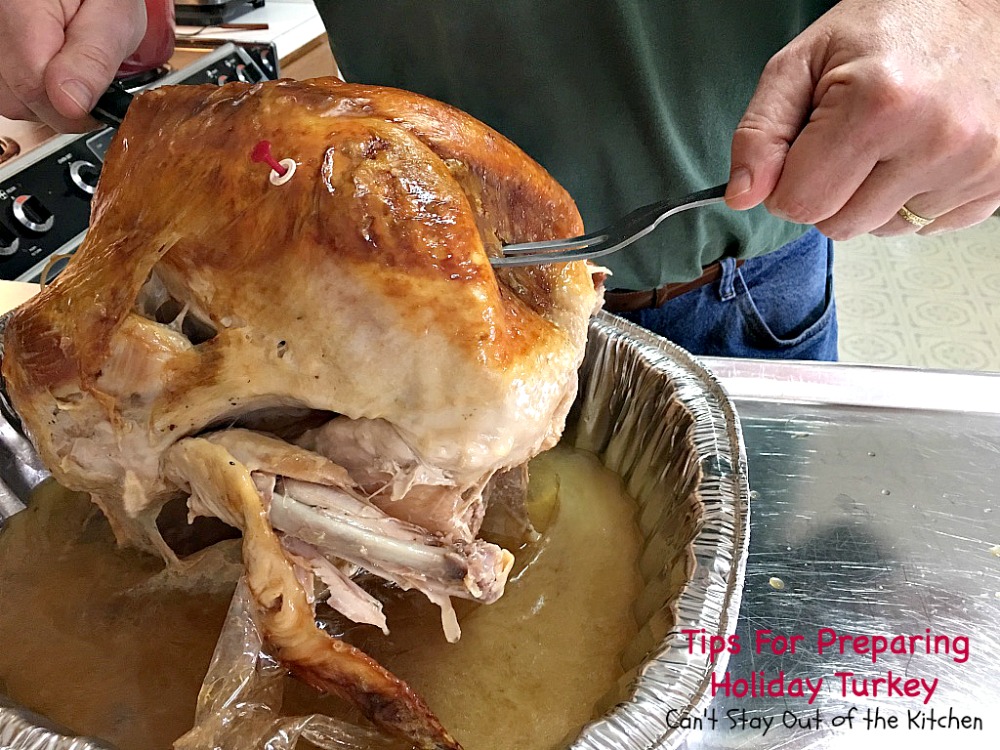
Here’s the turkey before cutting it down. Tips For Preparing Holiday Turkey will provide all kinds of helpful tidbits to make your holiday dinners spectacular!
Here’s a serving of the turkey. I served it with a side of Mom’s Turkey Dressing, Old-Fashioned Green Beans, Berry Mallow Yam Bake, Bridled Noodles, Honey Glazed Carrots and gravy.
TIPS FOR PREPARING HOLIDAY TURKEY
1. One of the first things you need to do is defrost the turkey. I have never had any of my turkeys defrost in the refrigerator in anything less than a week. They usually take 10 days since I purchase really large birds. Place the turkey in a really large roaster pan with an old towel in the bottom to absorb any juice as the bird defrosts.
2. If you don’t have a really large metal pan for the bird and are using a foil pan instead, I recommend putting the pan with the turkey on a cookie sheet for more stability in lifting and carrying. Place in refrigerator at least a week before you are planning on using this. (This is when it is really helpful to have a garage refrigerator so you don’t crowd your main refrigerator!)
3. The night before cooking you need to evaluate whether or not the turkey has defrosted completely. If you have ice on the wings and can’t open the cavities to place the stuffing because they’re still frozen over you may have to do a quick defrost.
4. First, scrub out your sink with an antiseptic cleaner really well. Rinse thoroughly. Towel dry to make sure you get all of the cleaner out of the bottom, sides, and drain of the sink.
5. Second, fill sink half to three-quarters of the way with very warm water (not scalding but certainly lukewarm or hotter). Submerge turkey in the water and let it sit 30 minutes. Drain water, and refill again if the bird is still not defrosted.
6. When the bird is defrosted, remove the giblets and inner parts of the turkey from the cavities. Put the turkey back in the pan with a fresh towel on the bottom, cover, and refrigerate until the next morning.
7. If you are making a dressing/stuffing for the turkey, it’s a really good idea to boil the giblets, neck, and any other parts the butcher inserts in the cavities for a couple of hours in heavily salted and peppered water the night before so it is ready in the morning when you are ready to cook the turkey. After an hour or two the water becomes a very rich broth you can use with making gravy or the dressing.
8. Once the bird is removed from your sink, re-clean your sink with antiseptic spray and comet and clean it again thoroughly. Rinse really well, and dry with towels. Anything you use to clean the sink don’t use again before laundering. The same goes for cleaning the sink before the quick defrost. Any counter top those cloths come in contact with must also be re-cleaned to prevent salmonella poisoning. You cannot be too careful. It is much better to have an extra load of laundry than to be sick with food poisoning. Clean your counters, sink, and handles for the stove, refrigerator, trash cans, doors, etc. very carefully. Be safe rather than sorry!
9. Some people like to chop up the giblets and add them to the gravy. After the giblets have cooked a couple of hours go ahead and chop them up and refrigerate until you need them for making the gravy. Otherwise, discard turkey parts and save broth in container and refrigerate until ready to use.
10. If you are making a dressing/stuffing for the bird it is best to set out the bread on wire racks two or three nights before you plan on making the recipe so the bread dries out and becomes completely stale. See my recipe for Mom’s Turkey Dressing for further directions. If you actually render your turkey broth the night before as in these tips, and you spread your bread out on racks for several days so it’s already dried out, you can actually go ahead and make your dressing and store it in the refrigerator until the next day when you stuff the bird. This is a great time savings and will really speed the process the next day.
11. The next morning stuff the turkey cavities with dressing. You will probably have to use your hands. Secure the backside with poultry skewers so the stuffing doesn’t fall out of the cavity while cooking. Stuff the chest cavity and either truss the turkey by tying up the legs to give stability to the bird or many of the birds come with plastic trusses that will hold the legs in position (refer to my pictures later in this post). Some people prefer to only bake the stuffing in a casserole dish and not in the turkey for fear of salmonella poisoning. I’ve been making ours like this for almost 40 years and have never had a problem. As long as the bird is cooked long enough you won’t have any problem.
12. We rub oil all over the bird to prevent burning, then we place the bird into a jumbo cooking bag that has had flour shaken in it. Place the bird breast side up in large roaster pan. Sprinkle more flour over the top of the turkey so the bag won’t adhere to the turkey when you try to remove it later. Secure the bag with the twist tie it comes with. Cut a few slits in the bag to let out steam. Place in oven at 350 and bake according to the directions that come with the Reynolds Wrap Jumbo Turkey cooking bags. 20-25 pound birds usually take about 4 hours if they are stuffed.
13. YOU MUST HAVE A MEAT THERMOMETER TO COOK TURKEYS! Go out and buy yourself a good one. You’ll need one to ensure meats are cooked thoroughly. Don’t just trust the pop-up timer that comes with many of the turkeys when you purchase them. Always use a meat thermometer to get the correct temperature. Insert into the breast cavity not the wing or leg, to get a true measurement of internal temperature. If the turkey is not cooked to the right internal temperature you may poison your guests! The turkey doesn’t need to be overcooked, but it does need to get to the correct temperature. I think it’s 170 or 180 for turkeys. Any good cook book will tell you.
14. Once the turkey registers the right temperature, remove it from the oven and set on counter. (If you don’t have granite counter tops be sure to put a hot pad of some kind under the pan). Lift the turkey slightly and puncture the cooking bag so all the broth drains out of the turkey into the pan. Once all the drippings have drained out (it will be about half a gallon!), remove the bag from the turkey. Place the carcass on another cookie sheet and discard the cooking bag. Use the drippings to make Turkey Gravy.
15. Remove the poultry skewers from the back cavity of the turkey and remove stuffing with a spoon into a serving bowl that’s oven proof. Do the same with the stuffing in the front cavity. To keep the stuffing warm you may need to cover and put back in the oven.
16. With a sharp knife or electric knife, cut the wings off the bird and place on large turkey platter. Do the same with the legs. There are ligaments you can cut through that are the easiest place to cut through the bird. You can also cut the thighs or leave and cut down later.
17. When cutting the breast it is easiest to make a horizontal cut at the bottom part of the breast first, then cut down in diagonal slices until you hit that point. Lift turkey breast pieces away from the bird and place on large turkey platter. Continue cutting down until you have cleaned off most of the meat from the turkey. Serve with gravy.
18. I usually save the turkey carcass and cook it off in boiling water to make Turkey and Dumplings. You can also make a turkey and vegetable pie or use leftover turkey meat just like you would chicken.
Here’s what I did.
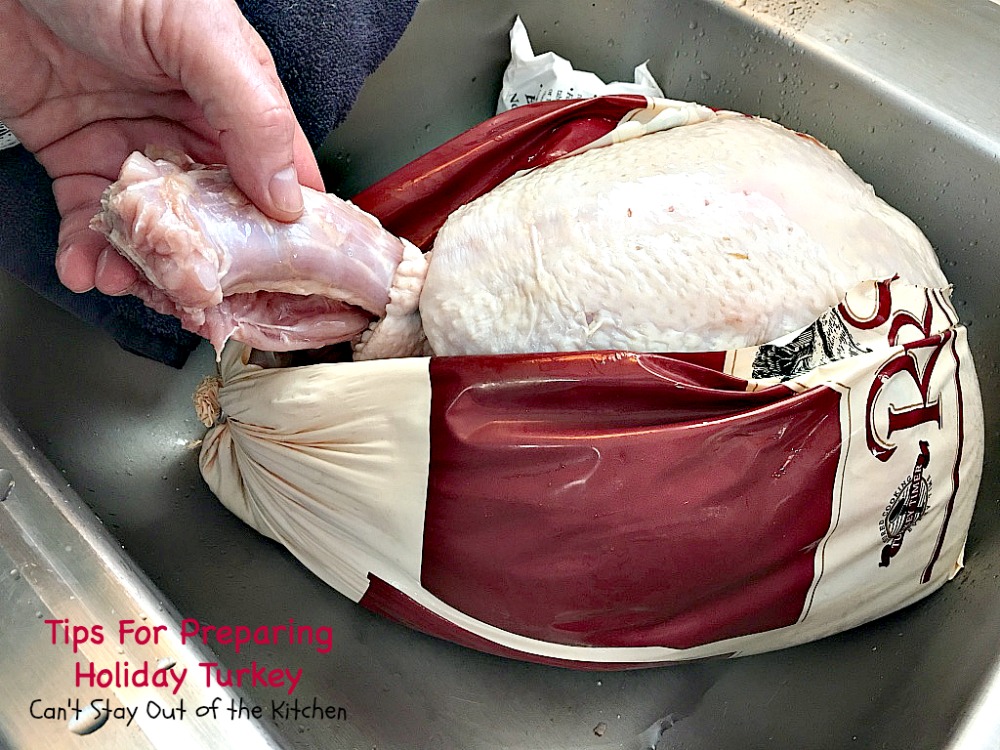
Make sure your turkey is completely defrosted. I usually defrost 8-10 days in my refrigerator. Cut the bag the turkey has come in and remove the neck out of the front cavity.

Drain the juice from the bird (be sure to thoroughly clean your sink out afterward).
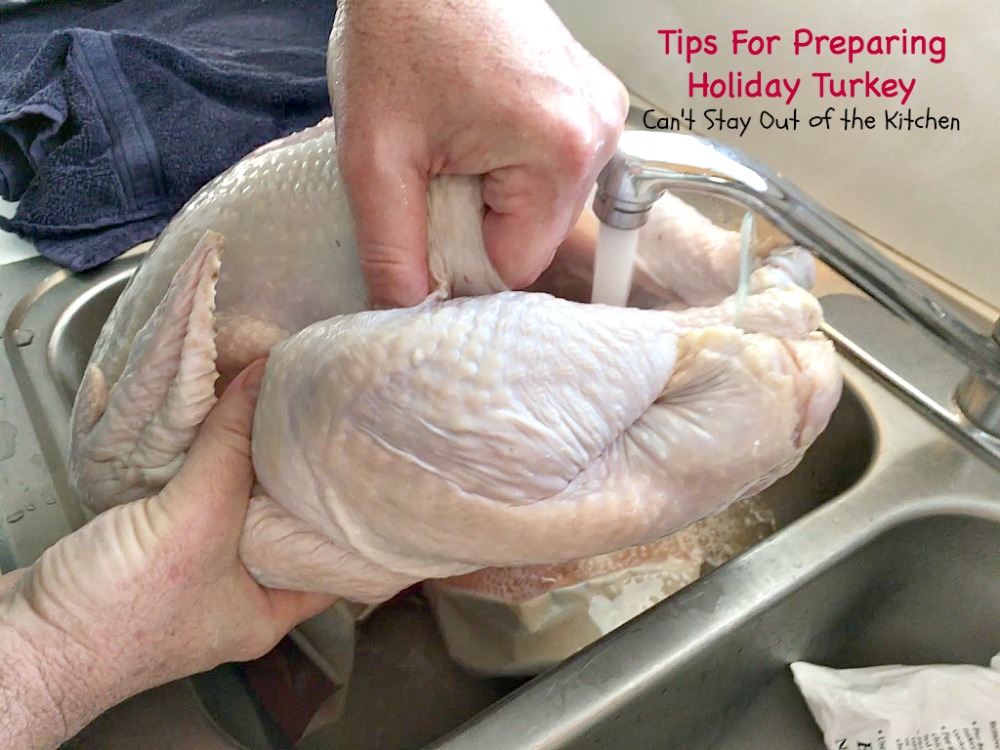
Run water into the front cavity and drain again.
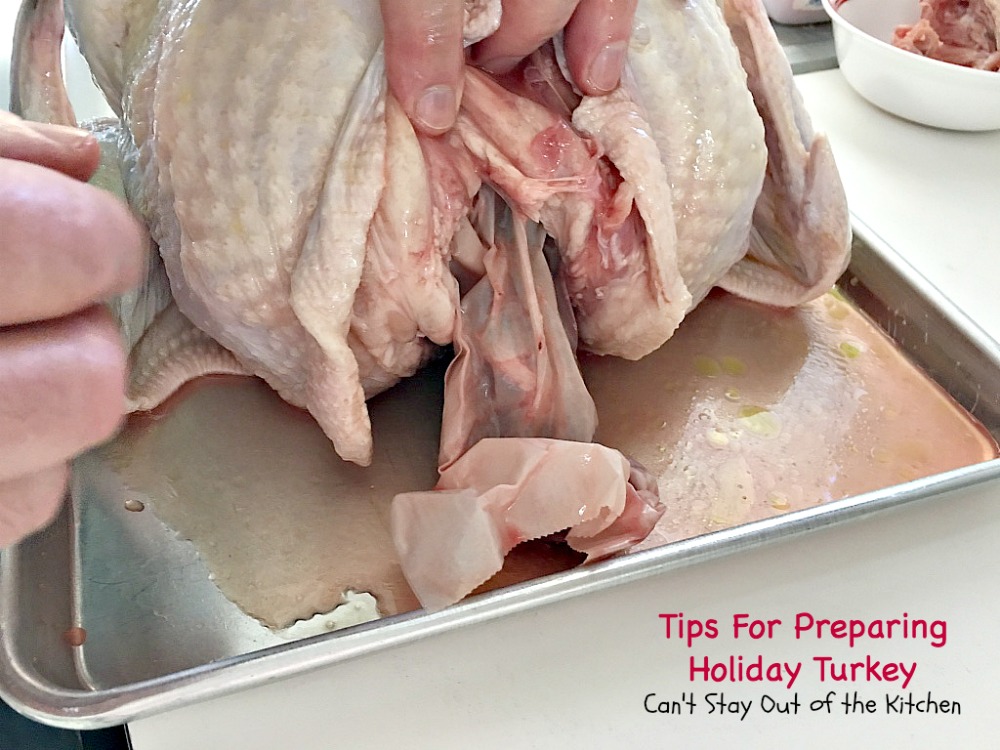
Remove the organ packet from the back cavity. This will usually be packed in paper and includes kidneys, liver, heart, etc. You can cook these with the neck (giblets) for broth. I usually do that (the night before) and use it in the Turkey Gravy and in preparing Mom’s Turkey Dressing. Rinse out this cavity with water also. You can stuff this end and secure with a wire skewer if desired.
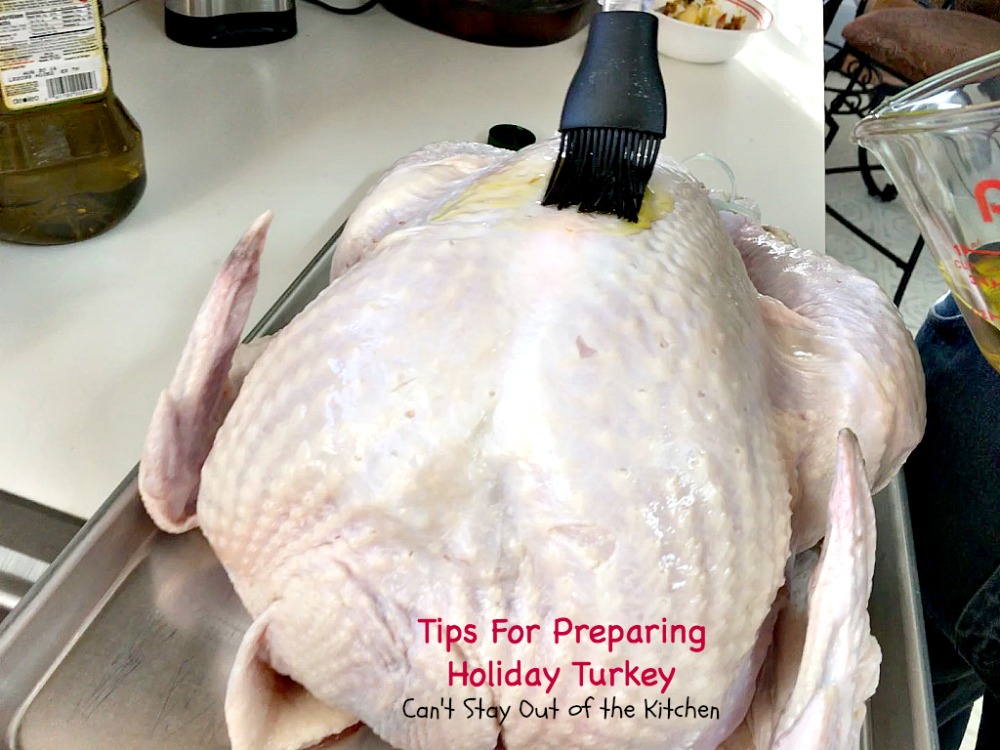
Brush bird with olive oil.
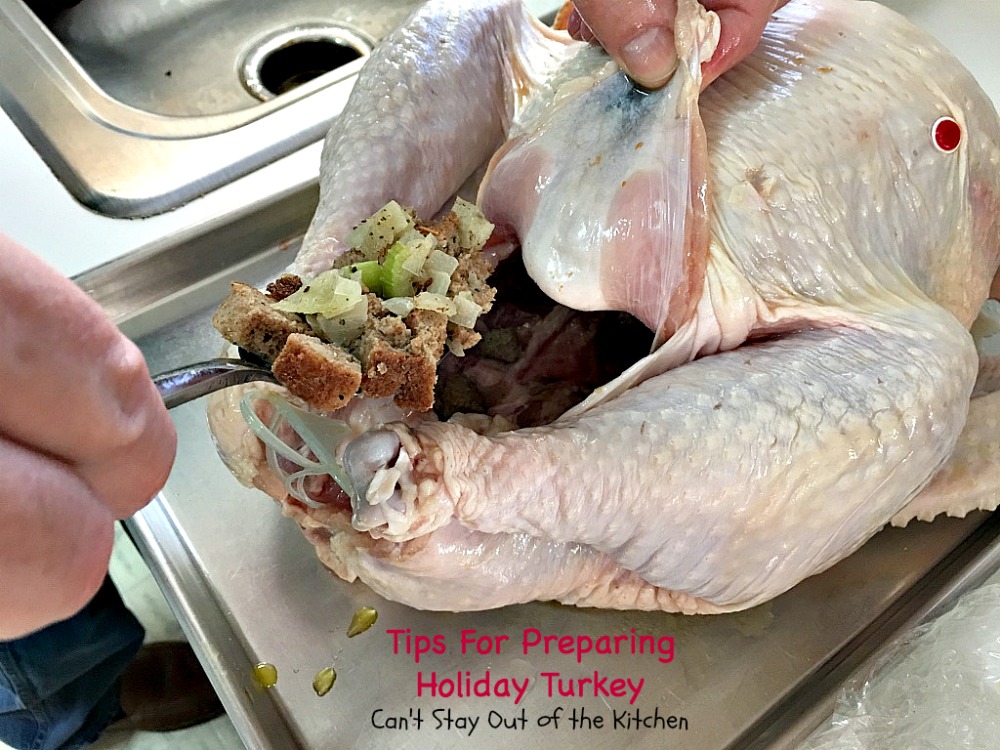
Stuff the front cavity with Mom’s Turkey Dressing.
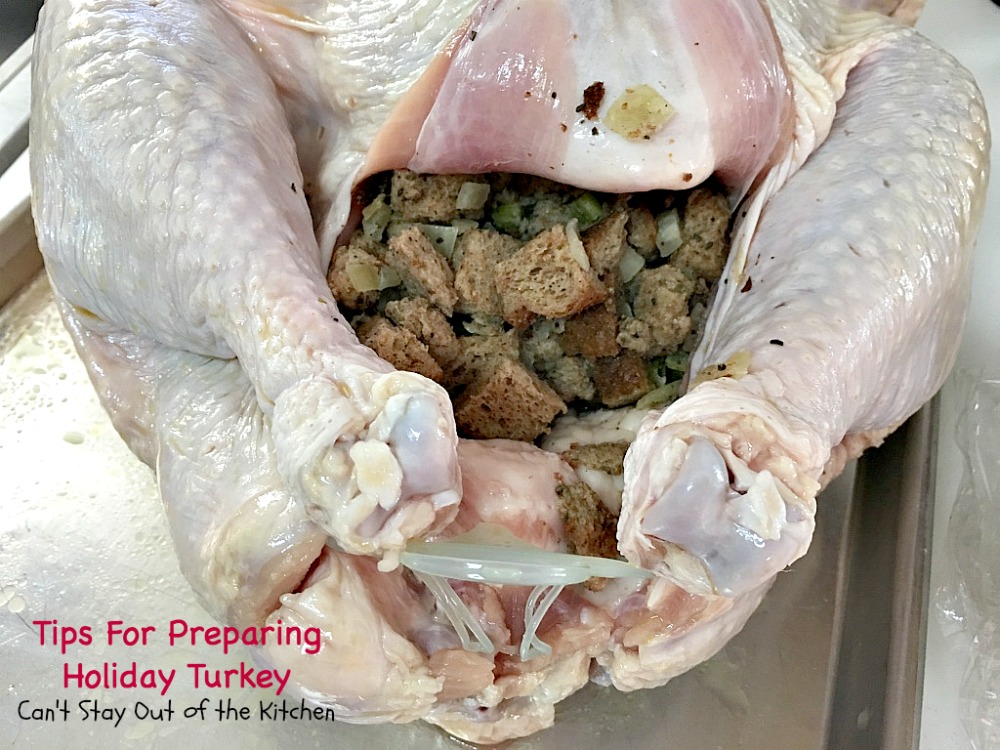
Stuff the bird until full but don’t pack it.
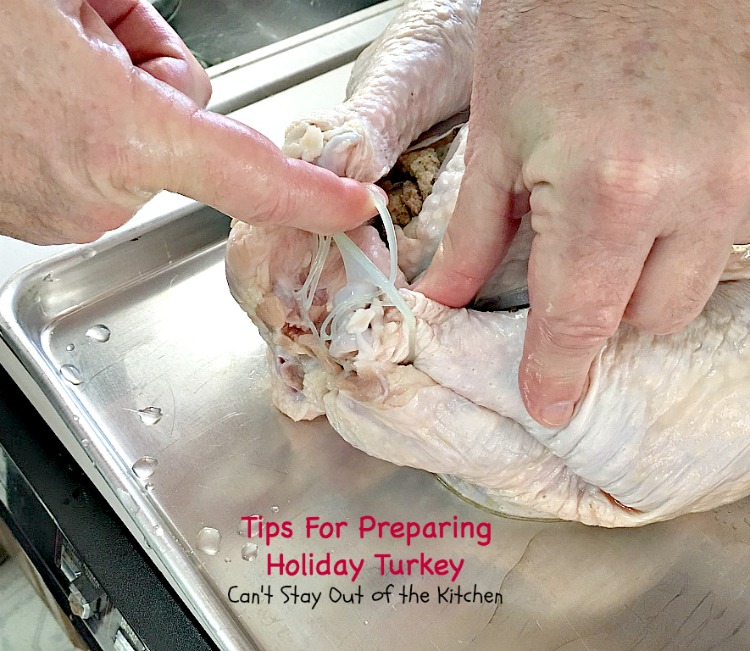
Secure the legs in the plastic truss.
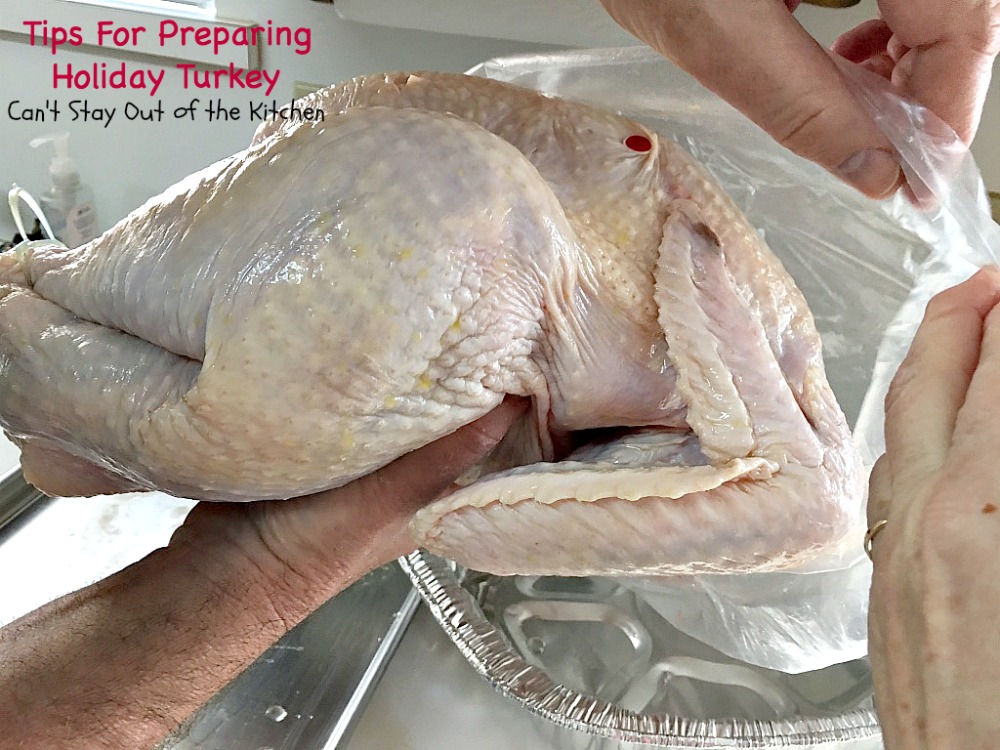
Place the turkey in a cooking bag that’s had flour shaken up into it.
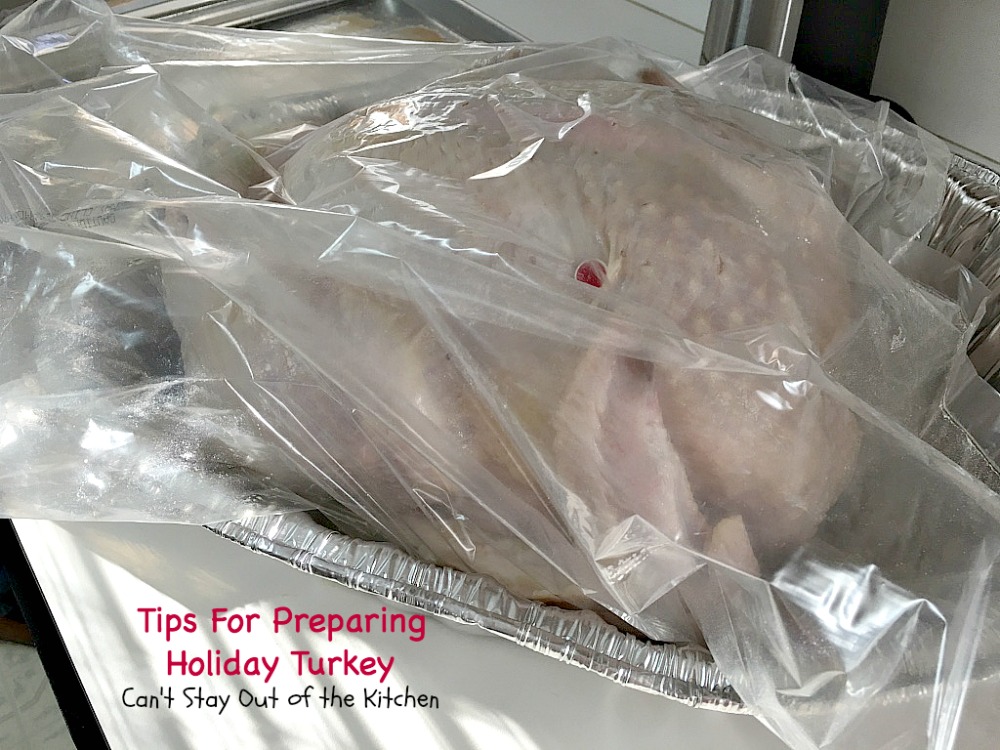
We use Reynolds Oven Bags, turkey size. The cooking bag has a great brochure with excellent directions. Place the turkey into the cooking bag. Sprinkle more flour over top of the turkey breasts and drumsticks to help prevent the bag from sticking to the bird after cooking.
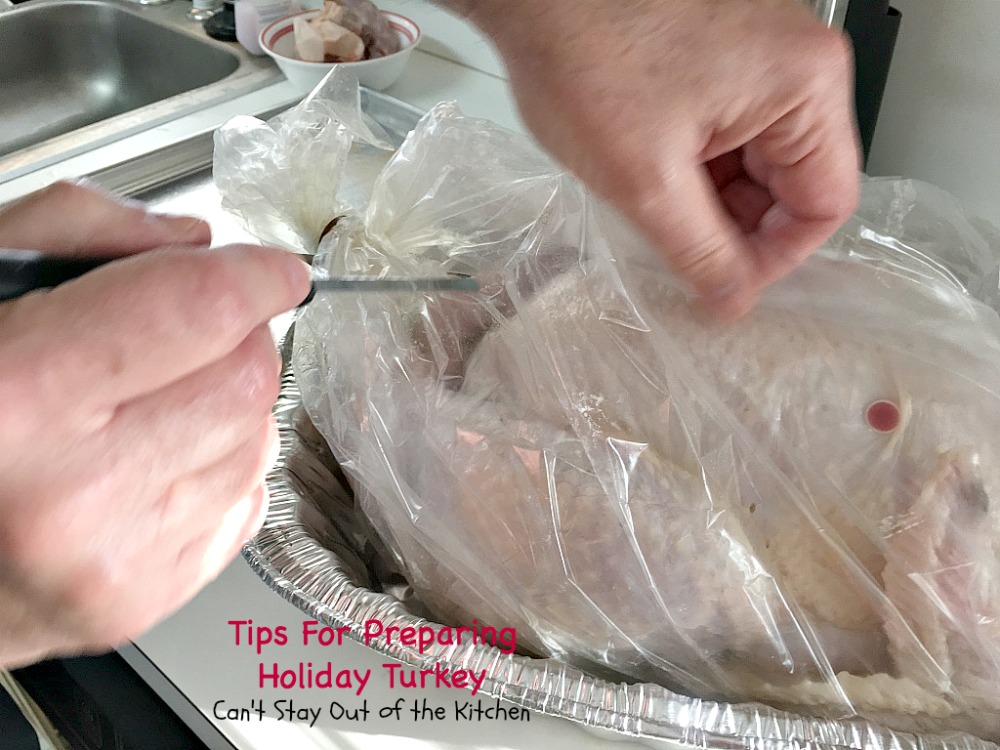
Cut some slits in the top of the bag to allow the steam to escape while cooking. Secure the ends with plastic twist ties. The pop-up timer should eject about a 1/2 inch when the turkey is done–although I always check with a meat thermometer too.
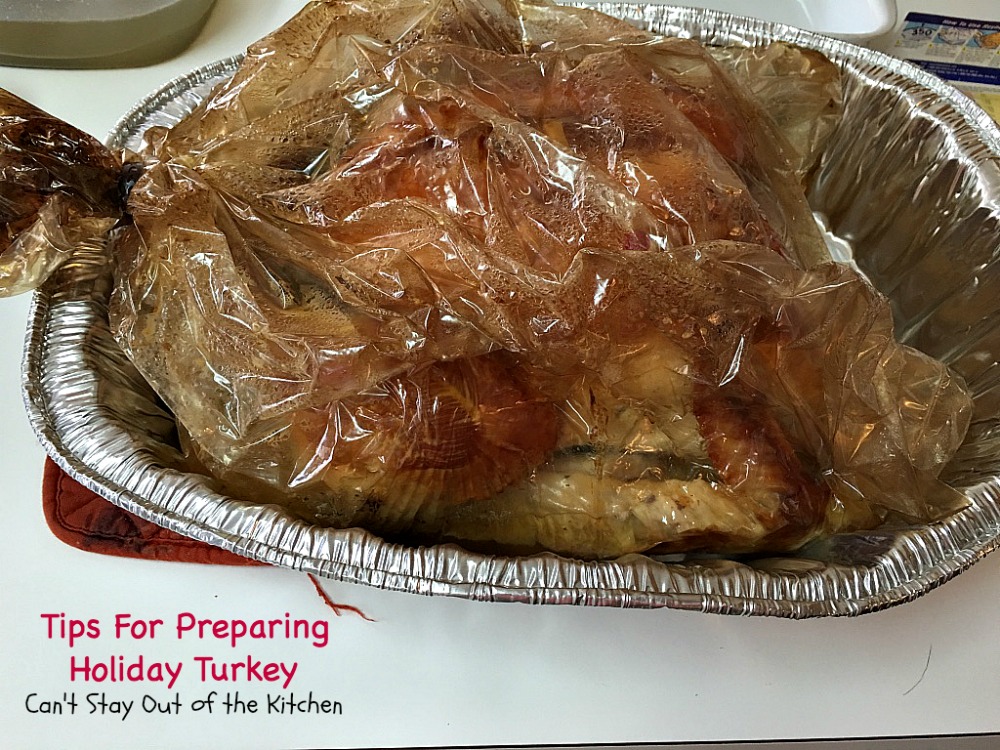
The meat thermometer needs to register about 180 degrees. Ours was actually higher than that.
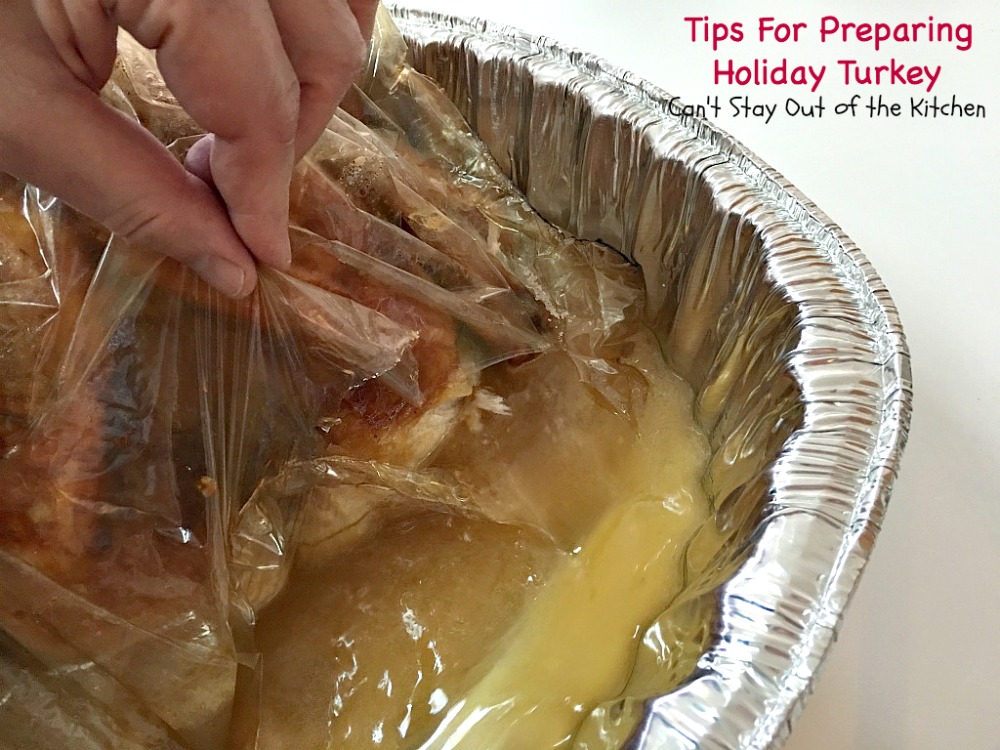
Puncture a hole in the cooking bag so that all the drippings from the turkey can drip down into the roaster pan.
Transfer the turkey to a cookie sheet. Transfer the drippings to a large sauce pan or Dutch oven to make Turkey Gravy.

We’ll cut the turkey down right from the cooking sheet.
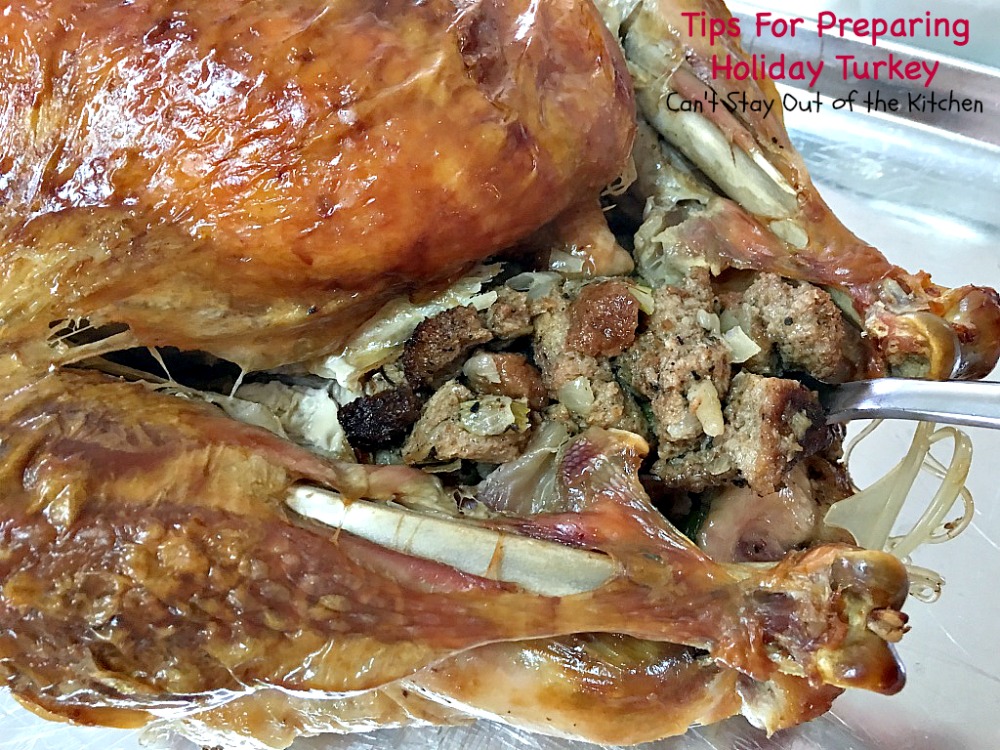
Scrape the dressing out of the cavities and place in a serving bowl. This dressing absorbs extra broth since it has been inside the turkey baking for over 4 hours. It is so rich and mouthwatering!
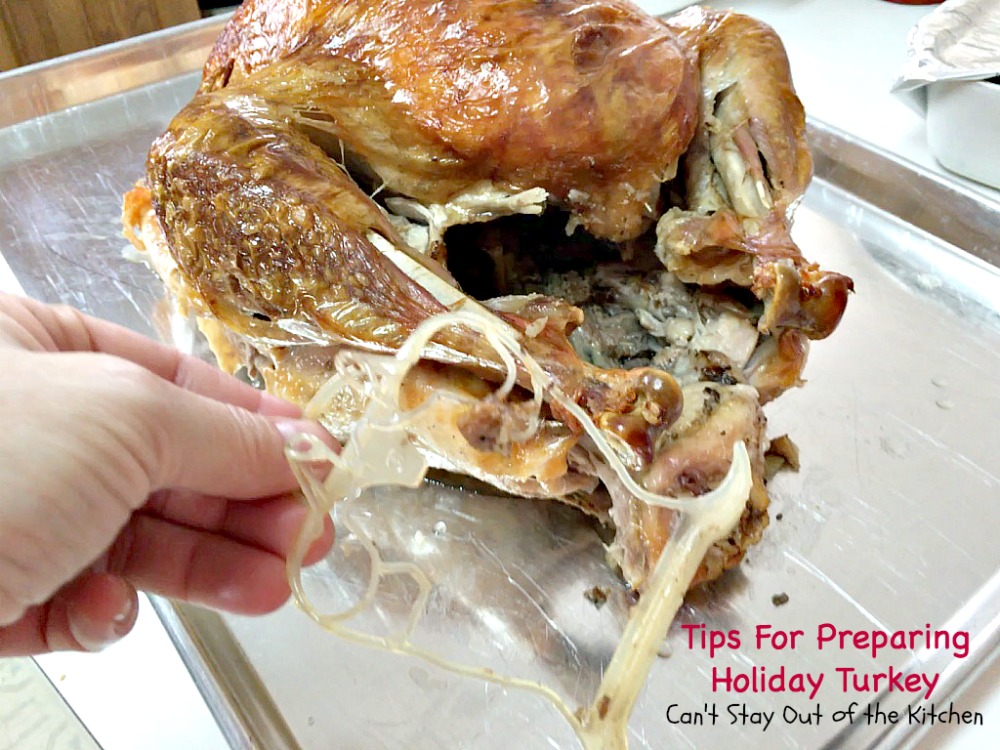
You can see the stuffing has been removed from the front cavity. Remove the plastic truss from the legs.
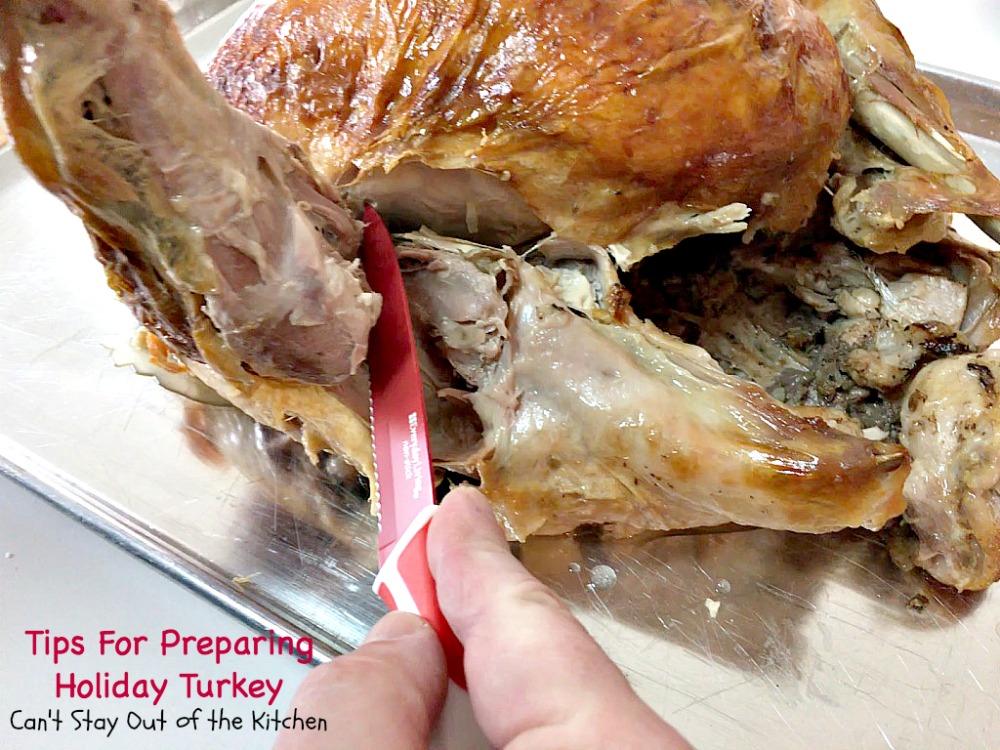
Cut through the tendons in the legs and remove each one.
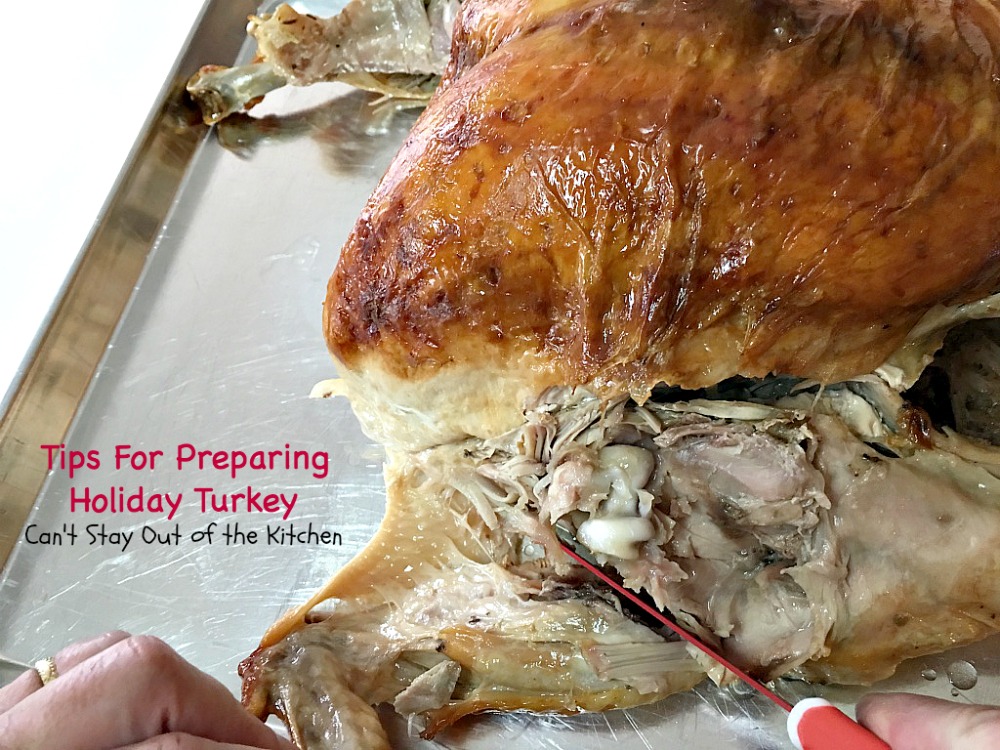
When you find the tendons in the joints that’s the place to cut through to remove the wings.
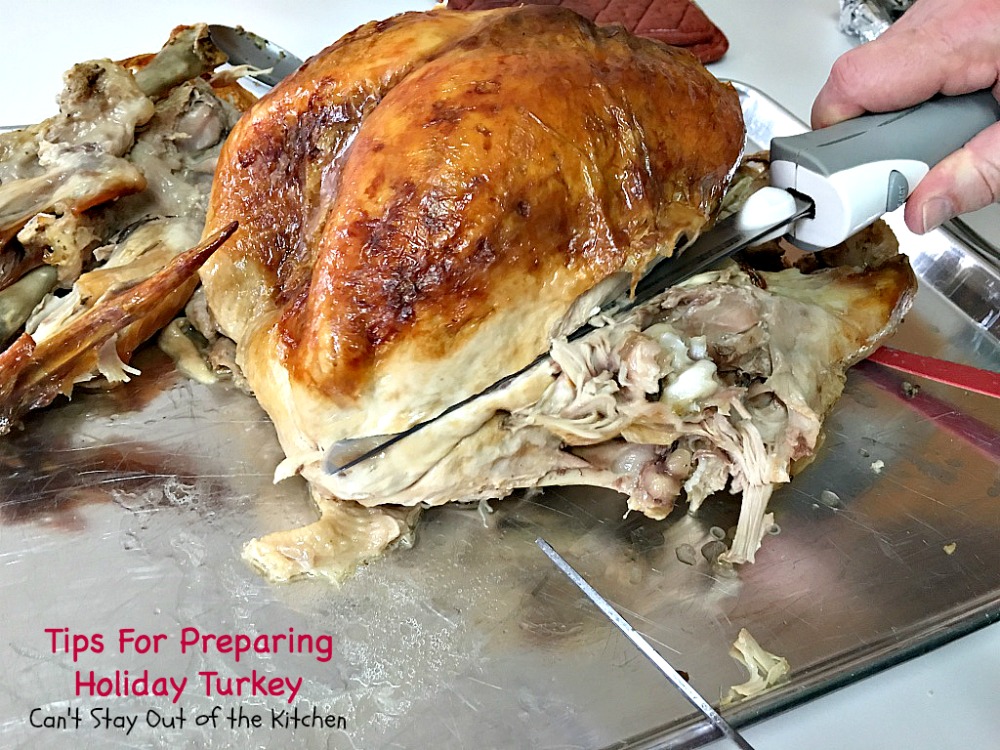
With an electric carving knife cut a horizontal line underneath the breast all the way to the bone.
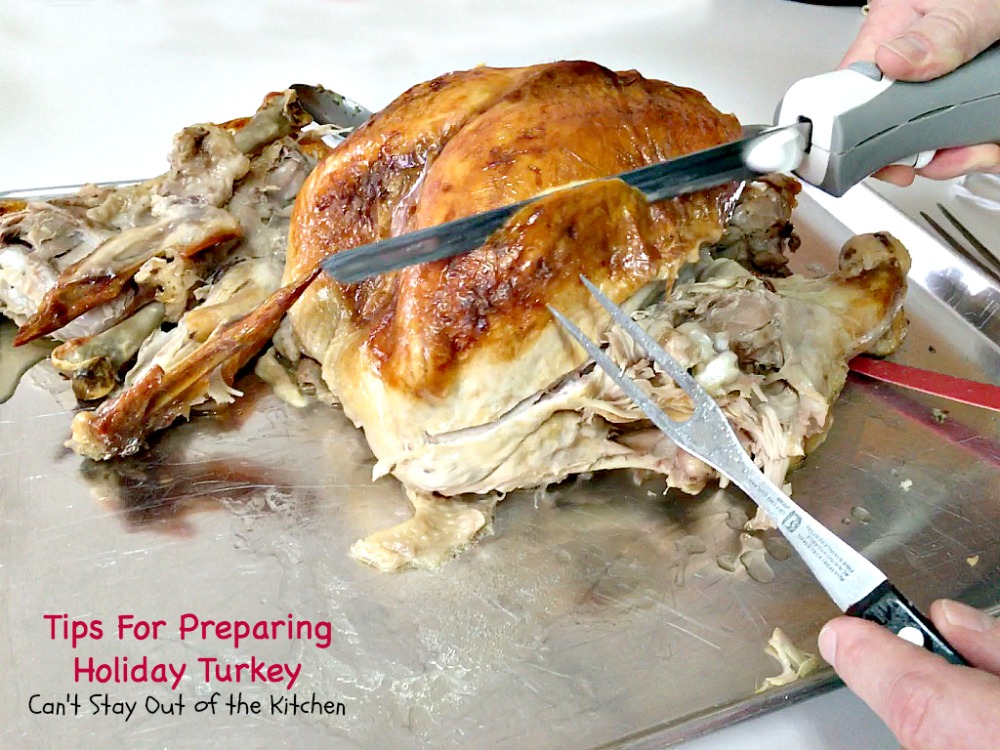
Carve turkey down in slices to the horizontal line carved earlier. We find an electric knife is perfect for this and doesn’t mutilate the turkey!
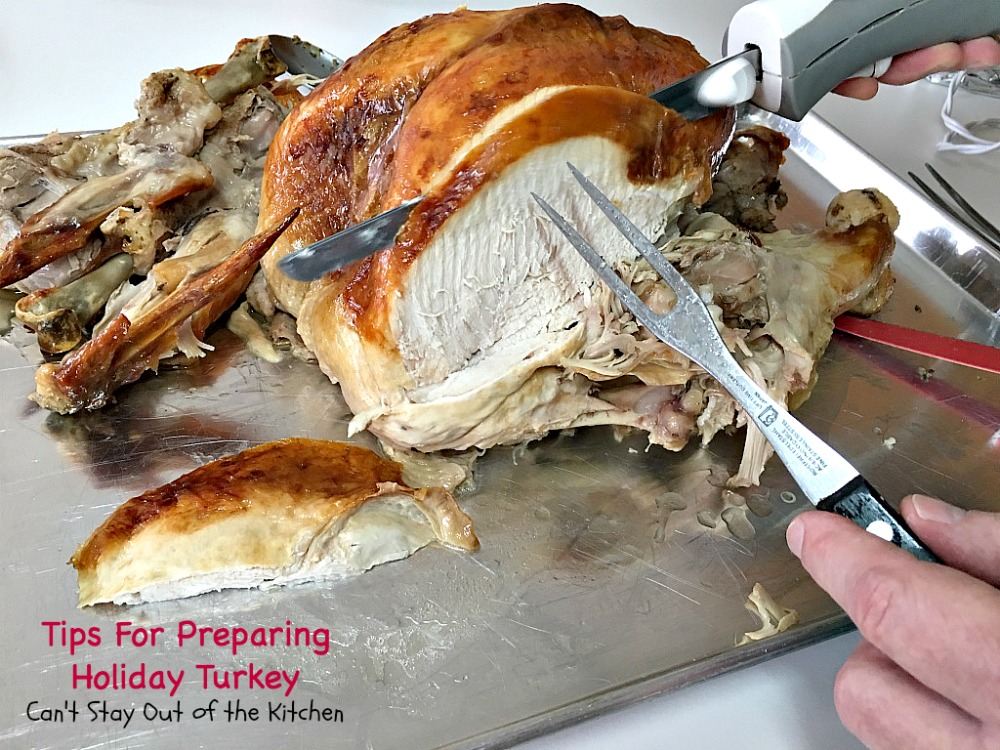
Continue slicing down all the breast meat and place on a meat platter.
Carve down the turkey breast. The meat will easily pull away because of the horizontal cut across the bottom of the turkey breast. Place the sliced meat on a turkey platter.
Rather than mixing the meat, we place white meat on one platter and dark meat on another. We always serve turkey with a side of gravy.
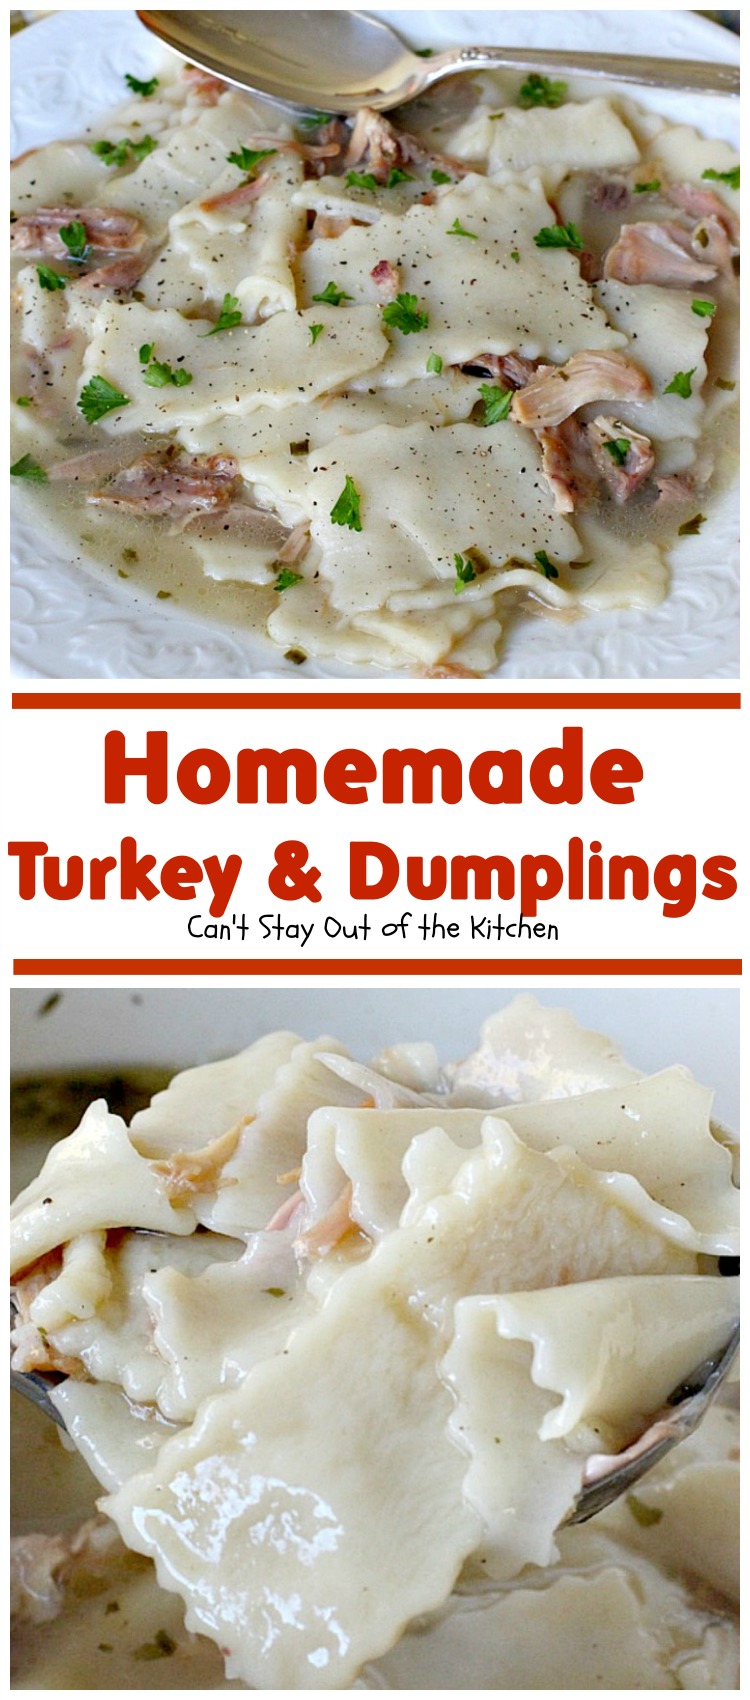
I like to purchase the really large turkeys so I have a lot of leftover meat to make things like Homemade Turkey Potpie, Homemade Turkey and Dumplings, or Harvest Turkey Salad with Cherry Vinaigrette.
Time to serve yourself up a slice of this delicious turkey. Tips For Preparing Holiday Turkey shows you step-by-step pictures to make holiday dinners easier and less overwhelming to prepare.

Bridled Noodles are always served with gravy made from the turkey juice and turkey broth. This is one of those traditional classic recipes that my husband’s family has been serving for over 50 years.
You may also enjoy these helpful posts!
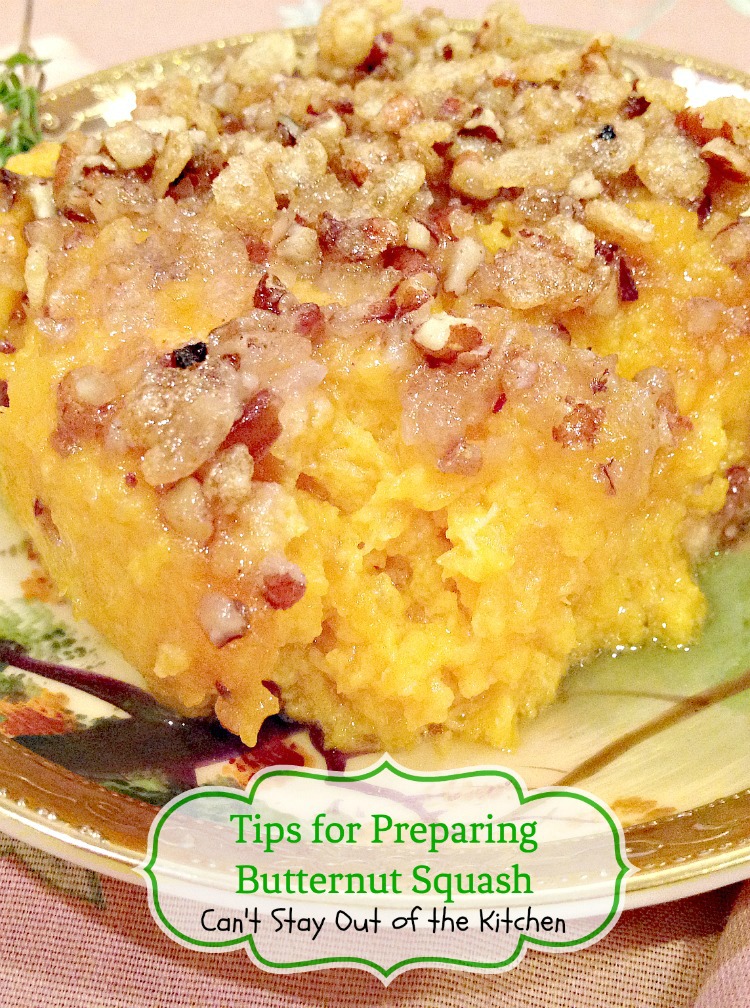
Tips for Preparing Butternut Squash
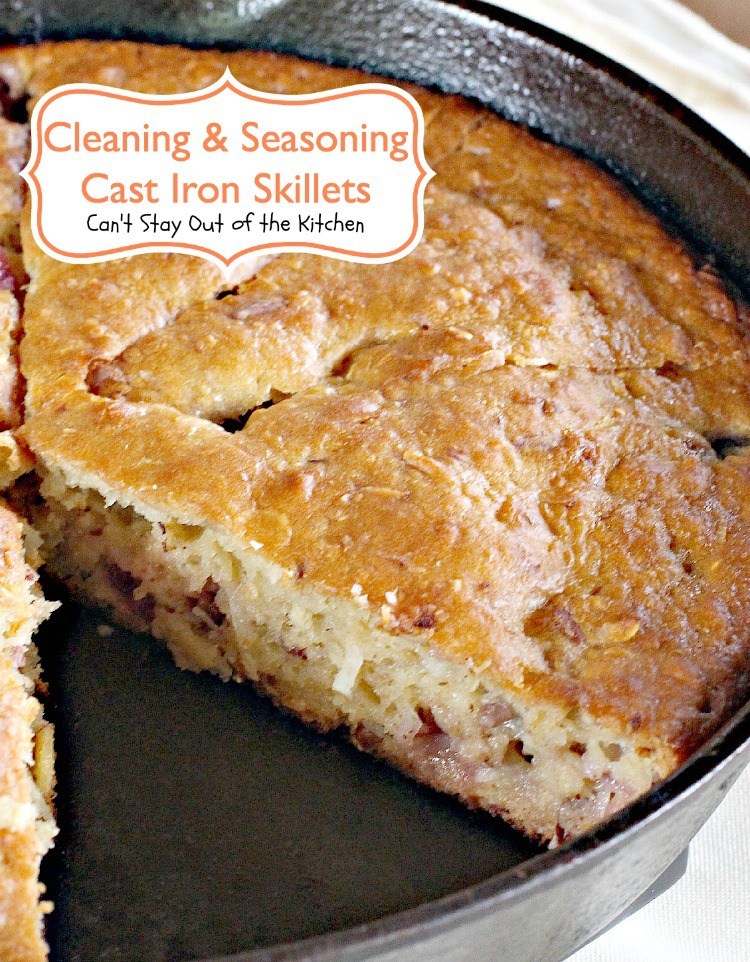
Cleaning and Seasoning Cast Iron Skillets
Tips for Preparing Holiday Turkey
Notes
© Can’t Stay Out of the Kitchen