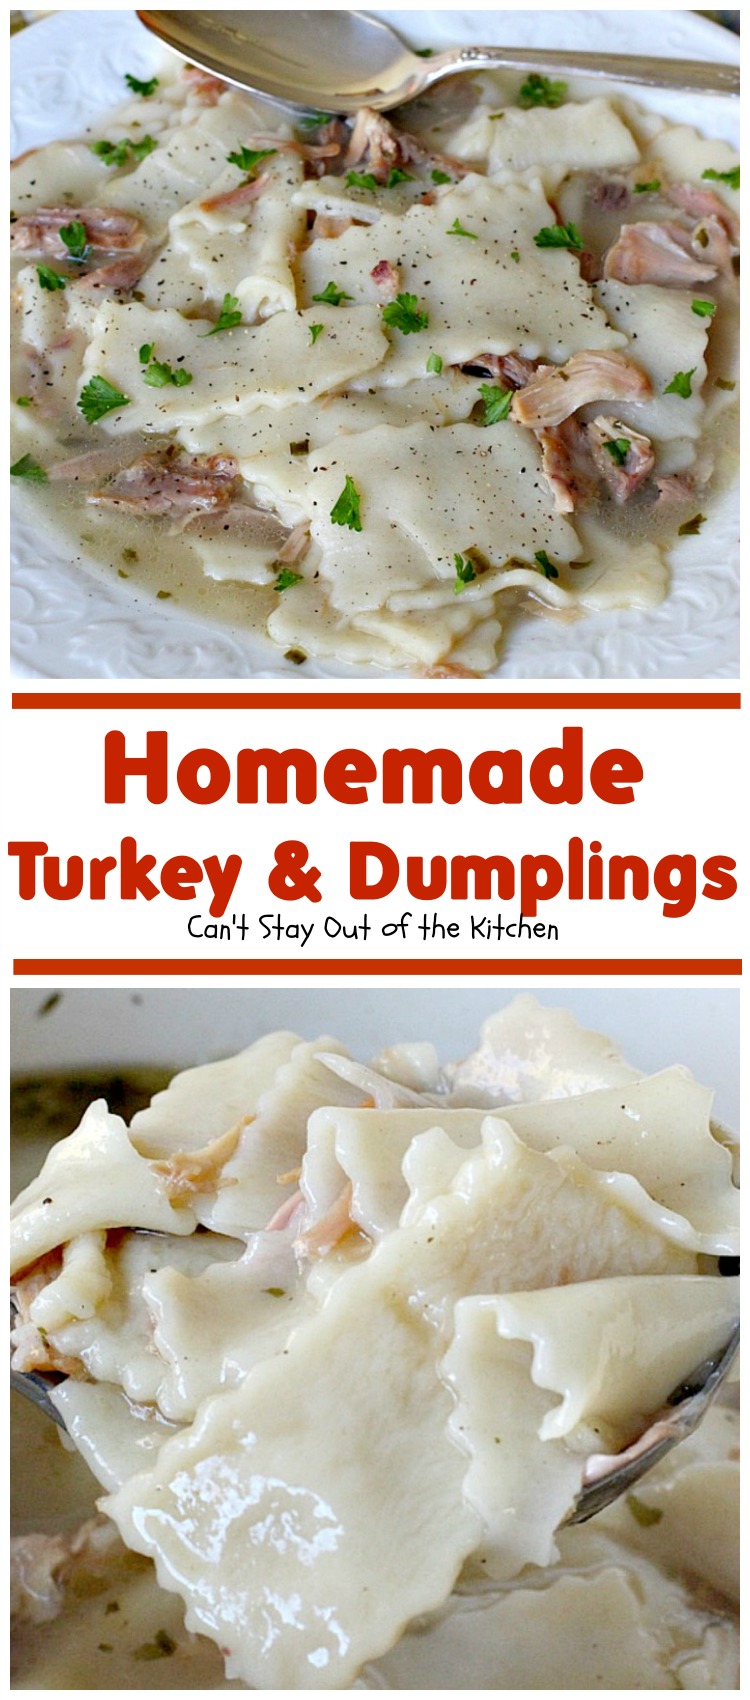
Homemade Turkey and Dumplings
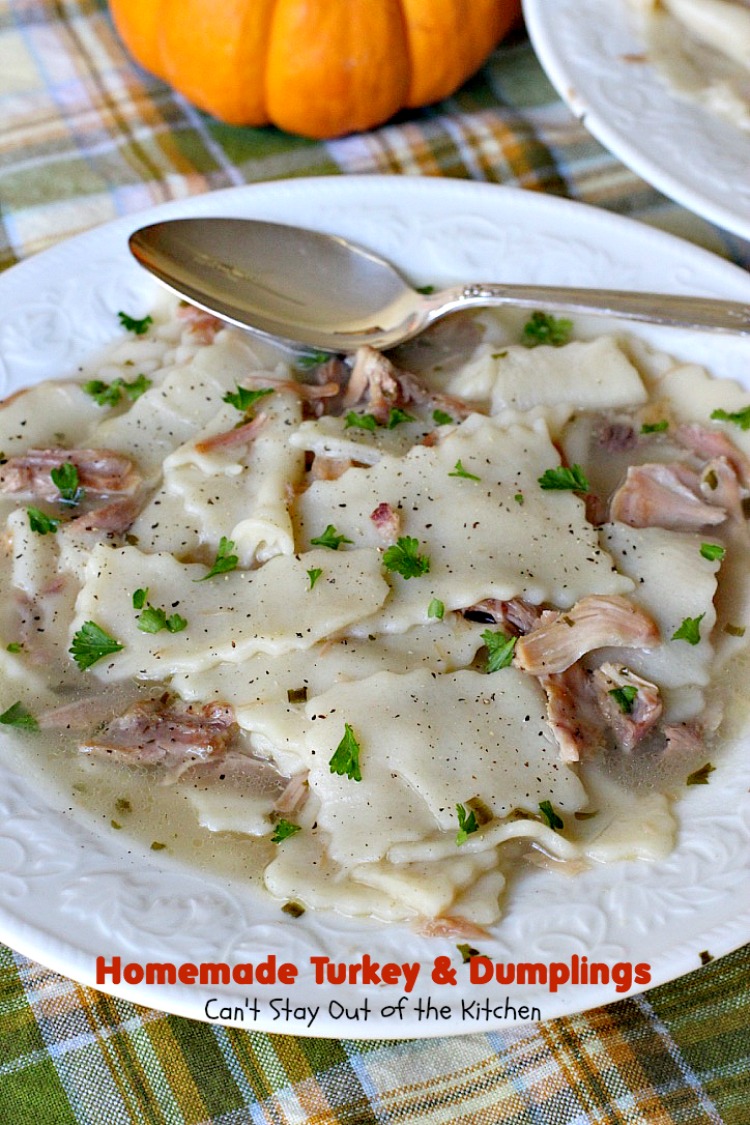
These Homemade Turkey and Dumplings are so tender, so delicious, so mouthwatering they melt in your mouth. We love Homemade Turkey and Dumplings or Homemade Chicken and Dumplings. I even have a gluten free version that’s incredible.
Follow Me On Instagram!
This dish has always been one of my kids’ favorite foods, too. Words don’t adequately describe what these wonderful dumpling noodles taste like after cooking on the stove with their own rich turkey broth and loaded with lots of turkey meat. This is a great way to use up leftover turkey, and I only used meat that was left on the carcass. It was still a lot of meat.
These are soft, pliable, noodles boiled until tender and seasoned with lots of salt and pepper. I like to add parsley and sometimes even diced carrots, onions, and celery (which my mom never did), but it adds a little zest if you want to change it up a little bit.
These egg noodles are just scrumptious and in every way superior to the canned chicken and dumplings you can buy off the shelf. I change things up a little for chicken and dumplings, but when you boil off a turkey carcass you get such a rich broth you don’t need to add anything else.
Unless you have actually made or tasted homemade noodles from scratch before you will never realize the inferior quality of store-bought pasta on the shelf. Homemade noodles are so tender and succulent whereas pasta made from huge machines is much tougher and can never attain the wonderful texture of hand kneading and rolling.
Using UNBLEACHED all-purpose flour also makes a difference. Bleached flour toughens any kind of baked goods, including homemade noodles and pasta.
I’ve done the best I can trying to take pictures of the process but, quite frankly, it is much easier to actually watch me do it and be with me in the kitchen so you can experience it yourself and so you can get the texture right. I use the same process anytime I knead rolls, bread, or noodles. It’s really not difficult, and once you get the motions down you will find it’s very good exercise for your shoulders and upper arms! 🙂
If you really want to learn how to make homemade noodles, pie crusts, breads, etc., and you are having difficulty learning on your own, find someone in your church, family, or extended social network who knows how to do it and shadow them! Ask them if you can come over to their home and watch them do it sometime.
I went to a ladies’ potluck last Sunday night at our church and found out one of the women there really loves making pies. Her crusts are beautiful. I told her I’d like to come over sometime and watch her do it. I know how to make pie! And, I know how to make homemade pie crusts really well.
But you can always improve your skills by watching and helping others. Making homemade noodles or dumplings, pie crusts and even homemade rolls and bread is almost a lost art these days. Centuries ago young girls learned from their mothers (which is how I learned, and my mother, and her mother before her).
If you don’t have a mom, sister, or other relative that knows how to make baked goods from scratch find someone who does and is willing to teach you. They can show you all kinds of tips that you’ll never pick up in a cookbook or even on a food blog.
I made 3 batches of the dumpling noodles since I had such a large amount of turkey and turkey broth after boiling off the carcass. It’s a great meal and comfort food to give away to those in need also. Most people enjoy this wonderful dish.
There really seems to be a dearth of those willing to expend the effort to make homemade noodles from scratch these days. Don’t be scared off into not trying your hand at homemade breads, noodles, or pie crusts. They really are not that difficult once you understand and get a feel for the texture.
We love Homemade Turkey and Dumplings. We love Chicken and Dumplings. Even though these can be a bit of work, this is a great way to use up a leftover turkey carcass or rotisserie chicken. If you are willing to give this a go, you will be so wonderfully surprised and what an amazing comfort food this delicious soup can be. It’s so hardy, sticks to the ribs, and is extremely economical if you don’t mind the tedious process of deboning the turkey and making noodles from scratch.
This fabulous recipe is from my mom with my adaptations. I have no idea where Mom got the recipe, but I think it was from her mother. My parents always referred to this as pot pie. But it really isn’t pot pie. It’s turkey or chicken and dumplings, or turkey and chicken and noodles–but not pot pie. Pot pie has a crust which this recipe doesn’t have. Regardless, you will love this recipe!
Homemade Turkey and Dumplings is a wonderful way to use up leftover holiday turkey.
Homemade Turkey and Dumplings are so tender and delicious. When you reheat this on the stove top or in the crockpot be careful not to overcook or heat the noodles at too high a temperature. They will eventually disintegrate and break apart if you do that.

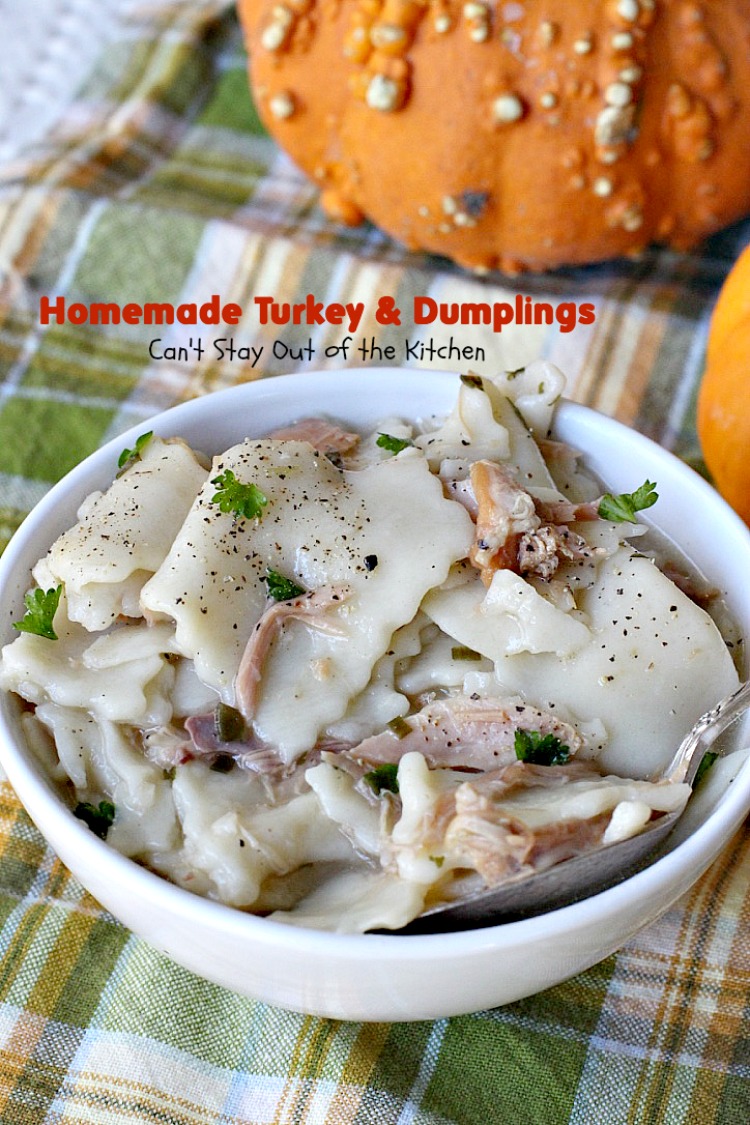
I like adding a little extra parsley and pepper to mine.
Here’s what I did.
Place the turkey carcass into a huge roaster pot. Add any leftover broth. Fill with water to cover the carcass. Sprinkle generously with salt and pepper. Cook down about four to five hours until turkey starts falling off the bones. Or cook in crockpot overnight if you have a small one. Debone turkey and place skimmed turkey broth and turkey meat in large kettle or stock pot.
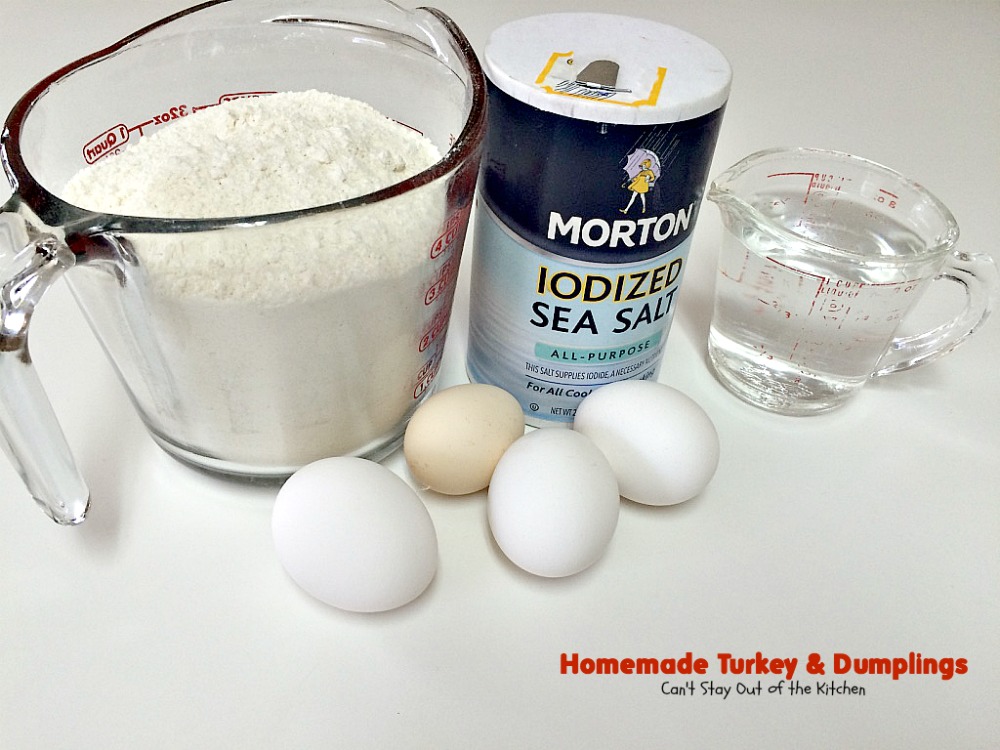
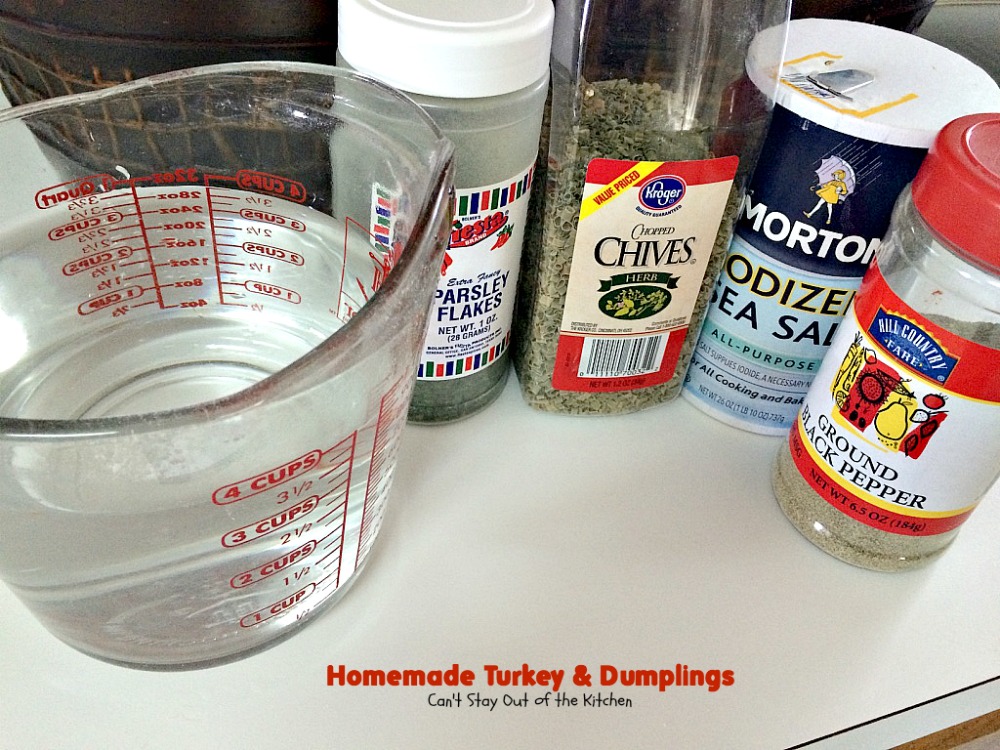
Meanwhile prepare noodles. I used these ingredients to make the dumpling noodles.
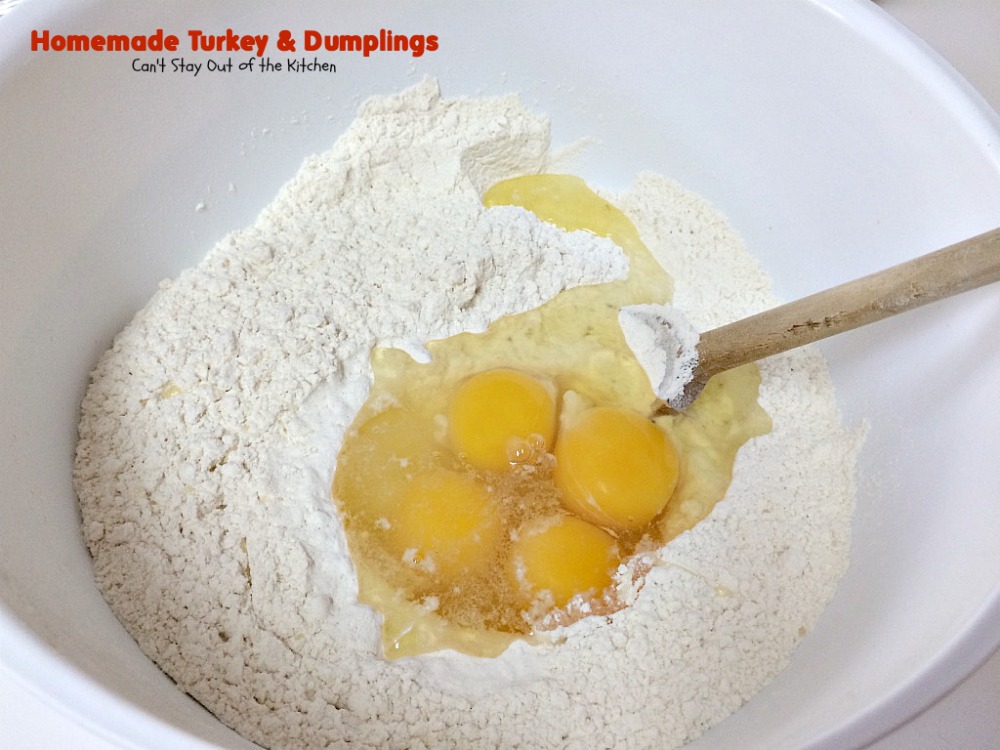
Place flour and salt in a mixing bowl and stir together. Add eggs. Stir to combine.
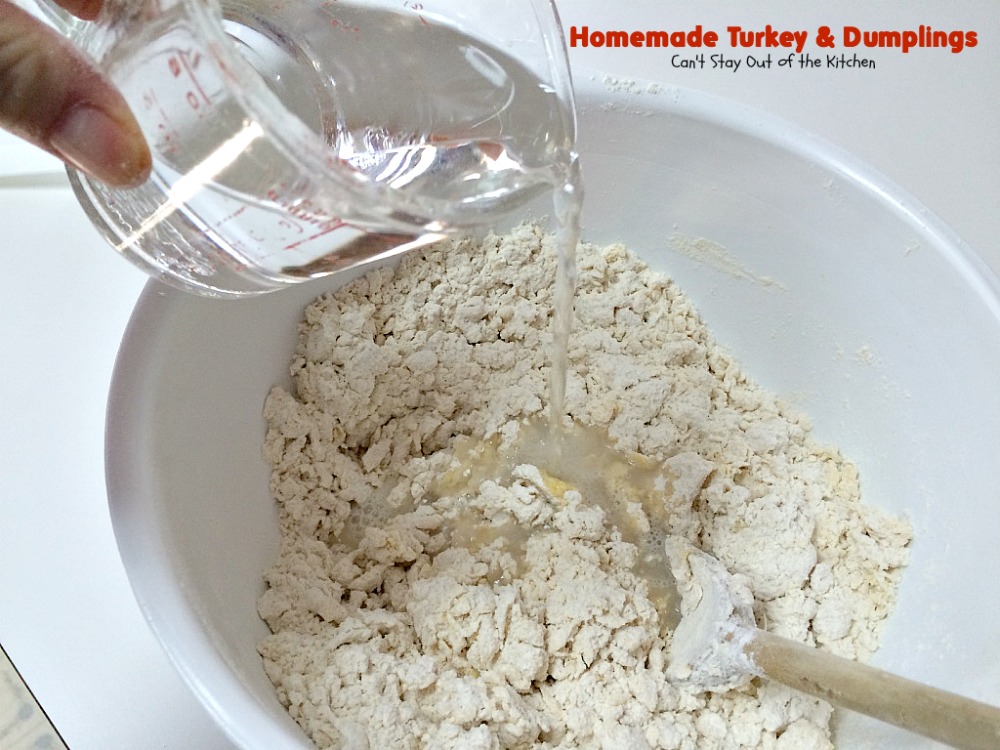
Add water and stir to combine.

The dough will be a little sticky at this point.
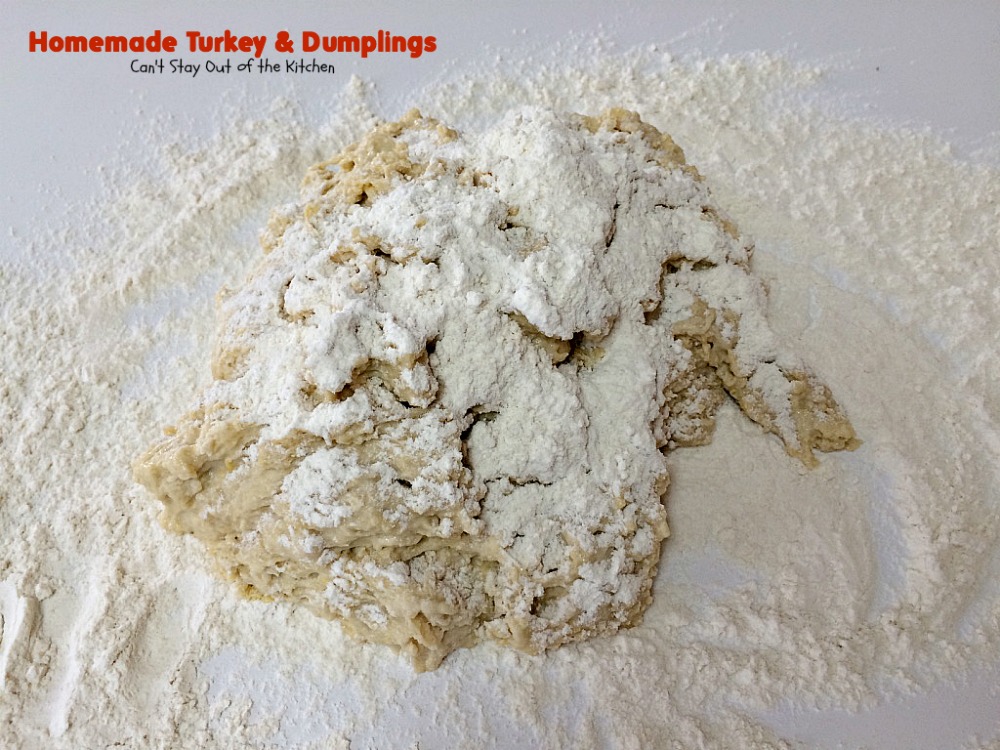
Very generously flour your kneading surface. Place dough on top of floured surface then cover with more flour.

Work some of the flour into the center of the dough. I like to spread my fingers and poke flour into the dough several times.

When you have enough flour worked into the dough, start kneading. Push with the heel of your right hand and sweep flour from the counter top under the bottom of the dough with your left hand. Then after sweeping the flour into the dough with your left hand, pull the dough forward with your left hand and push away with the heel of your right hand. It’s actually a gently rocking motion. I can normally do about 50 pushes and pulls per minute–really fast.

Here I’ve pulled the dough toward me. Every now and then I turn the dough completely over so I can work the underside of the dough. I also find that after about a minute or two, I have to change hands and reverse the process with the opposite hands. You learn to be very ambidextrous with this process.

Continue to push more flour into the dough and work it into the dough. The object is to get the dough so it’s not sticky. You work in as much flour as necessary to get it to that point.

As I’m getting close to finishing the dough, I push more flour into the center of the dough with my fingers. This speeds up the process and helps the dough get to the point where it’s no longer sticky. Continue kneading until dough is smooth.
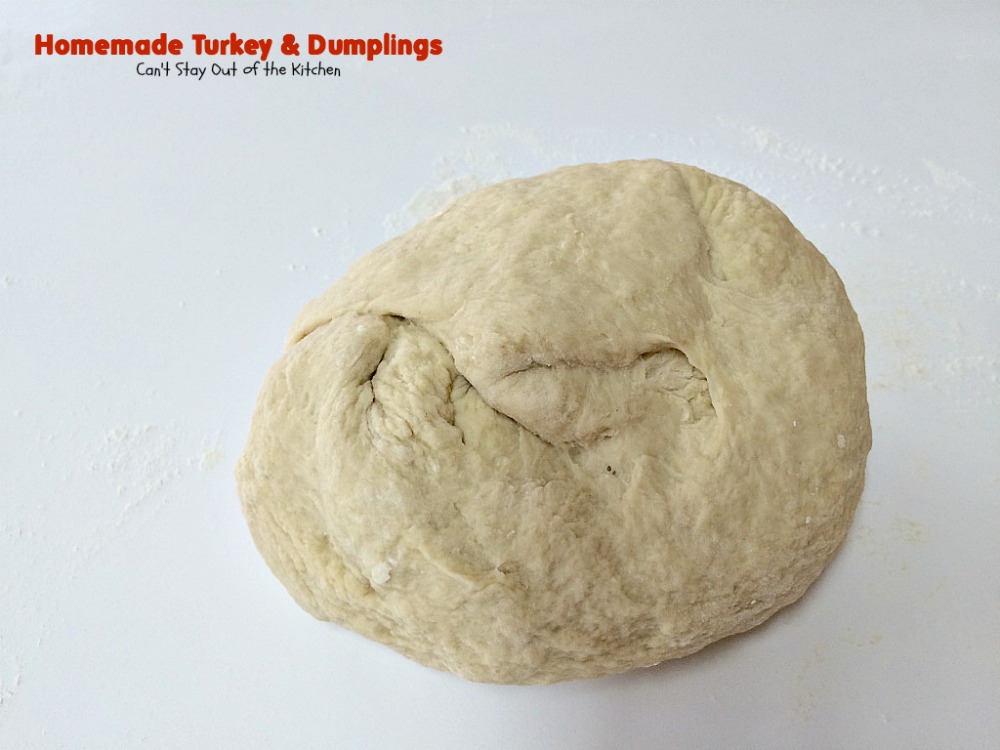
Here the dough is done. Rest dough for 10 minutes.

I made a double batch of dough so I quartered the dough.
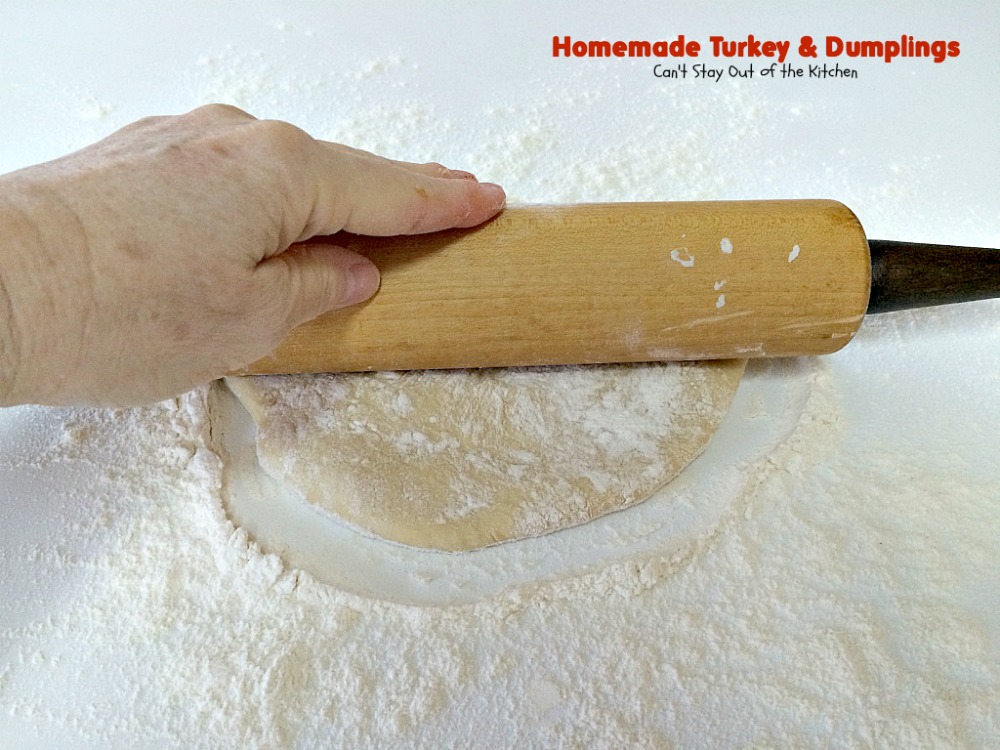
Generously flour your surface. Roll out dough from the middle in each direction.

Roll each ball of dough out into a large thin round. Be sure you have PLENTY of flour beneath your dough. Otherwise the dough will stick when you’re ready to put it into the broth.

Cut dough in strips with a pastry cutter as evenly as possible.

Cut in both directions. Allow dough to dry at least one hour.
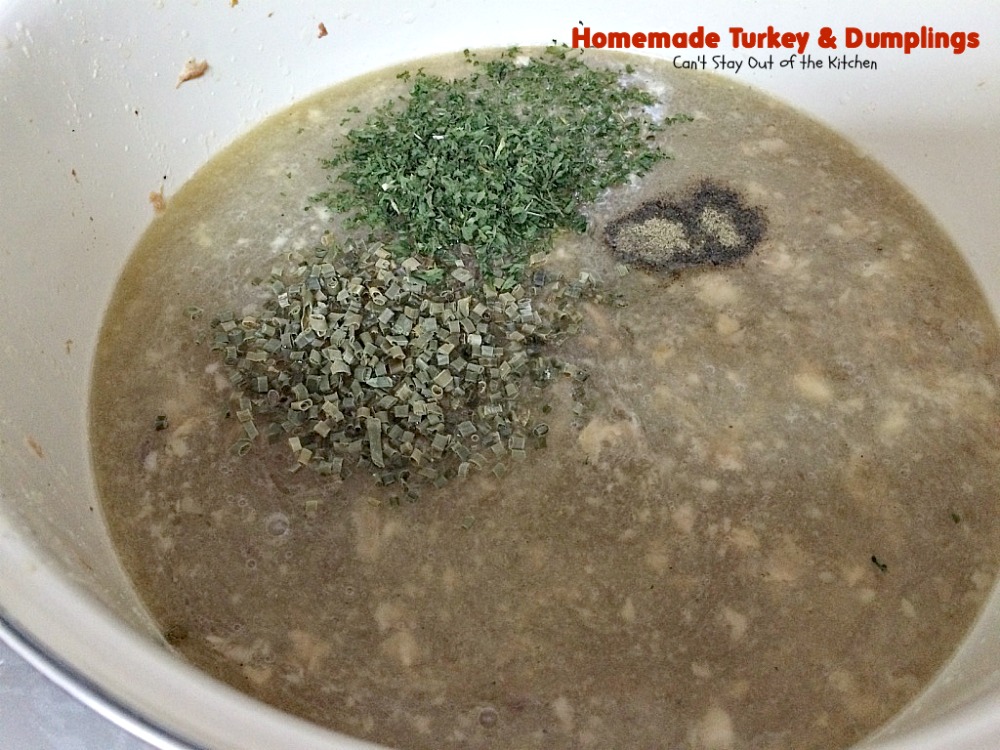
I like adding salt, pepper, and parsley to my turkey and dumplings, or chicken and dumplings. I’ve also added chives.
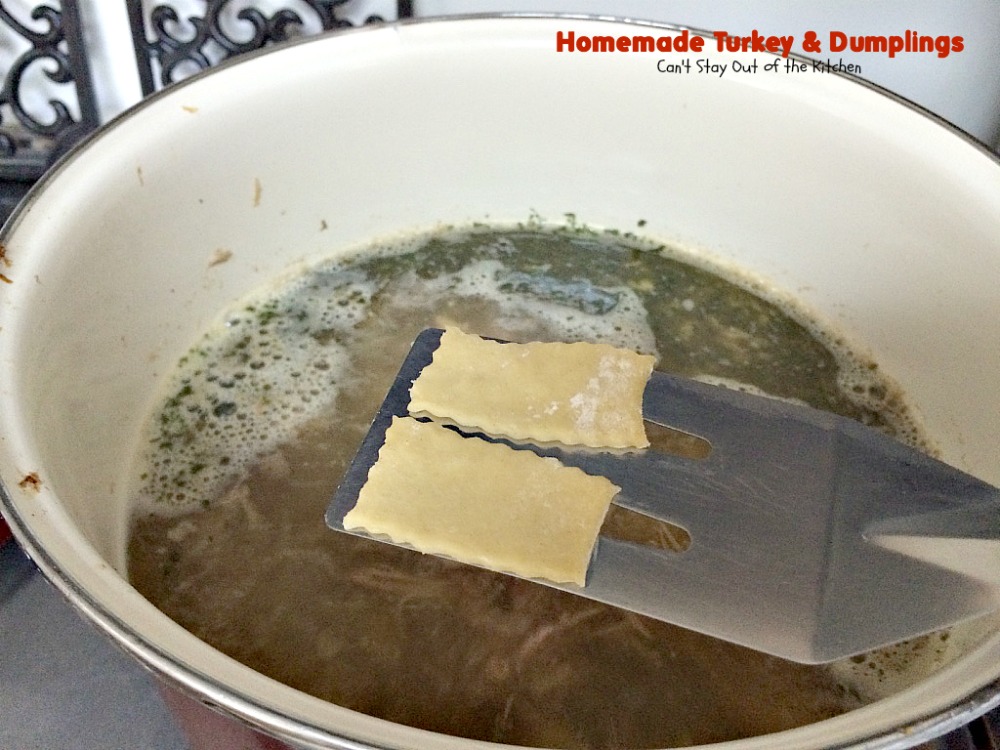
Add dumpling noodles to boiling broth. Cover with lid and cook until noodles are no longer gummy. Depending on how big your pot is, and how many batches of noodles are in the broth, this may take between 30 minutes and an hour.
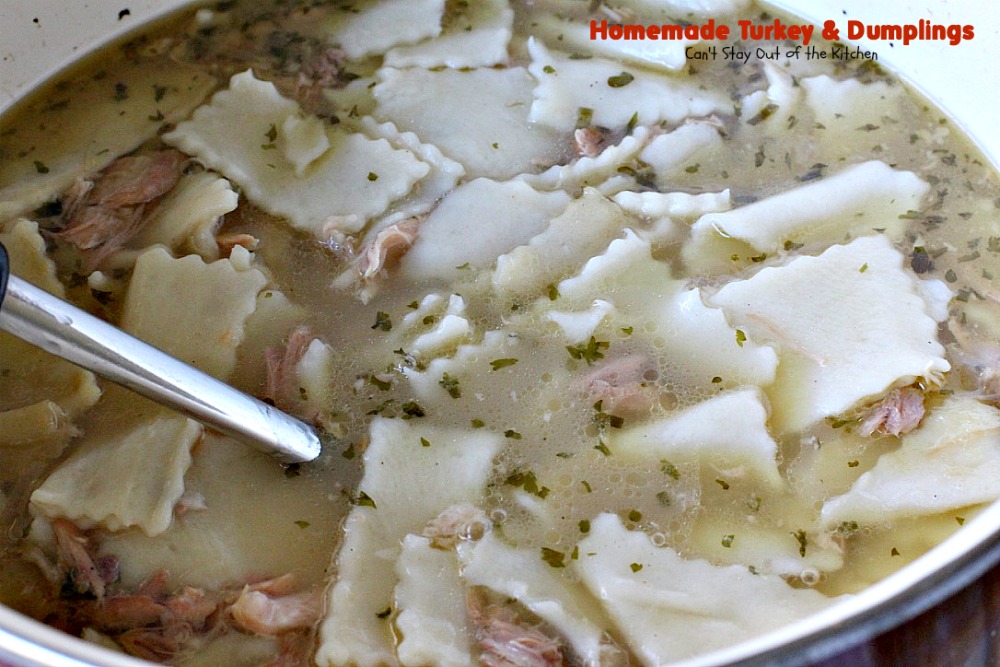
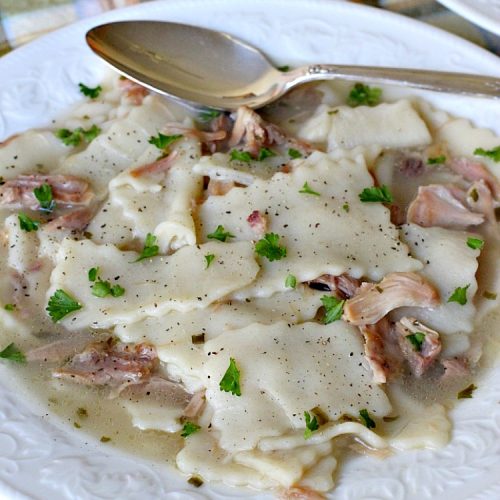
When I’m cooking multiple batches like this it takes a good 45-60 minutes to get all of the noodles cooked. Sometimes even longer. This is the best picture of what these dumpling noodles truly look like after cooking. Once the dumplings are refrigerated they thicken a lot more and you have to add a little water to reheat them. You can thicken the dumplings a little with a paste made with flour and water, but if you have plenty of flour on the noodles you won’t usually have to do this. I didn’t do it at all.
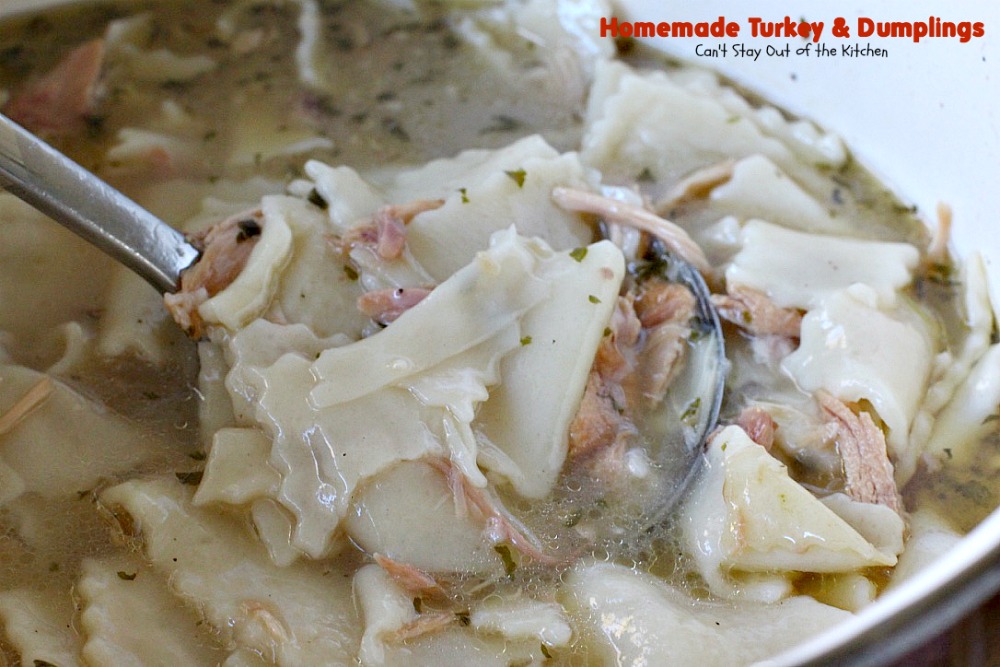
Homemade Turkey and Dumplings are heavenly.
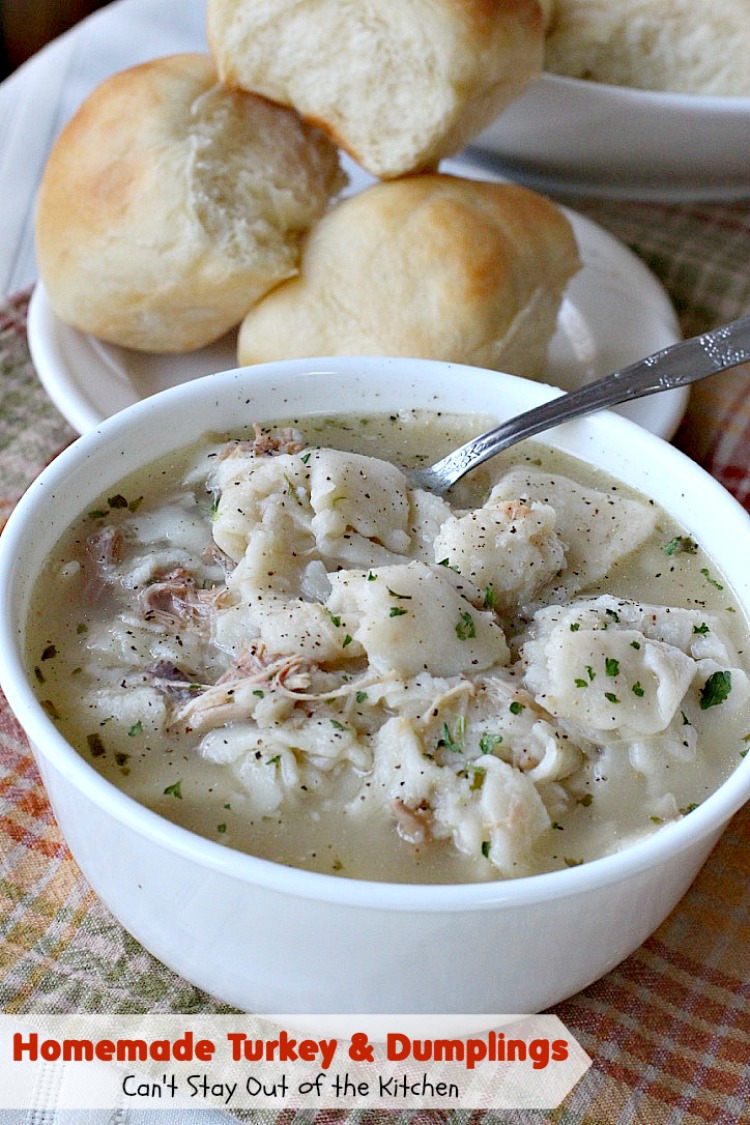
Here’s a bowl of Homemade Turkey and Dumplings. I like mine with extra parsley, salt, and pepper.
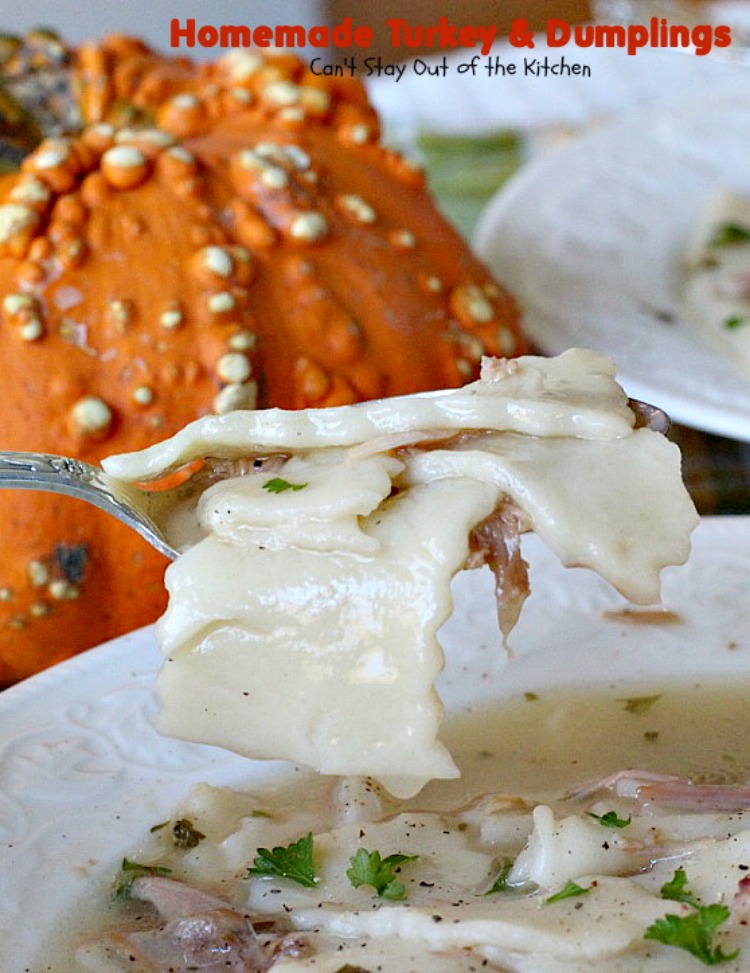
Every bite of Homemade Turkey and Dumplings is mouthwatering.
Here’s the recipe.
HOMEMADE TURKEY AND DUMPLINGS
(Recipe adapted from my mom, Helen Mattis as given to my sister, Phillis Gleason, Colorado Springs, CO)
Homemade Turkey and Dumplings
Equipment
- 1 extremely large stock pot large enough to hold a turkey carcass
- 1 large stirring spoon or wooden spoon
- 1 large soup ladle
- 1 daisy wheel pastry cutter to cut the noodles in a zig-zag fashion
- 1 large mixing bowl
- 1 Rolling Pin
- measuring cups
- measuring spoons
Ingredients
HOMEMADE TURKEY AND DUMPLINGS
- 1 leftover turkey carcass with enough meat to yield 4-6 cups meat
- enough water to fill your stockpot while cooking the turkey
- salt, pepper and parsley to taste
- 2-3 batches homemade egg noodles
EGG NOODLES:
- 2 cups UNBLEACHED all-purpose flour bleached flour toughens baked goods
- 2 large eggs
- 2 tsp. salt
- 1/4 to 1/2 cup water
Instructions
HOMEMADE TURKEY AND DUMPLINGS:
- Place turkey carcass in huge sauce pot.
- Fill with water as far as possible, but not so full that the broth will overflow while cooking.
- Sprinkle heavily with salt and pepper.
- Allow turkey to cook on medium heat for several hours until meat starts to fall off the bones.
- Allow turkey to cool about an hour before deboning.
- Skim the broth well to remove all bones, fat, gristle and meat. Separate.
- Reserve broth.
- Discard bones, fat and gristle.
- Debone turkey.
EGG NOODLES:
- Mix together and add water as needed to make dough for a ball.
- Turn dough on a well-floured board and knead until smooth and elastic.
- Cover, let rest 10 minutes.
- Divide in half.
- Roll out flat and thin and using pastry cutter, cut dough into 1 to 2” squares.
- Let dry for about 1 hour.
- Place dumpling noodles one at a time into rapidly boiling broth with turkey meat added back in.
- Use a fork to make room to drop each square in after all noodles have been added.
- Lower temperature and cover with lid; dumplings are usually done in about 30-45 minutes.
- If necessary, add enough flour and water paste to thicken broth a little and simmer or serve.
- Season with more salt, pepper and parsley, as desired.
Notes
© Can’t Stay Out of the Kitchen
Nutrition
- 1 leftover turkey carcass, with enough meat to yield 4-6 cups meat
- enough water to fill your stockpot while cooking the turkey
- salt, pepper and parsley to taste
- double or triple batch of egg noodles
- Place turkey in huge saucepot.
- Fill with water as far as possible, but not so full that the broth will overflow while cooking.
- Sprinkle heavily with salt and pepper.
- Allow turkey to cook on medium heat for several hours until meat starts to fall off the bones.
- Allow turkey to cool about an hour before deboning.
- Skim the broth well to remove all bones, fat, gristle and meat. Separate.
- Reserve broth.
- Discard bones, fat and gristle.
- Debone turkey.
- 2 cups UNBLEACHED all-purpose flour (bleached flour toughens baked goods)
- 2 eggs
- 2 tsp. salt
- ¼ to ½ cup water
- Mix together and add water as needed to make dough for a ball.
- Turn dough on a well-floured board and knead until smooth and elastic.
- Cover, let rest 10 minutes.
- Divide in half.
- Roll out flat and thin and using pastry cutter, cut dough into 1 to 2” squares.
- Let dry for about 1 hour.
- Place one at a time into rapidly boiling broth with turkey meat added back in.
- Use a fork to make room to drop each square in after all noodles have been added.
- Lower temperature until dumplings are done about 30-45 minutes.
- If necessary, add enough flour and water paste to thicken broth a little and simmer or serve.
- Season with more salt, pepper and parsley, as desired.

You just can’t beat homemade egg dumpling noodles. No store bought brand can match these for tenderness, taste, or enjoyment.

This recipe is so succulent and delectable you won’t be able to stop eating! A-M-A-Z-I-N-G!!!

Homemade Turkey and Dumplings is one of the best soup recipes you will ever eat!
You may also enjoy these delicious recipes!
Homemade Chicken and Dumplings

Homemade Turkey and Dumplings
Equipment
- 1 extremely large stock pot large enough to hold a turkey carcass
- 1 large stirring spoon or wooden spoon
- 1 large soup ladle
- 1 daisy wheel pastry cutter to cut the noodles in a zig-zag fashion
- 1 large mixing bowl
- 1 Rolling Pin
- measuring cups
- measuring spoons
Ingredients
HOMEMADE TURKEY AND DUMPLINGS
- 1 leftover turkey carcass with enough meat to yield 4-6 cups meat
- enough water to fill your stockpot while cooking the turkey
- salt, pepper and parsley to taste
- 2-3 batches homemade egg noodles
EGG NOODLES:
- 2 cups UNBLEACHED all-purpose flour bleached flour toughens baked goods
- 2 large eggs
- 2 tsp. salt
- 1/4 to 1/2 cup water
Instructions
HOMEMADE TURKEY AND DUMPLINGS:
- Place turkey carcass in huge sauce pot.
- Fill with water as far as possible, but not so full that the broth will overflow while cooking.
- Sprinkle heavily with salt and pepper.
- Allow turkey to cook on medium heat for several hours until meat starts to fall off the bones.
- Allow turkey to cool about an hour before deboning.
- Skim the broth well to remove all bones, fat, gristle and meat. Separate.
- Reserve broth.
- Discard bones, fat and gristle.
- Debone turkey.
EGG NOODLES:
- Mix together and add water as needed to make dough for a ball.
- Turn dough on a well-floured board and knead until smooth and elastic.
- Cover, let rest 10 minutes.
- Divide in half.
- Roll out flat and thin and using pastry cutter, cut dough into 1 to 2” squares.
- Let dry for about 1 hour.
- Place dumpling noodles one at a time into rapidly boiling broth with turkey meat added back in.
- Use a fork to make room to drop each square in after all noodles have been added.
- Lower temperature and cover with lid; dumplings are usually done in about 30-45 minutes.
- If necessary, add enough flour and water paste to thicken broth a little and simmer or serve.
- Season with more salt, pepper and parsley, as desired.