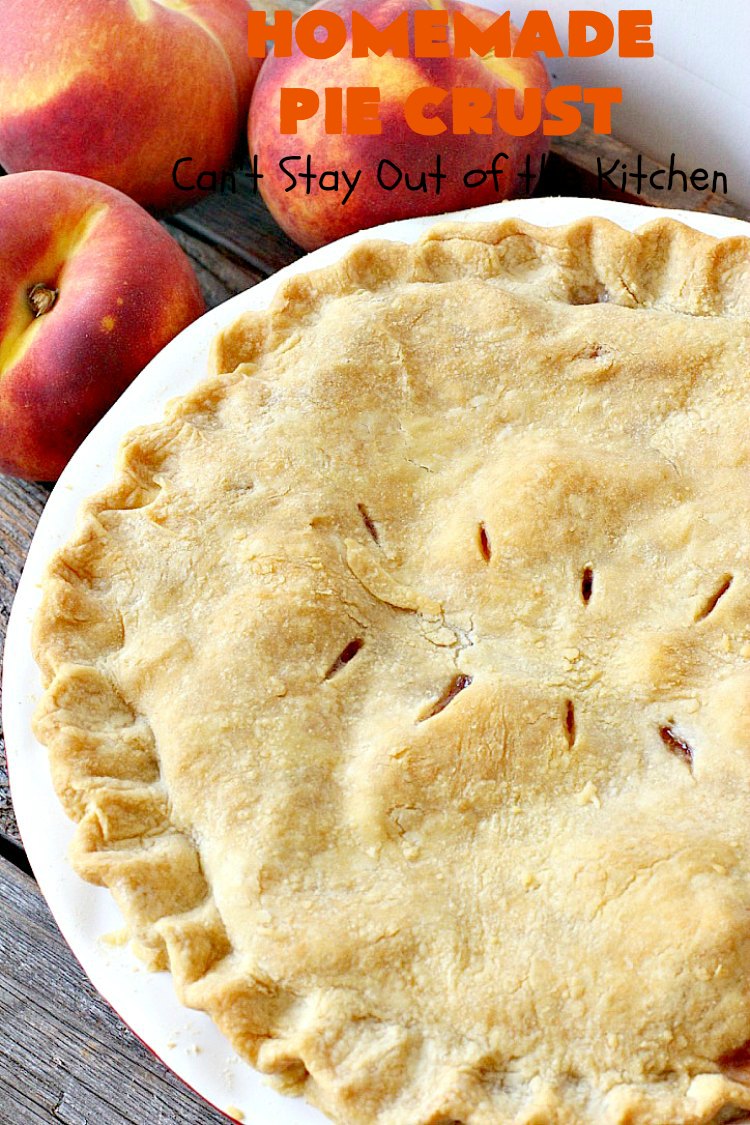
Homemade Pie Crust
Homemade pie crust doesn’t have to be difficult or intimidating! Once you learn the texture you need to achieve you can have a perfect pie crust every time! Pie crust making is almost a lost art these days. There are few of us left who actually make our own pie crusts any more. But once you taste a really, wonderful, flaky pie crust you will be spoiled, and won’t want the tough frozen pie shells you get at the store!
Follow Me On Instagram!
Long after I was gone from home I came back and asked my mom to show me how to make homemade pies. Mom could whip up a pie crust in five minutes or less. I’m not kidding! And she used to blend it with her finger tips rather than using a pastry blender. Her pie crusts were to die for! I mean it. They were amazing. Even people who weren’t crazy about pie loved my mom’s wonderful fruit pies.
Mom had two secrets to making a good pie crust. First, don’t overwork the dough. I say this all the time when making cookies or cakes. While technology is good to a point, using an electric mixer at some stages toughens baked goods. That’s why store bought pie crust is tougher and not as flaky as a homemade crust that has been worked by hand.
So when you are mixing the ingredients, mix with a light hand just until all the dry ingredients are incorporated but then STOP! Don’t keep messing around with the dough. Also, if you have to re-roll the dough (because you failed to use enough flour when rolling out) it will be tougher the second go-around. Second, Mom always used baking powder when making her pie crusts. I’m convinced that’s why my pie crusts turn out so flaky.
Making pie crusts well is a work of art. If you really want to master pie making I recommend you make a pie 2 or 3 times a week for several weeks or even months until you finally master it. One old cookbook I had recommended baking one every day for two weeks. At the end of that time you would know how to make a really good pie crust. The repetition and even the disasters all aid in the learning process.
Once you get it, you won’t forget. Last week I made a homemade pie crust for a turkey pot pie and a Kentucky Derby Pie. I hadn’t made homemade pie crust in over 3 1/2 years since I started eating healthier. I didn’t measure anything and I think it was the flakiest best pie crust I had ever made!
I have a basic guide that I go by, and I make the crust according to texture. Once I achieve that texture, I’m ready to roll out the dough. But so you won’t get freaked out, I’ve given a basic recipe guide to go by.
There are a lot of pictures in this post so you have a good guide and step-by-step directions on how to make the best pie crust you’ll ever eat! Let me let you in on another secret for baking good fruit pies: I ALWAYS bake my pies in a slow oven – 300 degrees.
Sometimes they take 3 hours to bake! But they are cooked all the way through. Many recipes tell you to bake a pie at high temperatures. The crust gets brown and when you cut into the pie it’s soupy inside. WRONG! That’s not how to make a really delicious pie.
The secret is to cook the pie long enough that the fruit juices thicken significantly. When you cut into the pie there shouldn’t be a big mess. Usually after two hours I tent the pie with foil if it still isn’t bubbling up thick through the slits or lattice crust of the pie.
My pies may not be the most visually beautiful in presentation (because I wait until the juices bubble up to the top and they are thick). But I guarantee if you try one of these with Mom’s Homemade Pie Crust you will find them heavenly! And certainly one of the best pies you’ve ever sunk your teeth into. The key is cooking them long enough and in a slow oven. Enjoy.
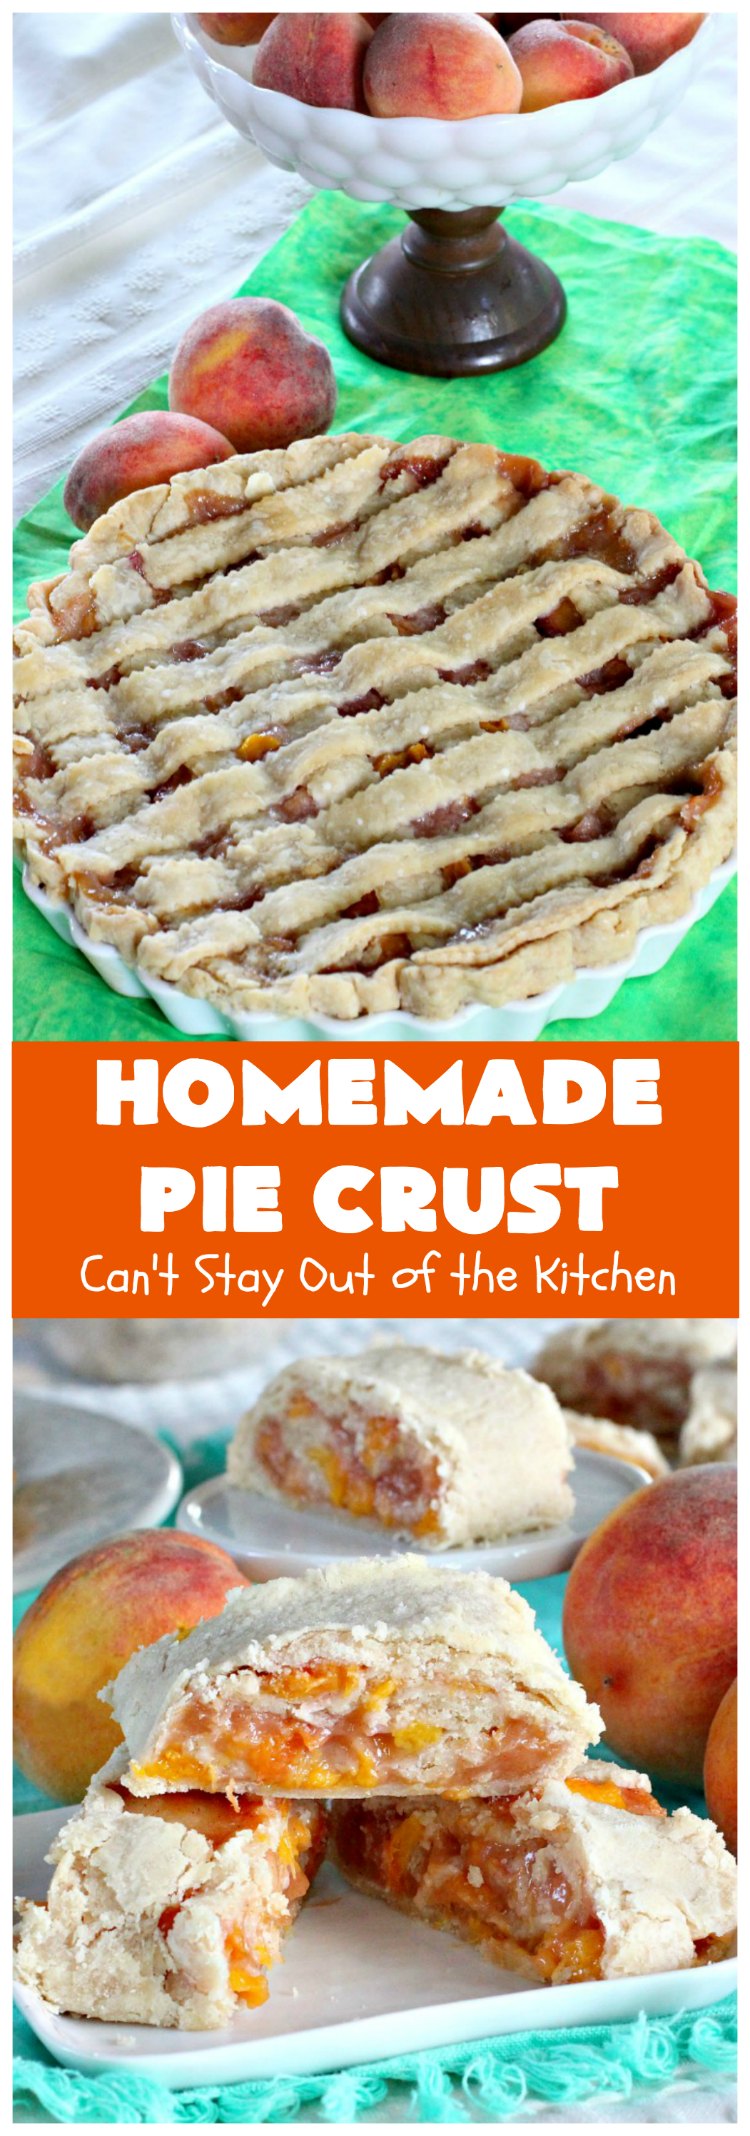
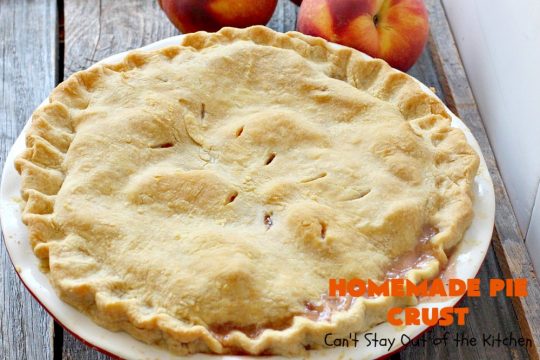
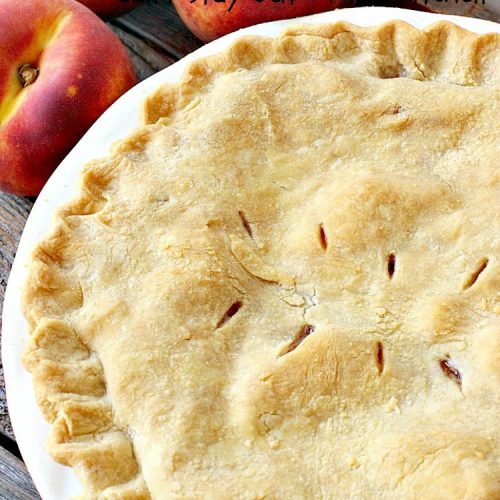
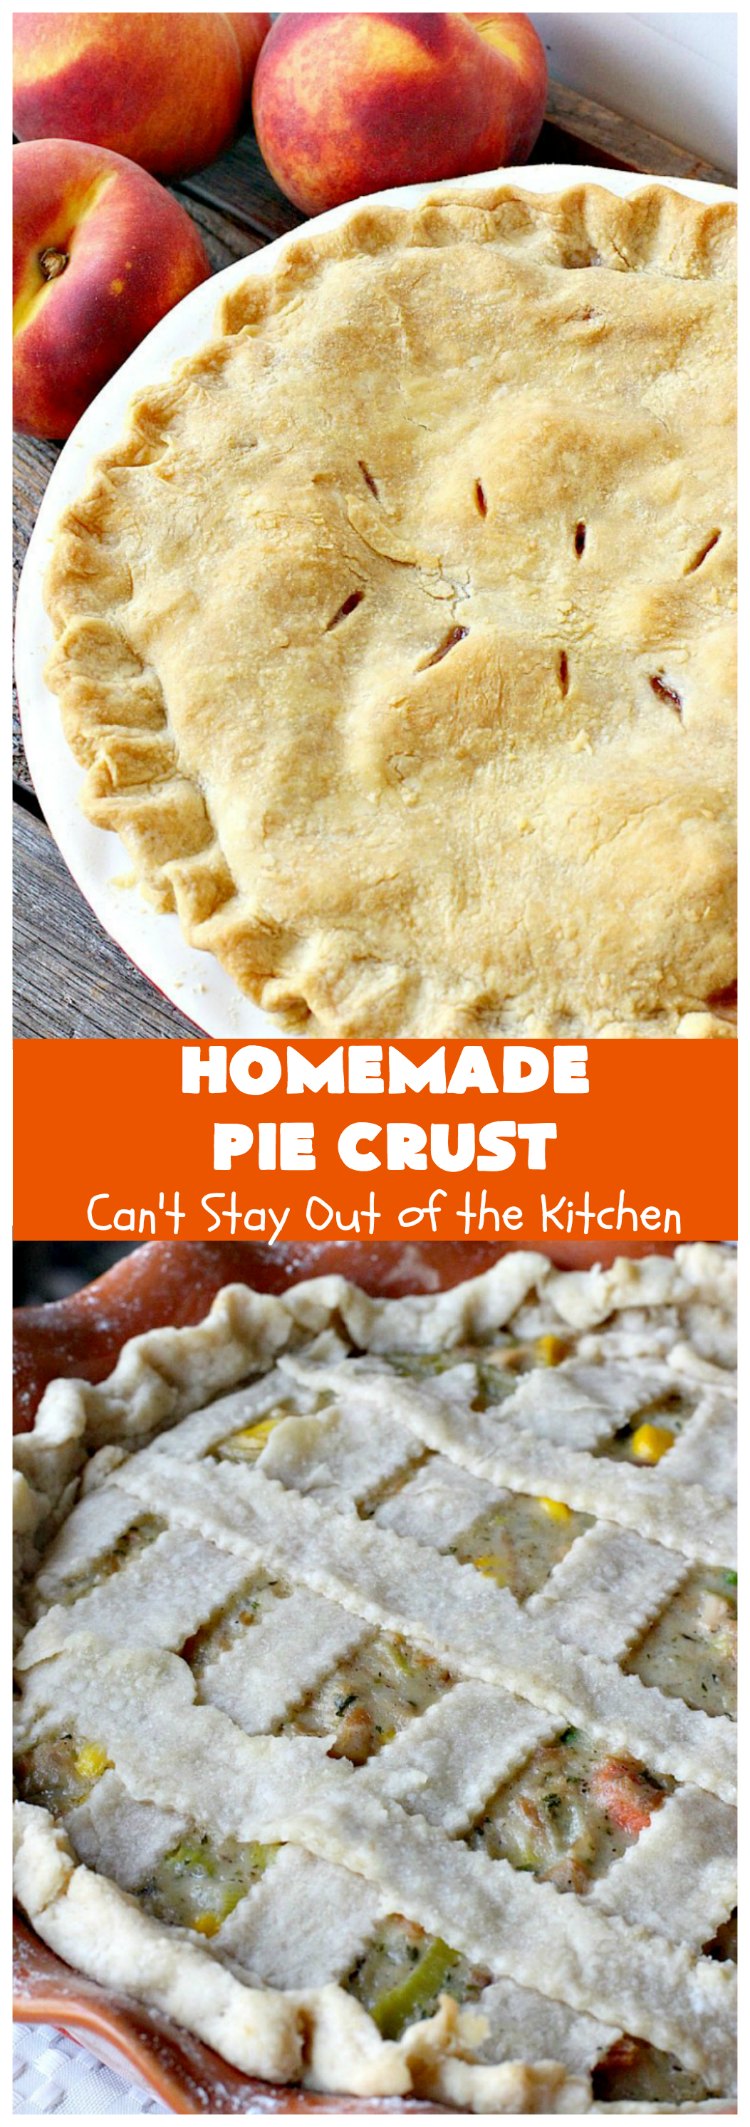
Homemade Pie Crust can be a very satisfying experience once you get the hang of the texture. This is a picture of Mom’s Peach Pie recipe, circa July 2014.
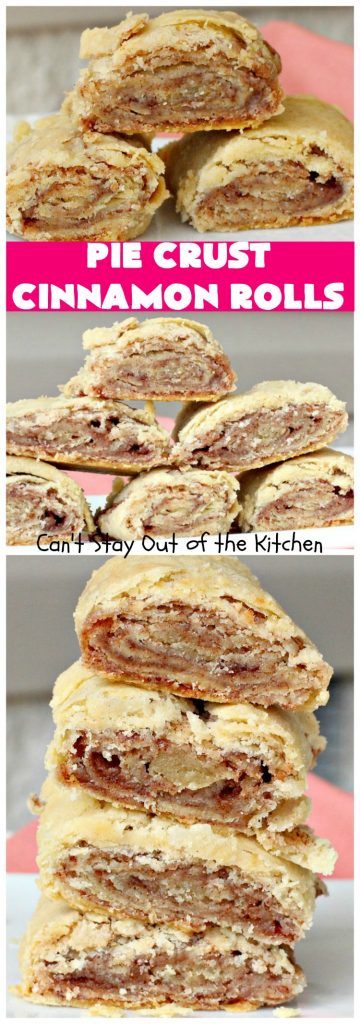
We had just harvested bushels of peaches from our backyard and Homemade Peach Pie was on the menu! This picture shows a lattice crust but not a woven lattice crust. I also made Peach Pie Crust Cinnamon Rolls out of the Homemade Pie Crust.

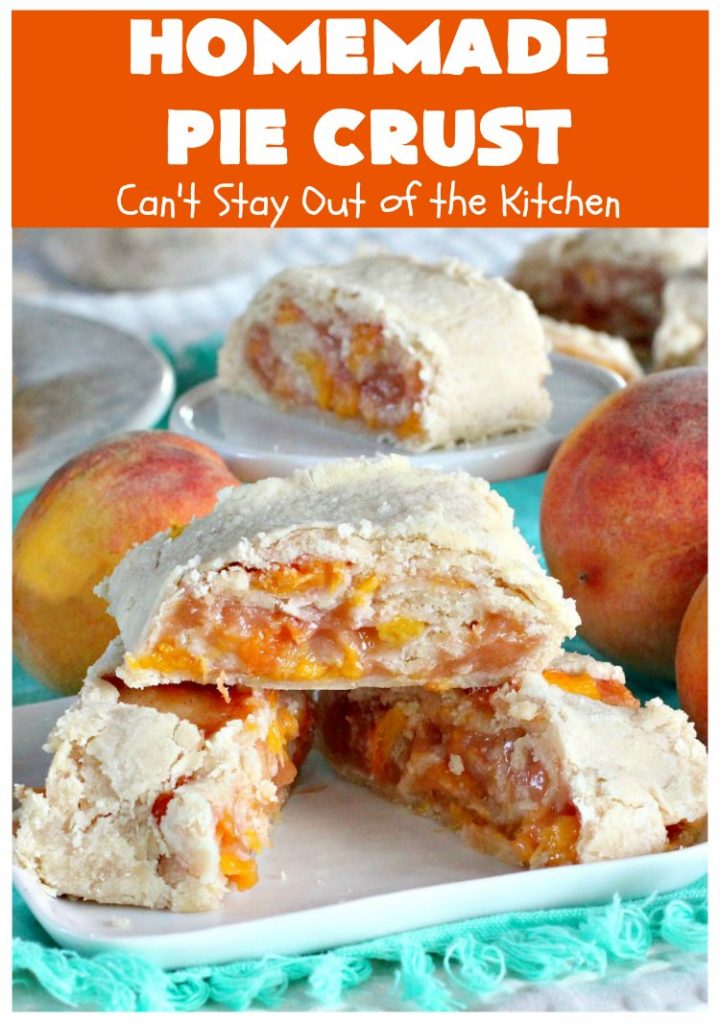
Favorite peach pie is another way to make Peach pie. This one uses two pie crusts.
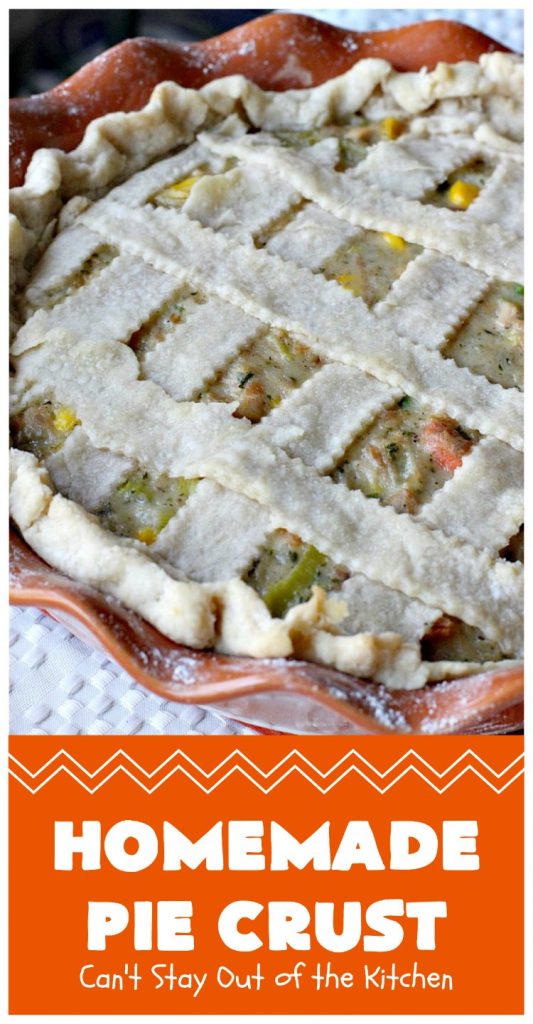
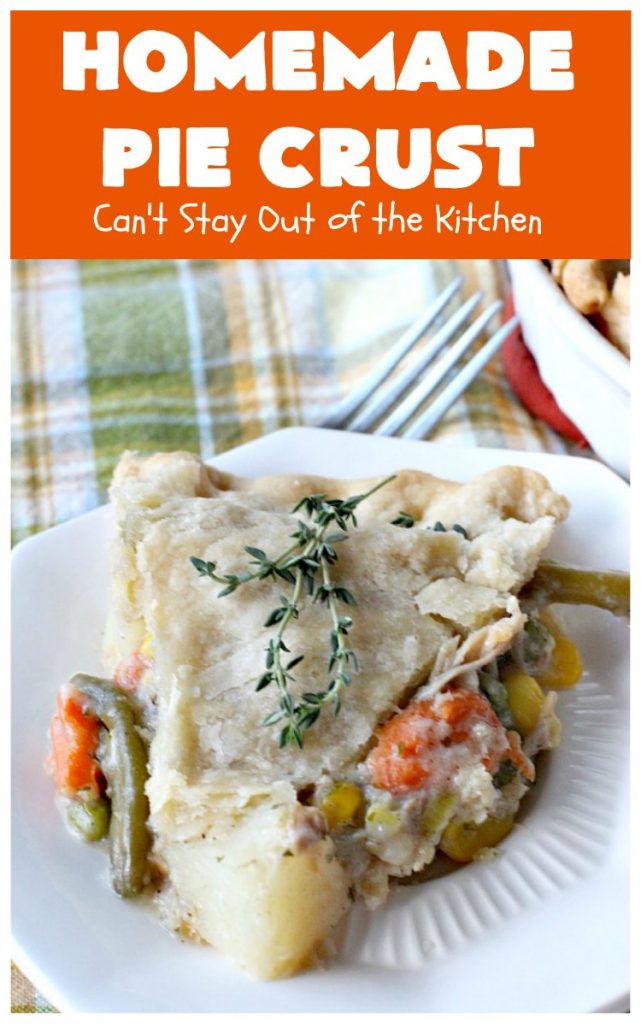
This is a Homemade Turkey Pot Pie. Instead of a top crust, it has an easy lattice crust. Homemade Pie Crust is fantastic for savory recipes too.
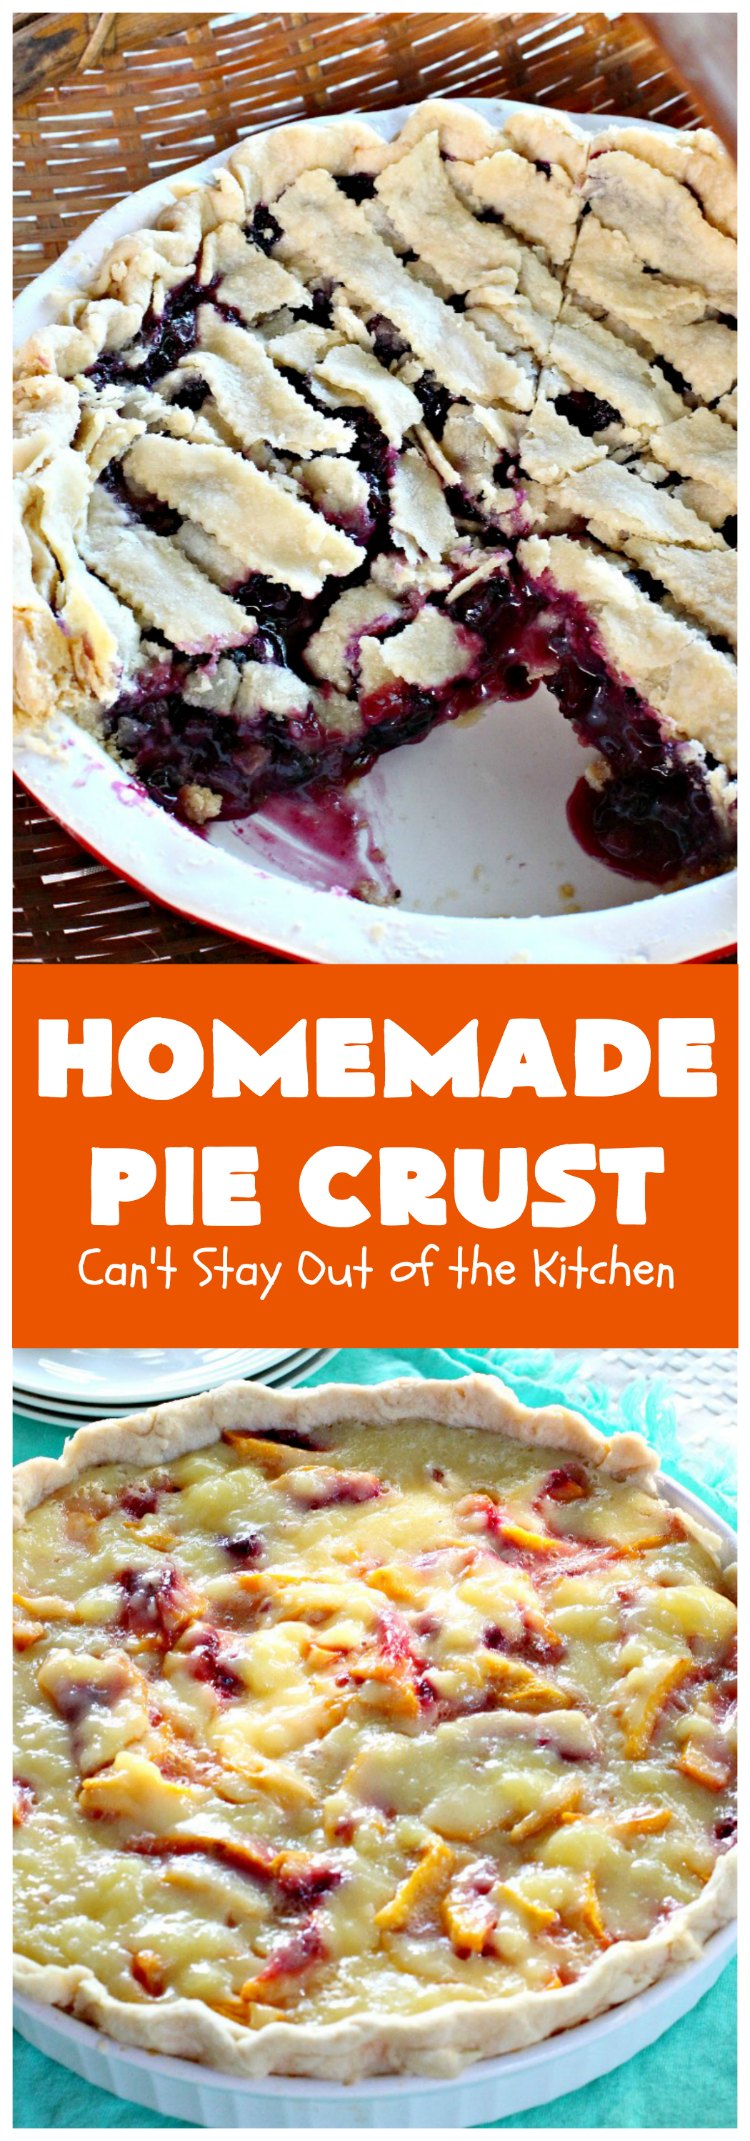
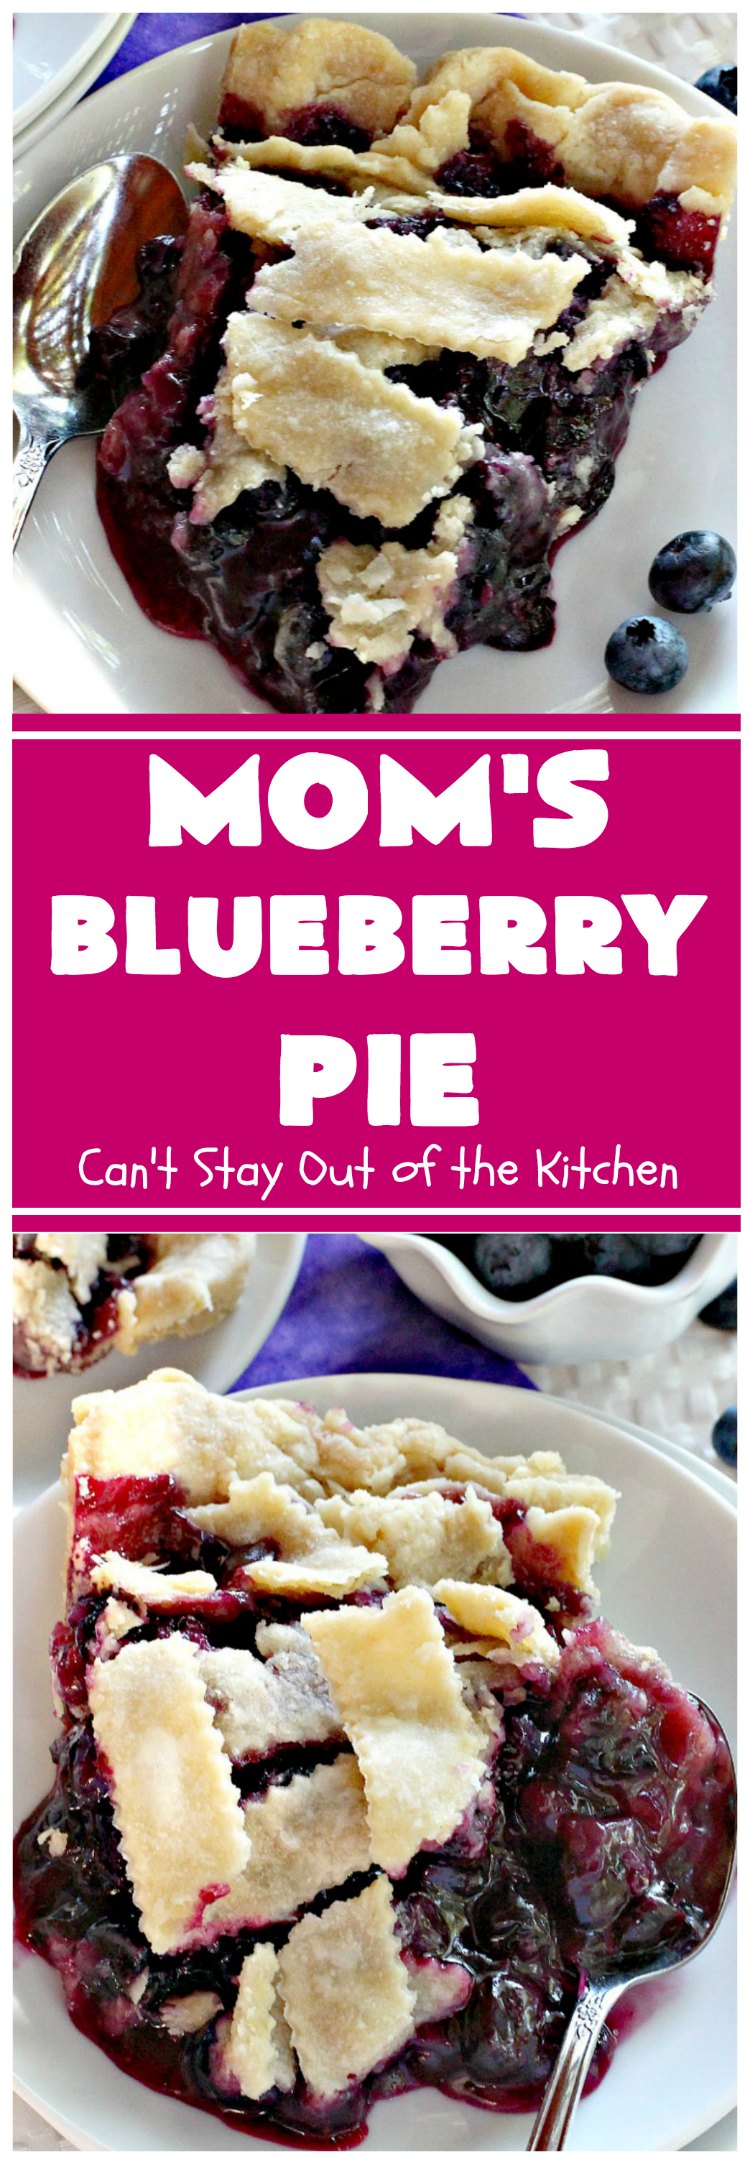
The top picture is Mom’s Blueberry Pie. Mom always recommended I bake a pie at 300 degrees and let it cook as long as it takes to finish it. Sometimes 2-3 hours if it’s a big deep dish like this pan.
Once the juices bubble up thickly through the slits, the pie is done. If the crust starts getting browned I tent the crust with foil to avoid browning the crust. When cooking berry pies you must wait until the juices get thick or when you cut into the pie it will run all over the place. Yikes!
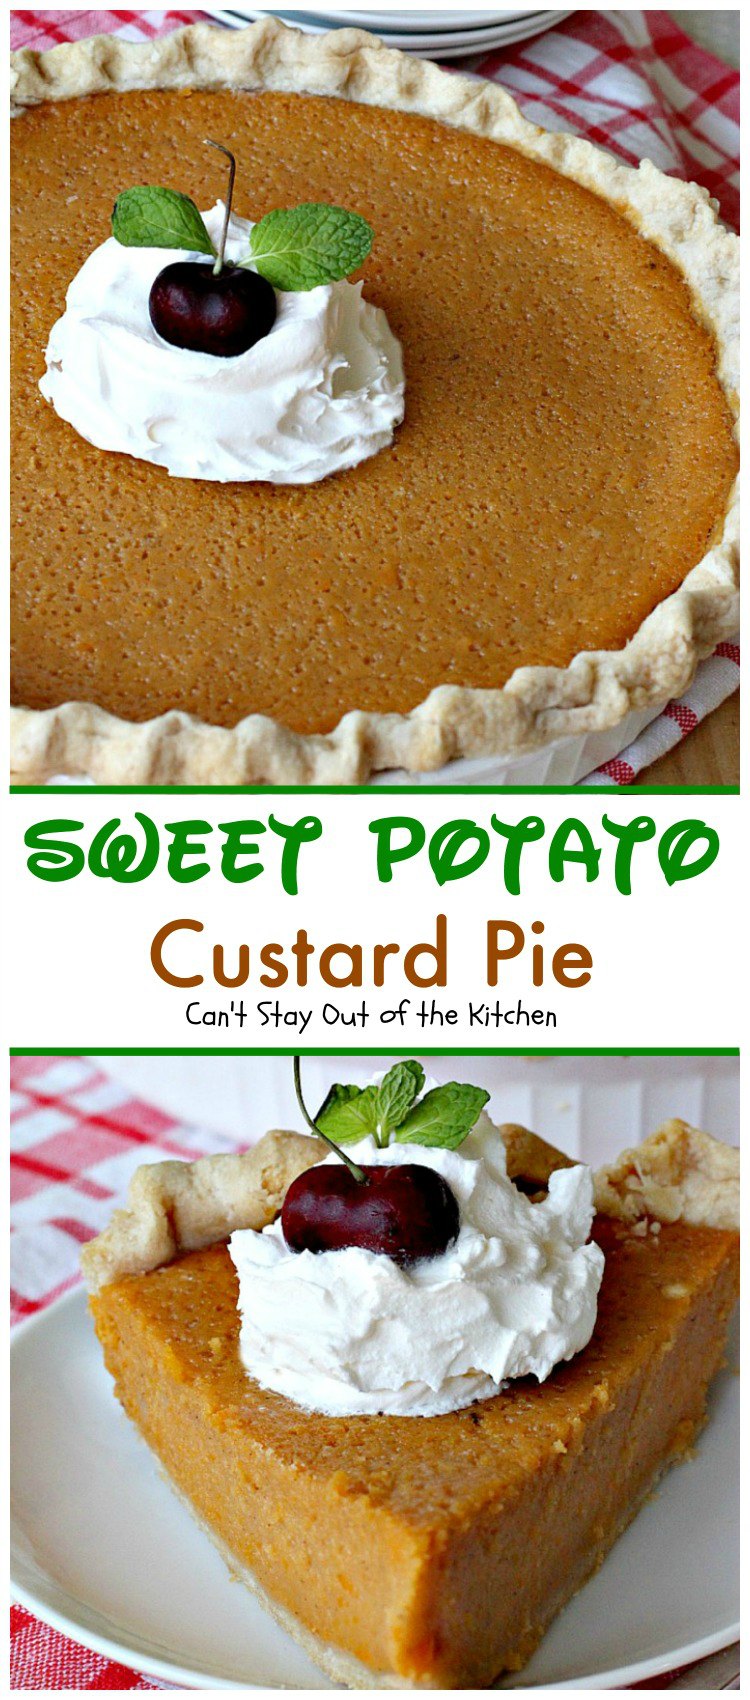
The bottom pie is a Peaches ‘n Cream Pie. It is more like a custard pie.
Here’s what I did.
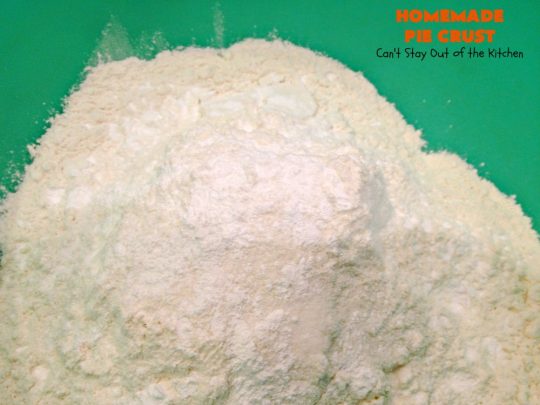
I placed 6 dippers of UNBLEACHED all-purpose flour in a large tupperware bowl. It was about 6 cups of flour. I add approximately 1 tsp. of baking powder and 1 tsp. of salt for every 2-3 cups of flour. I add about a cup of shortening for about every 3-4 cups of flour. I never use exact measuring. Sprinkle salt and baking powder on top of flour.
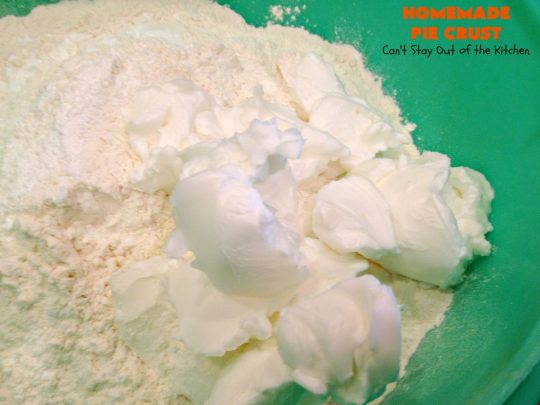
Add Crisco shortening. Before shortening was invented Mom and Grandma used lard. It is even better to make pie crusts out of if you have the real thing. Don’t use a cheap shortening. Your pie crust won’t turn out nearly as well. I started out with this amount and added more shortening as I got going to achieve the right texture.
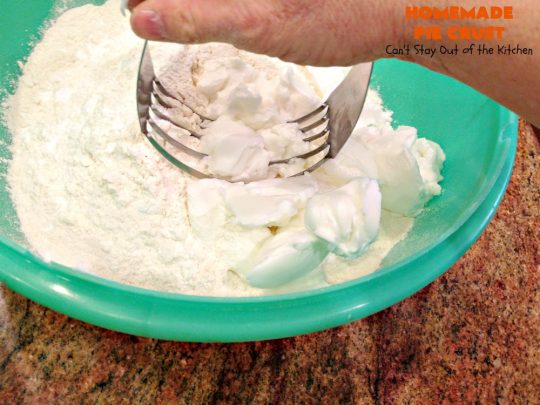
Use a pastry blender to work the shortening into the flour. I can mix this with my fingers like Mom always did, but I actually prefer using the pastry blender. Continue to work in as much shortening as necessary to get the right texture.
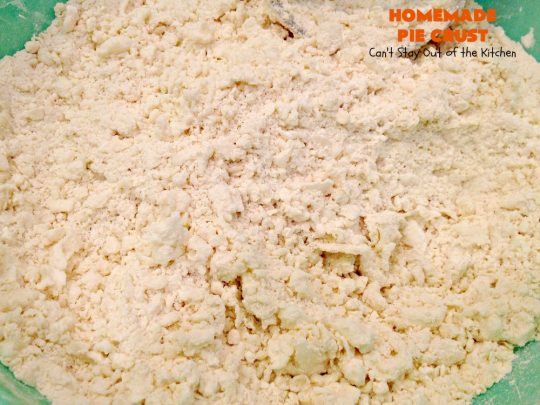
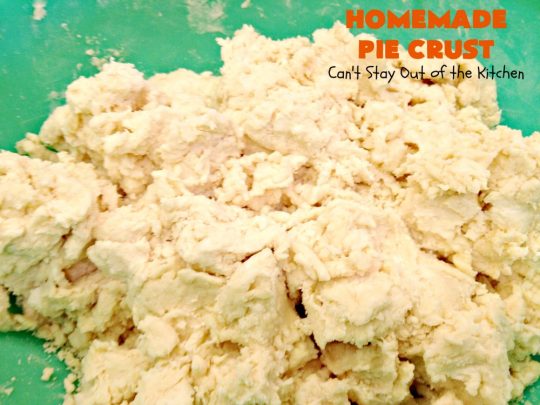
This is what the mixture looks like after blending in the shortening with a pastry blender.
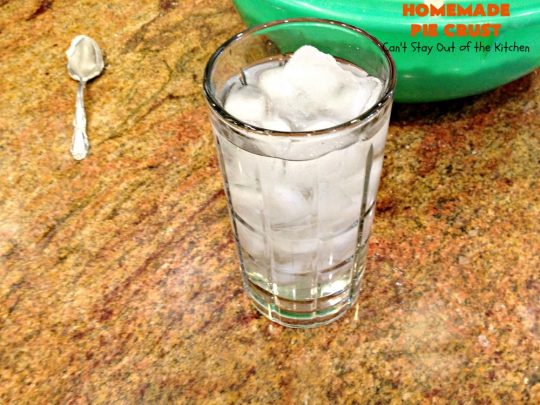
Next, add iced water. Only ice water will give this the right texture. Fill a glass with ice cubes and water and shake to make sure it gets cold enough. Hold your fingers over the top of the glass so the ice cubes don’t come out, then add water to the dough.
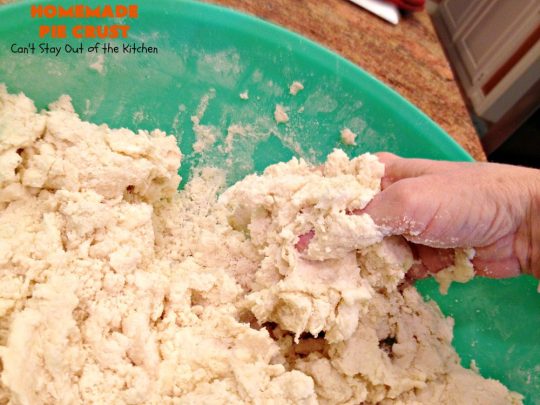
Use a sifting motion with your hands to slowly work the water into the flour mixture and combine. Scoop up from the bottom and work the water into the flour mixture to absorb. Spread your fingers apart and go under all the flour mixture to the bottom of the pan and bring those ingredients up to the top of the bowl. Do that several times to mix the dough.
Continue mixing until the ingredients start adhering to each other. The texture is just about right when you can wipe the dough off your hands with each hand and it almost comes off clean instead of sticky. It almost peels off your hands when it’s the right texture.
Here the dough is mixed and ready to roll out on a floured surface.
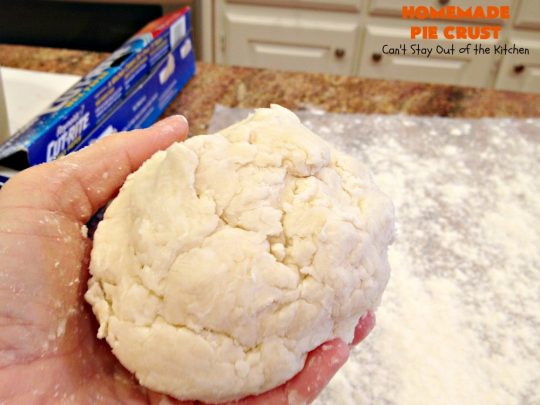
You will need a good rolling pin, wax paper, and lots of flour. I measured out ingredients and shaped into a ball. This is pretty large so it will fit into the large oval pan I’m using. You won’t need quite this much for a regular size pie plate.
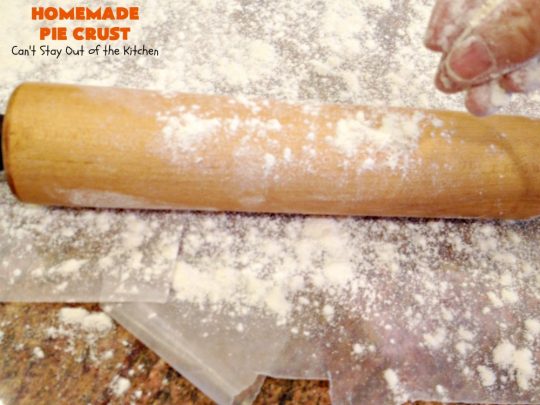
Place a couple of pieces of wax paper on your surface area. Sprinkle wax paper well with flour. You don’t really have to flour your rolling pin unless you are working straight onto the dough, but I did it anyway.
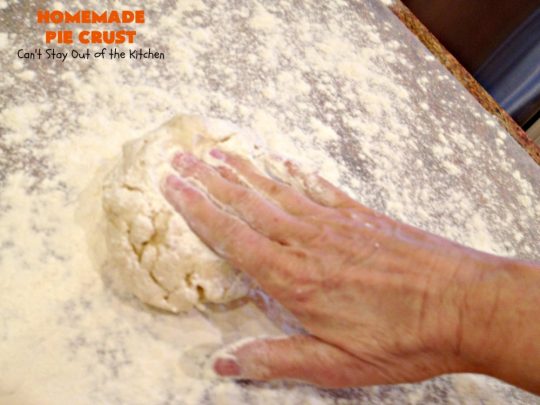
Place ball of dough onto heavily floured wax paper. Press down some with hand and coat the top of the dough with a lot of flour.
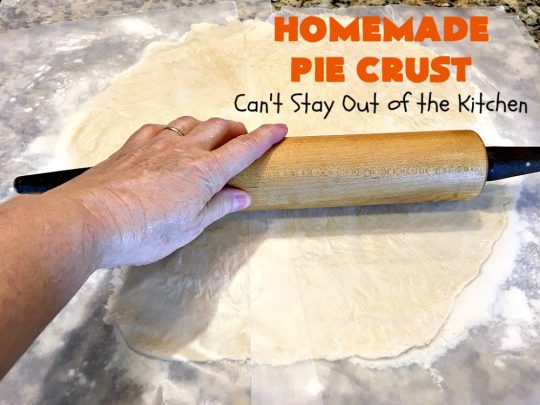
Cover with another couple of sheets of wax paper. Start in the middle of the dough and work out. Turn the dough over a couple of times and add more flour. Better to be safe than sorry. It will be much easier to work the dough by rolling from the middle to the outsides. The dough doesn’t get so lopsided and you ensure that all of it gets rolled to the same width rather than some parts being a lot thicker than others.
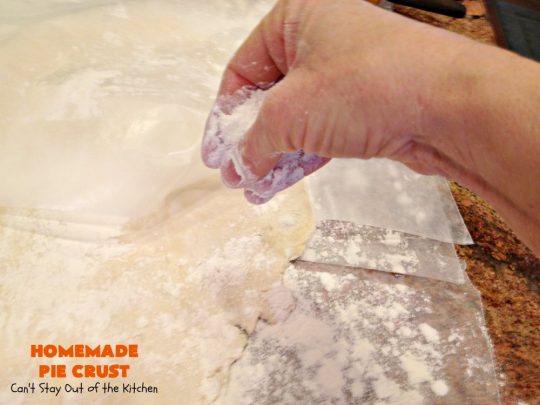
When done slowly lift the wax paper off the dough. If it is sticking you may have to sprinkle little bits of flour along the edge of the wax paper and keep lifting carefully.
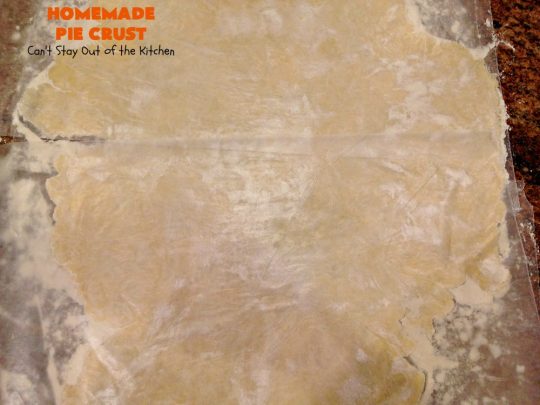
Keep peeling off the wax paper until you have uncovered the dough. Set wax paper aside to use again.
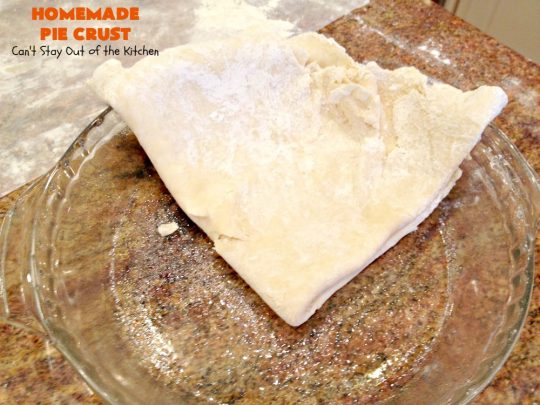
Lifting under the wax paper carefully fold dough in half. Then peel the wax paper off to uncover the dough. Then fold in half again to make quarters.
Carefully lift dough that has been folded in quarters and place on one fourth of the pie plate.

Unroll to half, and then unroll so the whole is covered. Gently fit the dough into the depths of the pan. Crimp Edges.
NEVER put the filling into a pie plate UNTIL you have the top crust(s) ready. Otherwise you will soak through the crust and the crust will get soggy. Ugh.
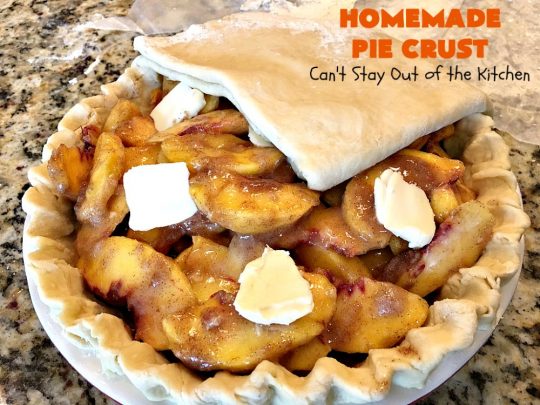
Add filling. This picture is for Favorite Peach Pie. I’ve rolled out my top crusts and place the folded quarters on top of my pies to unroll.
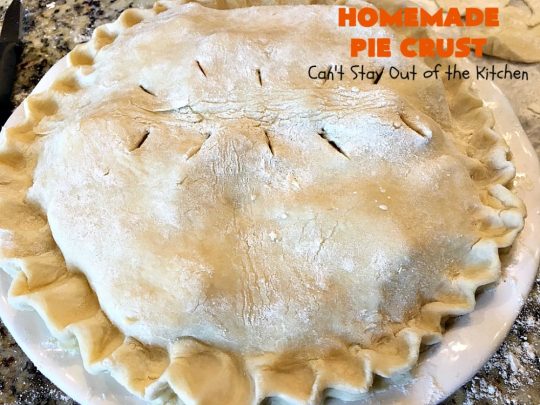
Unroll crust over the whole pie. Cut off any excess, then flute edges and cut slits in the top of the pie crust.
When you have too much overhang of dough you need to trim the dough off with a knife. Otherwise you end up with six inches of crust. UGH!
Bake at 300 until done. This Homemade Pie Crust was done in about two hours. Some fruit pies take almost three hours to bake.

I cook my pies at a lower temperature because I don’t like a dark or burnt pie crust. I think these taste and present a lot better if they are not over cooked at a high temperature. Mom’s Peach Pie is a winner!
Peach Pie Crust Cinnamon Rolls is a terrific recipe using up leftover Homemade Pie Crust.
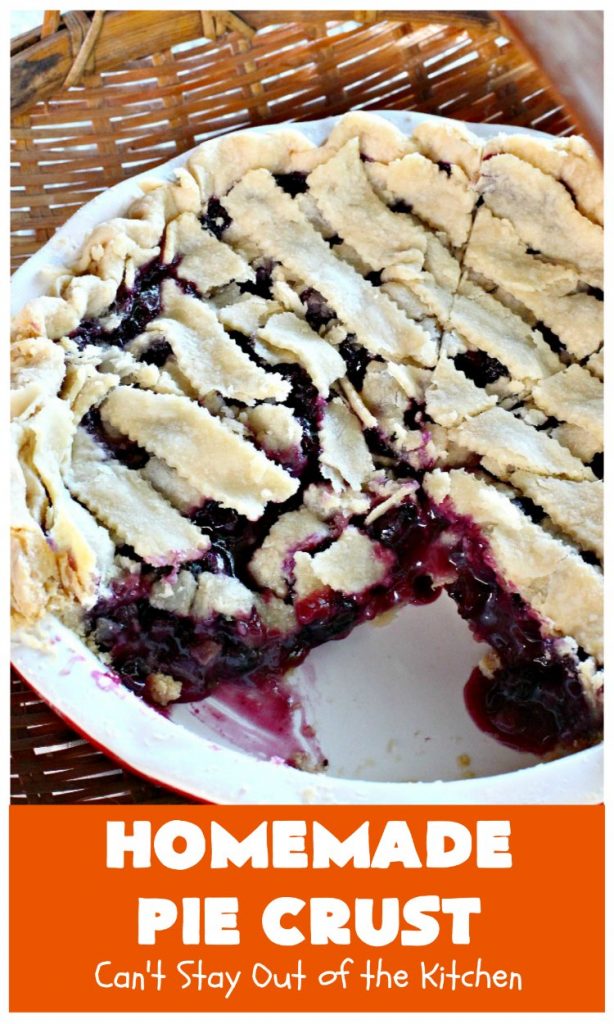
Our family has always enjoyed Mom’s Blueberry Pie. Her fruit pies were always spectacular.
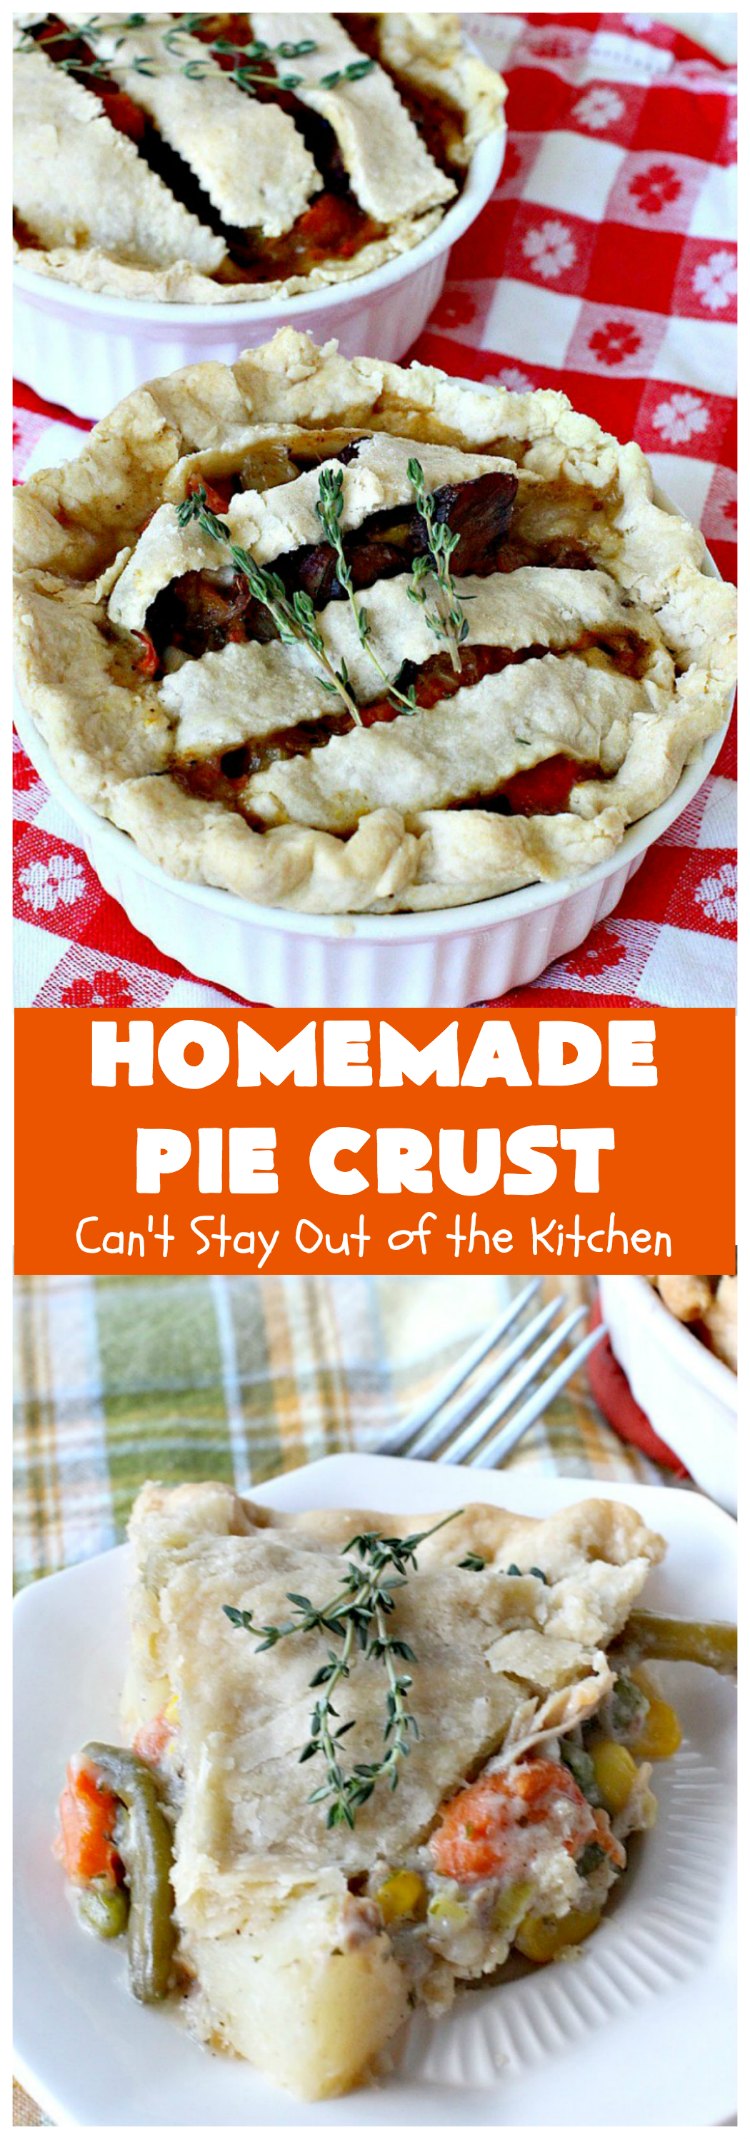
The top picture shows Beef and Butternut Squash Pot Pie in small ramekins. The bottom picture is Beef Pot Pie. These scrumptious meat pies are terrific for any occasion. But they’re especially good comfort food meals during the cooler, winter months.
Here’s the recipe.
MOM’S HOMEMADE PIE CRUST
(Recipe adapted from my mom, Helen Mattis, Titusville, FL)
Homemade Pie Crust
Equipment
- 1 large mixing bowl
- waxed paper
- 1 Rolling Pin
- pie plates or ramekins as desired
- 1 pastry blender
- 1 wooden spoon
- measuring cups
- measuring spoons
- 1 pastry wheel if making a lattice crust
- 1 knife to cut slits in top crust
Ingredients
- 2 cups UNBLEACHED all-purpose flour bleached flour toughens baked goods
- 1/2 tsp. salt
- 1/2 tsp. baking powder
- 1/2 cup Crisco shortening no substitutes
- Ice water
Instructions
- Mix dry ingredients in bowl with a wooden spoon.
- Add shortening and cut in thoroughly with pastry blender until mixture resembles coarse crumbs.
- Add enough ice water to make dough.
- Add about ¼ cup at a time. Don’t add too much!
- Work the ice water into the flour mixture with your fingers.
- Lift flour from the bottom and allow water to absorb into the flour at the bottom.
- The mixture should not stick together too well.
- This will not be like a cookie dough that is well-blended.
- Once you have enough water in the dough that you can form a large ball (with the least amount of water necessary), place dough on waxed paper that has been sprinkled very generously with flour.
- Put more flour on top of dough and cover with waxed paper.
- With a rolling pin, roll out dough (roll from the middle and work outward in all directions).
- Keep checking to make sure you have enough flour.
- You may have to lift the waxed paper multiple times and add a little more flour.
- Lift top layer of waxed paper off dough carefully so dough doesn’t stick to the paper.
- Gently and quickly roll dough in half. Then in half again to make it in quarters.
- Place over top of pan and gently unfold so dough covers the entire pan with a small overhang all the way around.
- Work dough into pan so that it fits smoothly into plate.
- Make a crust by fluting the edges (check any cookbook if you need directions).
- To make a Lattice Crust: Roll out remaining dough on floured waxed paper as above.
- Remove top layer of waxed paper.
- Cut dough in ½”-3/4” widths with pastry wheel or knife in long strips.
- Place strips in one direction across pie.
- Then place strips in opposite direction to go the full length of the pie shell.
- Most fruit pies will take about two hours at 300°. However, if the sauce is not bubbling so that it is thick when it bubbles up, you may have to cook it a little longer.
- Keep an eye on it and start checking after 60 minutes.
- Long oblong (9x13”) deep dish pies take at least two hours or longer.
Notes
© Can’t Stay Out of the Kitchen
Nutrition
- 2 cups UNBLEACHED all-purpose flour (bleached flour toughens baked goods)
- ½ tsp. salt
- ½ tsp. baking powder
- About ½ cup shortening
- Ice water
- Mix dry ingredients in bowl.
- Add shortening and cut in thoroughly with pastry blender until mixture resembles coarse crumbs.
- Add enough ice water to make dough.
- Add about ¼ cup at a time. Don’t add too much!
- Work the ice water into the flour mixture with your fingers.
- Lift flour from the bottom and allow water to absorb into the flour at the bottom.
- The mixture should not stick together too well.
- This will not be like a cookie dough that is well-blended.
- Once you have enough water in the dough that you can form a large ball (with the least amount of water necessary), place dough on waxed paper that has been sprinkled very generously with flour.
- Put more flour on top of dough and cover with waxed paper.
- With a rolling pin roll out dough (roll from the middle and work outward in all directions).
- Keep checking to make sure you have enough flour.
- You may have to lift the waxed paper multiple times and add a little more flour.
- Lift top layer of waxed paper off dough carefully so dough doesn’t stick to the paper.
- Gently and quickly roll dough in half. Then in half again to make it in quarters.
- Place over top of pan and gently unfold so dough covers the entire pan with a small overhang all the way around.
- Work dough into pan so that it fits smoothly into plate.
- Make a crust by fluting the edges (check any cookbook if you need directions). [br]
- [b]LATTICE CRUST:[/b][br]
- Roll out remaining dough on floured waxed paper as above.
- Remove top layer of waxed paper.
- Cut dough in ½”-3/4” widths with pastry wheel or knife in long strips.
- Place strips in one direction across pie.
- Then place strips in opposite direction to go the full length of the pie shell.
- Most fruit pies will take about 2 to 3 hours at 300°. However, if the sauce is not bubbling so that it is thick when it bubbles up, you may have to cook it longer.
- Keep an eye on it and start checking after 60 minutes.
- Long oblong (9×13”) deep dish pies take at least two hours or longer.
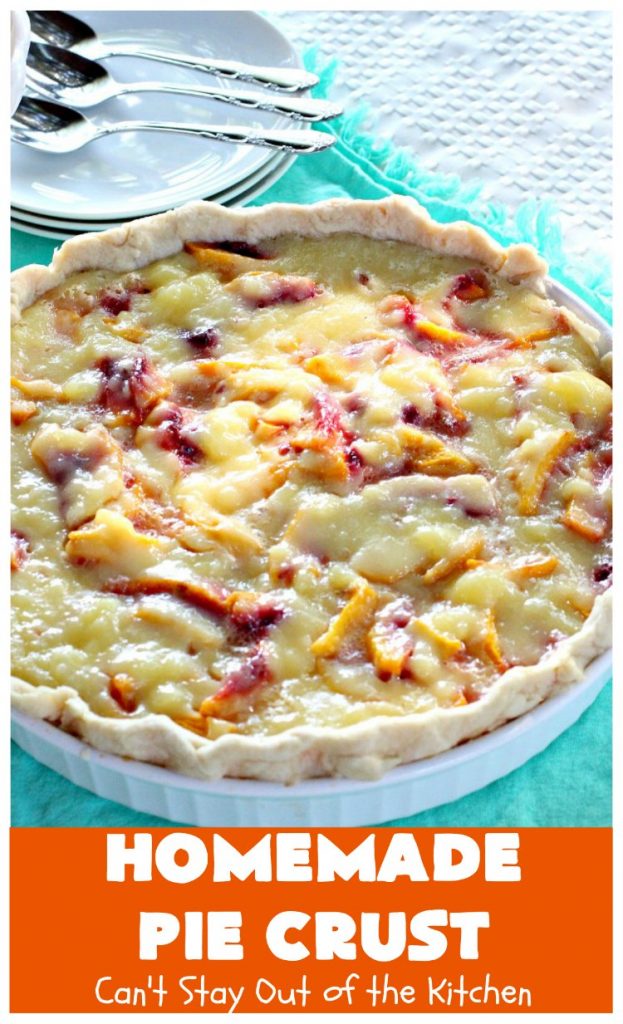
I love pies with wonderful flaky crusts. But Peaches ‘n Cream Pie is really marvelous.
Beef Pot Pie is wonderful made with Homemade Pie Crust. It’s almost like eating stew in pie form!
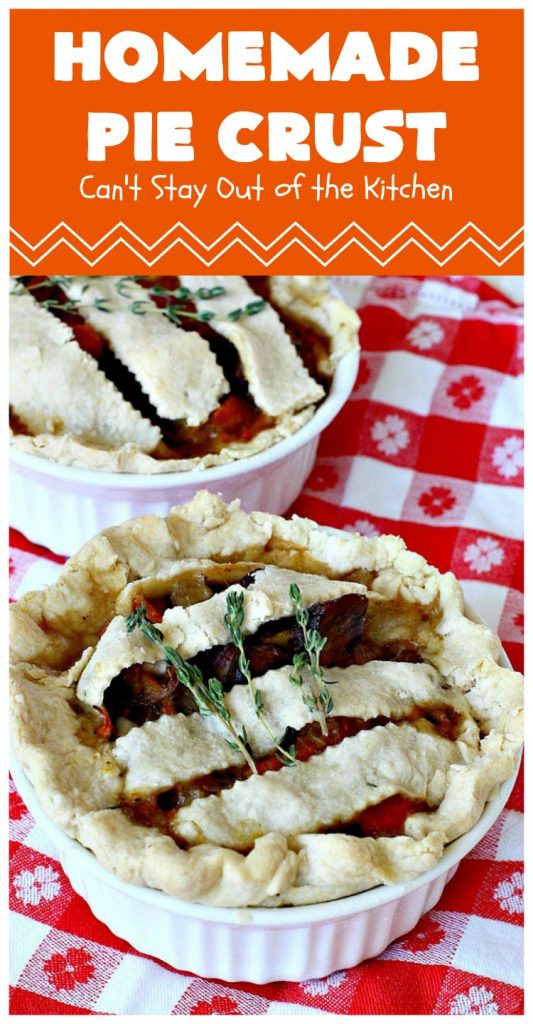
Beef and Butternut Squash Pot Pie is one of our favorite comfort food meals. It’s a complete meal in itself.
Favorite Peach Pie and Homemade Turkey Potpie are so delectable. Every bite is mouthwatering and irresistible.
You may also enjoy these delicious recipes!
Homemade Pie Crust
Equipment
- 1 large mixing bowl
- waxed paper
- 1 Rolling Pin
- pie plates or ramekins as desired
- 1 pastry blender
- 1 wooden spoon
- measuring cups
- measuring spoons
- 1 pastry wheel if making a lattice crust
- 1 knife to cut slits in top crust
Ingredients
- 2 cups UNBLEACHED all-purpose flour bleached flour toughens baked goods
- 1/2 tsp. salt
- 1/2 tsp. baking powder
- 1/2 cup Crisco shortening no substitutes
- Ice water
Instructions
- Mix dry ingredients in bowl with a wooden spoon.
- Add shortening and cut in thoroughly with pastry blender until mixture resembles coarse crumbs.
- Add enough ice water to make dough.
- Add about ¼ cup at a time. Don’t add too much!
- Work the ice water into the flour mixture with your fingers.
- Lift flour from the bottom and allow water to absorb into the flour at the bottom.
- The mixture should not stick together too well.
- This will not be like a cookie dough that is well-blended.
- Once you have enough water in the dough that you can form a large ball (with the least amount of water necessary), place dough on waxed paper that has been sprinkled very generously with flour.
- Put more flour on top of dough and cover with waxed paper.
- With a rolling pin, roll out dough (roll from the middle and work outward in all directions).
- Keep checking to make sure you have enough flour.
- You may have to lift the waxed paper multiple times and add a little more flour.
- Lift top layer of waxed paper off dough carefully so dough doesn’t stick to the paper.
- Gently and quickly roll dough in half. Then in half again to make it in quarters.
- Place over top of pan and gently unfold so dough covers the entire pan with a small overhang all the way around.
- Work dough into pan so that it fits smoothly into plate.
- Make a crust by fluting the edges (check any cookbook if you need directions).
- To make a Lattice Crust: Roll out remaining dough on floured waxed paper as above.
- Remove top layer of waxed paper.
- Cut dough in ½”-3/4” widths with pastry wheel or knife in long strips.
- Place strips in one direction across pie.
- Then place strips in opposite direction to go the full length of the pie shell.
- Most fruit pies will take about two hours at 300°. However, if the sauce is not bubbling so that it is thick when it bubbles up, you may have to cook it a little longer.
- Keep an eye on it and start checking after 60 minutes.
- Long oblong (9×13”) deep dish pies take at least two hours or longer.